
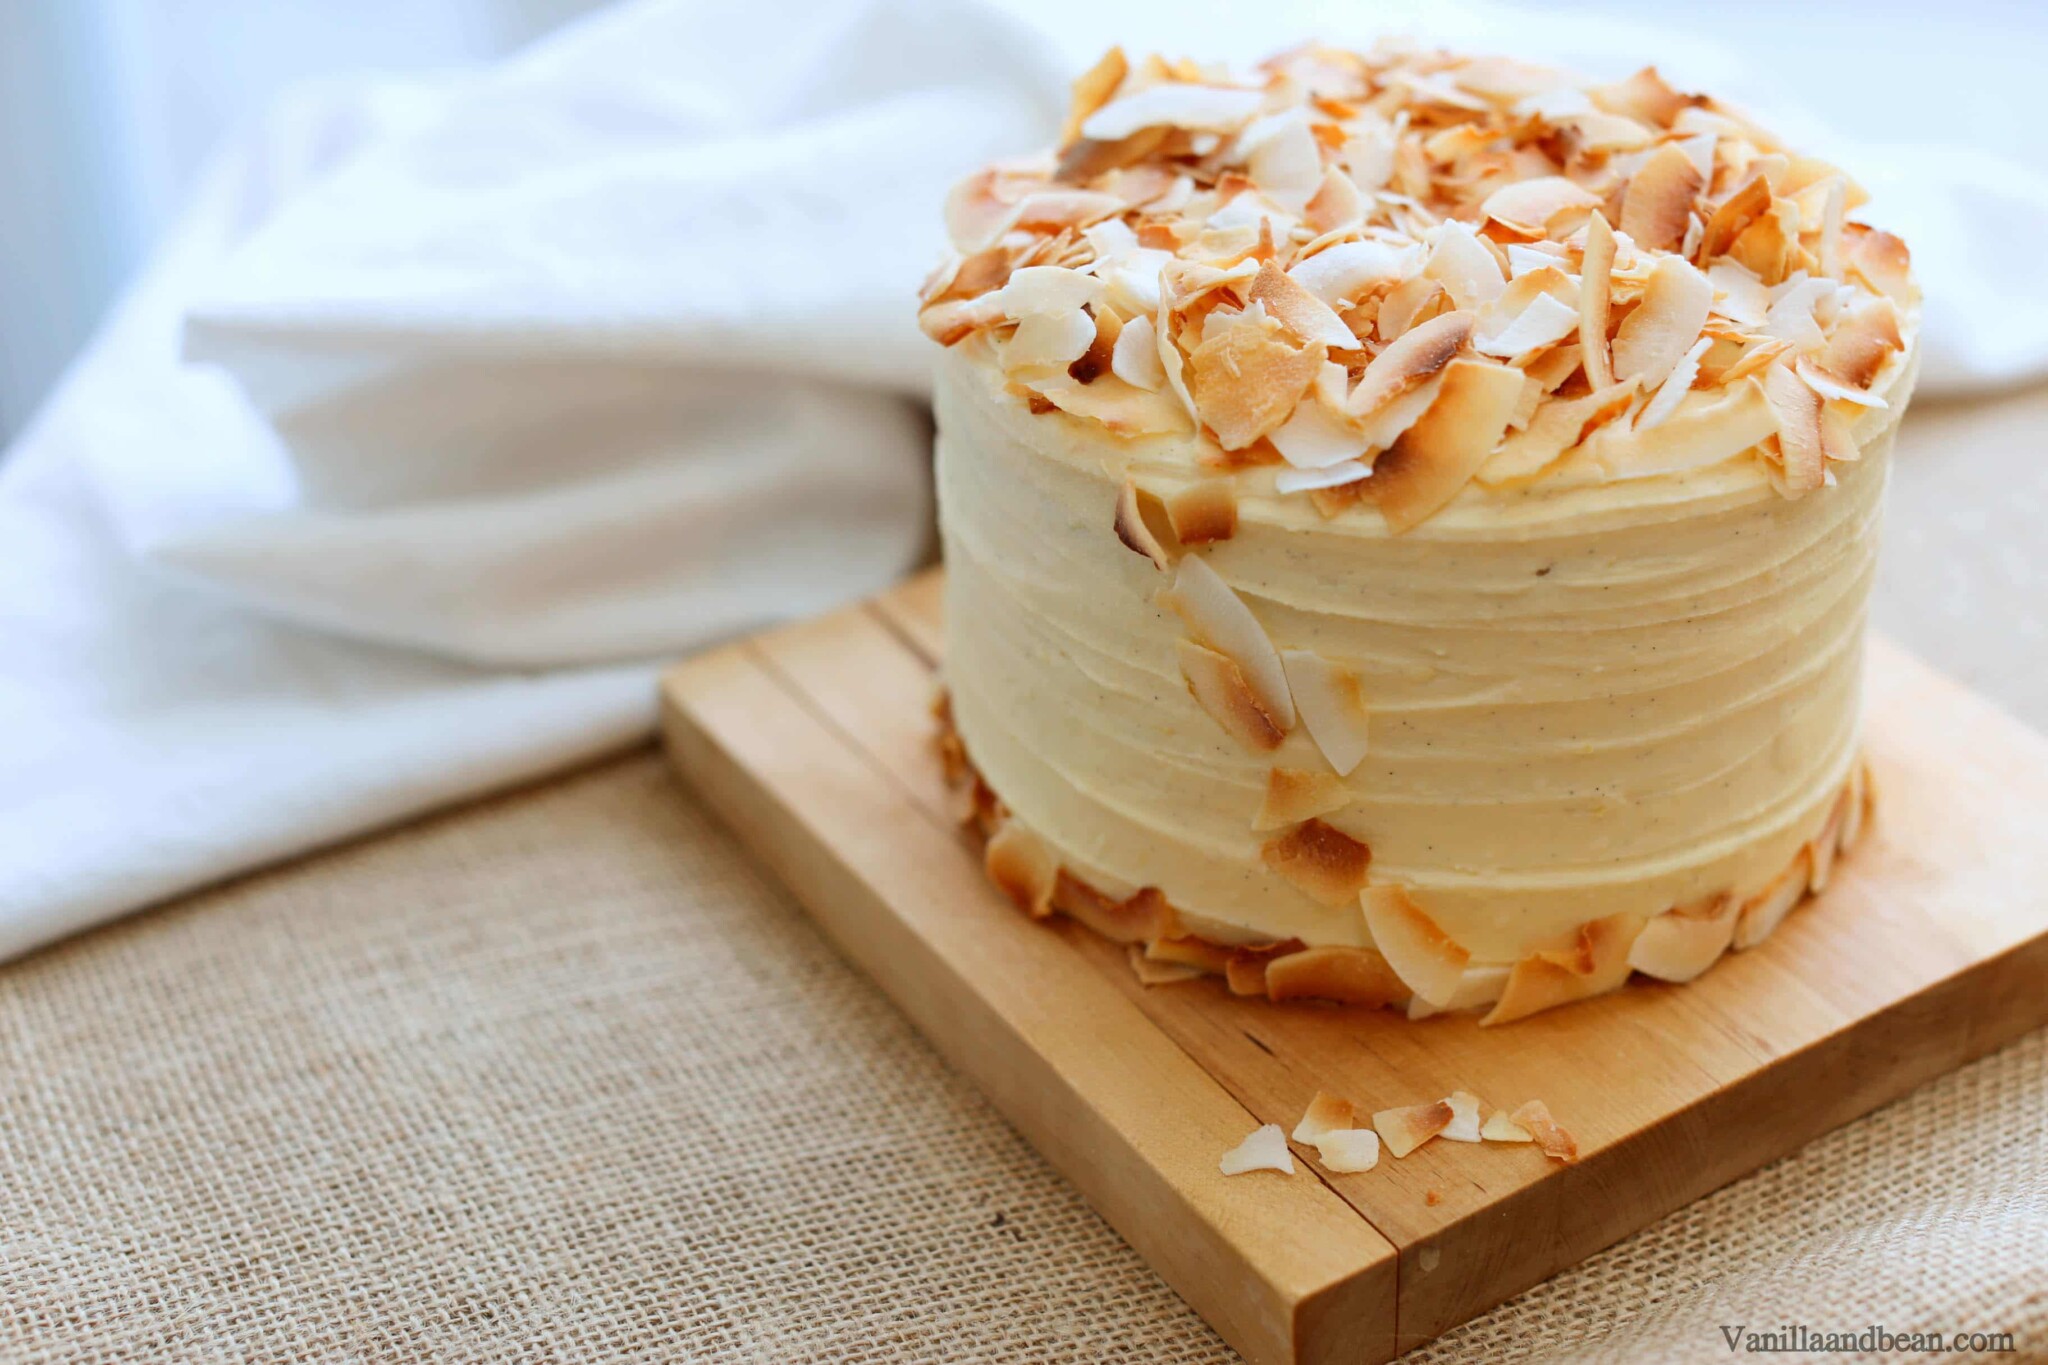
Quintessentially Southern, Hummingbird Cake is a must for any celebration or simply for sharing everyday.
If someone asked me what my favorite cake is, this is it! Hummingbird Cake is the quintessential Southern cake and one that I quickly became fond of the moment I tasted it many years ago.
The original Hummingbird Cake Recipe first appeared in Southern Living Magazine in 1978 and has since become a classic. The original recipe makes a BIG, tall cake. A 9”, unsplit, three layer cake. This is a huge cake, fit for a crowd.
I adapted the original by scaling my recipe down, using 2, 6” pans and splitting those two layers into four. This petite version is still impressive, but for me much more manageable because I’m a sucker for leftover cake. I tend to eat way too much when it’s available. Especially this one.
Hummingbird Cake Features
Instead of salad oil as suggested in the original recipe, I use coconut oil, which only adds to the overall moistness of this tempting cake. The classic recipe calls for a garnish of chopped pecans. But because the cake has pecans in it, I chose to use toasted coconut to crown this beauty.
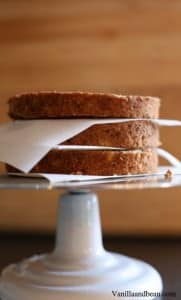
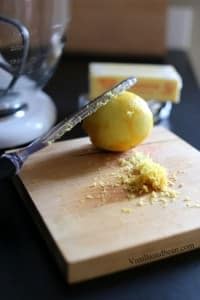
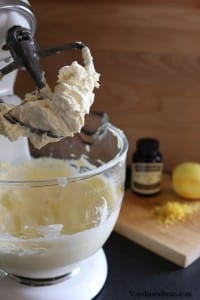
I usually make this recipe over a two day period, making the cake layers and icing on day one then splitting, filling and icing the cake on day two. This not only allows me to focus on other activities for day one and day two, but it also ensures that I allow the cake layers to cool completely.
I seem to have a problem with trying to ice a cake too quickly because I just want to eat it…. posthaste! I’ve rushed icing before, and it wasn’t pretty. Sliding and lopsided layers do not make a pretty presentation. Splitting a warm cake is a mess anyway.

So, relax and enjoy the anticipation of a two day cake. Since you’ll have a split, leftover layer in this recipe, feel free to snack early. The leftover layer quickly disappeared once I decided that it wouldn’t be used in the final cake (and you know who got first dibs)!
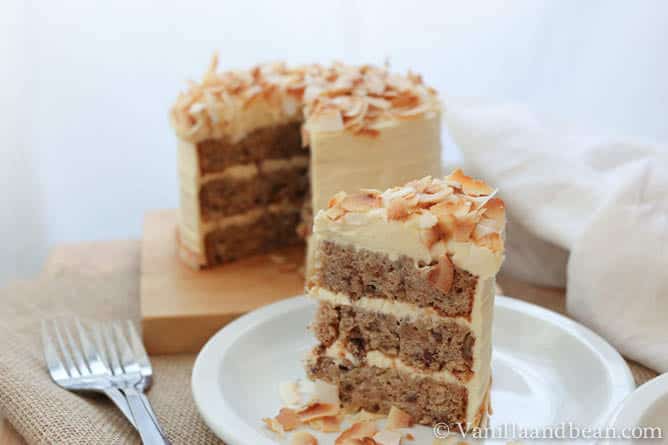
Since, above all things food, this is my favorite cake, I wanted to make this cake as Vanilla And Bean’s debut to the world.
What is your favorite cake?
More Cake Recipes to Love
- Almond Orange Mini Tea Cakes
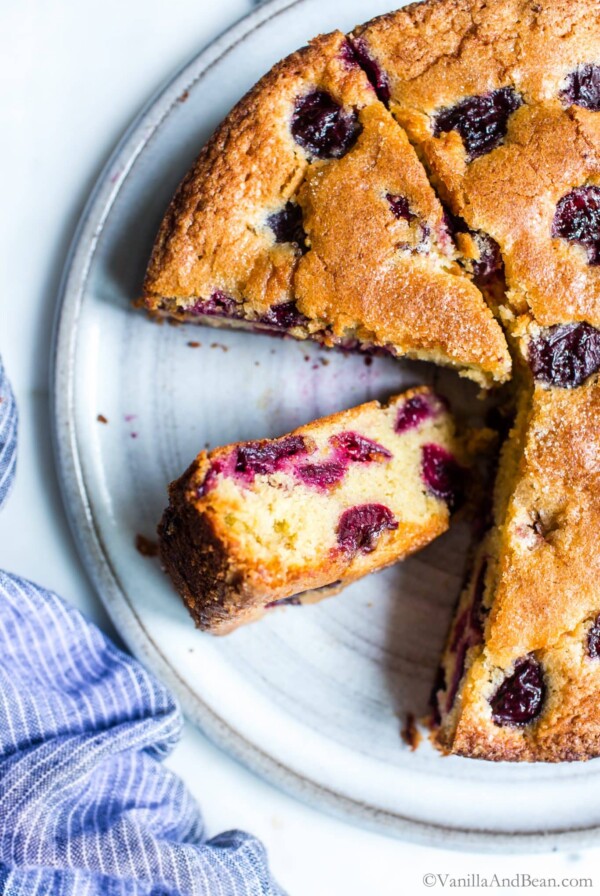
- The Easiest Sweet Cherry Almond Cake
- Blueberry Cinnamon Yogurt Coffee Cake
- Vegan Chocolate Hazelnut Cake
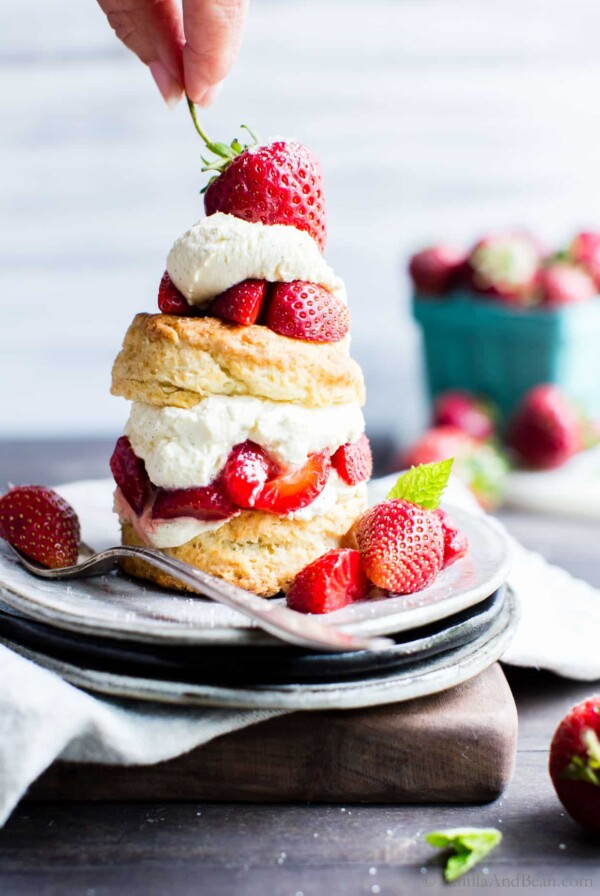
- Strawberry Shortcake with Sourdough Biscuits

Hummingbird Cake
Ingredients
For the Cake
- 2 C Unbleached Whole Wheat White Flour *See Note, 10 5/8 oz
- 2 Tbs Cornstarch, 1/2 oz
- ¾ tsp Baking Soda, 1/8 oz
- 1 ¼ tsp Cinnamon, 1/4 oz
- 1 ½ C Sugar, 10 ¼ oz
- 2 Large Eggs at room temperature
- ¾ C Melted Coconut Oil + 2 Tbs for greasing pans, 6 oz, or you can use coconut spray
- 1 ½ tsp Vanilla Bean Paste, 3/4 oz
- 2/3 C Crushed Pineapple, 5 ½ oz
- 1 1/3 C Mashed Bananas, about 3 medium bananas
- ¾ C Pecans, toasted and chopped (2 ¾ oz)
For the Icing
- 8 oz Room Temperature Unsalted Butter, 2 sticks
- 16 oz Room Temperature Cream Cheese, 2 packages
- 2 tsp Vanilla Bean Paste, 1 oz
- ¾ C Sifted Powder Sugar, 3/4 oz
- 2 Lemons, Zested
To Finish
- 1 C Large Flake Coconut, Toasted
Instructions
For the Cake
- Spray or use solid coconut oil to coat the sides and bottom of two 6” pans. Line bottom of both pans with parchment paper. Spray or spread coconut oil over the top of the parchment paper. Set oven to 350F, with rack in center.
- While your oven is heating up, toast your pecans and large flake coconut in the warming oven for about 10 minutes. The pecans should be slightly darker and smell fragrant. The coconut should have a nice golden color and smell fragrant. When you remove them from the oven, remove them immediately from the pan to cool by dumping the ingredients out of the pan on separate pieces of parchment or wax paper. You’ll need to chop the pecans.
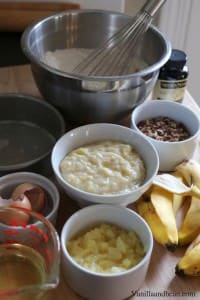
- Have all your ingredients measured out and ready to go (Mise en place) before you start mixing.
- In a large bowl, sift the flour, cornstarch, cinnamon and baking soda. Use a whisk to mix in the sugar.
- In a separate bowl beat eggs, then add the cooled, melted coconut oil, and vanilla bean paste. Mix just to incorporate (there will be separation). Make a well in the center of the flour mixture and add your oil mixture. Using a wooden spoon, mix ingredients together just until incorporated, until you no longer see dry flour.
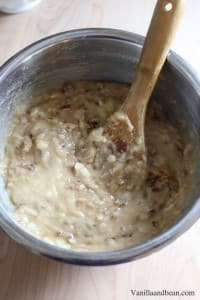
- Add the pineapple, mashed bananas, and toasted, chopped pecans. Mix gently until ingredients are evenly distributed.
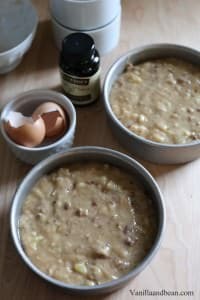
- Pour into prepared pans. The batter should only fill the pans to ¾ full, otherwise you’ll have overflow!
- Bake cake for 55-60 minutes in a conventional oven. You can use the tooth pick method for testing if the cake is done as the toothpick should come out clean. You can also check for doneness by gently pressing the cake in the center with your finger, it should spring back ever so slightly.
- After you remove the cakes from the oven, place the cakes still in the pans on a cooling rack. Allow to cool for at least 10 minutes. Then, flip the cake pans over a cooling rack and they should fall out pretty easily. If not, give the pans a few taps. Allow to cool completely before splitting and filling. If you are holding the cakes over night, wrap well in plastic wrap. If you need to hold them longer, this cake freezes well. Just make sure you double wrap them as to avoid freezer burn.
For the Icing
- Be sure all your ingredients are at room temperature. You can make your icing in a food processor or in a stand mixer. I’ve used both with good results.
- Place butter and cream cheese in mixer and beat on medium – medium high with the paddle attachment until light and fluffy. Scrape down your bowl. Mix in your sifted powder sugar on low, until just incorporated. Add your vanilla and lemon zest, and mix on low until incorporated.
To Assemble
- After your cakes are completely cooled, split them in ½, horizontally. I use a serrated knife and a rotating cake stand to do this as it makes the job much easier. Set them aside. For this recipe, you’ll get 4 layers, but I used only three, because I like three layer cakes, and I like to pile on the icing. If you want a 4 layer cake, be sure to make a 1 ½ batch of icing if you want enough to adequately ice the cake.
- After splitting the layers, spread icing on top of the first layer, then stack the second layer. Ice the top of the second layer and then stack on the third layer.
- Crumb coat all three layers and let rest in fridge for 30 minutes.
- For the final coat of icing, spread the icing evenly over the entire cake with a thick layer on top, then ice and smooth the sides. Smooth the top last.
- Pile on the large flake coconut on the top of the cake.
- For storage, place a piece of plastic wrap directly on the cut crumb as to preserve moisture. Store covered in the refrigerator for up to three days.
Notes
This cake will keep well, covered for up to three days at room temperature. Adapted from Southern Living Magazine
Nutrition
Nutrition is provided as a courtesy and is an estimate. If this information is important to you, please have it verified independently.
Made it? Leave a comment below!
The most helpful comment may include recipe rating, feedback, any modifications or helping other commentors.



Hi! I am making this for a large gathering so I will be using 2 9″ pans. What would the measurement increases be? And how much baking time should be added?
Hi Kristin! I’m afraid you’ll need to use a recipe that meets your pan requirements.
The one cup is equal to 200ml or 250 ml.
Please clear me this too … Thanks ??
250mL – you got it!
If I am making the icing a day ahead, would I leave it at room temp overnight or refrigerate it??
HI Pam! Thank you for your note! Room temp is fine. The sugar helps preserve that cheesy goodness!
Good thank you so much! I can already tell that it is amazing!
Hooray! I hope you enjoy it. It’s my favorite! In fact, I think I may update this post since it was my first. It’s such a delight. :D
This cake is absolutely gorgeous. I am soooo making this!
Hi Faye! Thank you : ) . I hope you enjoy the recipe!