
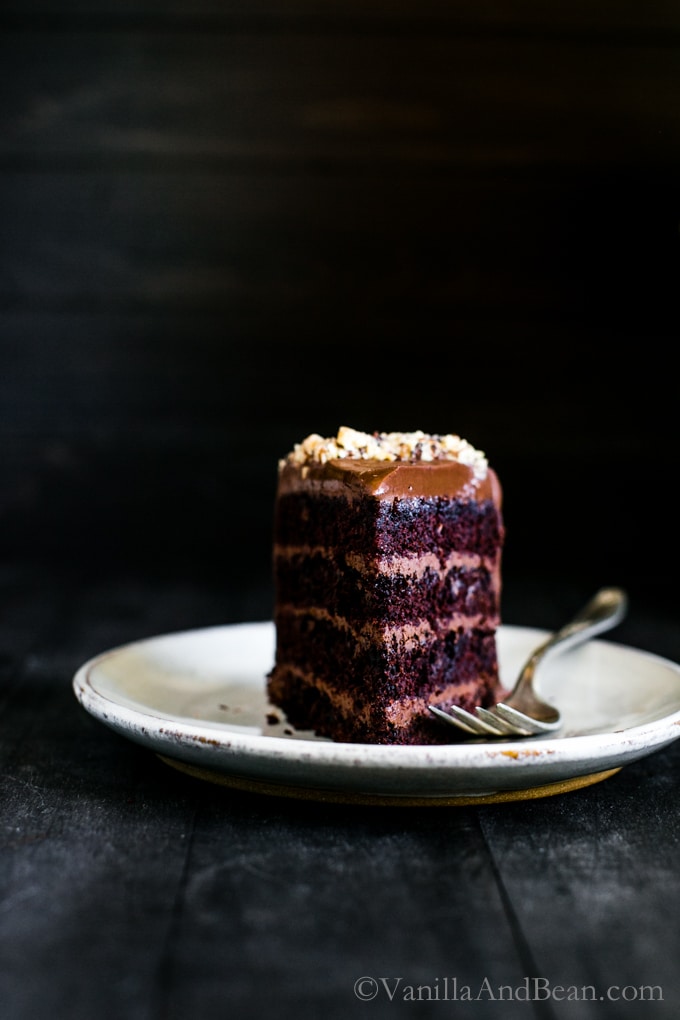
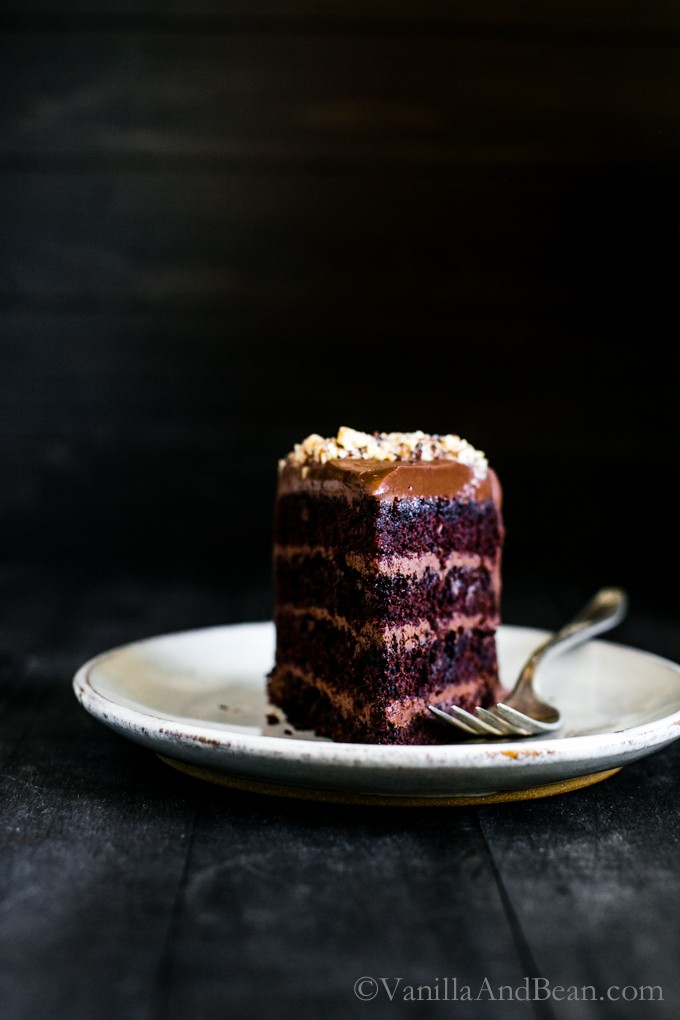
For all your celebrations, this rich, fudgy, Vegan Chocolate Hazelnut Cake with Whipped Ganache cake will even have omnivores begging for more. This vegan chocolate cake is perfect for dark chocolate lovers. This cake is vegan. | Thanks to Rodelle Kitchen for gifting Vanilla And Bean a bottle of their Vanilla Extract.
About this Vegan Chocolate Hazelnut Cake
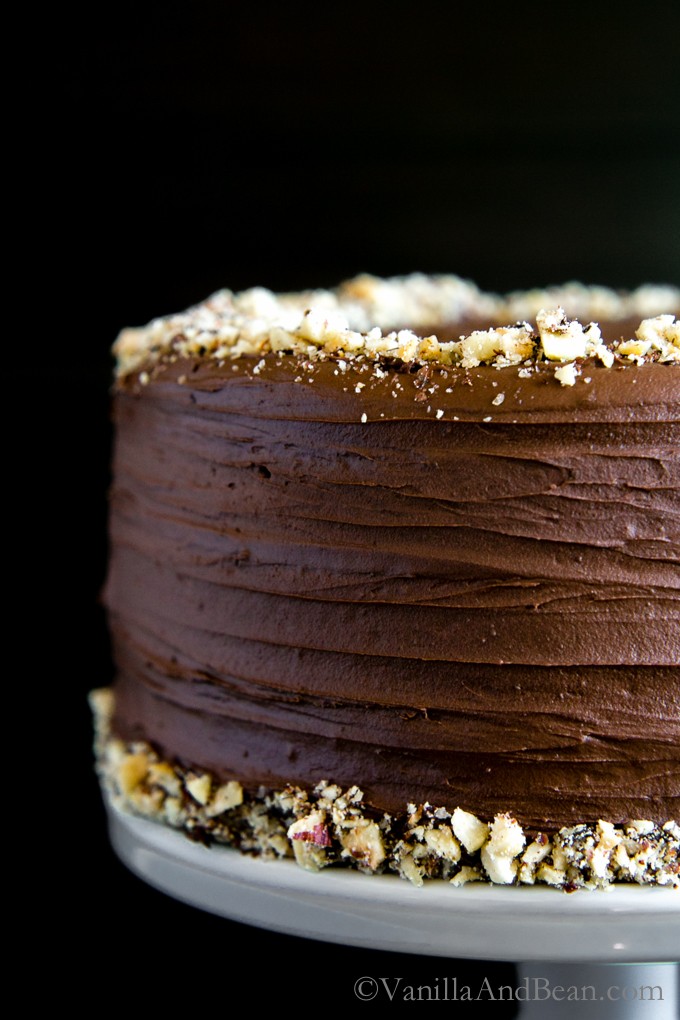
The Vegan Chocolate Cake bakes up beautifully with a tender, fudgy crumb. The icing, a whipped ganache, comes together quickly with a rest in the fridge while the cake is baking. Made with full-fat coconut milk, I promise, for coconut haters, they’ll never know. A double batch may be in order. It’s almost like a mousse. You’re not going to believe it!
Brush each layer with a boozy Frangelico simple syrup, then ice the cake to your heart’s content. Make it a two-or-four layer, whatever you have time for. Finish with toasted hazelnuts to add a bit of texture to this rich vegan chocolate cake.
A Little Reflection
It’s been two years, y’all. Two years since I started this little blogging journey. I’d just left my career of nine years. The change had been a long time coming, but it took me several years to finally garner the courage.
I finally realized, through much reflection and work, there was nothing I could do except walk away from a career at one time I saw myself doing for the rest of my life. The overwhelm and stress was too much.
I took the leap and a much-needed respite. After much learning, commuting, hard work and applying new skills, Vanilla And Bean was born.
That was two years ago.
Your Support Means so Much
The time has whisked by and I couldn’t be more grateful for this new journey. One that has presented challenges, tremendous learning curves, and hard decisions. But it’s also given me so much more freedom than I ever thought possible. The freedom to create, make and carve a path of my own. I feel like I’m opening a gift each and every day.
Some of you have been with Vanilla And Bean since its infancy. Even Vanilla And Bean’s newest readers have jumped in with both feet as if you’ve been here all along. Thank you for your support, trusting, encouragement, and sincerity.
I never knew this blog and social media, Instagram, would connect me with people just down the road and across the ocean. A few, I’ve met. Others, I can hardly wait.
So this cake is for y’all. For each and every one of you. For your comments, emails, likes, follows and sharing. Thank you for your time, enthusiasm for good food, love, and support. Getting to know y’all has been the most fun, even those of you who enjoy with silent support. I’m looking at you too, with a full heart.
Vegan Chocolate Cake with Whipped Ganache is as rich and chocolatey as you can imagine with a hint of booze for good measure. It makes a fabulous vegan birthday cake, or for any celebration, really!
How to Make Vegan Chocolate Cake
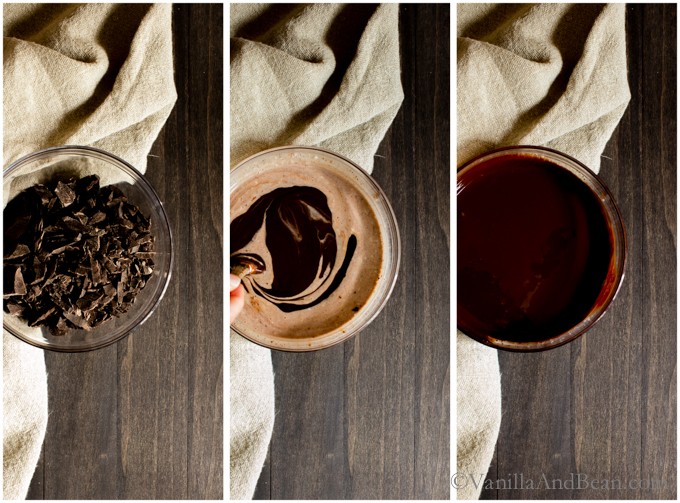
- First, for the ganache: gently heat the coconut milk, salt, and hazelnut liquor and pour over chocolate. Then pour the heated milk over top. Allow to set for one minute, then gently stir to incorporate Pop in the fridge while you prepare the cake.
- Second, while the oven is preheating, prepare the pans and toast the hazelnuts.
- Third, using two separate bowls prepare the wet and dry ingredients then whisk the ingredients together. Divide batter into pans and bake.
- Next, make the simple syrup while the cakes bake.
- Last, assemble the cake in four layers, brushing each layer with simple then slathering on the ganache.
Top the cake with toasted hazelnuts and enjoy!
Pro Tips
- The *taste* of coconut oil or milk is not detectable. If it were, this would be a coconut chocolate cake and I would have had to name it so. The chocolate masks its flavor. All the reason to call this a chocolate cake!
- Veg News lists many vegan chocolate brands. Find what’s at your market and use it! Green & Black’s, Theo, Endangered Species, are excellent.
- Hazelnut flour can be purchased. However, to DIY, toast the hazelnuts first at 325F for about 8-10 minutes, then process them in a food processor until a fine meal is formed. Use them as written in the recipe.
- If chocolate extract is unavailable, vanilla extract can be used.
More Chocolatey Rich Desserts to Love
Vegan Chocolate Hazelnut Cake with Whipped Ganache Recipe
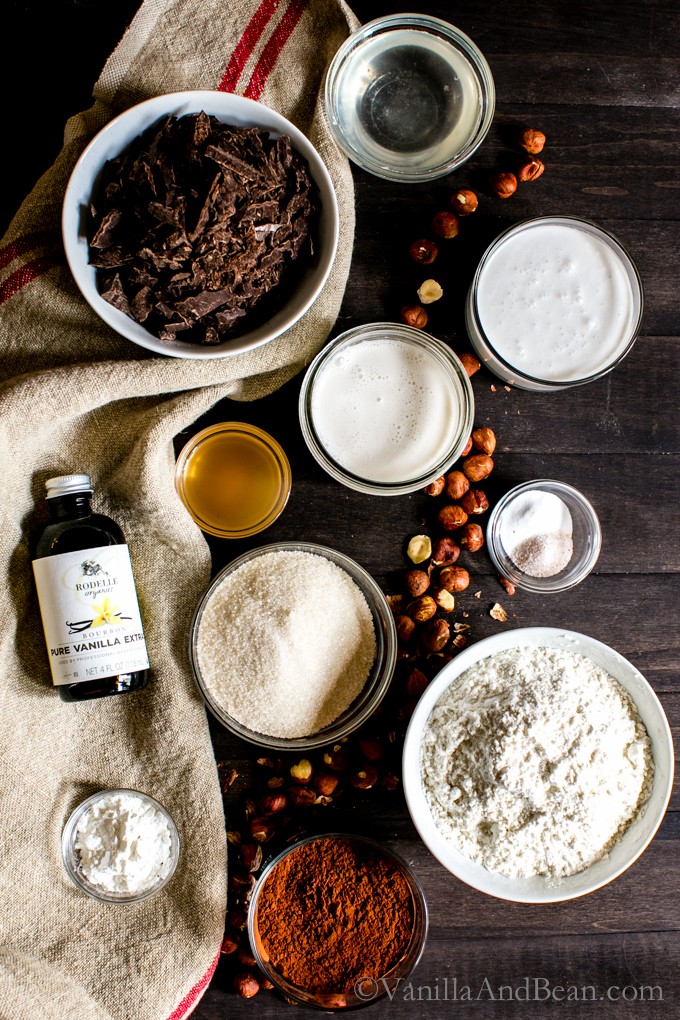
Ingredients
For the Ganache:
- 1 3/4 C High Quality Vegan Dark Chocolate, 72% or 74%, rough chopped into 1/2" pieces or smaller (the smaller the better - see note on vegan chocolate).*, 240g
- 1 1/3 C Full Fat Coconut Milk, whisked to incorporate the fat and liquid, 307g, the canned variety
- 1/8 tsp Sea Salt
- 2 tsp Hazelnut Liquor, I use Frangelico
For the Cake:
- 3/4 C Raw Hazelnuts, for decorating, 105g
- 1 2/3 C Nut Milk, 380g, I use homemade cashew
- 1 Tbs Apple Cider Vinegar
- 1 1/2 C + 1 Tbs All Purpose Flour, 225g
- 1/2 C + 2 Tbs Hazelnut Flour **, 72g, see note
- 2/3 C Organic Cane Sugar, 145g
- 1/2 C Dutch Process Cocoa, unsweetened (I use Rodelle), 50g
- 1 1/2 Tbs Organic Cornstarch
- 1 1/2 tsp Baking Soda
- 1/2 tsp Sea Salt
- 1/3 C + 2 Tbs Coconut Oil, virgin, unrefined, melted and at room temp., 80g
- 1 1/2 tsp Vanilla Extract
- 1 1/4 tsp Chocolate Extract ***, see note
For the Simple Syrup:
- 3 Tbs Organic Cane Sugar
- 3 Tbs Water
- 2 Tbs Hazelnut Liqueur
Instructions
For the Ganache (yields about 2 C or 500g):
- Place the chocolate in a medium mixing bowl. Set aside. In a small saucepan add the coconut milk, salt, and hazelnut liquor. Whisk to break up any clumps of fat. Heat the milk mixture on medium-high heat until it scalds (tip: watch for bubbles to form around the outer edge of milk, this is 180F or 82C). Watch the milk closely as you don't want it to boil over. This can happen quick!
- Pour the milk over the chocolate. Give the bowl a shake to make sure the chocolate is covered. Let sit for 2 minutes - this is required (set a timer). Stir gently to incorporate the milk and chocolate. Be patient here. This could take a few minutes. Once all the chocolate is melted and the ganache is smooth, place a piece of plastic wrap directly over the top of the ganache. This will eliminate a skin forming over the top. Pop in the fridge for one hour while you prepare and bake the cake.
For the Cake:
- Spray 2, 6" (15cm) cake pans with pan spray. Line each with a round of parchment, then spray again, this time making sure the sides are sprayed too. Set aside. Preheat oven to 350F (180C).
- While the oven is preheating, toast the hazelnuts. These will be used to decorate the cake. Check hazelnuts at 8 minutes, then again at 10. They can go from toasty to burned fast, so keep an eye on them. Set aside to cool, then rough chop.
- In a medium spouted mixing bowl, whisk the nut milk and apple cider vinegar. Set aside while you mix the dry ingredients.
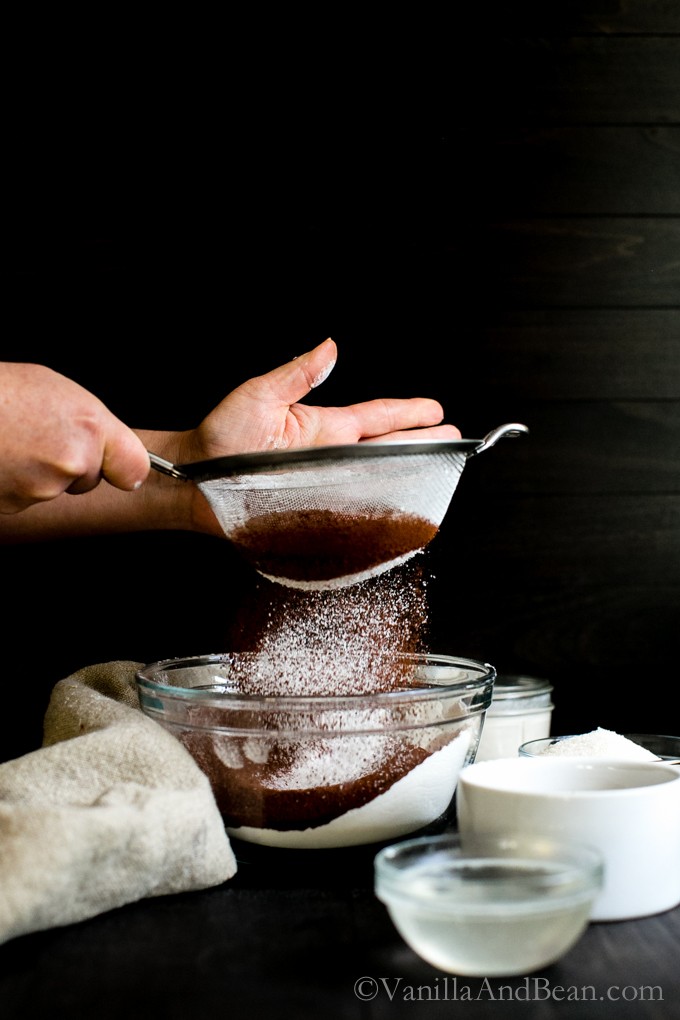
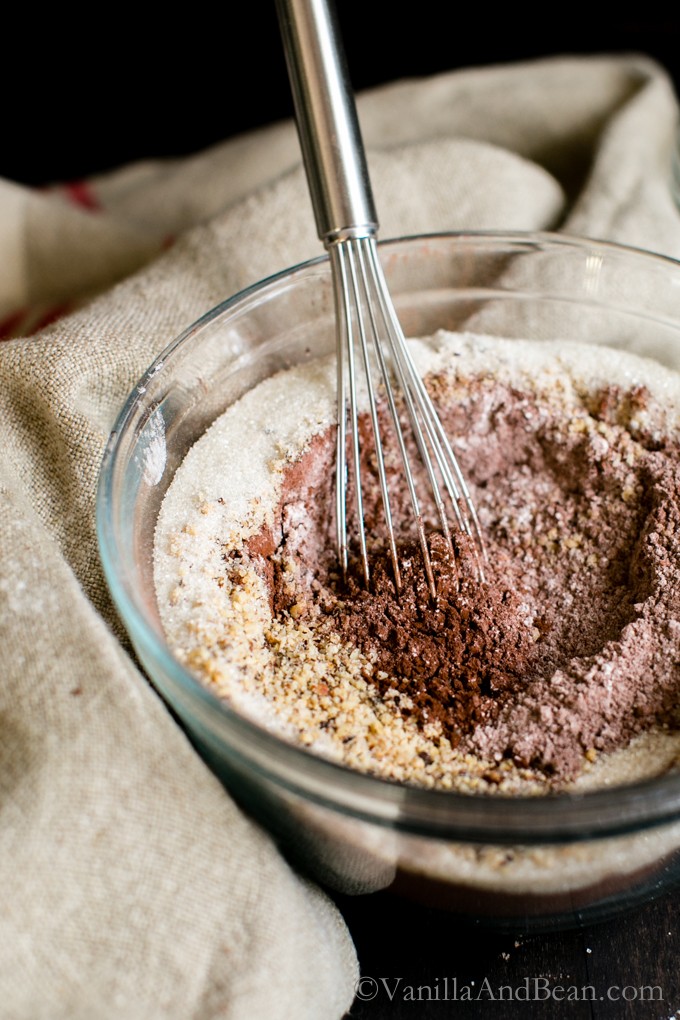
- In a large mixing bowl, sift the all-purpose and hazelnut flour, sugar, cocoa, cornstarch, baking soda, and salt. You'll have some chunky bits of hazelnuts left in the sifter, so toss those in with the batter. If there are any large chunks, do not incorporate those into the cake. Whisk thoroughly. Set aside.
- To the milk mixture, add the coconut oil, and extracts. Whisk. Pour the wet ingredients into the dry ingredients. Gently stir until there are no more dry bits showing. The mixture will be thick.
- Divide equally into the prepared baking pans. Use an offset spatula to smooth the batter.
- Bake for 38-40 minutes. A toothpick should come out clean, with only a few bits of dry batter attached when done. Cool in pans for 20 minutes. Turn out on to a cooling rack to cool completely before icing or storing. Keep the parchment on the bottoms of the cake on. If holding overnight or freezing, wrap tightly in plastic wrap. Double wrap if freezing (freeze up to two weeks).
For the Simple Syrup:
- In a small saucepan add the sugar and water. Bring to a boil and cook until the sugar is dissolved. Pour into a lidded container and stir in the hazelnut liqueur. Store in the refrigerator until ready to use.
Finish the Ganache:
- While the cake is cooling, remove the ganache from the refrigerator. With a whisk attachment on a stand mixer, whip ganache on medium-high speed for 3 - 4 minutes or until light and airy. You'll want to make sure it's not runny, but not so thick it's difficult to spread. Somewhere in-between. It will thicken quickly so keep an eye on it. At this point, depending on the temperature of your kitchen, you can leave the ganache on the counter until ready to use or pop it in the fridge. It needs to stay soft enough to spread, but you don't want it to start melting. Be patient here. Ganache can be fussy with regards to temperature, but it's worth the effort. If at anytime the ganache starts to get too warm and begins to get too soft to work with, pop it back in the refrigerator for 15 minutes, (this includes the entire cake if needed) then carry on.
To Assemble:
- Find a piece of cardboard and cut it to 6" (15cm) round. This will help support the cake while putting it together. Have some parchment ready to set the sliced layers on. Be sure to handle the cake gently, supporting it with a spatula as you move it around. For a two or four layer cake, gently slice off the dome of each layer using a serrated knife. A cake stand is helpful here, turning as you let the knife do the work. Cutting off the tops yields a flat top cake. Snack on the cutoffs or freeze them to make or cake pops later.
- Slice each half of cake into two equal rounds using a serrated knife. Set aside on parchment paper. Save one of the parchment-lined pieces for the top layer, bottom up. Carefully, take the bottom of one of the rounds and place it upside down on the cardboard support. Remove the parchment. Brush the top with the simple syrup, covering the entire top. I do this twice for each layer. Smooth about 4 Tbs of ganache over the layer. Don't use more else there may not be enough icing to finish the cake. Repeat with each layer until the top layer is placed on.
- After placing the top layer of cake, put your hand, flat, on the top of the cake. Press gently, yet firmly, down making sure the cake is symmetrical and the layers are aligned. Make adjustments now if needed. At this point, the ganache is probably warming up and your layers may seem to be sliding. Pop the entire cake in the fridge for about 15 minutes so the ganache can firm up again.
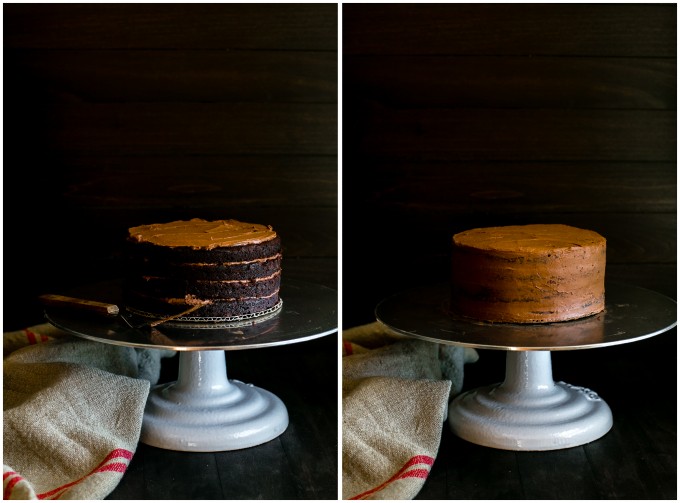
- Brush two coats of simple syrup over the top layer. You are now ready for the crumb coat which is a thin base layer of ganache that is the foundation of the final coat of ganache. Place about 1/2 C ganache on top on the cake. Begin working the ganache using an offset spatula to smooth and move the ganache over the sides of the cake. The crumb coat should be thin enough to see the cake layers on sides and top. Refrigerate for 30 minutes.
- For the final coat, add a heaping scoop of ganache on top of the cake. Start smoothing out the top of the cake first then moving to the sides. Use a pallet knife to smooth the ganache around all sides of the cake, stopping to patch areas that need more.
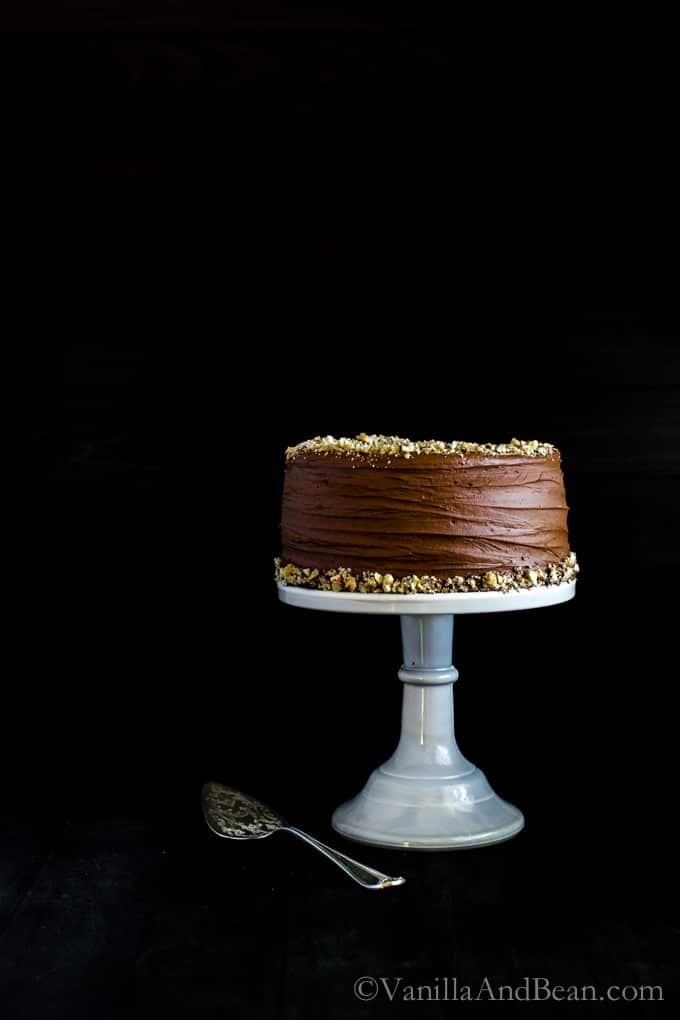
- Finish the cake by sprinkling the rough chopped toasted hazelnuts over the top and on the sides.
- Transfer the cake to a cake stand by sliding a large offset spatula under the cake. Very gently, lift the cake and place it on a cake stand. Gently slide the offset spatula out from under the cake. To cut the cake, dip a large knife into very hot water. Wipe it dry then cut the cake. Do this for each cut you make for flawless cuts. Serve immediately.
- To store the cake, place plastic wrap directly on the exposed cake, then cover the top and other sides with a cake cover or plastic wrap. Store in the refrigerator if warm in the kitchen, or on the counter if the kitchen is cooler. But always serve at room temperature for a more pleasant mouthfeel. Store for up to three days.
Notes
Nutrition
Nutrition is provided as a courtesy and is an estimate. If this information is important to you, please have it verified independently.
Made it? Leave a comment below!
The most helpful comment may include recipe rating, feedback, any modifications or helping other commentors.



Delicious! Made this for a vegan colleague’s birthday and the entire office raved about it. made this in 20cm pans and the ganache was plenty for a four layer cake. I used a mix of amaretto and hazelnut syrup because that’s what I had. I’ll probably make this again soon for a different occasion and will try it with some tonka bean instead of chocolate extract (I resisted temptation this time). I think that’ll work very well too.
Dear Traci, this recipe looks absolutely delicious. I want to make it for my birthday and was wondering if you know if it’s possible to make the whole cake with frosting two weeks in advance and freeze it completely? And then perhaps set it in the refrigerator a day before my b-day and let it cool to room temperature. And add the nuts decoration after that. Thanks in advance.
Hi Elise! Thank you for your note. I worry that a cake assembled then stored in the freezer wouldn’t be as tasty and the texture would be impacted. I’d recommend making the cake layers, wrapping them individually tightly in plastic wrap, then freezing. The ganache could be made a day or two ahead, setting it at room temperature to soften before icing the cake. I hope this helps, Elise!
I was afraid so…Thanks for the info! I’ll do what you suggested then :)