
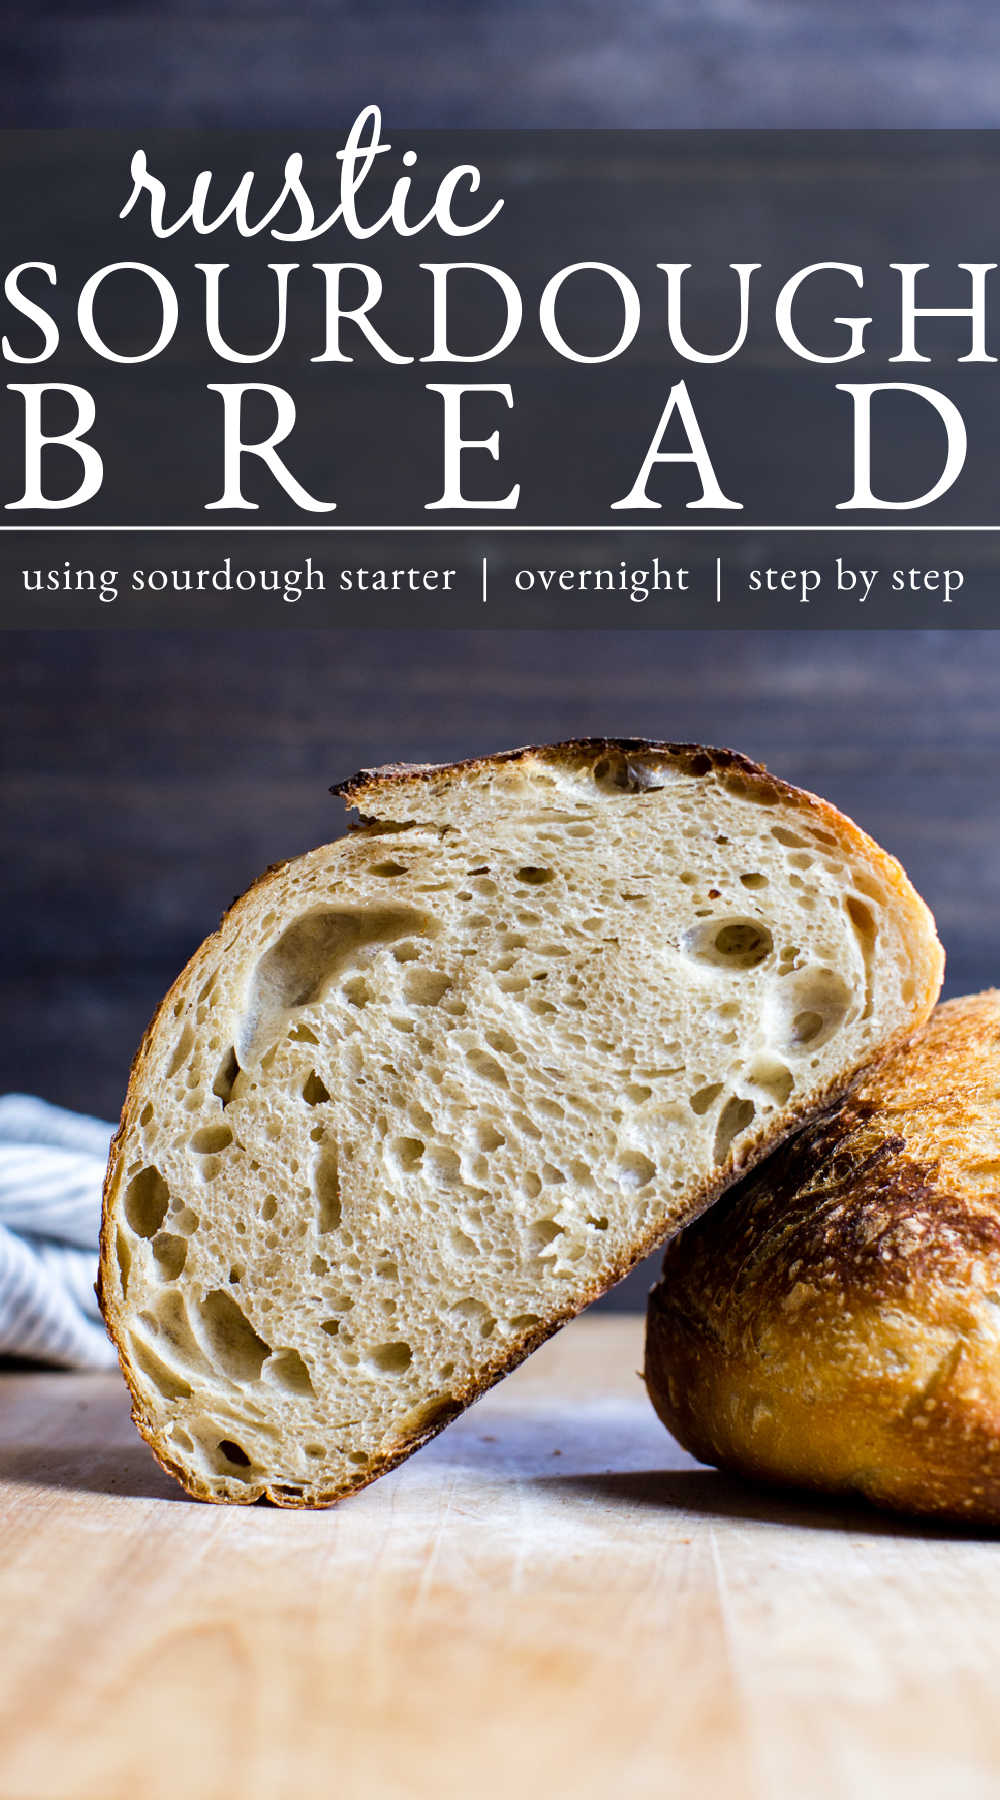
There’s nothing quite like the aroma of freshly baked bread wafting through the house, especially when it’s Rustic Sourdough Bread made with Sourdough Bread Starter.
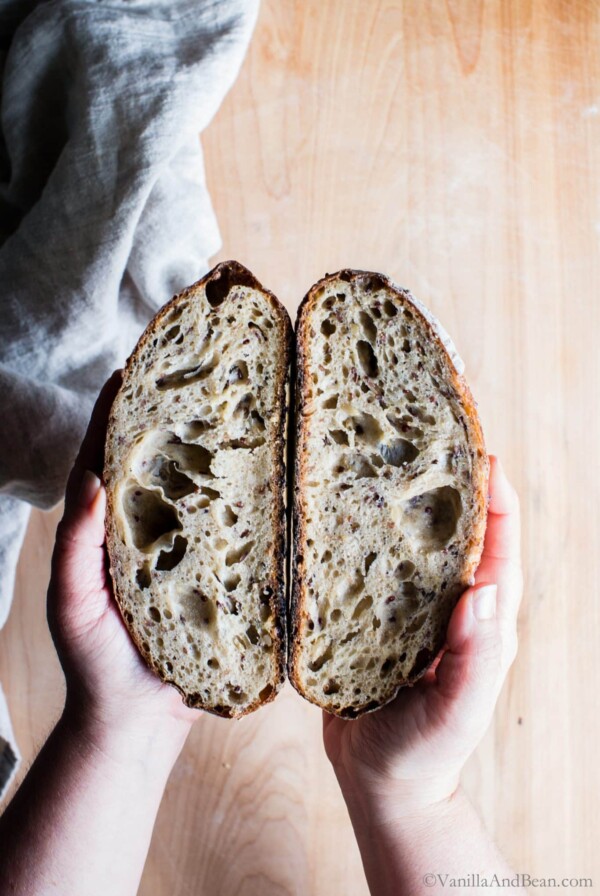
This recipe is 25% whole wheat with a touch of maple syrup, giving this rustic bread a soft, chewy crumb, and earthy flavor. Made with 5 simple ingredients, it has a long overnight rise with little hands-on mixing, shaping, and baking time.
⭐️⭐️⭐️⭐️⭐️ Review: “This recipe was very easy to follow, gave me more understanding of the sourdough process and beautiful success.” ~ Kimberly
You will receive recipes and kitchen tips, along with information about our partners and offerings. For more details, review the Vanilla And Bean privacy policy.
A Rustic Sourdough Bread Recipe Using Starter
Mmmmmm can you smell it? When sourdough is in the oven, it reminds me of those early mornings when I was in pastry school. Good thing we can recreate that aroma at home. Fresh-baked homemade sourdough bread, makes the house smell like a bakery!
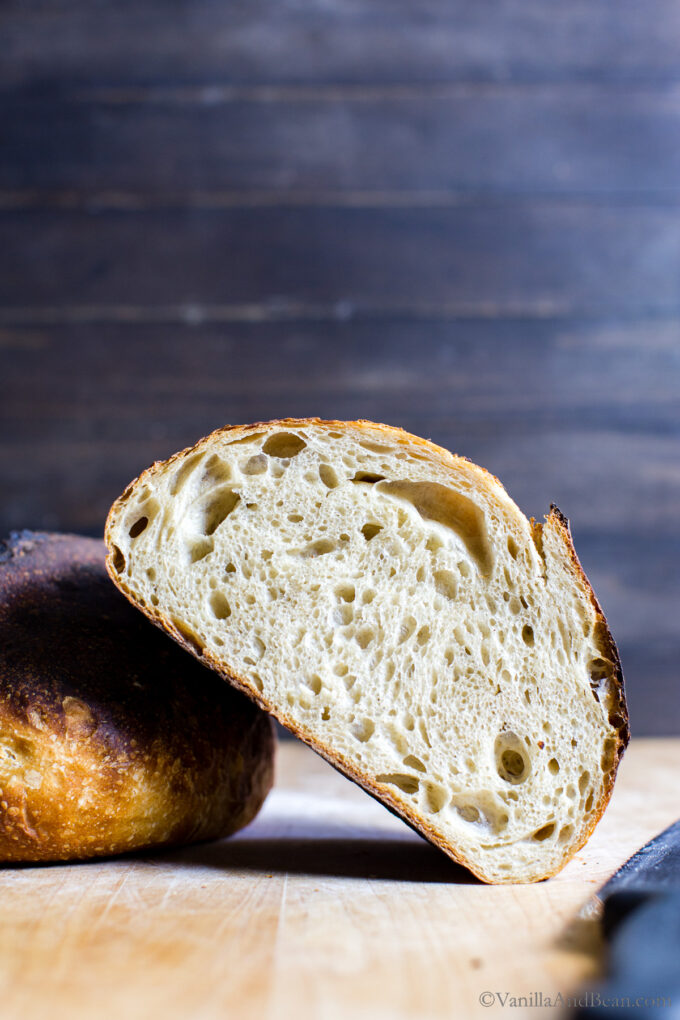
Like my Multigrain Sourdough Bread, this rustic sourdough recipe is perfect for sandwiches and toast, but also for Sourdough Croutons, or Garlic Butter Croutons, as a base for tartines and all your soup dunking needs. It’s simple to make too, with only 4 main ingredients, including a sourdough starter.
This Rustic Bread Is
- soft and chewy on the inside, crusty on the outside
- earthy and with a hint of sour
- 25% whole wheat
- made with a long overnight rise
If you make homemade sourdough recipes, you’ll enjoy this soft interior, crusty exterior sourdough recipe.
________________________
How to Make Homemade Rustic Sourdough Bread
step by step
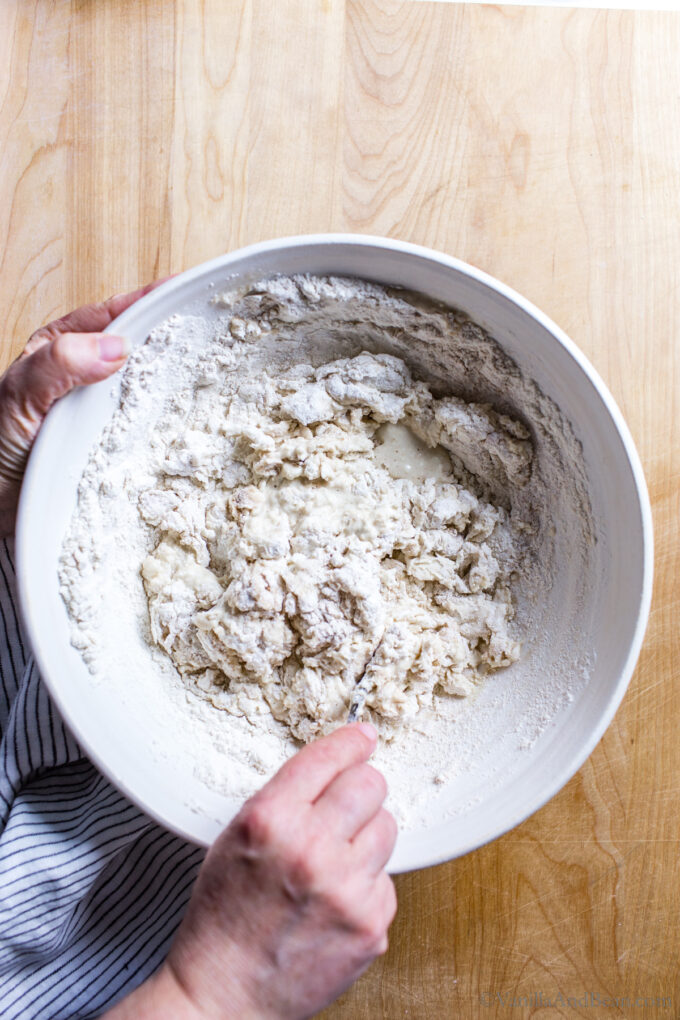
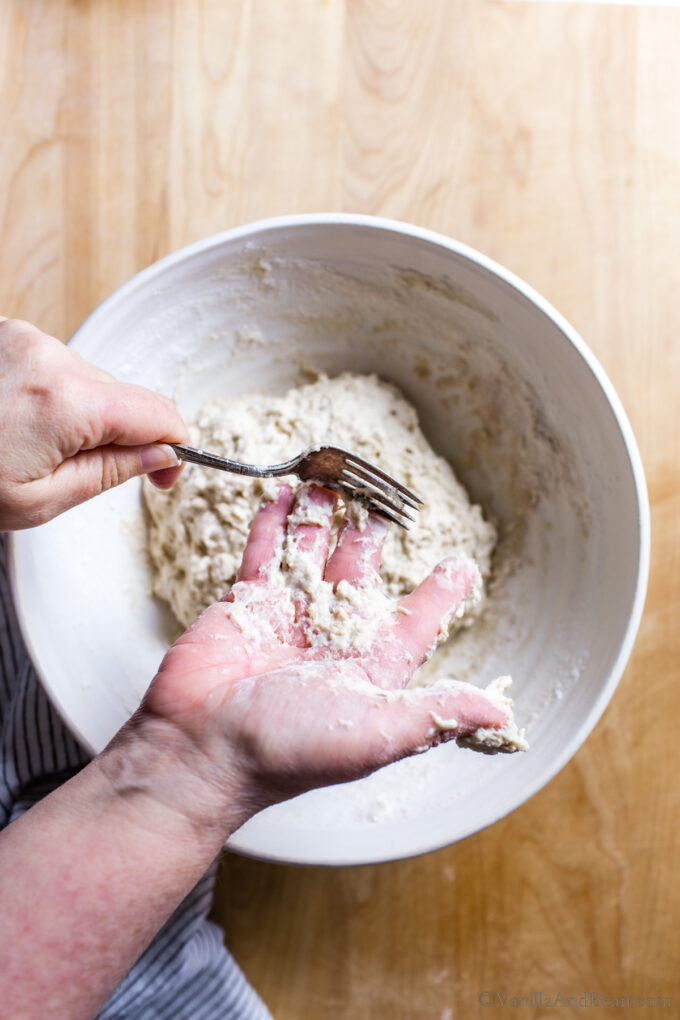
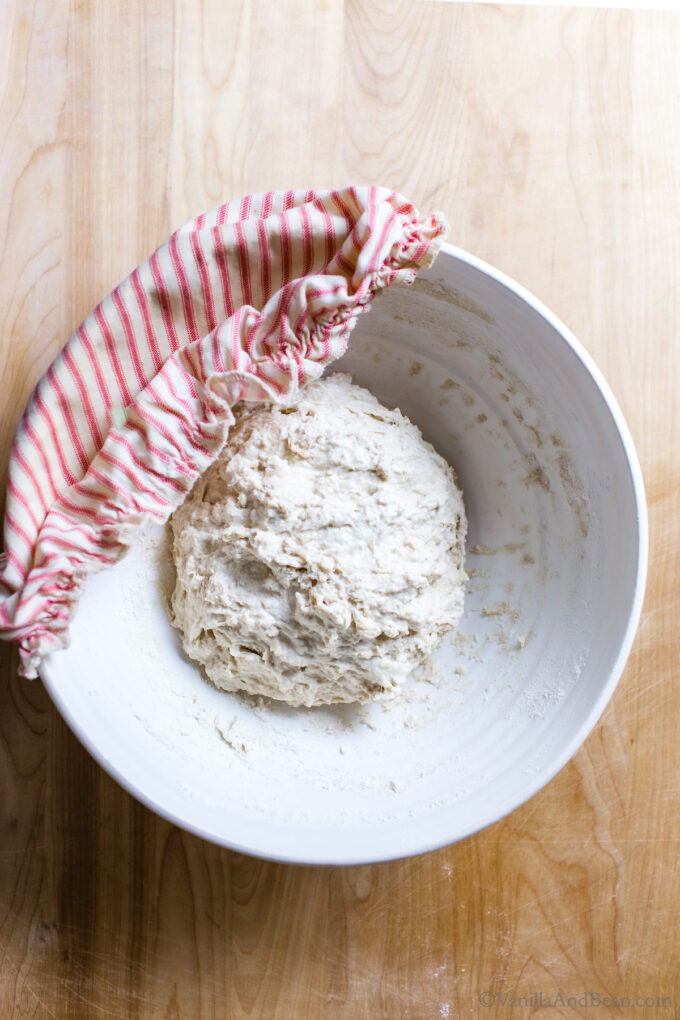
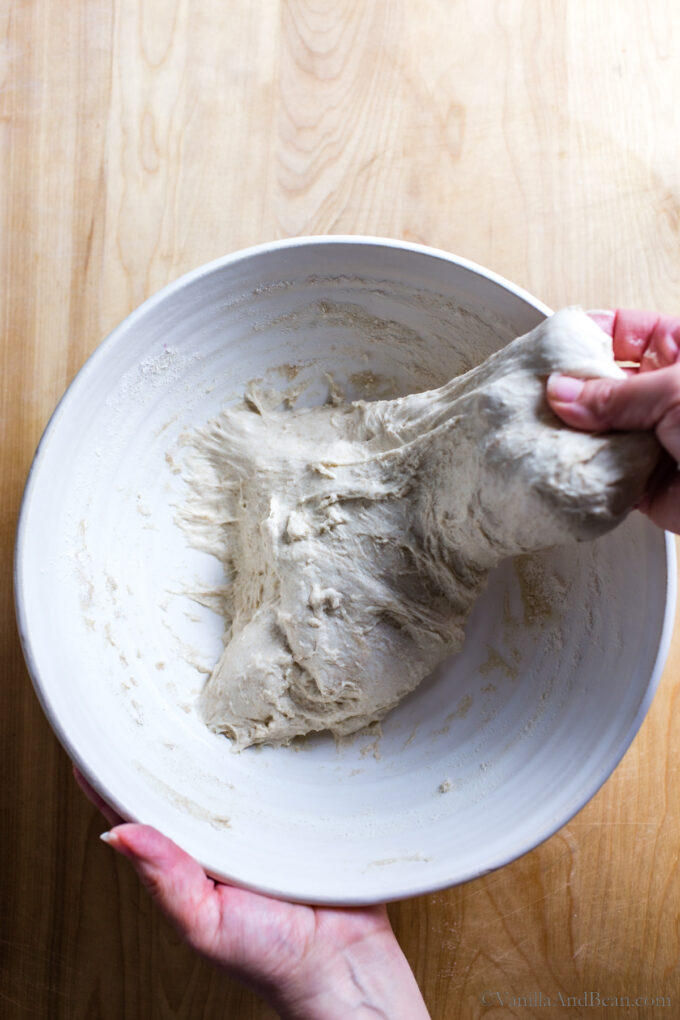
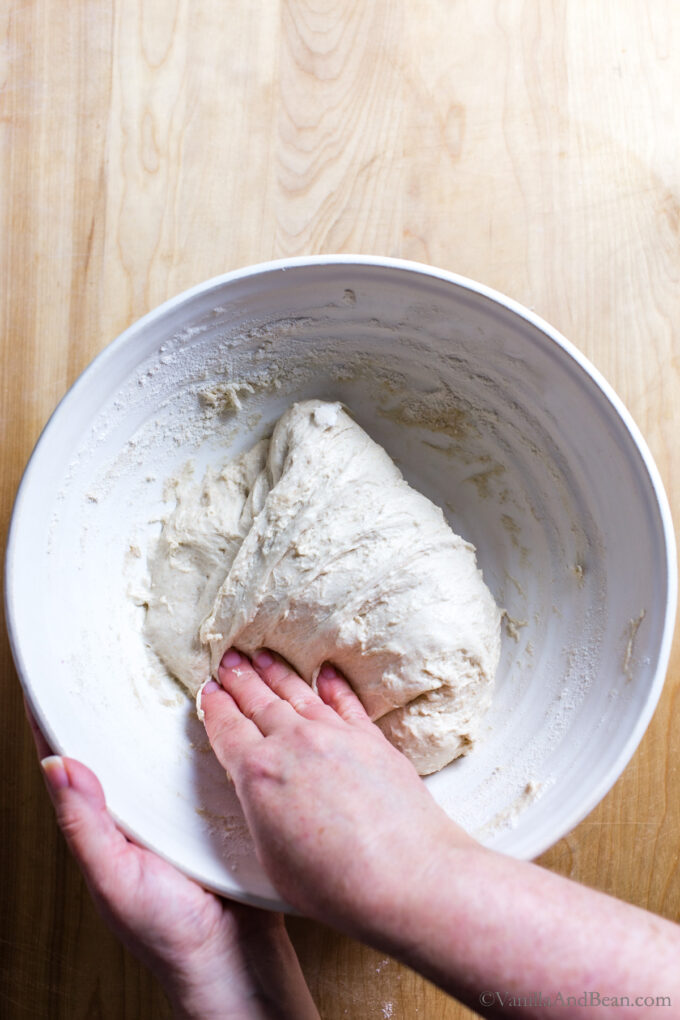
Making sourdough bread is pretty straightforward but it takes a bit of planning and practice. However, like all sourdough bread, hands on time is short while hands off time is longer for fermentation, proofing, and baking. I always seem to think about it more than the time it actually takes to make bread.
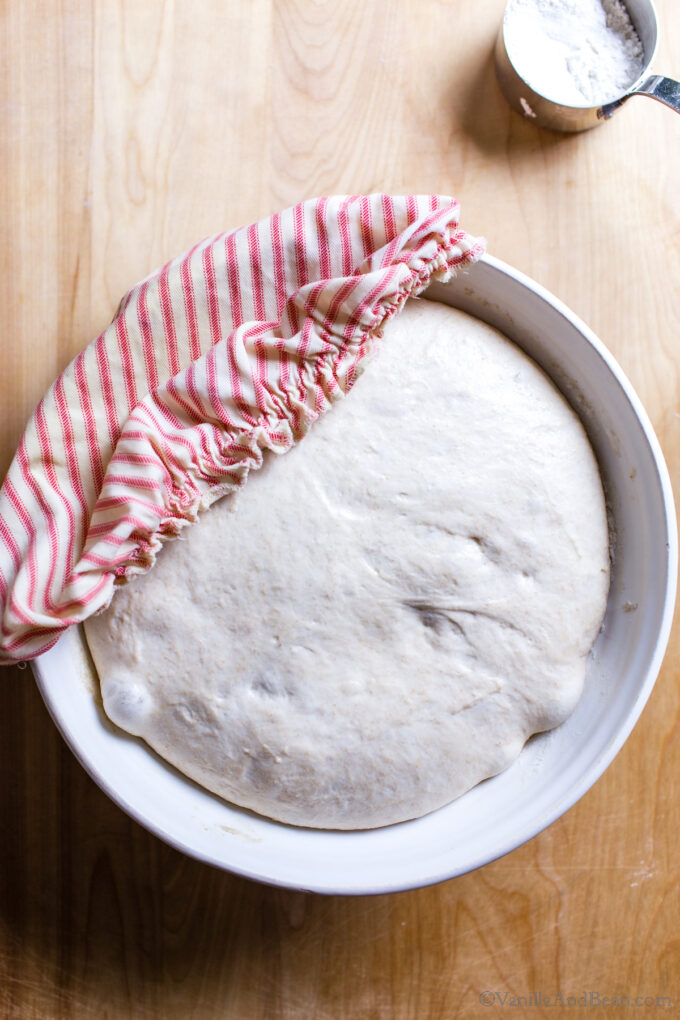
How To Tell When Sourdough Has Risen Enough
It takes a bit of practice to tell when the dough has risen enough. I use a mixing bowl rather than a straight sided transparent vessel for fermenting sourdough, so, I look for other cues to tell when the dough is ready for shaping.
Bulk Fermented (first rise) Dough is Ready When
- it no longer looks or feels dense
- is jiggly when the bowl is wiggled – really jiggly!
- has about doubled in size, or a little more
- you may ssee a few large bubbles on the surface of the dough
The Best Vessel(s) to Bake Sourdough Bread In
When baking sourdough bread, consider how you’ll shape the dough. This will guide your choice in baking vessel. I use two different vessels to bake sourdough bread. One is a 10 inch cast iron skillet with deep dish skillet for a lid and the other, a round 7 quart Staub Dutch oven. I recommend either or both.
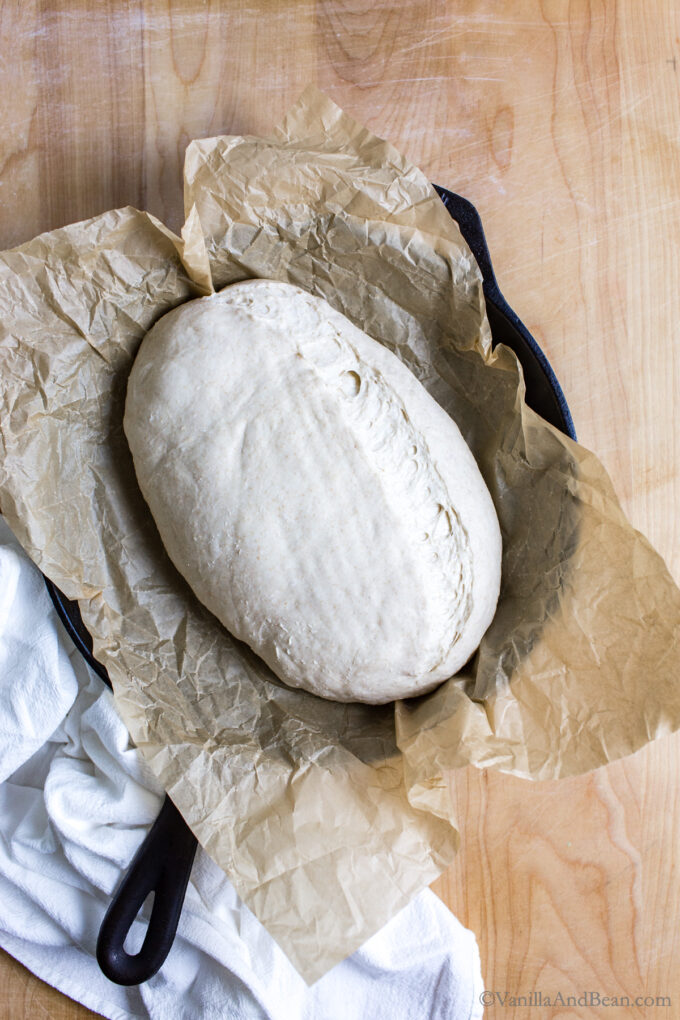
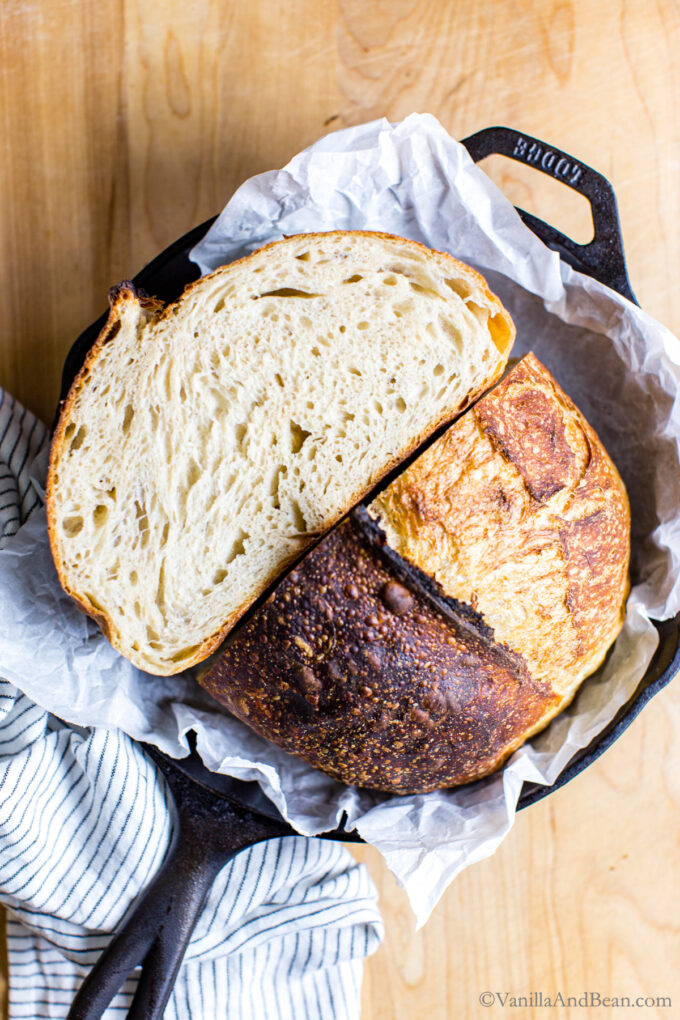
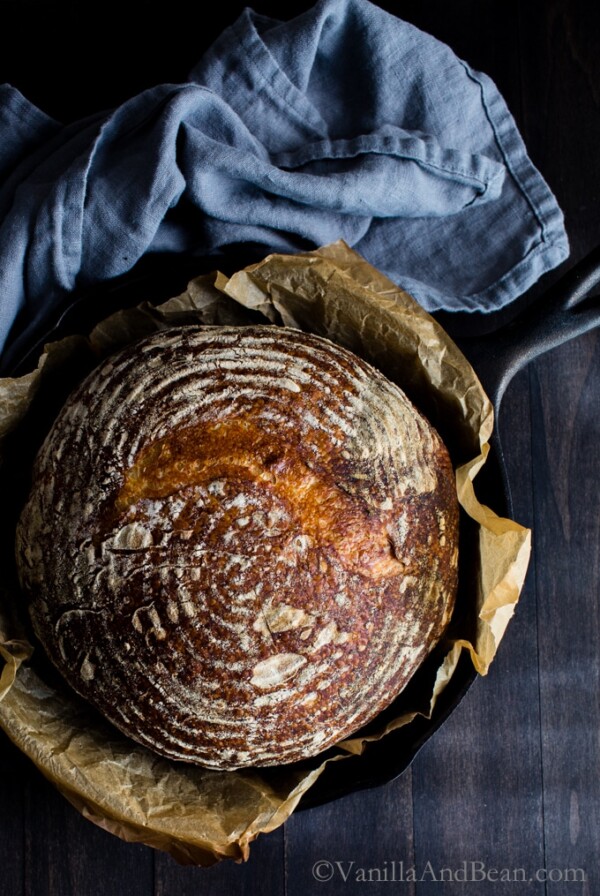
A boule, or round shape, will fit in either vessel, but if you’re shaping a batard, you’ll need to use either a 10 inch cast iron skillet (pictured in this blog post), oval, 7 quart Dutch oven, or a cloche style baker that will accommodate the dough’s longer shape.
Got sourdough discard? Use it in other quicker to make sourdough recipes! Check out my collection of Sourdough Discard Recipes.
Traci’s Tips
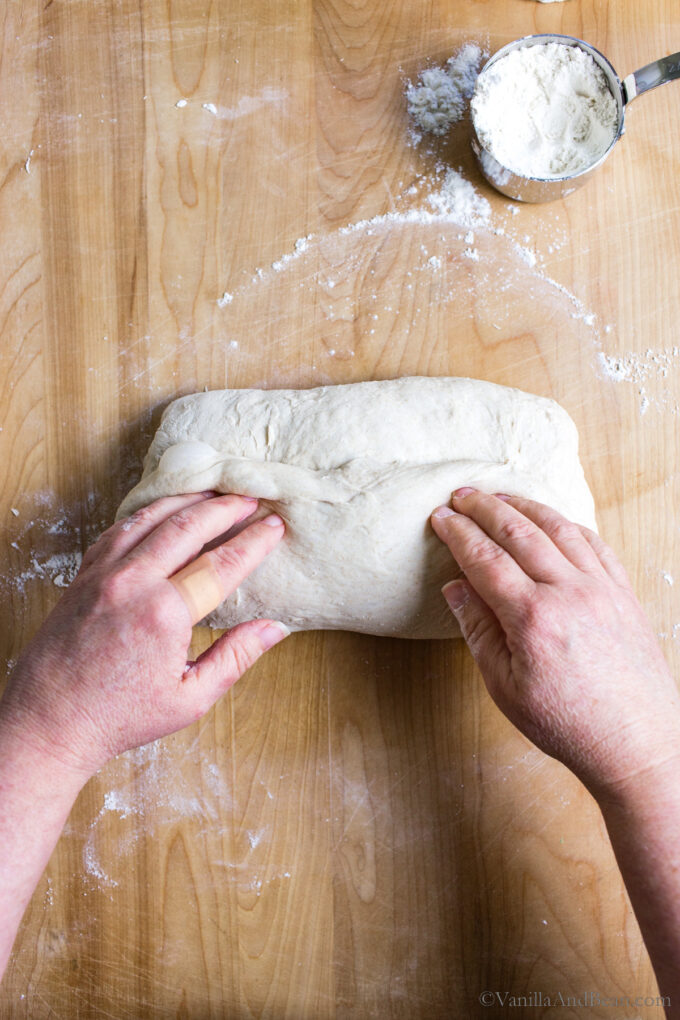
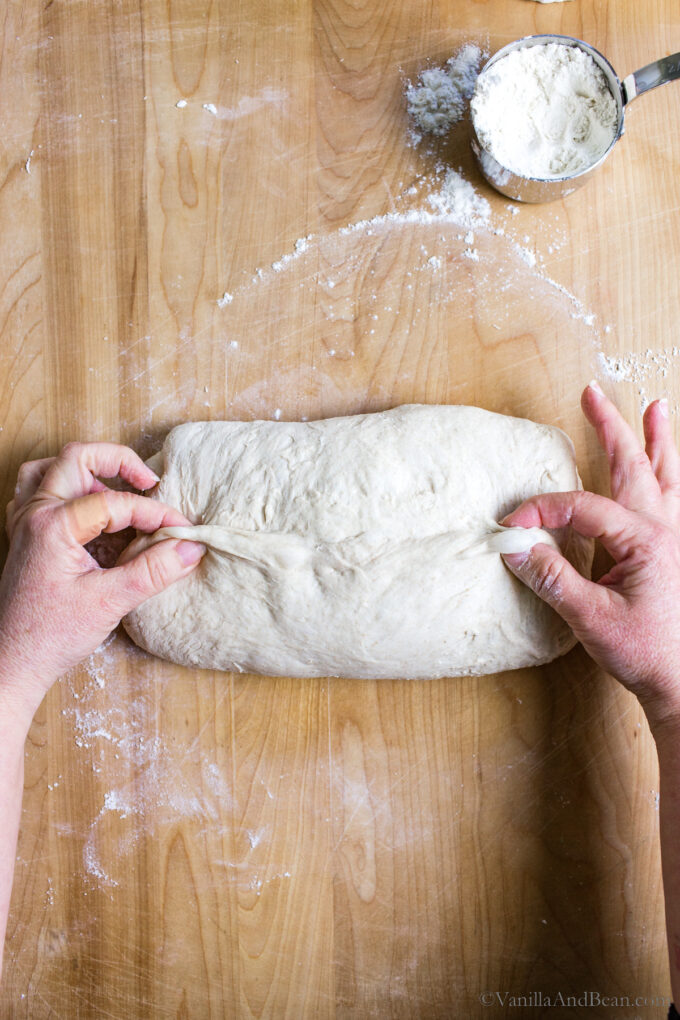
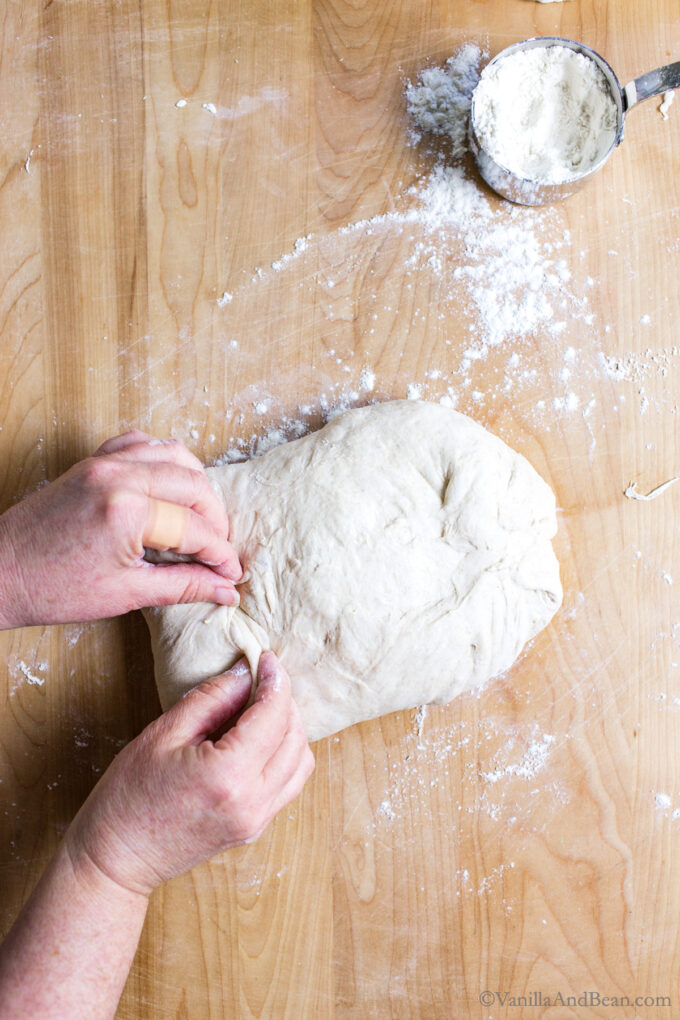
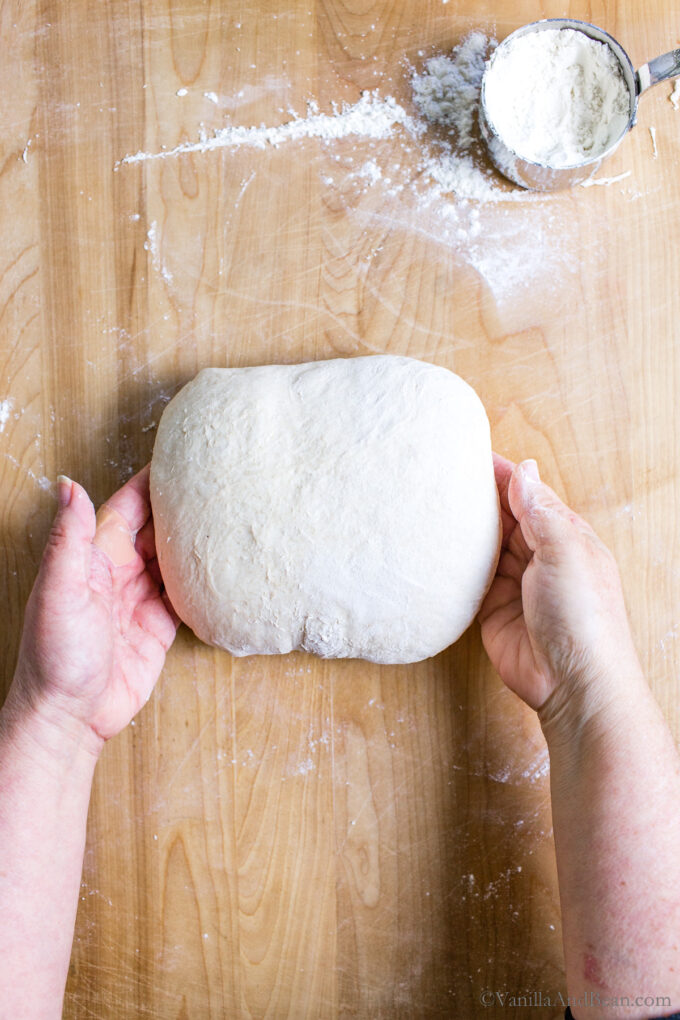
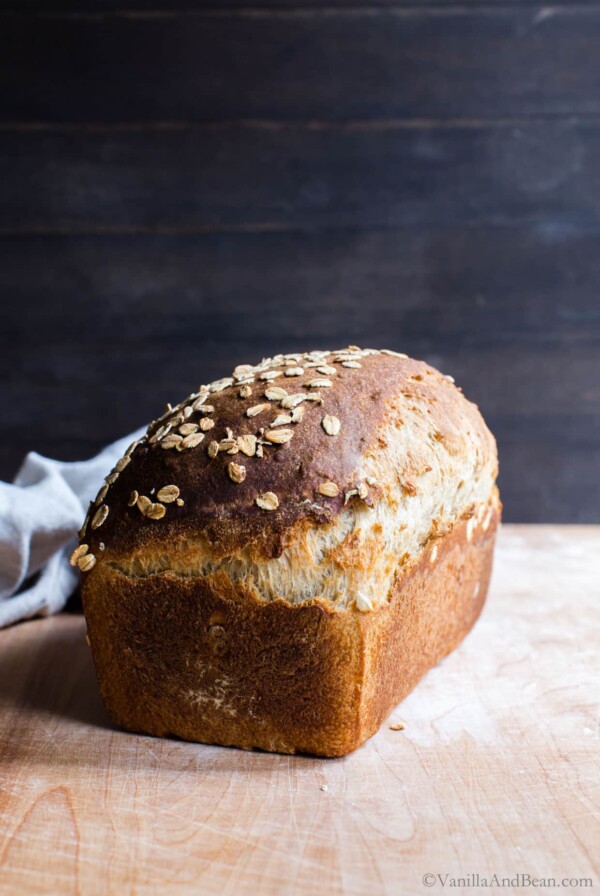
- Shaping: Shaping a batard has presented me with more shaping challenges than shaping a boule or sandwich bread, especially if the dough is of higher hydration, like this loaf. Also, there are multiple ways to shape a batard from easy to more involved. I’ve taken the easier route here and shape this loaf similar to my Maple Oat Sourdough Sandwich Bread. It’s more straightforward and easier to get a taught skin than a fold and roll method.
- Crust too Dark?: If the sourdough is getting too dark after the lid is removed, protect the crust by placing a tented piece of foil over the top of the loaf. To protect the bottom from getting too dark, place a sheet pan on the rack under the rack your baking vessel is setting on.
5 Ingredient Rustic Sourdough Bread
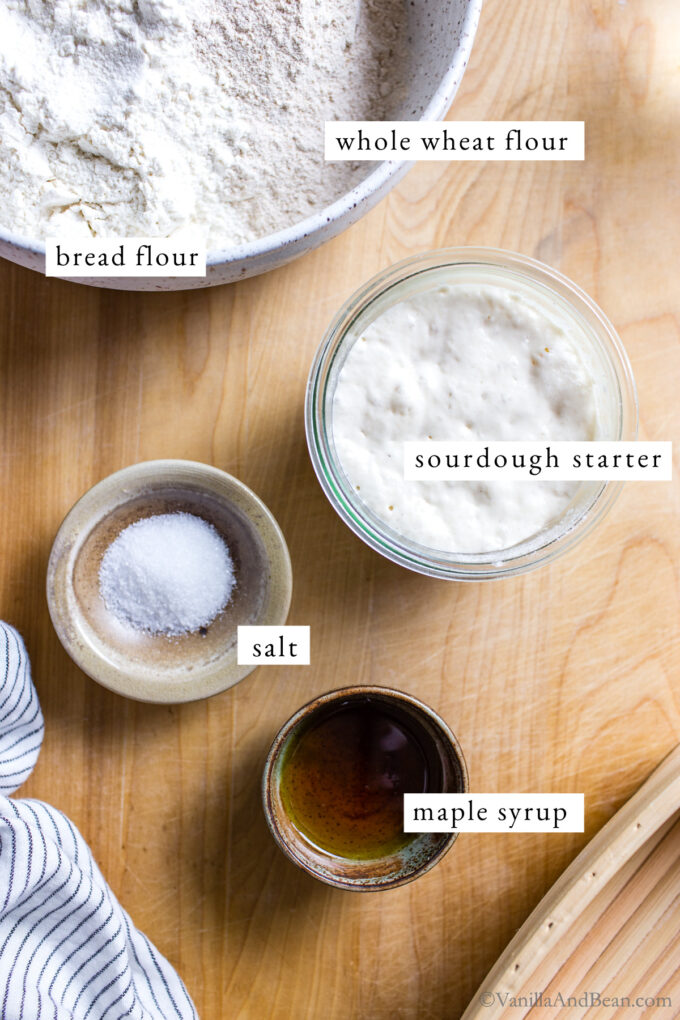
Ingredients
- 1/2 cup (100 grams) Sourdough Starter, 100% hydration, previously feed and bubbly
- 1 1/2 cup + 1 tablespoon (350 grams) Water, 80 Fahrenheit (26 Celcius)* see note below for a lower hydration tip (recommended for new SD bakers)
- 2 tablespoons (40 grams) Maple Syrup, or honey
- 1/2 C + 2 tablespoons (100 grams) Whole Wheat Flour
- 2 1/2 cups + 1 tablespoon (375 grams) Unbleached Bread Flour
- 1 1/2 teaspoons (13 grams) Fine Sea Salt
Instructions
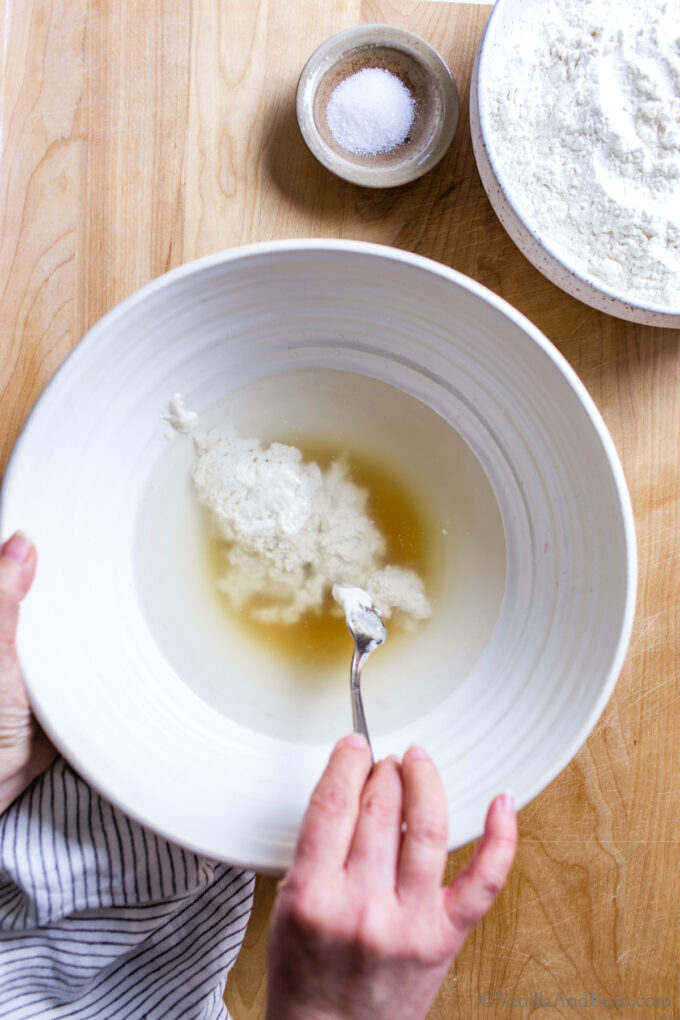
- Mix the Dough: In the evening, whisk the starter, water, and maple syrup together in a large bowl with a fork. Add the flours and salt. First, mix with a fork, the dough will be shaggy. Then mix by hand, mixing, folding and pushing the dough until the flour is fully incorporated and no dry bits are present. It will seem dry at first, but the more you work the dough, the more hydrated it will become. The dough will become moist and sticky and it will stick to your fingers as you go. Do this for about 3-4 minutes. Use the fork to scrape off the dough on your fingers as much as you can. Cover bowl with a damp tea towel. Set a timer for for 45 minutes and allow the dough to rest for 45 minutes. Now is a good time to feed/refresh your starter.
- Fold the Dough: After the dough has rested, fold the dough. To do this, grab a portion of the dough while it remains in the bowl, stretch it up and fold it over, pressing your fingertips into the center of the dough. You'll notice the dough is sticky and stretchy at this point. Repeat, until you've worked your way around the dough. This is the first fold, and you can stop here and begin bulk fermentation, but If time permits, and optimally, you'll want to repeat at least one to two more times as it improves the final dough's structure and crumb. Allow for about 45 minutes between folds.
- Bulk Fermentation (first rise): After the last fold, cover the bowl with two damp towels and allow to rise overnight at room temperature (see note** on optionally retarding the dough). This will take about 8-10 hours at 70 Fahrenheit (21 Celsius), but in a cooler kitchen the dough can take up to 12-14 hours to rise – this is the norm in my chilly kitchen at 68 Fahrenheit (18 Celsius). Use the time as a guide and not a determining factor. The dough is ready when it no longer looks dense, is jiggly when the bowl is wiggled, and has about doubled in size. You may see some bubbles on top of the dough.
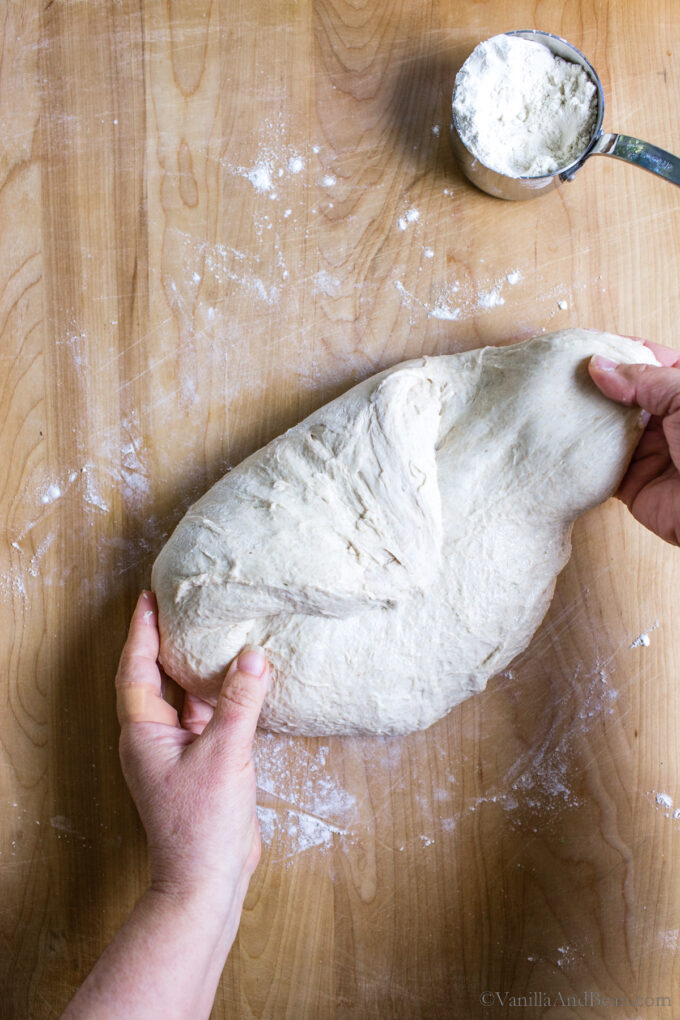
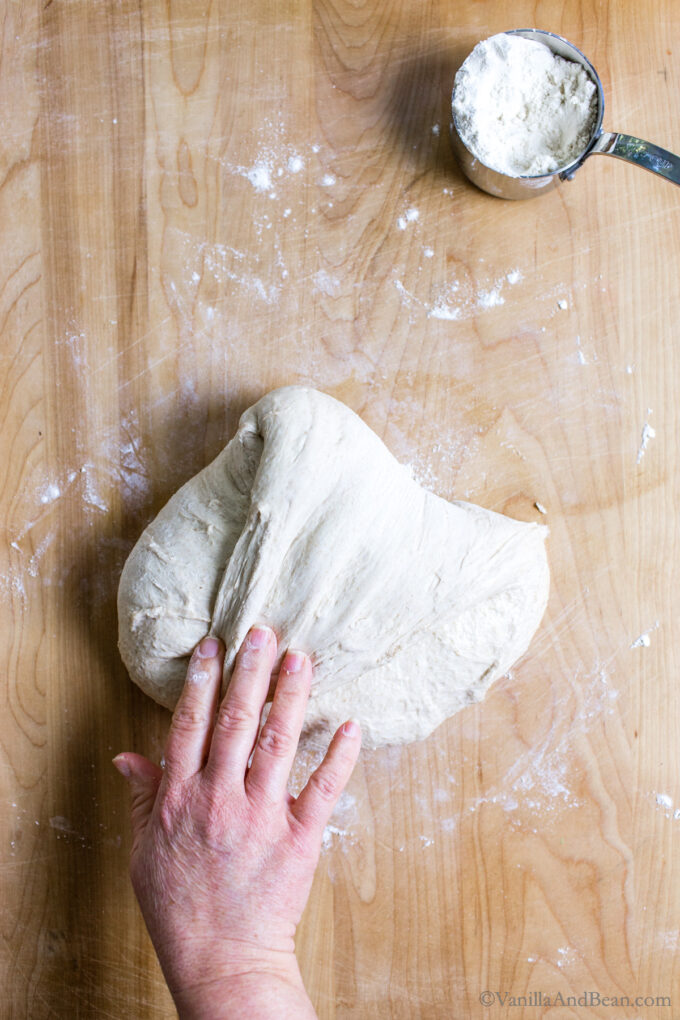
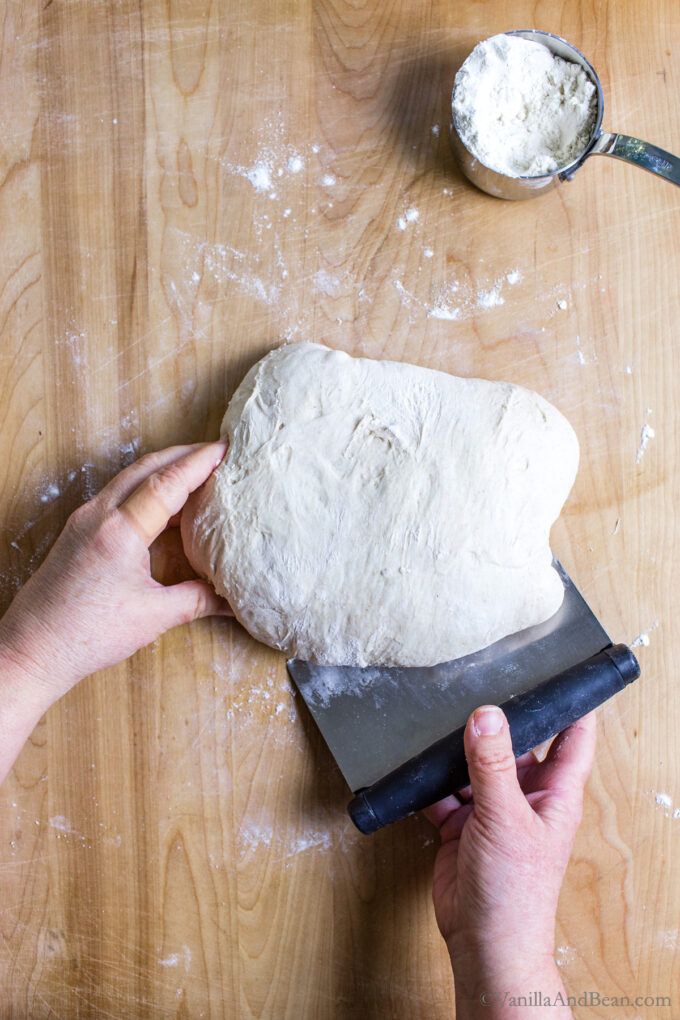
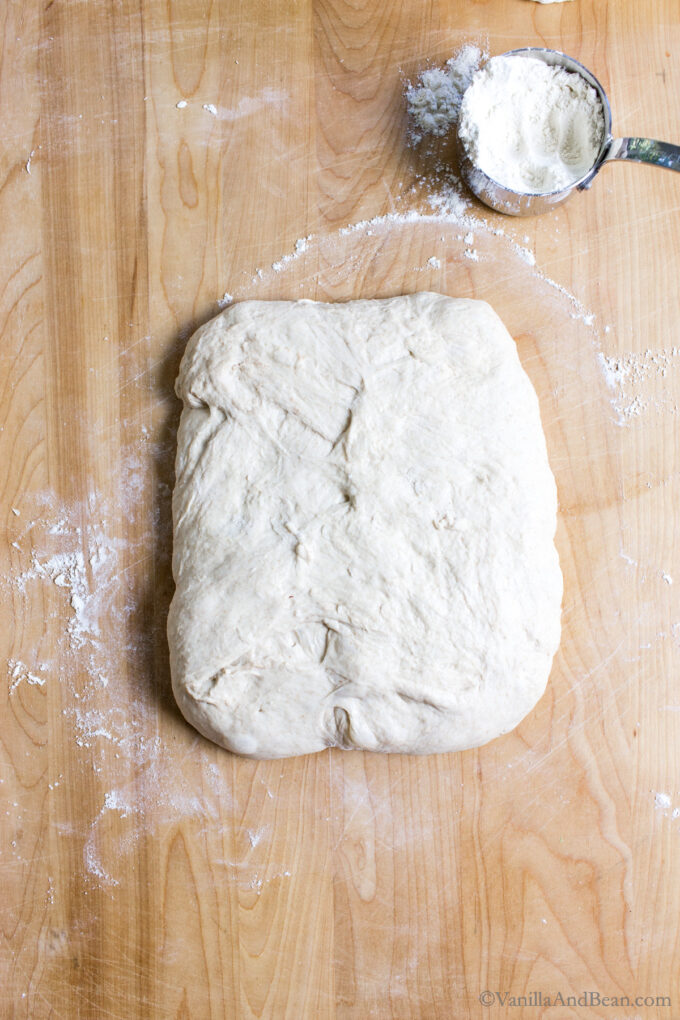
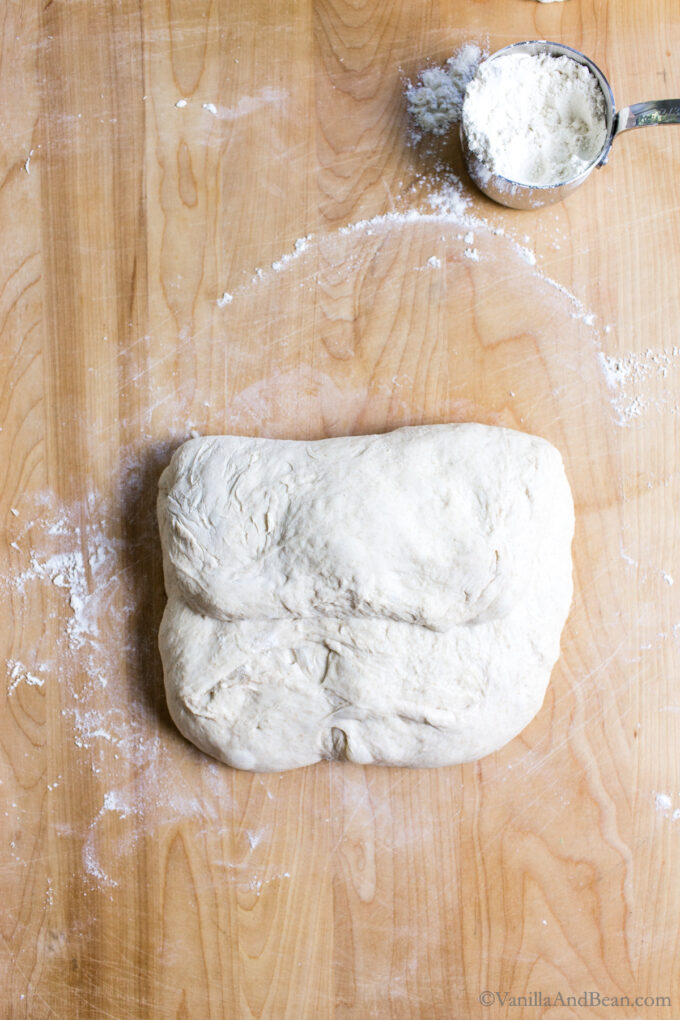
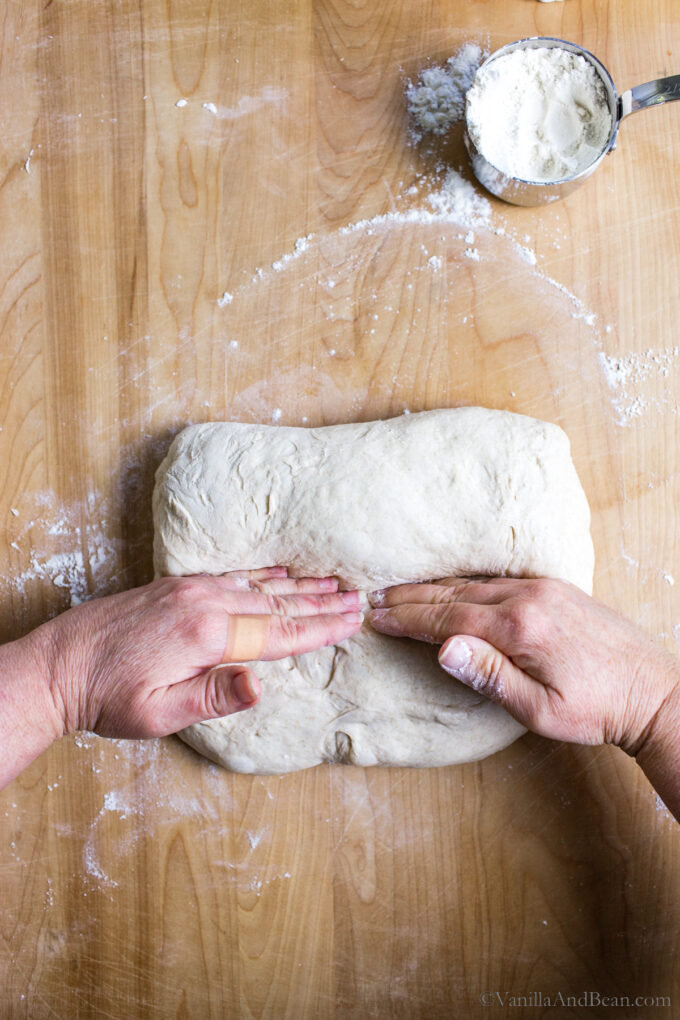
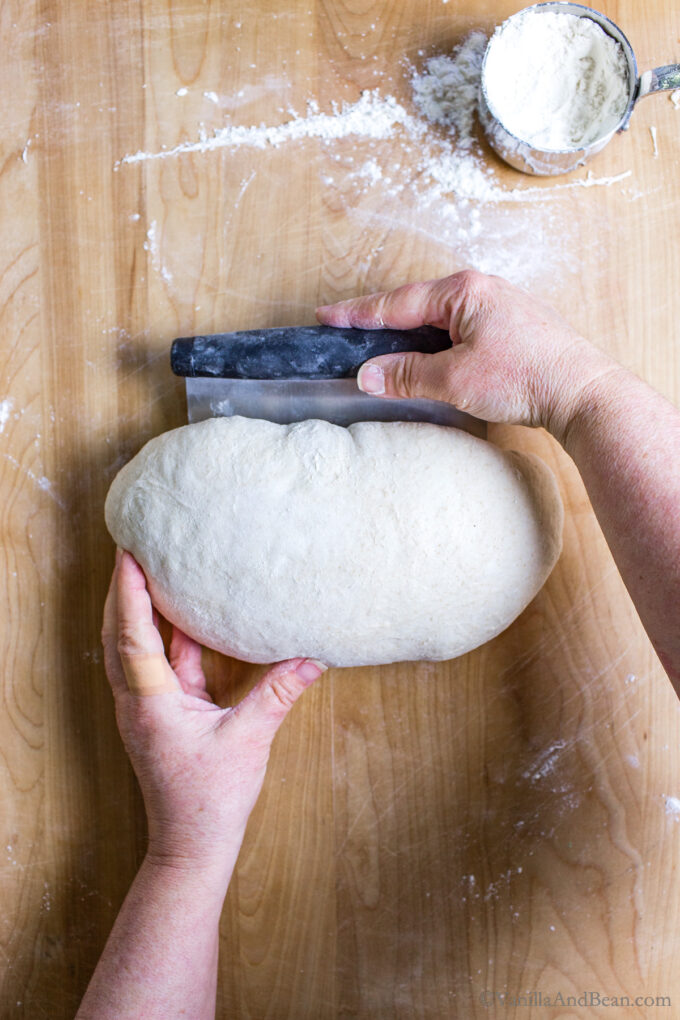
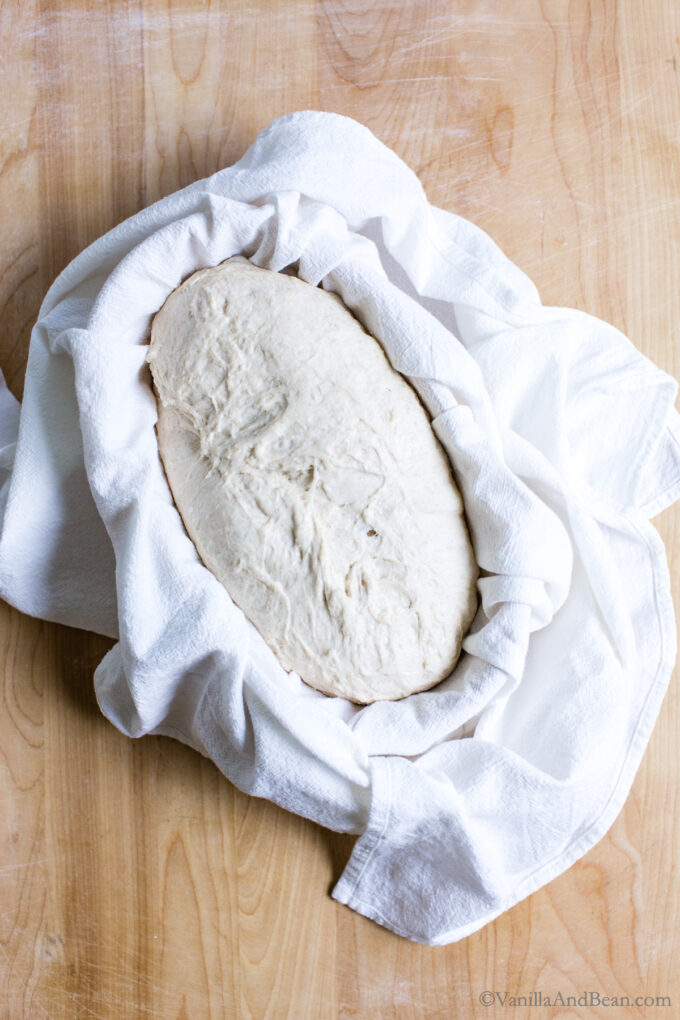
- Shape the Dough: In the morning, and with damp fingertips, coax the dough into a floured work-surface. Pre Shape: With moist fingers, take a portion of the dough, gently stretch it towards you and fold it over towards the center, pressing it down gently. Repeat this process until you work all the way around the dough. Using a bench scraper flip the dough over, cover with a tea towel rest the dough for about 15-20 minutes. Meanwhile, line a 10 inch oval banneton with a flour sack (as seen in the photos) or you can lightly dust the banneton with flour (I like to dust with white rice flour). Alternatively, you can use a 9 inch round banneton or bowl, following my Multigrain Sourdough Bread for shaping.Shape the Dough: Flour the work surface and using a bench scraper flip the dough back over. Use the photos in the blog post to help guide shaping. Gently shape the dough into a rough rectangle by gently dimpling the dough (think focaccia), to roughly 6-7 inches wide and 8-9 inches long. Fold the short side 2/3 over onto itself towards you and crease it firmly using the pinky side of your hand. Fold the bottom 1/3 piece up towards the crease and pinch the seam closed. Fold in the ends, coming in about an 3/4 inch – 1 inch and pinch the seam closed. Flip the bread over, seam sides down and rock it back and fourth a bit and gently fluff the ends in. Cover with a tea towel and allow the dough to rest for about 5-10 minutes. Using lightly floured hands and/or your bench scraper, cup the back of the dough and gently pull it towards you as needed until the surface is taught. Gently "fluff" the ends in again if needed to fit into the banneton. If not using a flour sack to line the banneton, sprinkle flour over the surface of the dough and smooth it around with the palm of your hand, covering the top and sides of the dough. Once the surface of the dough is taut and with one swift move, use the bench scraper to scoop the dough up and, place the dough into the prepared banneton – bottom side up.
- Proof the Dough (second rise): Cover the banneton with a damp tea towel and let rest for 30 minutes to 45 minutes. The dough is ready when it looks puffy and has risen slightly but has not doubled in size. Get Ready to Bake: Preheat the oven to 475 Fahrenheit (245 Celsius). Arrange an oven rack in the center of the oven and place a sheet pan on the bottom rack. This helps prevent a *too* dark bottom. Cut a sheet of parchment paper large enough to fit the size of your lidded baking vessel, I use a 10 Inch Cast Iron Skillet with Deep Dish Skillet for a lid. A 7 quart Dutch oven works well for a boule shape. Crumble the parchment paper, then uncrumble the parchment, and smooth it open for easier handling.
- Score: To turn the dough out of the banneton, place the parchment over the dough and invert the banneton to release onto the parchment. Using the tip of a lame or a razor blade, score the dough about 1/2 inch (8 millimeters) deep, off center, in an gentle arch shape the length of the dough or any way you like. Use the parchment to transfer the dough to the baking vessel and place the lid on the vessel.
- Bake the Dough: Place the vessel into the oven, on the center rack, and bake for 30 minutes at 475 Fahrenheit (245 Celsius) with the lid on. Remove the lid, reduce the oven temperature to 450 Fahrenheit (232 Celsius) and continue baking for another 10-15 minutes tenting the loaf with foil if it starts getting too dark (my ear always gets extra dark).The bread is ready when the internal temperature of the loaf is between 190 – 205 Fahrenheit (87 – 96 Celsius) on a digital food thermometer. When done, transfer the bread to a wire rack. Cool completely before slicing.
- Storage Notes: Sourdough is best consumed on the same day it's baked, but it lasts for 3-4 days stored at room temperature. Store at room temperature cut side down.This bread freezes beautifully. Store baked bread, sliced, in a freezer bag either whole or sliced for up to two weeks. Thaw at room temperature. This bread can go straight from freezer to toaster to make the most delicious toast!
Notes
Nutrition
Nutrition is provided as a courtesy and is an estimate. If this information is important to you, please have it verified independently.
Made it? Leave a comment below!
The most helpful comment may include recipe rating, feedback, any modifications or helping other commentors.



OMG! This is the best sourdough bread I have ever made! I did reduce the water to 1 1/4c, but that is it! I am sending this recipe to everyone I know!!!
Hi Jen! Thank you for your note and giving a new sourdough recipe a go! Thrilled to hear you’re enjoying it and, thank you for sharing the recipe!
This recipe is foolproof! I just got back into baking bread and it’s such a great recipe. I will try to make it with a lower gluten Einkorn flour and see how it turns out. I already substitute the Einkorn whole wheat and it works perfectly
Love hearing this, Marta! Thank you for your note and giving the sourdough a go! I’ve gotta get my hands on some Einkorn. Thank you for your tip!
This is by far my favorite sourdough recipe! Thank you for making it so simple. It comes out perfect every time! I use honey and 10/10 game changer.
Hiii Ally! Thank you for your note and giving the sourdough a go. SO glad to hear you enjoying it with honey!
Delicious beyond my wildest dreams. I used a buckwheat sour dough starter and made 2 loaves. 2 issues. The one that was shaped and cooked in a covered vessel was really low almost foaccia. Th second issue was (the same recipe) went into a glass loaf pan was tented with aluminum foil and came out a bit gummy? Thoughts? I do not have an internal temperature reader but the outside looked and tasted great.
Ho Joanne! Thank you for your note. So glad you’re enjoying the sourdough despite the challenges. For the covered vessel sourdough, it sounds like shaping could have been an issue.. in that there wasn’t enough tension in the dough. Possibly, too, there’s wasn’t enough structure in the dough – through stretching and folding. Did you try adding the reduced amount of water (in the recipe notes?). Using a bit less water may help with shaping as a higher hydration dough is more difficult to shape. For the second glass loaf pan vessel, I’ve never baked sourdough this way before so I’m not sure how that impacted the outcome. But, a gummy interior tells me the bread could have been underbaked. Are you employing an external oven thermometer to know the true temperature of your oven? Also, an internal thermometer is super helpful in knowing when sourdough is done. This was a revelation in my sourdough baking journey. I hope this helps! Please keep us posted.
If I don’t have time to bake it in the morning the next day, can I put it in the fridge to retard and then bake it at around 6 pm?
Hi Abby! Are you referring to retarding during bulk fermentation or final proof?
During final proofing. So in the recipe, after leaving it outside overnight for bulk fermenting, the next morning after I shape the dough and let it sit for 30 mins outside, can I then put it in the refrigerator and bake it in the evening? Asking because that works better with my work schedule
Got it… it’s been my experience that if you allow the dough to fully double in size during bulk ferment then proof in the refrigerator, it will over proof. If you bulk at 50-75%, shape then proof in the refrigerator, you should have a good bake. Let us know how it goes!
I just made my first ever rustic loaf using this recipe and it turned out gorgeous! Loved all the explanations and specific instructions.
Hi Jenny! Best news ever! Thank you for your review and feedback.
I’m following your recipe and it’s on its first rise. Based on the delicious success of your other recipes, I’m really looking forward to the outcome!
Hii Heather…. so excited! I love this loaf 😍
This recipe is awesome. Simple ingredients and very helpful instructions on how and when to fold, what to expect and tips to keep the bottom from getting burnt. I’ve been making sour dough bread off and on for a couple years, this is the first time I feel I made a true loaf of sour dough bread! My dough rose, jiggled and bubbled when it was supposed to and turned out so good—I feel like a true artisan. Crust was spot on, inside was moist and flavorful. Thank you!
Hi Barb! Thank you for giving the sourdough a go, and five star review. I loved seeing your bread on Instagram and am thrilled you found the process tips helpful!
This recipe was very easy to follow, gave me more understanding of the sourdough process and beautiful success. Thank you for sharing
Thank you for your note, Kimberly and giving the sourdough a go! I loved seeing your bake on Instagram… sourdough perfection!!
Your Sour Dough Bread looks great Traci… I was gonna ask you how much whole grain do you use in your bread but I saw it in the ingredients. I usually add 4 – 5 percents on Rye bread…
Thank you Nathan! 4-5 percent Rye sounds delicious. I’m working on a light rye recipe and have noticed how much the dough changes with the increased rye. Keep us posted if you give this a go with a bit of rye!