
Hey y’all! How are you? Have you decked the halls? Is it a work in progress?
I’ve not, but I’ve been deckin’ my kitchen with flour, butter and sugar. I’ve been bakin’ y’all. How about you?
Last month I asked what y’all wanted to see for the up-coming holiday season. There was a resounding call for holiday food gifts, among a few other things I’ll be sharing in the new year.
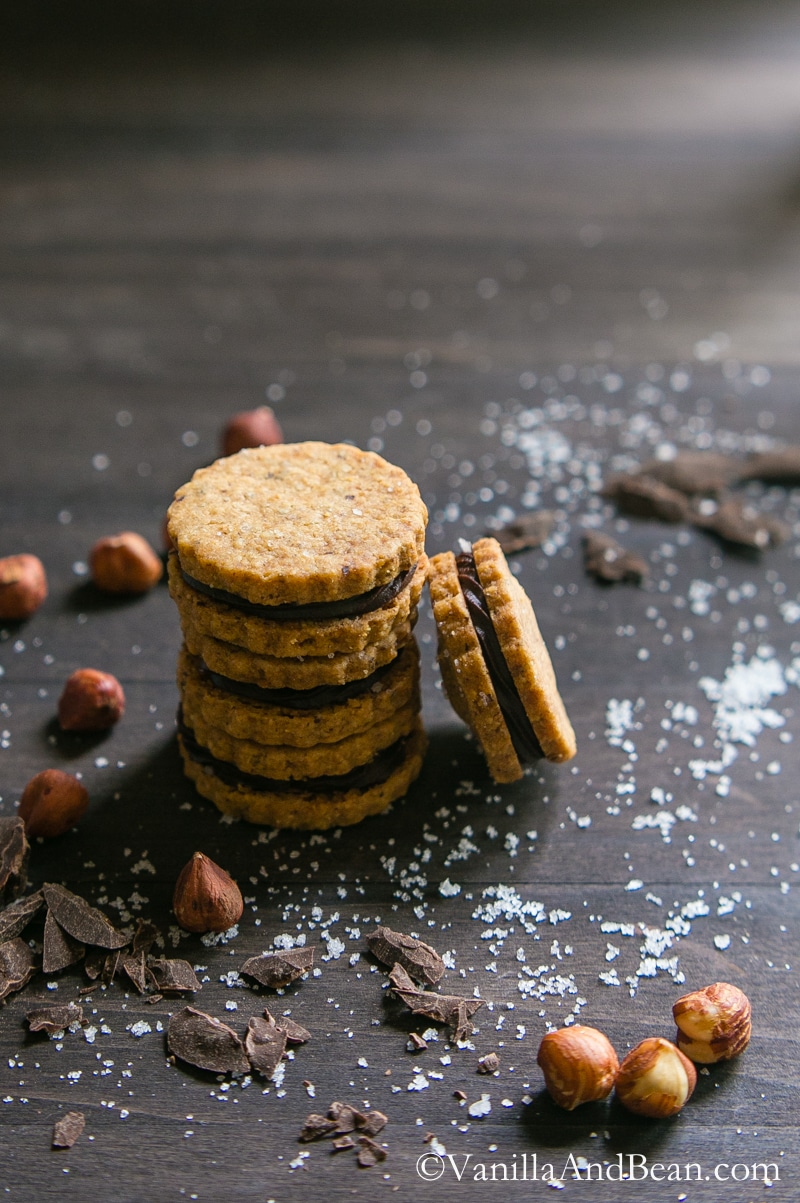
I think this is my favorite cookie I’ve made all year. Hazelnut flour does something magical to dough. It transforms the flavor and texture to something that’s hard to describe.
Tender but sturdy comes to mind, but the nuts also impart a subtle added sweetness that takes this cookie from ordinary to extraordinary.
Why is Shortbread a Favorite?
Shortbread is my most favorite of all cookies. Why?? Not only because butter (duh), but because with a basic recipe, it’s so versatile. Let me share why:
- Make ahead: the dough can hold for up to two months in the freezer.
- Easy: it comes together super quick. You can roll it out for cut cookies of any shape like these Dark Chocolate Cocoa Nib Shortbread Cookies, or shape it into a log and cut it into round cookies like these Cocoa Nibby Pecan Shortbread Cookies and Bourbon Vanilla Bean Shortbread Cookies.
- Flavorful: shortbread can take on many different flavors from bourbon (hooray!), nuts, chocolates and extracts, to dried fruit, zest and juice. Their flavor improves with a few days on them too!
- Homemade or DIY Gifts: People love receiving homemade gifts. Shortbread is shelf stable and will keep for several weeks tightly wrapped. So send them to friends and family near and far!
- Multipurpose: shortbread can be cut to varying thickness, shaped into thumbprint cookies or sandwich cookies.
For this recipe, I’ve made a basic dough into a tender sandwich cookie. If you’re short on time and want to forego the ganache, Hazelnut Shortbread makes a tasty stand-alone cookie too.
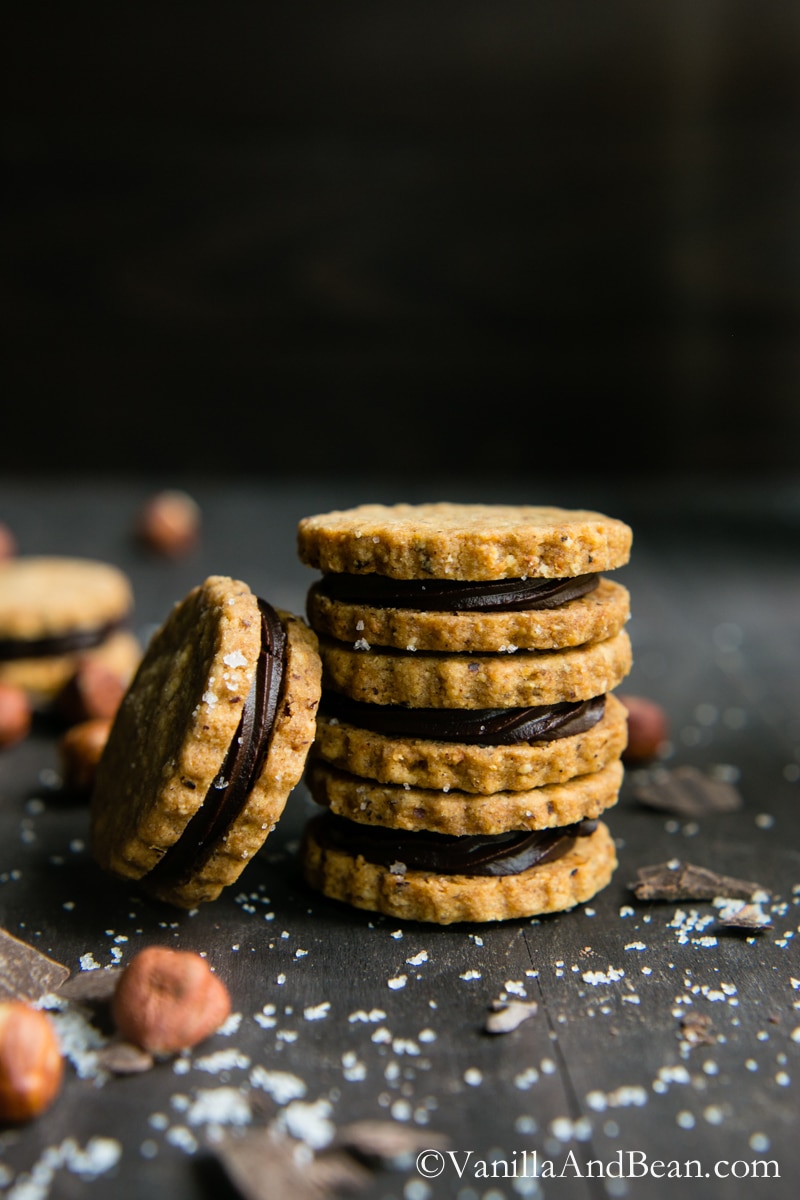
This cookie is tender, rich, and decadent with just the right amount of salt. The texture is somewhere between crisp and crumbly yet sturdy enough to hold up to the creamy, rich ganache.
A Few Recipe Notes
- An external oven thermometer will ensure the oven is at the proper temperature. Proper oven temperature is super important in baking, especially when baking shortbread.
- Cut the dough cold. A clean cut means a cleaner edged cookie. Depending on the temperature of your kitchen, this may mean placing the dough back in the refrigerator after rolling or prior to cutting.
- Be sure to chill the dough for at least 20 minutes prior to baking.
- Thickness of the cookie matters. Use a ruler to measure the thickness – you want it just over, but not less than 1/4″ .
More Shortbread Recipes to Love
- Dark Chocolate Cocoa Nib Shortbread Cookies
- Bourbon Vanilla Bean Shortbread Cookies
- Vegan Dark Chocolate Shortbread Cookies
- Cocoa Nibby Pecan Shortbread Cookies
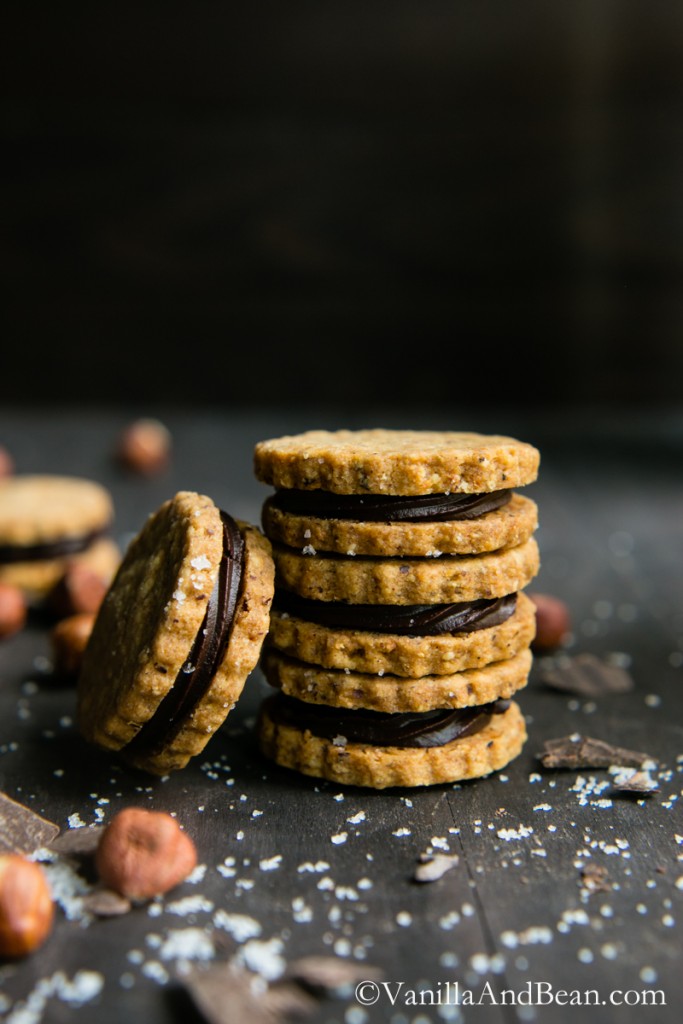
Hazelnut Shortbread with Salted Ganache Sandwich Cookies
Ingredients
For the Cookies:
- 1 C or 2 Sticks Unsalted Butter, room temperature 230g
- 2/3 C Organic Cane Sugar, 158g
- 1/2 tsp Sea Salt
- 2 tsp Vanilla Bean Paste, or vanilla extract
- 1 1/4 C All Purpose Flour, 184g
- 1 C Hazelnut Flour, 115g
For the Ganache:
- 1 1/2 C Bittersweet Chocolate, at least 70% cacao, chopped into small pieces, 216g
- 3/4 C Heavy Cream, 160g
- Fleur de Sel, for sprinkling
Instructions
For the Cookies:
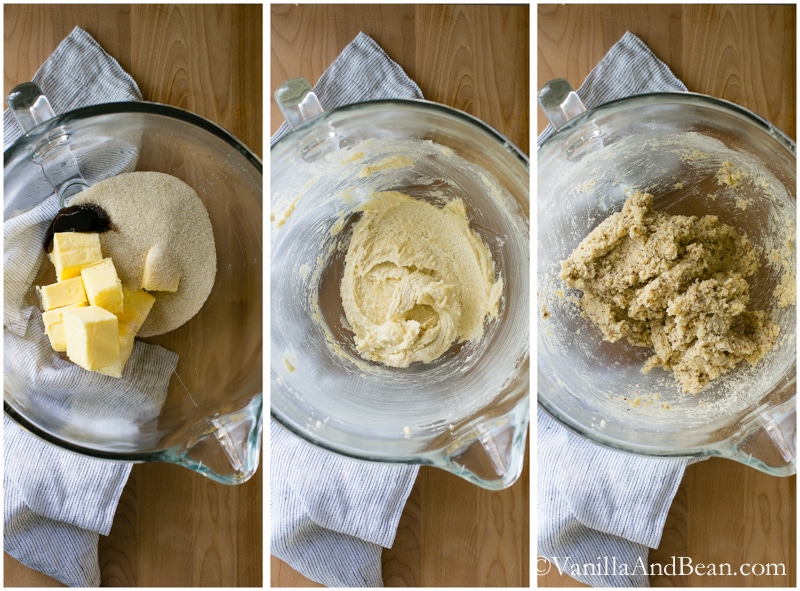
- In a stand mixer with a paddle attachment, to the bowl add butter, sugar, sea salt and vanilla bean paste. Beat 3 minutes on medium speed until ingredients come together and are creamy and smooth. Add the all purpose flour and hazelnut flour. Pulse in, then turn to medium speed until the dough starts to come together and form somewhat of a ball on the paddle. This takes about one and a half to two minutes. The dough will be sticky.
- Dump dough onto plastic wrap and form into a disk about 1/2" (1.3cm) thick. Wrap with the plastic wrap and place in refrigerator for at least two hours. At this point the dough can be frozen for at least two months. Double wrap and label the dough. To defrost, place in fridge overnight.
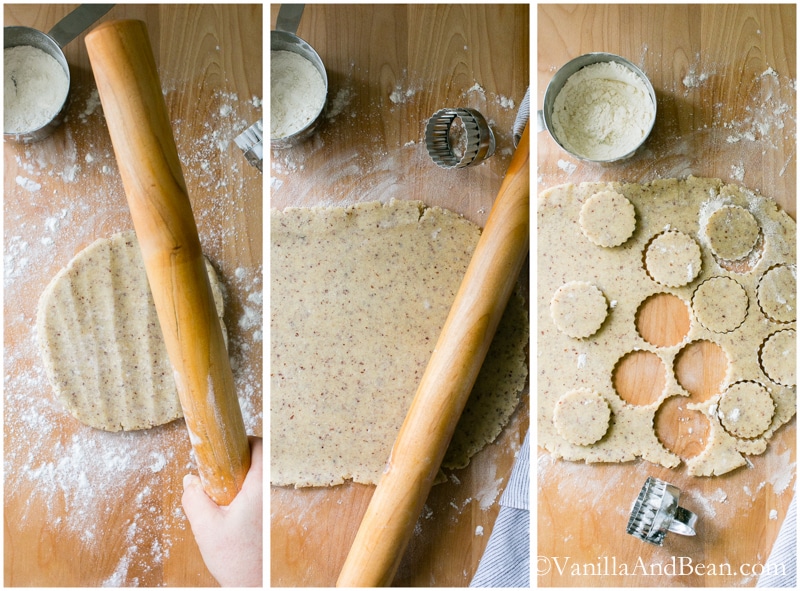
- Remove from refrigerator and let the dough sit for about five to 10 minutes. This will bring the temperature up a bit and make it easier to work with. Sprinkle the work surface, rolling pin and top of dough with flour, and beat the dough several times with the rolling pin. This conditions the dough and readies it for rolling. Sprinkle with flour again, on top and underneath the dough, then begin rolling into a rough circle to a little over 1/4" (0.6cm) thick. Reflour the work surface, pin and dough as needed. These cookies are a bit sticky. It's important to keep the dough at the same thickness (1/4") throughout so that the cookies each bake evenly. This dough can be rolled between parchment paper if desired. I choose not to do this because, for me, the parchment simply gets in the way.
- Line a sheet-pan with parchment paper. Dip the cookie cutter in flour and begin cutting out the cookies. I used a 1 1/2" (3.8cm) fluted round cutter like these. Transfer the cookies to the sheet-pan using an offset spatula. Gather the scraps, kneading and working the dough to make another disk, reroll and cut. You'll probably need to pop the dough back in the fridge for rerolling if your kitchen is warm. The cooler the dough, the cleaner the cut. Do this until all the dough has been used. There's no need to worry about over working the dough.
- Place the cookies in the refrigerator for 20-30 minutes prior to baking. Do not skip this step or the cookies will spread. Preheat the oven to 325F (160C) An oven thermometer is helpful in making sure the oven is at the proper temperature. Place baking rack in center of the oven. Now is a good time to make the ganache (see below).
- Bake cookies for 25-26 minutes or until golden, rotating the pan 1/2 way through the bake time. Start checking on the cookies at about 22 minutes due to oven variations. They'll be darker on the bottom than the top and still slightly soft in the center (they'll firm up as they cool). Remove from oven and using an offset spatula, carefully transfer cookies to a cooling rack to cool completely before making the sandwich cookies.
For the Ganache:
- Place the chopped chocolate into a bowl. Meanwhile heat the cream on medium heat just until bubbles appear around the edges of the cream. Pour the cream over the chocolate. Allow it to set for two minutes without stirring. Use a spatula to gently start folding and slowly stirring the chocolate until all the chocolate is melted and the ganache is smooth. Place plastic wrap right on the surface of the ganache so that a skin doesn't form. Allow to set at room temperature to thicken for at least an hour.
- Check the ganache to see it has thickened. It shouldn't be runny, but should be thick enough to pipe, like the consistency of very soft butter. If not, place it in the microwave for no more than 5 seconds. Stir well. Place #18 open star pastry tip in a pastry bag and fill with ganache. Alternatively, fill a plastic zip bag with ganache, forcing it into one corner and cut a small hole in the corner. Pipe the ganache just inside the edge of a cookie in a circular motion moving from the edge to the center. Sprinkle a few flakes of Fleur du Sel over the ganache and top it with another cookie.
- Store in a covered container for up to one week. If making the cookies without the ganache, the cookies can be stored for up to two weeks.
Notes
Nutrition
Nutrition is provided as a courtesy and is an estimate. If this information is important to you, please have it verified independently.
Made it? Leave a comment below!
The most helpful comment may include recipe rating, feedback, any modifications or helping other commentors.

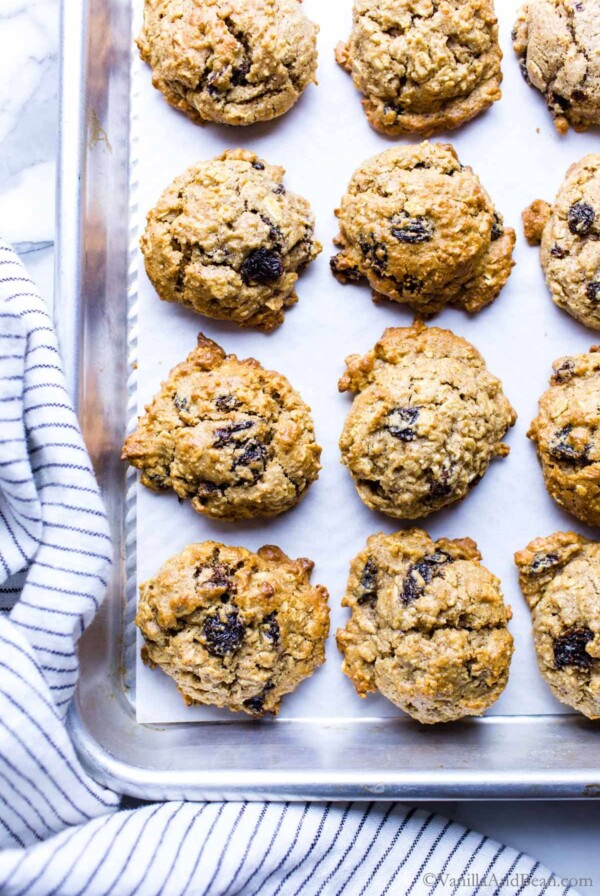
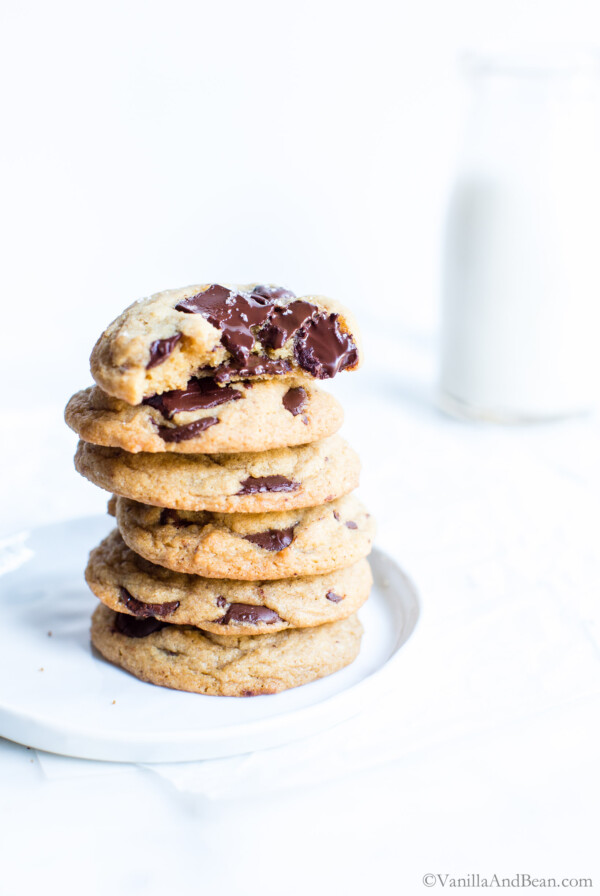
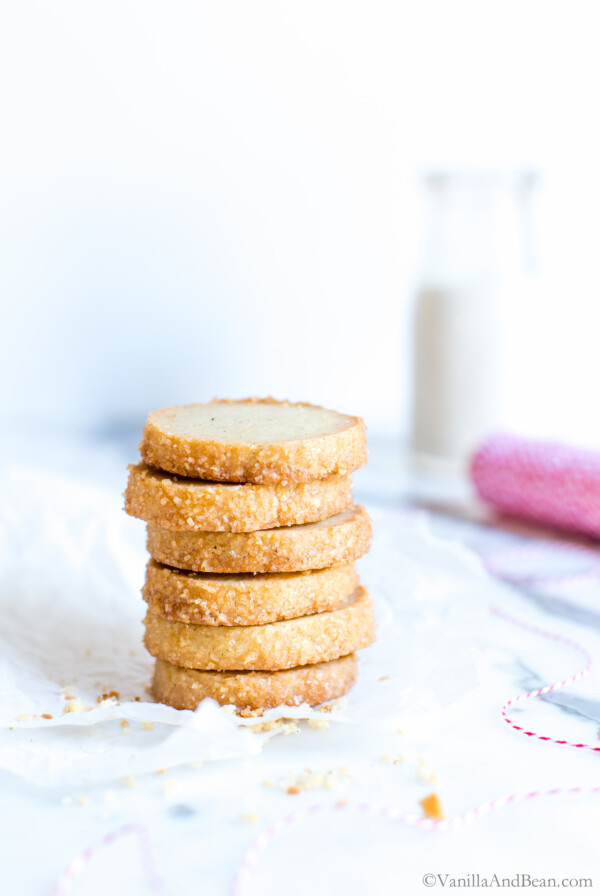


They do spread, but they are delicious!!
Really good recipe and the instructions you gave were really clear. Thank you! I really liked the result, although I wish I had waited longer for the ganache to set better before piping. Next time, I want to fill them with praline in the center and then ganache outside to hold it in.
Praline! That sounds amazing! Thank you for your note, five star rating and giving the recipe a go, Maria!
These are some of my favourite biscuits to make, especially for the Christmas season!
I just wanted to mention though that 325F isn’t 180°C it’s actually ~160°C.
When I first baked these I wondered why they only took 15 minutes until done but I now know it’s because I was cooking at 180 instead of 160! I just thought I’d let you know :)
Hi Rachel! Thank you for your note and giving the recipe a go! SO happy to hear :D Thank you for your celsius temperature note! So glad you kept an eye on the cookies!
I have made these cookies twice now. The first time I had a little bit of spread but really still more or less in shape. I followed everything EXCEPT I didn’t check the temp in my oven with a thermometer. The second time I used an oven thermometer and found out my oven is running at least 25-40 degrees hot. This made all the difference. Also the first time I measured the flours in cups instead of using the weight – the second time I weighed the flours.
I also did these on convection reducing the suggested temp by 25 degrees which worked great.
Thank you for a well tested and explained recipe!.
Hi Tony! Thank you so much for your note and sharing your trials with us. So happy to hear your success! Indeed, shortbread can be finicky when it comes to oven temperature simply because their’s so much butter involved. Oven temperature DOES make a difference and IMHO, is worth going the bit of extra effort to make sure the temperature is accurate – especially in baking. So glad you enjoyed the cookies!
I’m having troubles keeping the cookies from spreading. I made sure to refrigerate the cookies for over an hour before putting them in the oven. Thoughts?
Hi Sar! I’m sorry you’re having difficulty with cookie spread. Several factors can be the cause of this. Do you have an oven thermometer to make sure the cookies are baking at 325F? If too much air is incorporated into the butter and sugar when mixing, this can cause cookie spread. Also, water content in butter varies. I use Organic Valley butter… Unfortunately, water percent is not something that is labeled on butter, so it’s really hard to know if this is the issue. I hope this helps.
Thank you, thank you! I used to make these cookies for family on special occasions but lost the recipe a while back. Now that you can buy hazelnut meal, I can skip a few steps that were time consuming ie the cracking, peeling ,and roasting of the nuts, I also used melted Dove chocolate inside the sandwiches instead of ganache. Thank you again, and my family will thank you also.
Hooray, Joan! Thank you for your note. These cookies are so tender and have such a fabulous texture. I hope you’ll give the ganache a go. It really takes these cookies to extraordinary! I hope you enjoy the recipe! :D
Thank you so much for thw quick reply! Also can use granulated sugar or brown sugar instead?
Feel free to try it! Brown will increase the hydration a bit so I would stick with granulated if you need to change the type of sugar you use! ☺️
Hi these cookies look amazing and love that they are egg-free! Can’t wait to try them! Can we use vanilla extract instead of vanilla bean paste? If yes how much would it be?
Hi Mansi! Yes, yes! Use vanilla extract, same amount, two tsp. They’re soooo good! :D
I can’t easily find hazelnut flour in the UK – found one online source but they wanted £12 for 500g. Could I perhaps toast and then grind my own hazelnuts in a food processor instead? Wondered if they might go to paste a bit when grinding with the oil in the hazelnuts. Appreciate any suggestions on this as I love the recipe and was keen to make for a friend for Xmas