
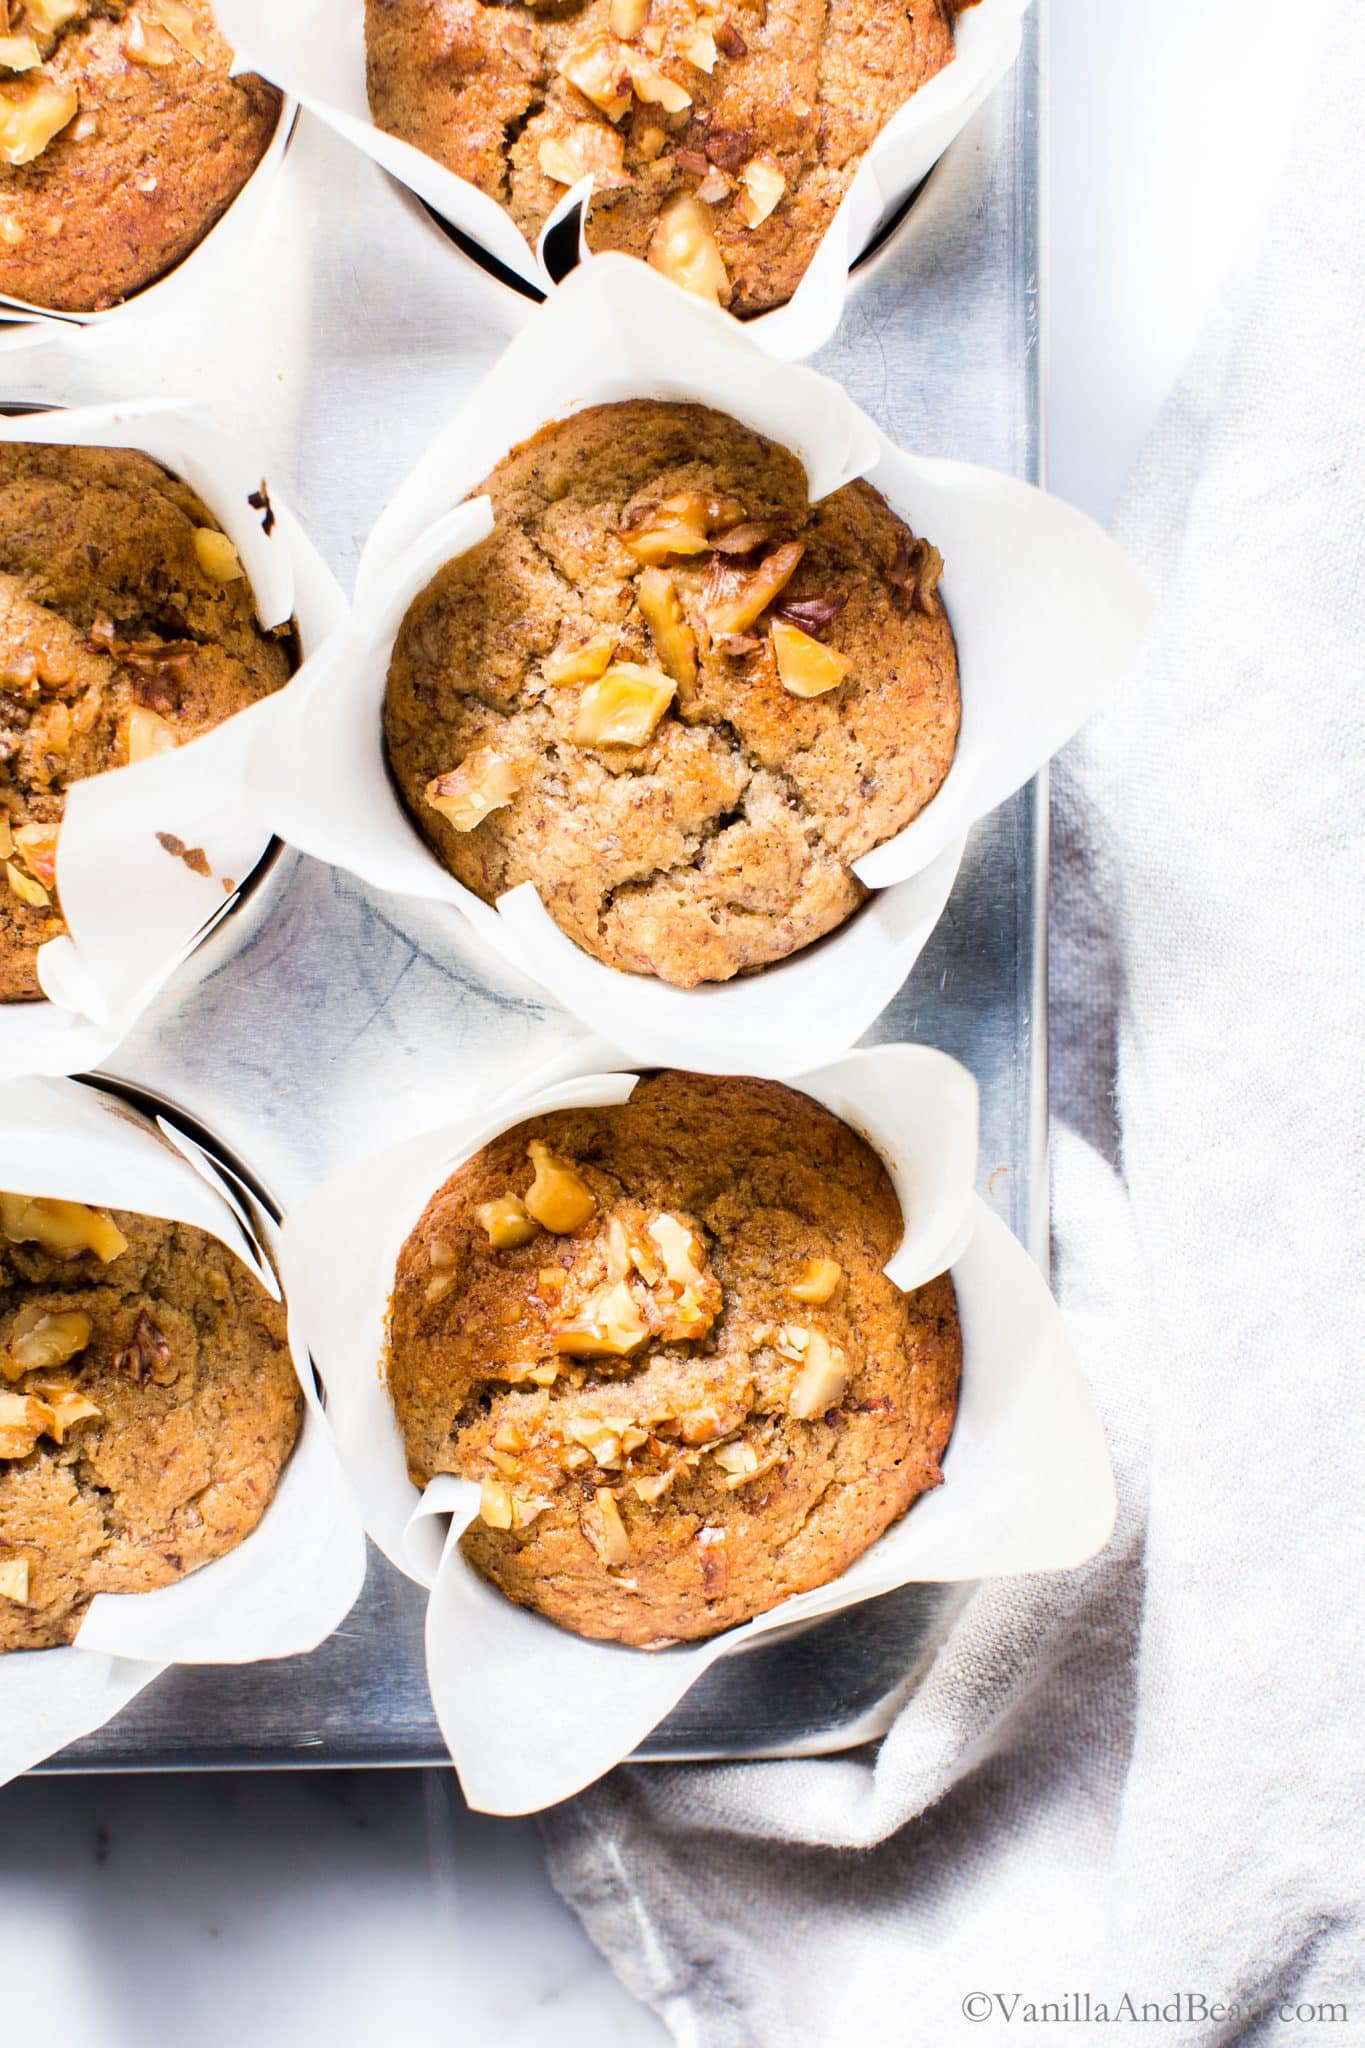
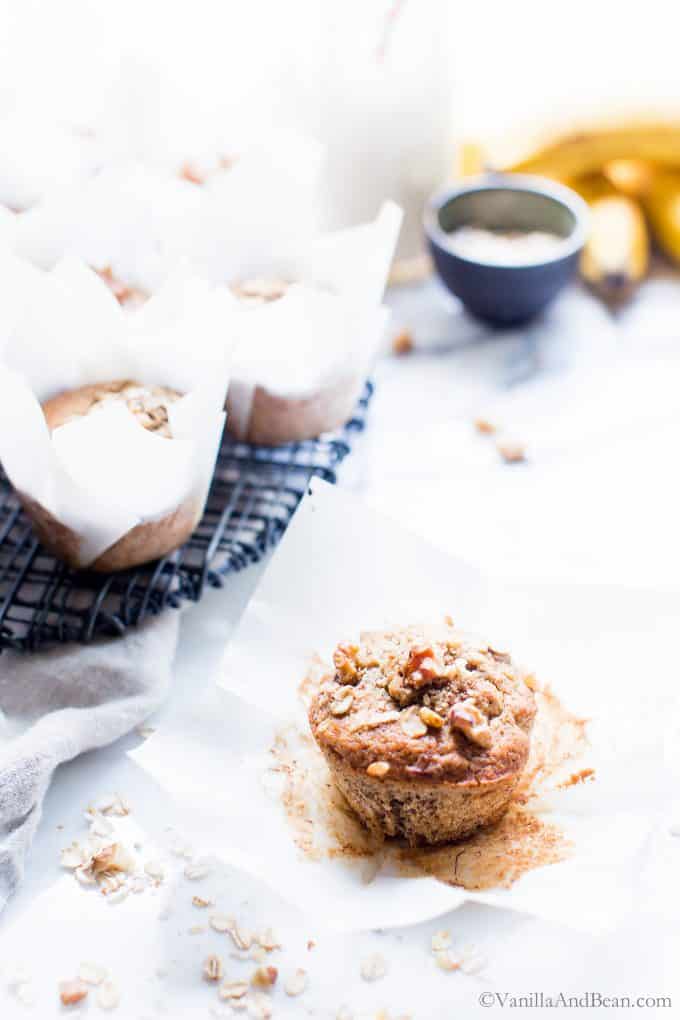
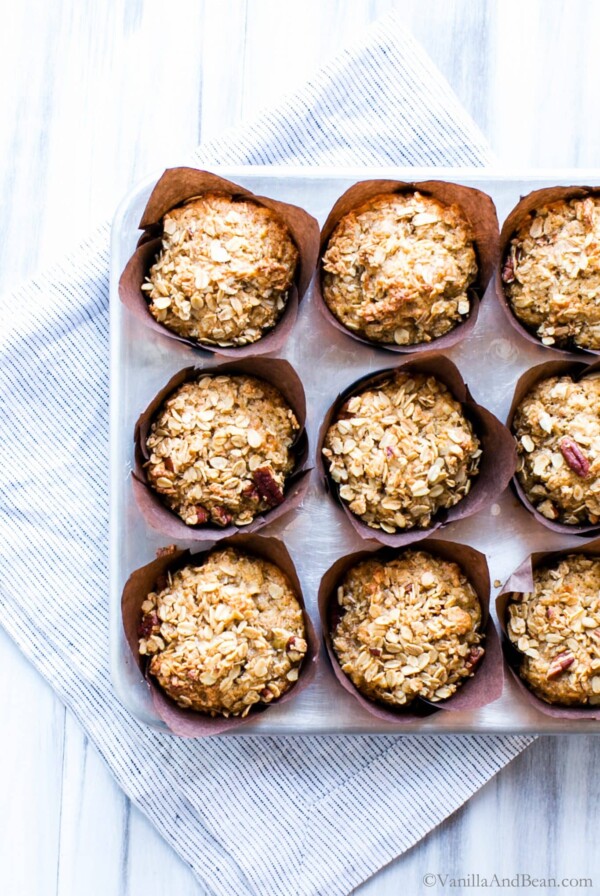
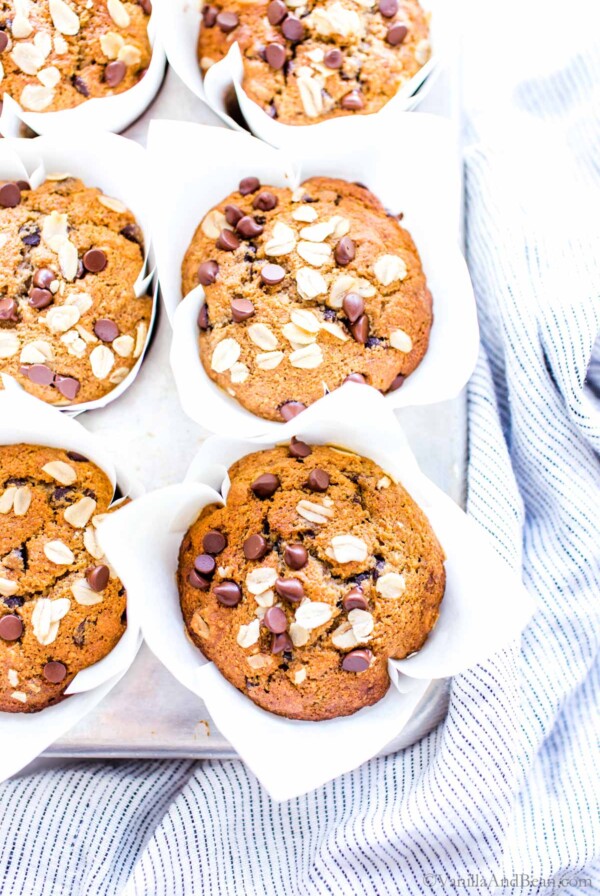
Naturally sweetened, and one bowl easy, these Vegan Banana Muffins are a grab n’ go quick breakfast or afternoon snack. They feature almond and oat flour for earthy whole grain flavor and tender crumb and are made in one bowl in only 15 minutes hands on time. | Disclosure: this post is brought to you by Bob’s Red Mill!
You will receive recipes and kitchen tips, along with information about our partners and offerings. For more details, review the Vanilla And Bean privacy policy.
Moist Vegan Banana Muffins
There’s good reason why banana bread is a classic. It’s super moist, sweet, texture rich and ranks right up there with comfort food. It took some time to get these gluten free banana nut muffins just right. It started last summer when I had to go gluten free and vegan for a trial period. I’ve been testing these, teasing out the details to get them just right, off and on ever since.
These muffins are finally ready and I’m super excited to share them with you!
Why Breakfast Muffins?
- Banana nut muffins are grab n’ go ready!
- Naturally sweetened with maple syrup.
- Made with whole grain oat flour, a bit of almond flour for a nutty flavor and structure and a touch of tapioca flour to help make these muffins light and fluffy.
- Easy to pack in a lunch box or stuff in your purse or backpack as you’re flying out the door!
Best of all, this muffin recipe is easy to whip up when meal prepping even if short on time.
Quality Ingredients
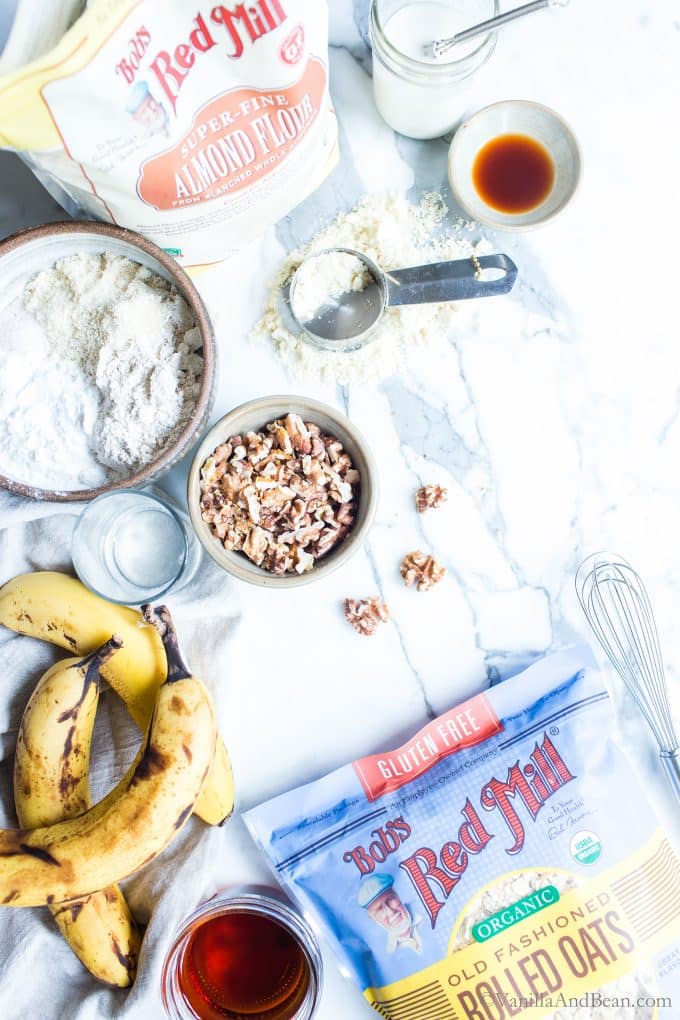
These muffins are made in partnership with Bob’s Red Mill. I’m excited to share their pantry staples with you, highlighting a brand I trust for high quality ingredients to fuel my family’s lifestyle. Bob’s Red Mill pantry staples are accessible and offers a wide array of whole grain and gluten free options should you need.
Since I’ve been in and out of a gluten free trial, Bob’s Red Mill Gluten Free Rolled Oats have been a life saver. Oats are naturally gluten free, but to ensure that these oats maintain their gluten free integrity, Bob’s Red Mill handles them with care in their dedicated gluten free facility and batch tests to ensure gluten free status.
_______________________
How to Make Vegan Banana Muffins
step by step
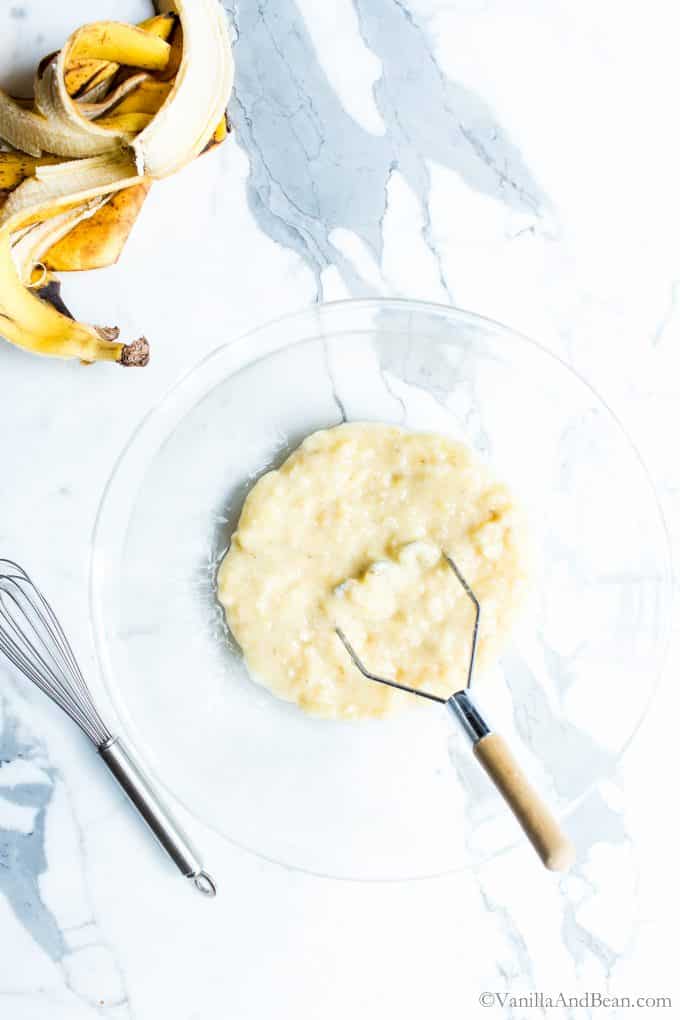
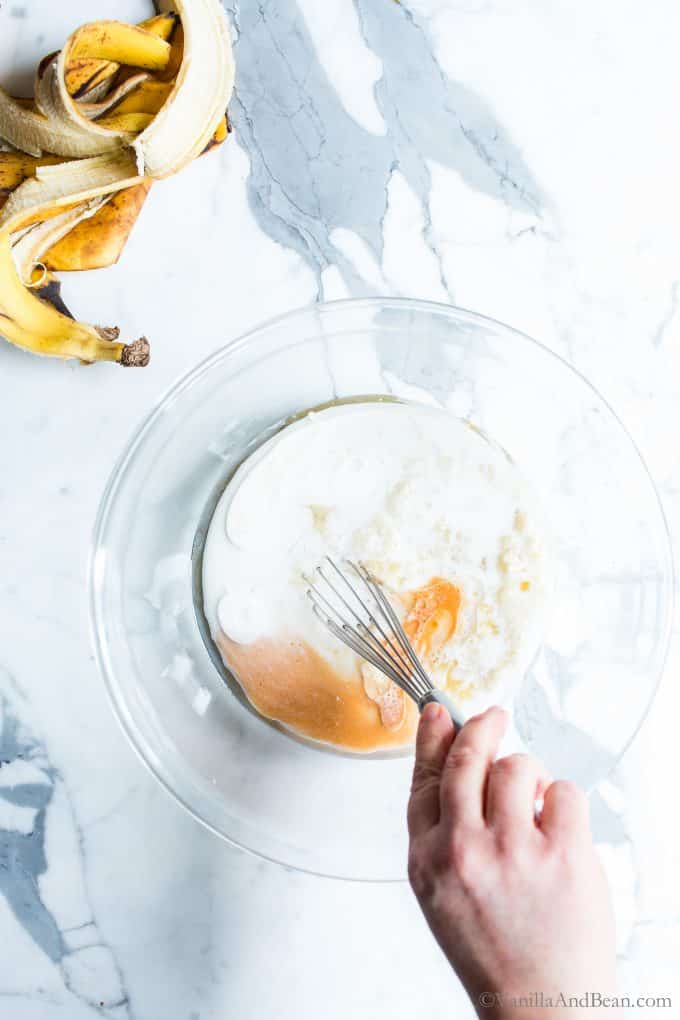
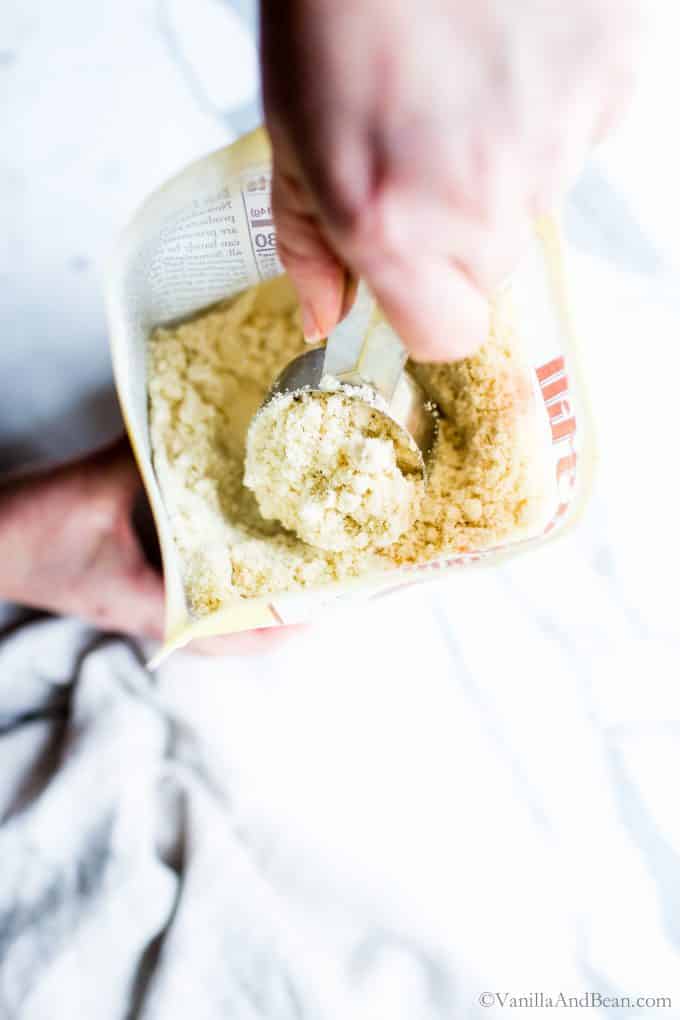
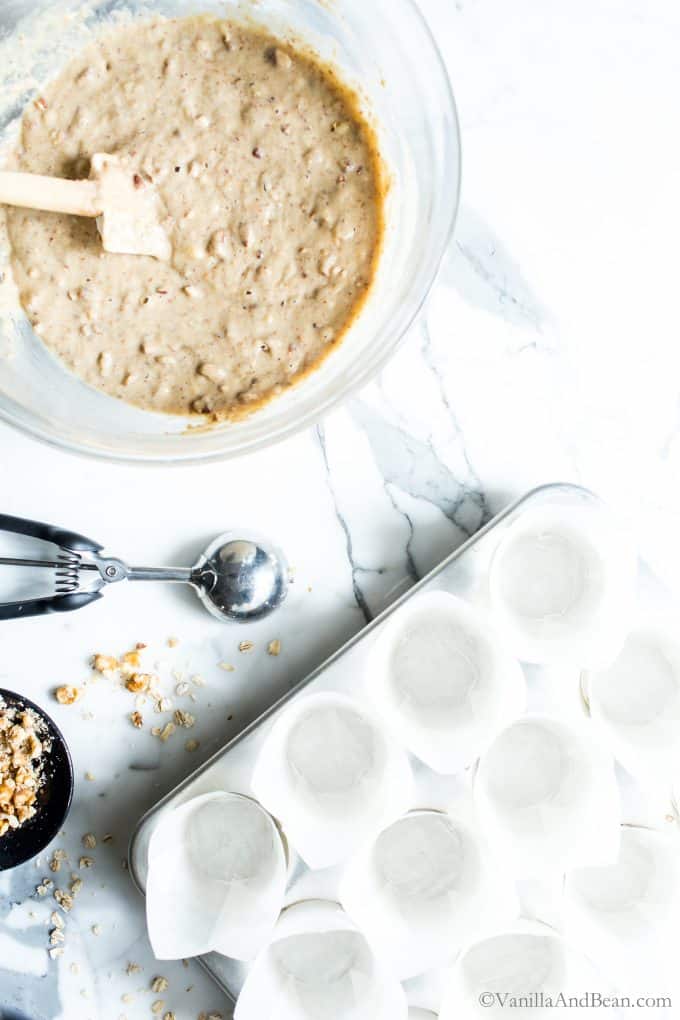
To keep these nut muffins vegan and to bring out the most banana flavor, I use three mashed bananas and ground flax seeds to aid in binding. For a gluten free variation, be sure to use gluten free oat.
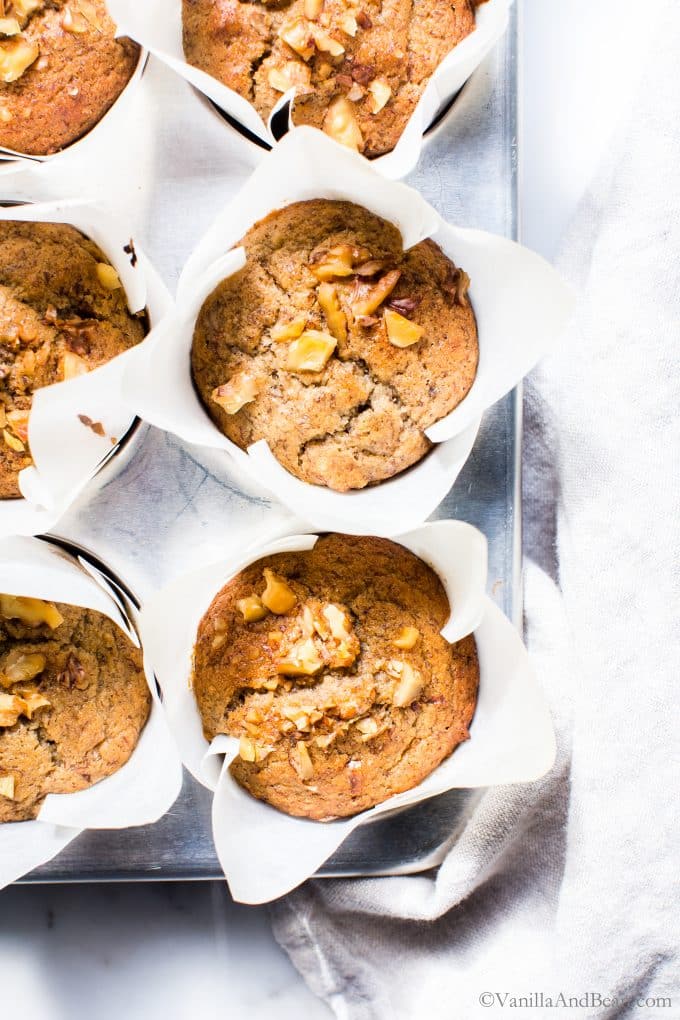
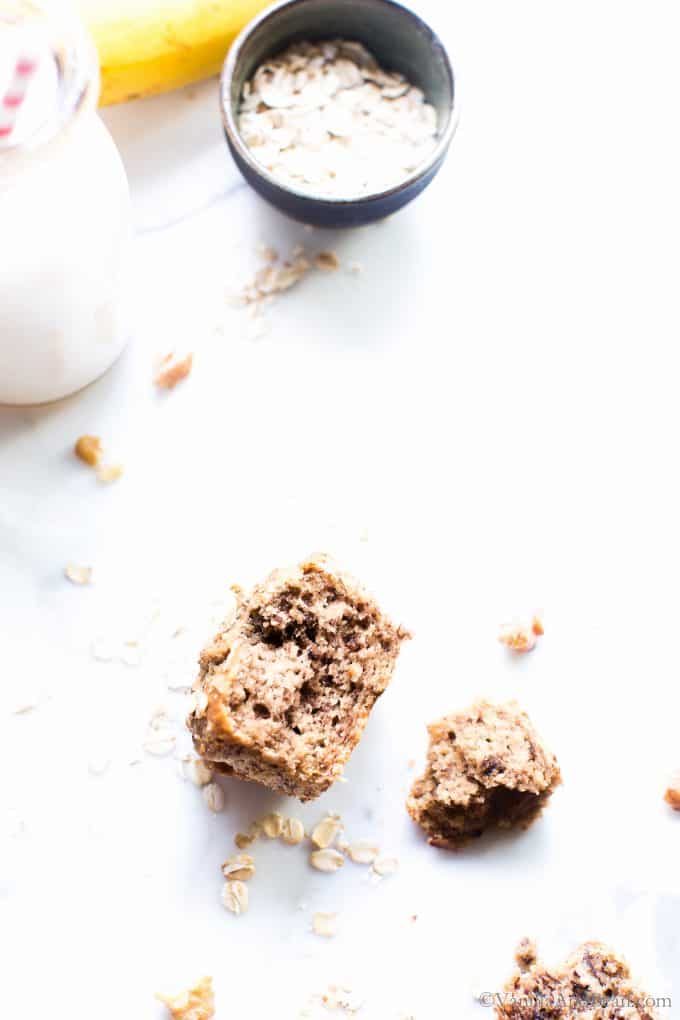
Traci’s Tips
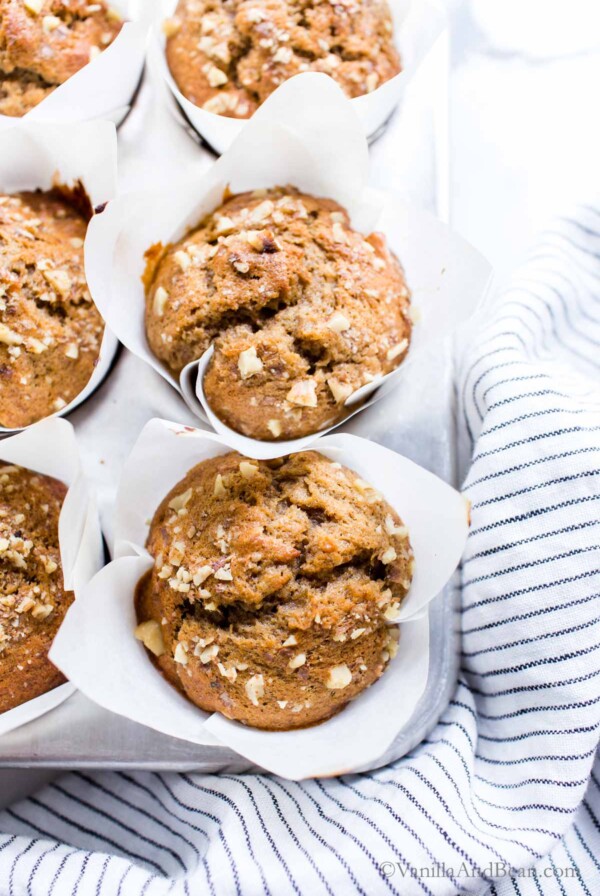
- I recommend tulip style muffin cups to line a standard muffin pan for this recipe. Taller cups provide structure and enable the muffins to rise higher and produce more evenly baked muffins. I purchase from Amazon or use this DIY tulip cup tutorial to make muffin cups.
- This recipe calls for gluten free oat flour. I DIY my own using Bob’s Red Mill Gluten Free Oats. It’s super easy and economical – see my how to make oat flour post for more information.
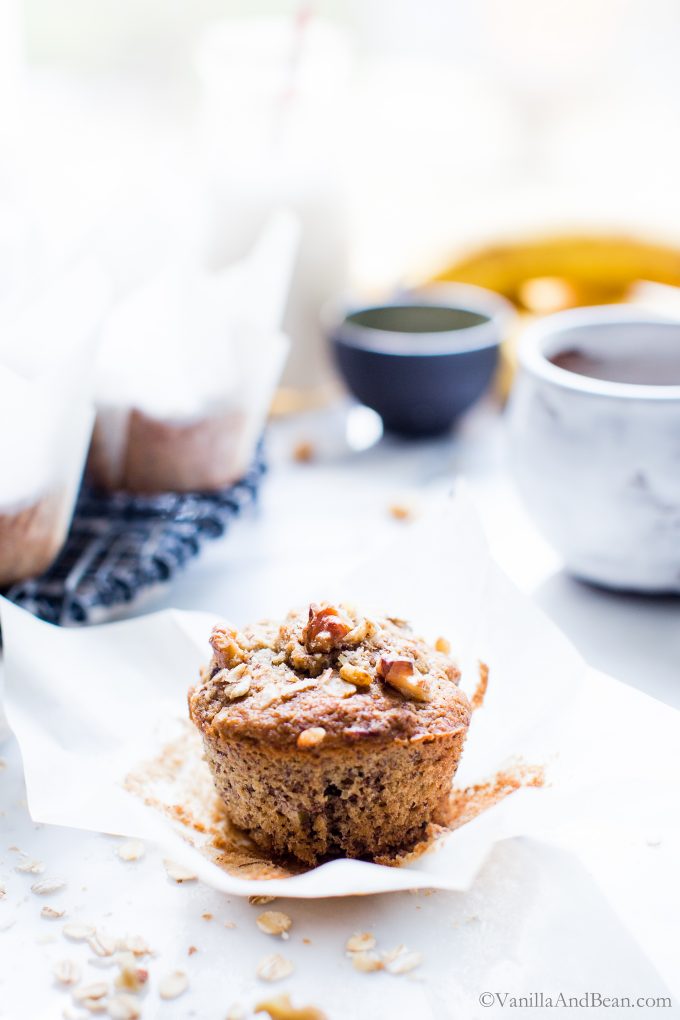
Vegan Breakfast Banana Nut Muffins
Ingredients
- 3/4 cup (75 grams) Walnuts
- 1 1/4 cups (360 grams) Mashed Bananas, about three medium very brown bananas
- 1/4 cup (50 grams) Coconut Oil, melted, warm to the touch
- 2/3 cup (185 grams) Maple Syrup
- 1/3 cup (65 grams) Nut Milk, I use 1/2 diluted homemade cashew milk
- 2 teaspoons Apple Cider Vinegar
- 2 teaspoons Vanilla Extract
- 1 1/2 cups (165 grams) Oat Flour, I use homemade, gluten free if needed
- 1/4 cup (30 grams) Super Fine Almond Flour, I use Bob’s Red Mill
- 1/4 cup (30 grams) Tapioca Flour
- 2 tablespoons Flax Seed Meal
- 1 1/2 teaspoons Baking Powder
- 3/4 teaspoon Baking Soda
- 3/4 teaspoon Fine Sea Salt
Instructions
- Preheat the Oven / Toast the Walnuts: Preheat the oven to 375F (190C). Toast the walnuts on a small sheet pan while the oven is preheating, about 15-17 minutes. Keep an eye on them starting at 14 minutes as they go from not toasty to over toasty fast!
- Mix the Wet Ingredients: While the oven is preheating and walnuts are toasting, in a large mixing bowl, mash the bananas, pour in the coconut oil, syrup, nut milk, apple cider vinegar and vanilla extract. Whisk until smooth.
- Add the Dry Ingredients: To the wet ingredients add the oat flour, almond flour, tapioca flour, flax meal, baking powder, baking soda and salt. Whisk all the ingredients until there are no flour bits left and the mixture is smooth. Set aside and rest the batter while the walnuts cool.
- Remove the walnuts from the oven. Transfer the walnuts out of the pan and onto a cutting board. Spread the walnuts out to cool slightly. Rough chop. Set about 2 Tbs aside to be sprinkled on top of the muffins prior to baking. Then, fold the walnuts into the batter just before scooping.
- Scoop / Pan the Muffin Batter: Line a standard muffin pan with 12 tulip style muffin cups*. Scoop about 1/3 cup (85 grams) of batter into each cup. An overfilled large cookie scoop works well too! Sprinkle a bit of chopped walnuts and a few grains of whole rolled oats on the top of each muffin if desired.
- Bake the Muffins: On the center rack in the oven, bake for about 25-30 minutes OR until the muffins are golden, a toothpick inserted in the center of a muffin comes out clean and the muffins spring back under gentle pressure. Remove from the oven, and pan, transferring the muffins to a cooling rack. Allow to cool completely before unwrapping and enjoying.
- Store the Muffins: After completely cooled, store muffins covered at room temperature for up to three days, or freeze in a freezer container for up to two weeks. Thaw at room temperature. To rewarm the muffins, warm in a 350F oven for about 10 minutes.
Notes
Nutrition
Nutrition is provided as a courtesy and is an estimate. If this information is important to you, please have it verified independently.
Made it? Leave a comment below!
The most helpful comment may include recipe rating, feedback, any modifications or helping other commentors.

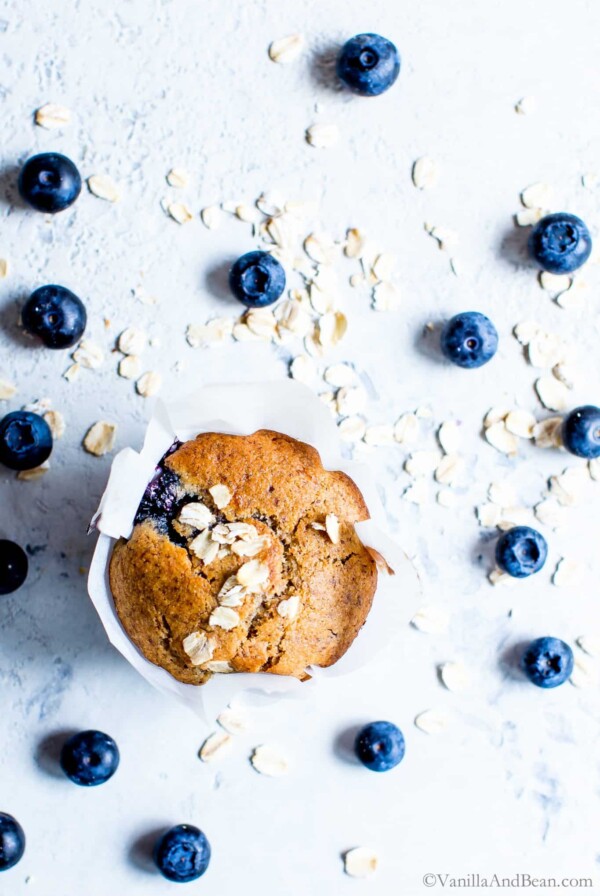


Delicious! I used regular milk and gluten-free flour instead of the nut milk and tapioca flour, respectively, as I had those ingredients on hand. The muffins rose nicely and they were very yummy. Will definitely make again! Thank you for the recipe! :)
Yayay! So happy to receive your note and star rating, Andrea! Thank you for your tips and giving the recipe a go!