
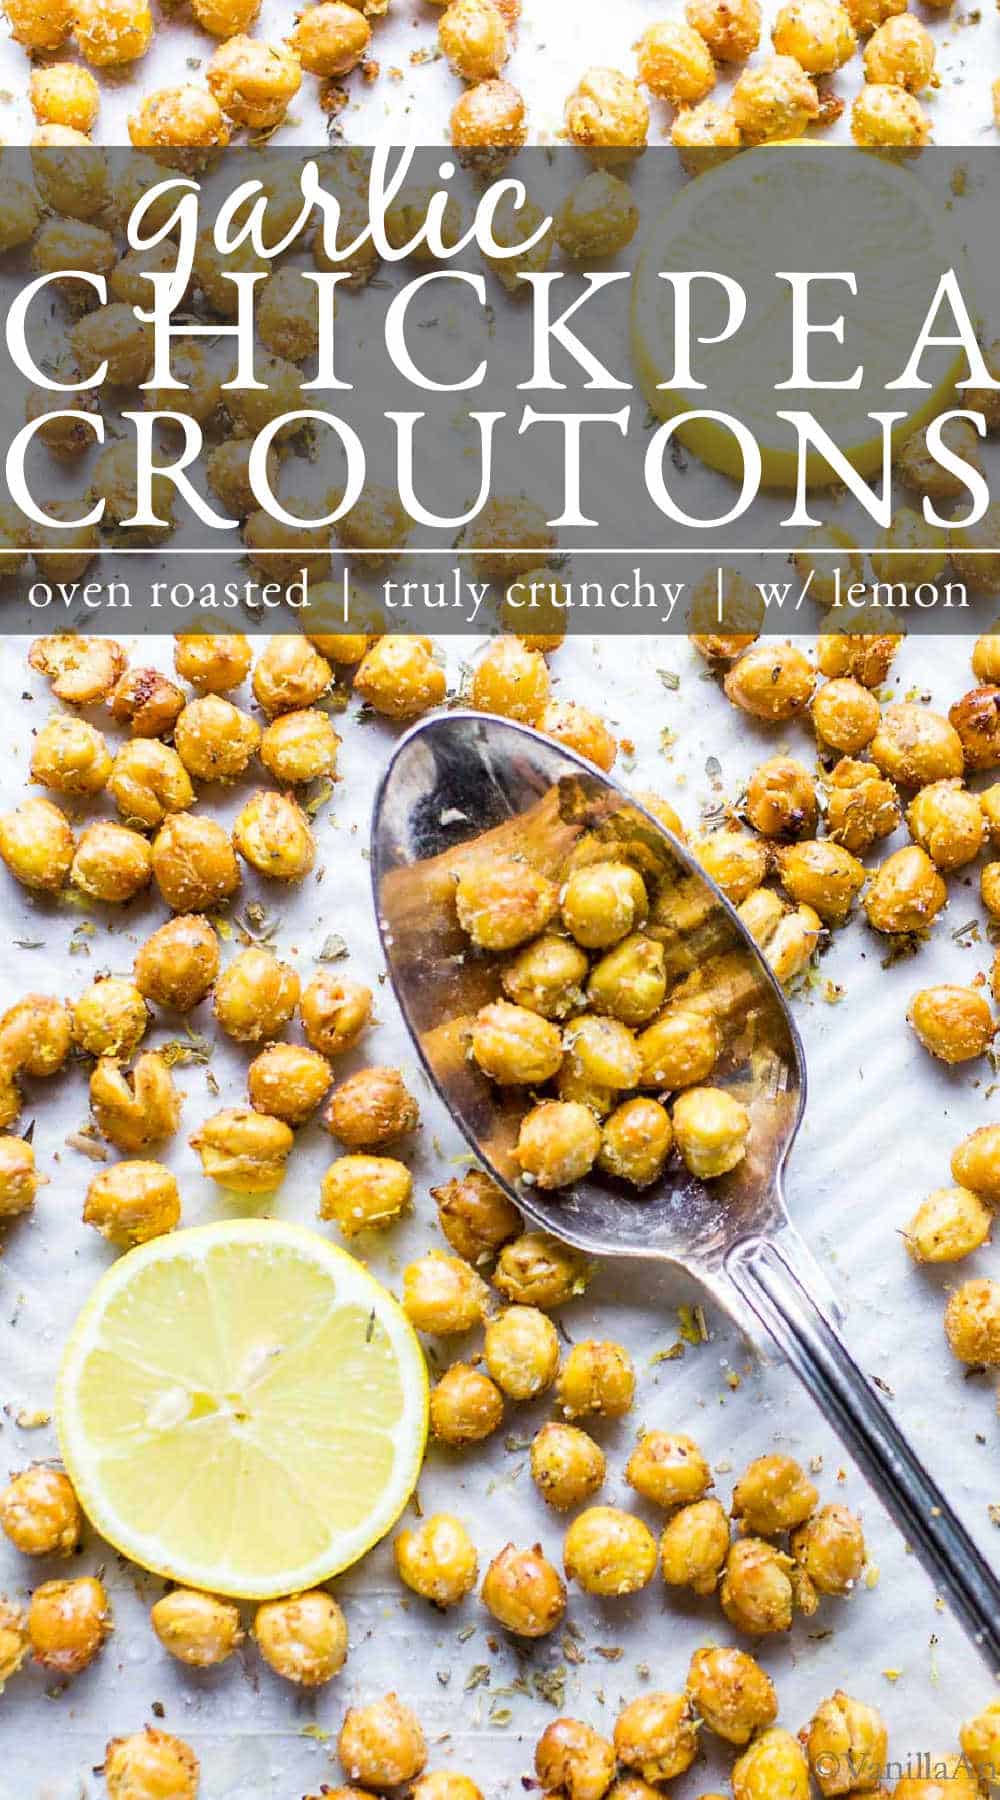
Crunchy roasted chickpeas are easy to make and so tasty on salads, as a snack or to enjoy as a garnish on soup. To make these Garlic Chickpea Croutons crunchy, dry roasting is key! You’re going to love how simple and versatile these crispy chickpeas are. This recipe is vegetarian, vegan and easily gluten free.
You will receive recipes and kitchen tips, along with information about our partners and offerings. For more details, review the Vanilla And Bean privacy policy.
Roasted Garlic Chickpea Croutons
After trying to get chickpeas *crispy* while roasting with oil and seasonings, I didn’t think crispy chickpeas were possible because they never truly got crispy.
I then tried dry roasting chickpeas in the oven prior to adding oil and seasonings. I found dry roasting to be *key* in bringing chickpea croutons to their full potential.
I’d been doing it all wrong!
This Recipe Is
- crunchy and crispy
- garlicky
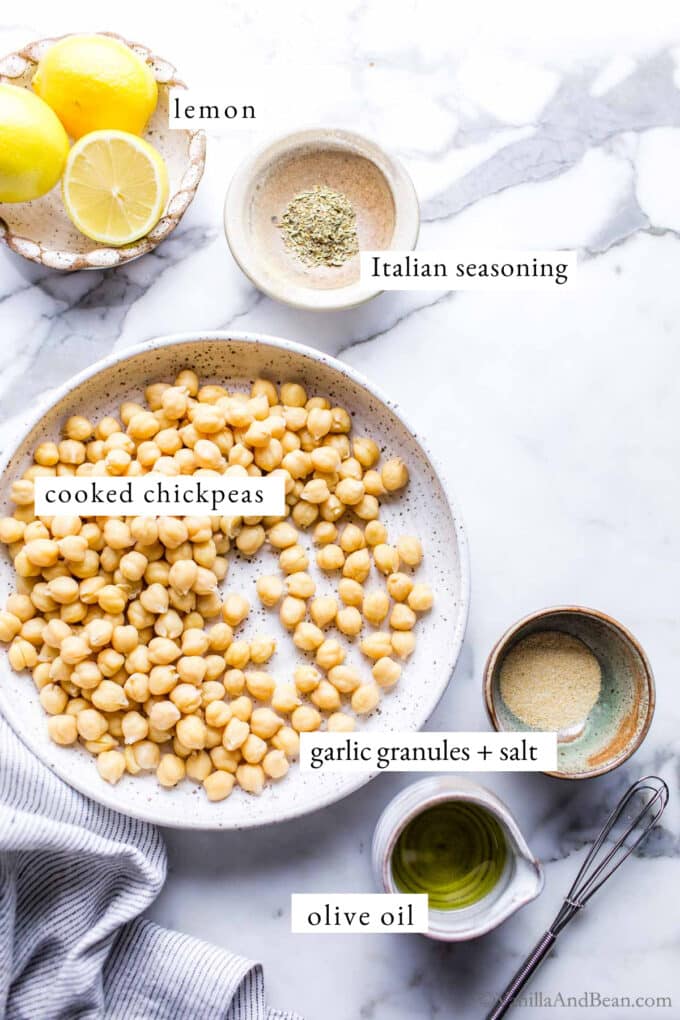
To make the tastiest crispy chickpeas, cook dried chickpeas from scratch. It’s super easy and economical.
At a Glance: How to Make Roasted Chickpea Croutons
This recipe makes a small batch, but doubles with ease! Here’s how to make homemade roasted chickpea snacks:
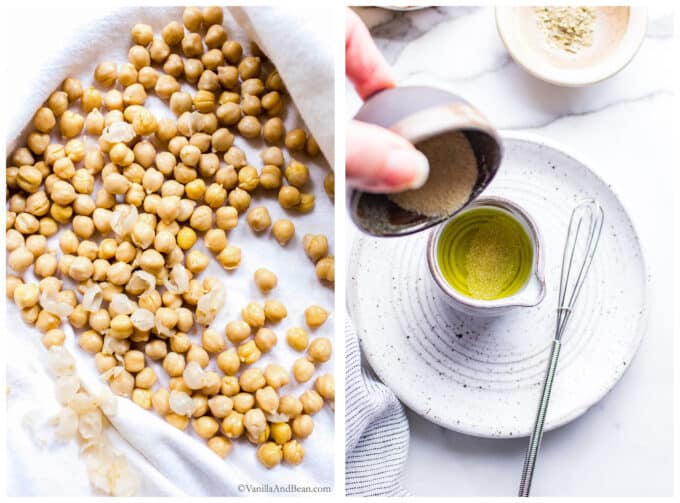
- First, drain and rinse the chickpeas. Transfer to a large tea towel and gently rub the chickpeas to remove loose skins and excess liquid.
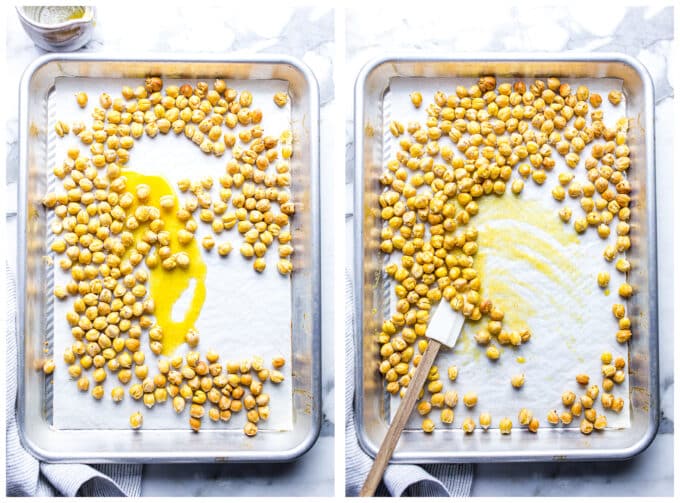
- Second, transfer the dry chickpeas to a baking sheet and roast.
- Third, mix the garlic granules, salt and oil, then pour over the hot chickpeas.
- Next, return to the oven until the chickpeas are dark golden and fragrant.
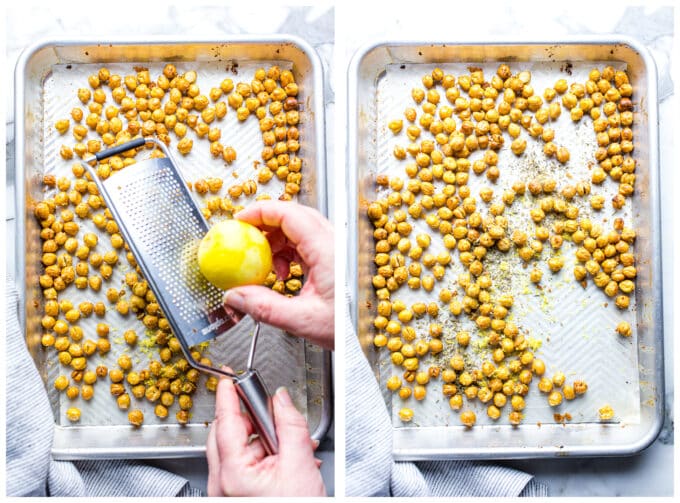
- Last, use a microplane to zest a lemon over the chickpeas and sprinkle on the dried seasoning.
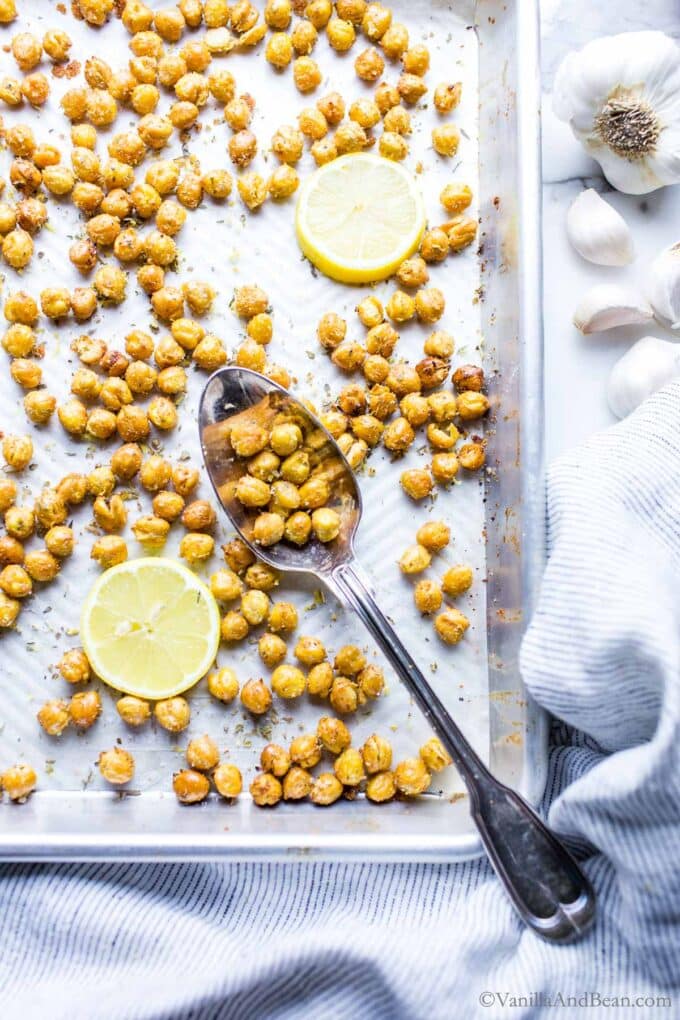
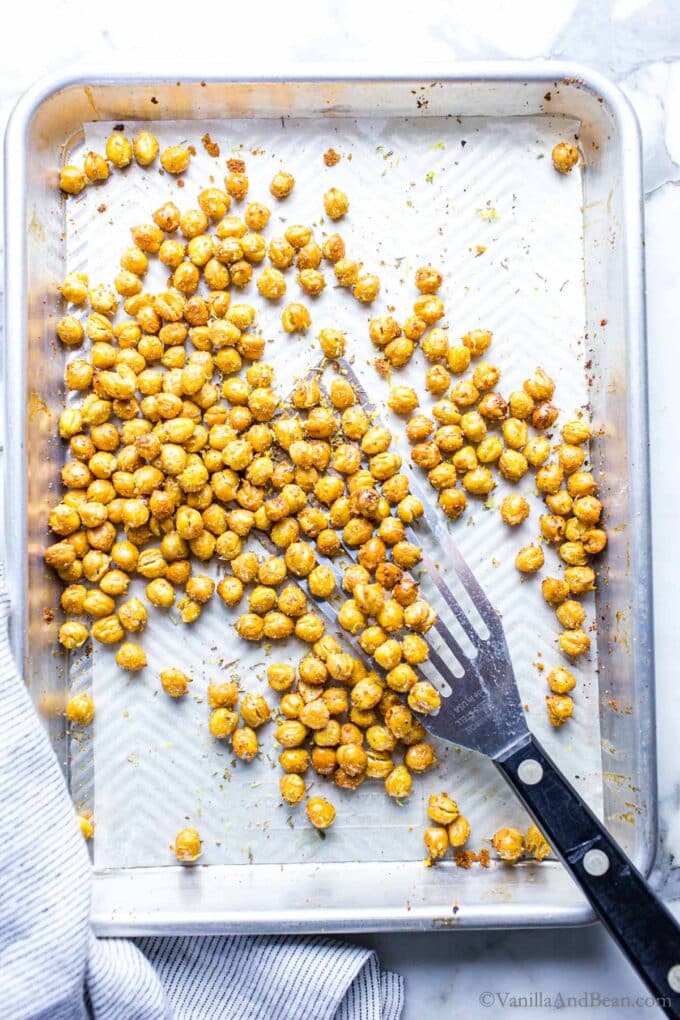
These truly crunchy chickpeas are so tasty as a snack – popcorn level. SO make an extra batch and enjoy!
Recipe Good to Know
Par Baking / Dry Roasting is a Must
If you’ve made “crunchy” or “crispy” chickpeas before and they don’t come out crunchy, it’s because in order to get crunchy, crouton-like crunchy, you must to par bake them to dry them out in the oven. Once the chickpeas are throughly dried, you can then add the oil and seasonings and finish roasting.
There’s a “window of crunchy” when dry roasting the chickpeas in the oven. That window is narrow – about four minutes. Dry roasting between 20-23 minutes is the window. Roasting less will give you slightly softer croutons while roasting more will create very crunchy chickpeas. This is the window of crunchy! Dry roast to your preference.
No Need to Remove Chickpea Skin
There’s no need to remove the chickpea skin to get crispy chickpea croutons. However, when patting the chickpeas to remove excess water prior to roasting, you can take the opportunity to remove any loose skins.
I tested this recipe without the skins (just to see) and found the texture of skin removed chickpeas to be a bit crunchier, but overall, the result is similar enough leaving the chickpea skins on. Peeling chickpeas is a pain and I found the time investment not worth the effort.
How to Enjoy Garlic Chickpea Croutons
- Roasted Chickpeas for Salad: So good as a crouton substitute or in addition to traditional croutons. Use these tasty seasoned roasted chickpea croutons when you want a little crunch on your salad. They’re tasty on this Vegetarian Caesar Salad with Kale, traditional Caesar Salads or anytime you want something a little extra.
- Top Soups: For crunch, and texture, these crispy chickpeas can be used as a garnish on soups. I like them most on creamy soups so their flavor and texture can shine. Try em on my creamy Tuscan Tomato Soup, Roasted Red Pepper Tomato Soup, Curried French Lentil Soup, or this Ribollita.
- Roasted Chickpea Snacks: What a delight to have these little pops of flavor on hand for snacking. They keep my hands out of the chip bag when crunchy cravings strike!
Traci’s Tips
- Play with the Flavors: Lemon and garlic is a classic flavor profile for chickpea croutons, but you can play with the flavors. Try a pinch of cayenne for a spicy kick, or for a smoky flavor, replace 1/4 teaspoon of the garlic with smoky paprika.
- Make More! This Chickpea Croutons Recipe doubles with ease. If making as a snack, I’ll double, but for a salad or soup, I make a single.
- Accurate Oven Temperature: Knowing the temperature of your oven produces the best results in cooking and baking. I use and recommend an external oven thermometer so I can adjust the oven as needed.

Garlic Chickpea Croutons Recipe
Ingredients
- 1 1/2 cups (439 grams) Cooked Chickpeas, drained and rinsed
- 1 1/4 teaspoon Garlic Granules, or sub with 1/2 + 1/8 tsp garlic powder
- 1/8 teaspoon Fine Sea Salt, + more to taste
- 2 teaspoons Olive Oil
- 1/2 teaspoon Lemon Zest, optional but recommended
- 1/2 teaspoon Dried Italian Herbs, or dried basil or oregano
Instructions
- Preheat oven to 400 degrees Fahrenheit (204 degrees Celsius). Set an oven rack to the center of the oven. You can line a sheet pan with parchment or not.
- Drain and rise the chickpeas. Transfer the chickpeas to a dry tea towel or several paper towels. Cover the chickpeas with the towel or a paper towel and using both hands gently roll the chickpeas around with the towel to gently remove excess water. Remove and discard any loose chickpea skins.Transfer the chickpeas to the sheet pan and dry roast for 20-23 minutes, shaking the pan 3-4 times while roasting. They will start to crack and turn a dark golden color. Dry roast for 20 minutes for a softer crunch, up to 23 minutes for a more assertive crunch.
- Meanwhile, in a small bowl, whisk the garlic granules, salt and oil. Set aside.
- Once the chickpeas are done dry roasting, pour the oil mixture over the hot chickpeas and stir until the chickpeas are throughly coated. Return the pan to the oven and roast for 5-7 minutes, shaking the pan at least two times while in the oven. Watch the chickpeas closely as they can go from done to burned quickly. When done, the chickpeas will be a rich golden/brown color. Remove the chickpeas from the oven and add the lemon zest and dried herbs. Season with a pinch of salt. Stir. Cool completely.
- To Store: Store at room temperature in a covered container for up to two days. They're best enjoyed within 24 hours.
Nutrition
Nutrition is provided as a courtesy and is an estimate. If this information is important to you, please have it verified independently.
Made it? Leave a comment below!
The most helpful comment may include recipe rating, feedback, any modifications or helping other commentors.



I for got and put the oil mixture in before I roasted. Did the 2nd batch to the letter of your instructions and it came out out perfectly.
First batch not quite as crunchy but not BAD. Your directions, perfect. I did add smoked paprika on my second batch. Thanks for the tip
Hi Claire! Thank you for your note and giving the recipe a go! Smoked paprika is sooo tasty on these!