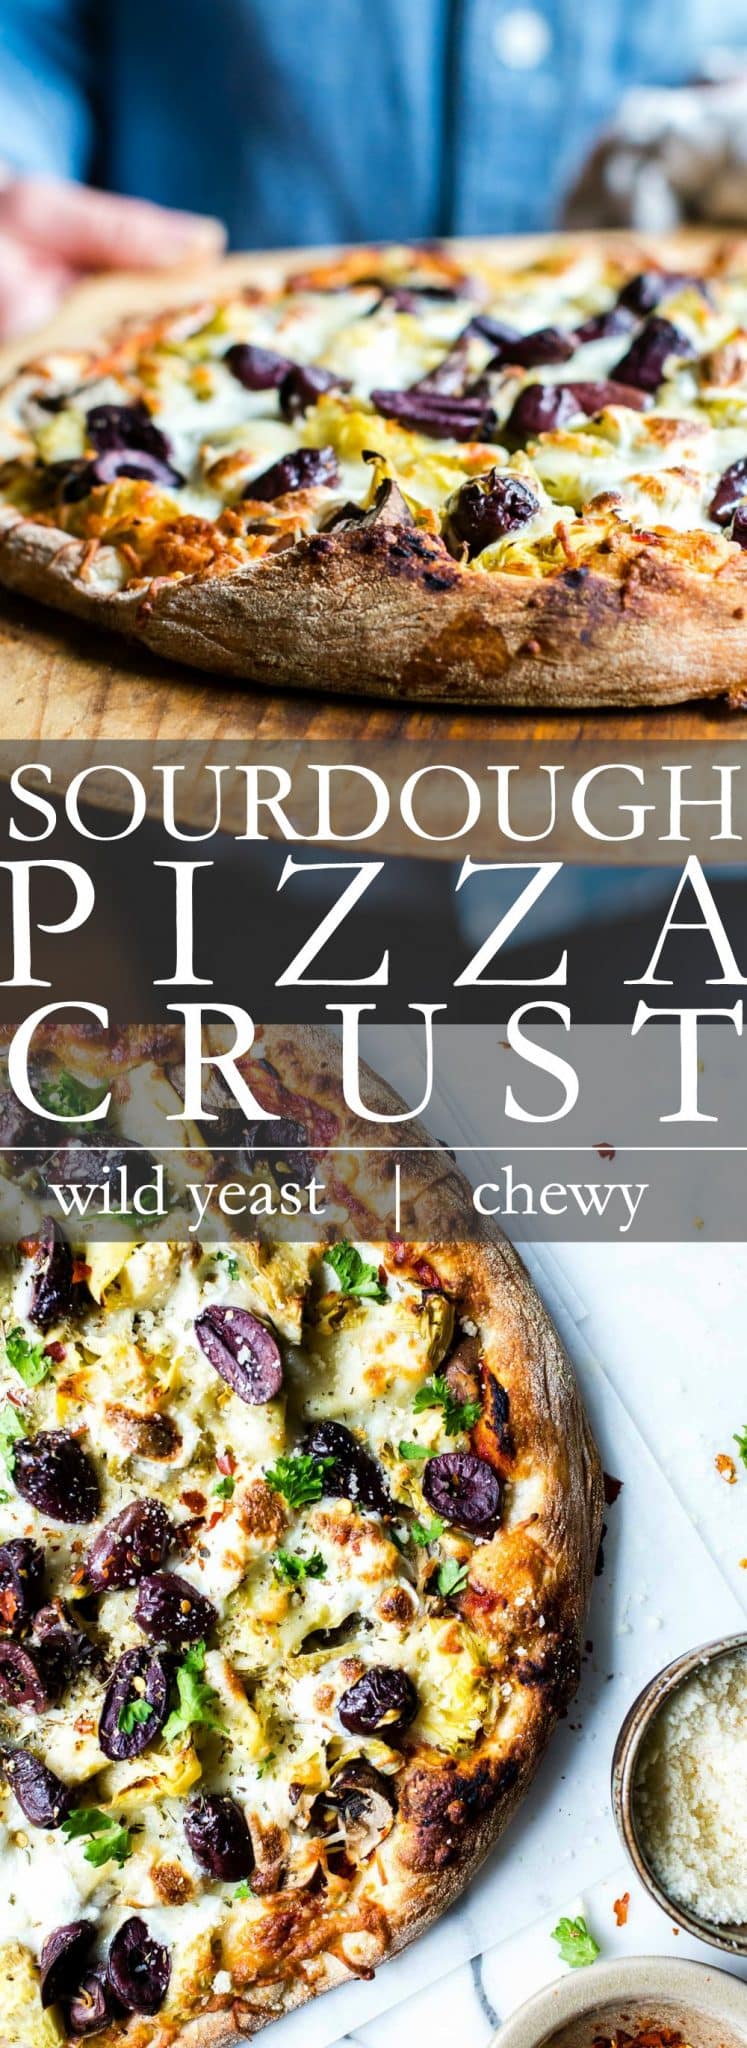
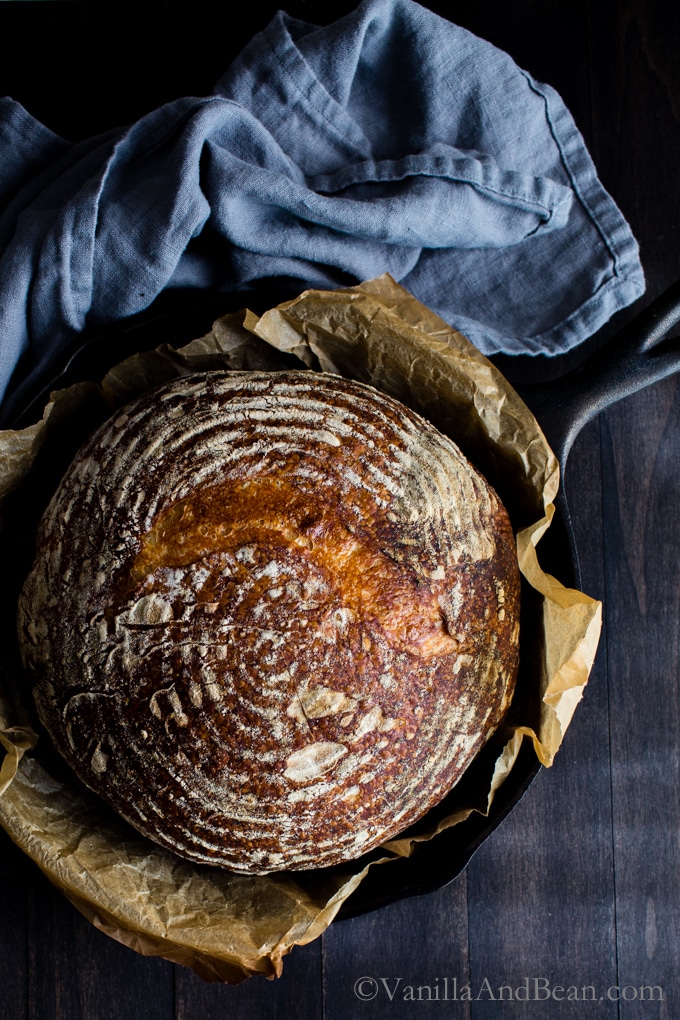
Step up your pizza game by making Sourdough Pizza Dough from starter! This step by step recipe is made with bread flour, a touch of whole wheat flour and an active Sourdough Bread Starter. After a long overnight rise, the dough can be proofed at room temperature or in the refrigerator for longer storage. Baked in your home oven, no special stone or steel needed! This recipe is vegetarian and vegan friendly.
Looking for a same-day sourdough pizza recipe? Try my Sourdough Discard Pizza Dough recipe that doesn’t compromise on texture or flavor!
⭐️⭐️⭐️⭐️⭐️ Review: “I have tried A LOT of sourdough pizza dough recipes but this one is the very best of them all. THANK YOU! Amazingly soft chewy crust. Just perfect. Excellent instructions and easy to follow.” ~ Melissa

Sourdough Starter Pizza Dough
Are you ready for a game changer in homemade pizza? If you love the taste homemade Sourdough Recipes you’re going to love this sourdough pizza crust recipe.
Since learning sourdough, and sharing how to make a starter, as well as how to maintain your sourdough starter, I’ve added lots of sourdough discard and starter recipes to the V&B sourdough collection. It was a no brainer that sourdough pizza dough from starter had to make a showing as well.
And although this sourdough pizza crust recipe looks like there’s SO much to the process, once you get the routine down, you’ll discover how simple making sourdough pizza dough really is.
Example Baker’s Schedule
- Thursday Night: Mix the Dough – Ferment Overnight at Room Temperature
- Friday Morning: Shape the Dough into Little Dough Balls – Pop it in the Refrigerator to Start Proofing
- Friday Afternoon: Pull the Sourdough Pizza Dough From the Refrigerator to Finish Proofing at Room Temperature.
- Friday Night: Shape and Bake!
In this recipe, I’m sharing my tips, pizza making tools, and a few different flour varieties to use in this dough. Be sure to watch my easy shaping technique video below and get ready to make the best homemade sourdough starter pizza dough!
_______________________
How to Make Sourdough Starter Pizza Dough
step by step
The Start of Something Delicious
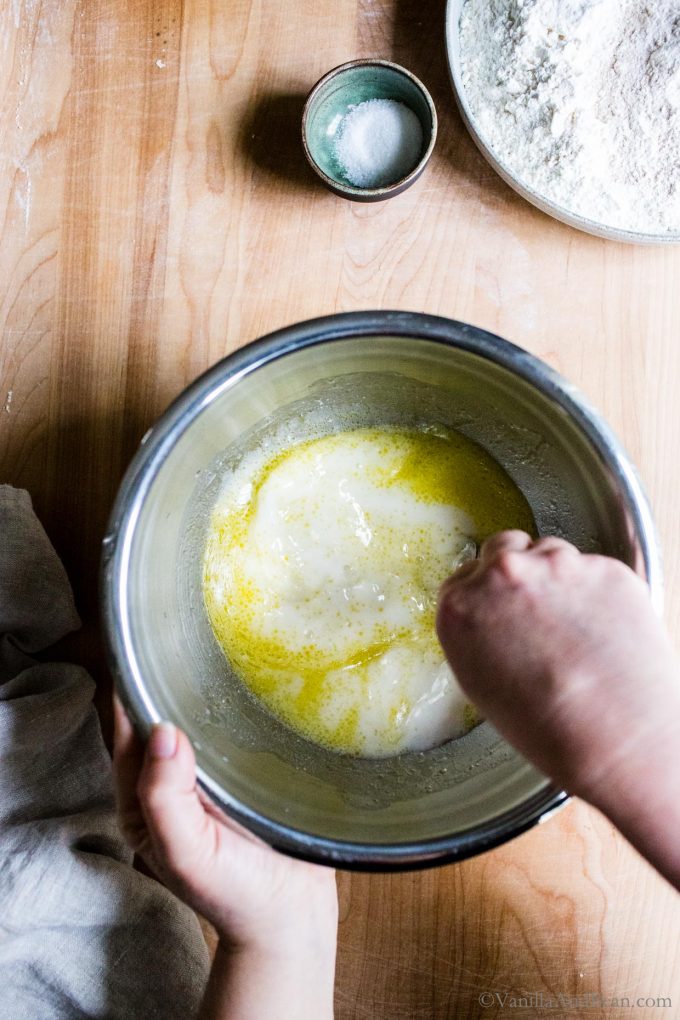
For this sourdough pizza dough recipe, start with simple ingredients and a mixing bowl.
- Sourdough Starter – fed, doubled in size, ripe, and bubbly.
- Water – I use tap water, but if you like, you can use filtered.
- Olive Oil – use a full bodied olive oil here for flavor. It also tenderizes the dough!
- Flour – I like a mix of whole wheat and bread flour for an earthy flavor and for ease of handling. But you can also use all, all purpose or all bread flour.
Need a sourdough starter? Follow my Sourdough Starter Recipe guide. You’ll have fresh starter ready to use in about seven days!

Bulk Fermentation (first rise)
This step shouldn’t be rushed, because this is when most flavor development happens.
TIME = FLAVOR
Bulk fermentation is when the dough is rested at room temperature until it doubles in size, is jiggly and no longer feels dense. At 70F (21C), this will take anywhere from 8-10 hours. In my cooler kitchen, 65-68F (18-20C), it takes upwards of 12-14 hours. Use this time and temperature as a guide and not a determining factor for when the dough is ready. It’s ready when it’s ready.
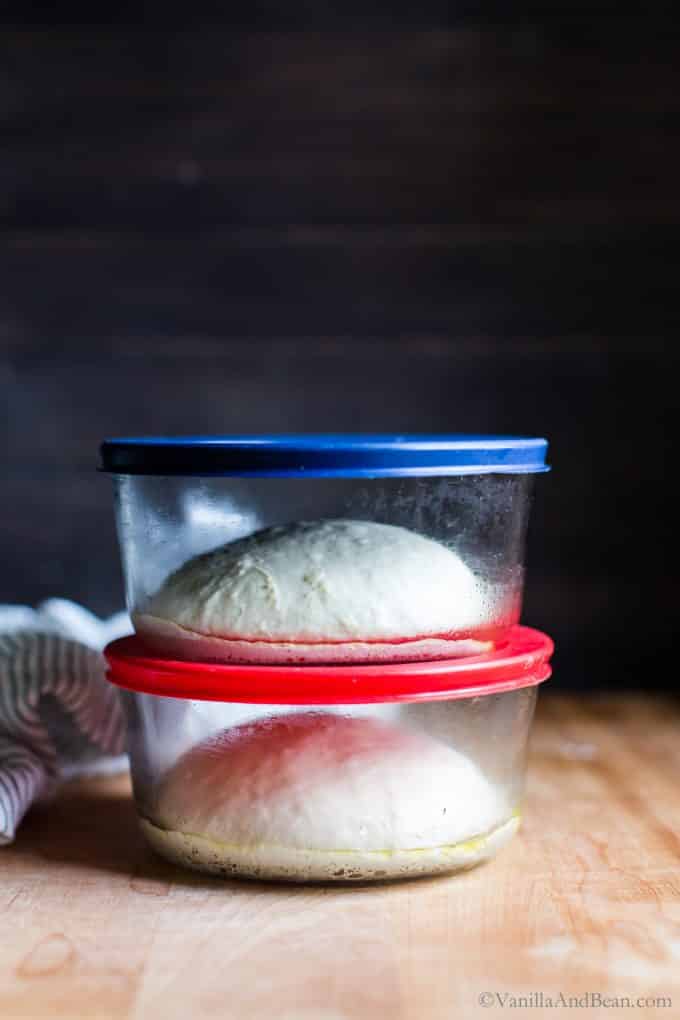
While the dough rests for 10 minutes, this is a good time to prep your proofing containers. I use 4 cup (950mL) lidded glass bowls for this. It helps the dough hold its shape and, they’re reusable! Bush each container with olive oil.
Proof Two Ways (second rise)
After shaping the dough, there are several ways to proof the dough, depending on your schedule:
Refrigerator: After shaping the dough, and putting the dough balls into proofing containers, you can pop it in the fridge for up to two days. It will continue to rise in the refrigerator, just at a slower rate. You’ll need to pull the dough from the fridge about two to three hours before you’re ready to make pizza so it can finish rising and/or warm up to room temperature (this at a room temperature of 65-68F).
Room Temperature: If you’re ready to make pizza sooner than later, you can skip refrigeration and proof the dough at room temperature for about one and a half hours (this at a room temperature of 65-68F) right after shaping the dough. The warmer the kitchen, the quicker the rise. Keep an eye on it.
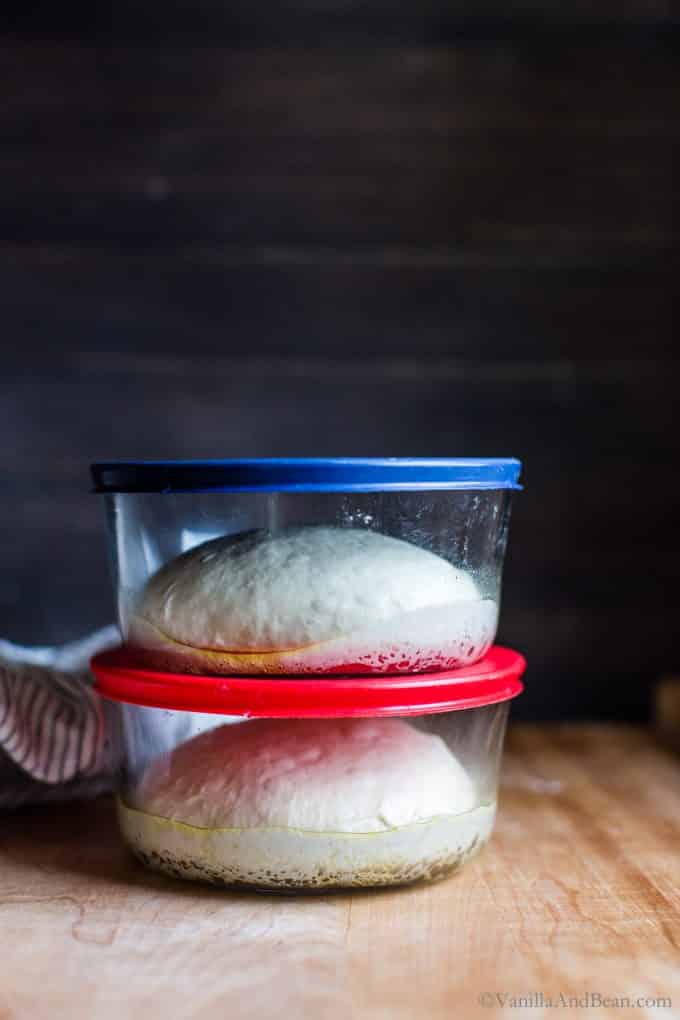
When is the Proofed Sourdough Pizza Dough Ready?
The dough is ready to make pizza when it’s risen between over one and a half times in size to just doubling in size, is puffy and springy to the touch (it’s pretty forgiving – just make sure it’s at room temp).
In a Hurry? I usually don’t advocate for speeding up sourdough, but this is a time where you can. If you want the proof to go a little more quickly, pop the dough balls in the proofing vessel in a turned off oven with the light on. This will speed the process a bit.
_________________________
Let’s Shape the Pizza!
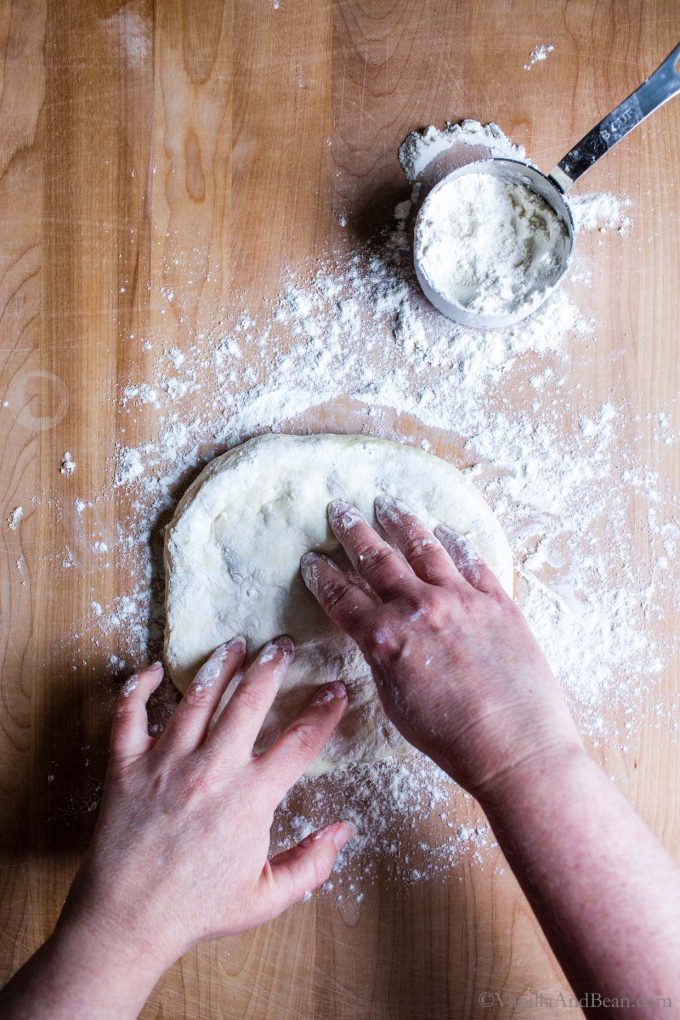
How to Shape Sourdough Pizza Dough Video
Let’s Get Ready to Bake!
Preheat the Oven & Sheet Pan and/or Pizza Stone: to 550F preferably, or 500F if that is as hot as your oven gets. You’ll want to preheat for at least 45 minutes.
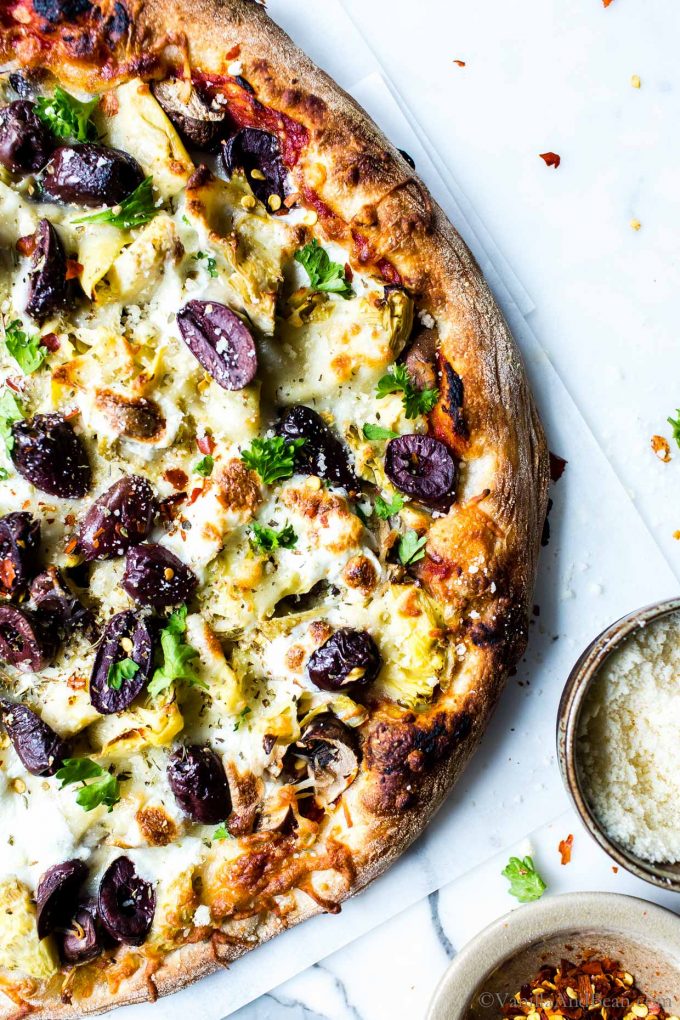
Just before getting ready to shape the dough, and while your oven is preheating, gather and prepare the ingredients, chopping small or slicing thin. When making pizza, less is more for a crisper bottom crust (but don’t look at my pizza below – I pile on the toppings!).
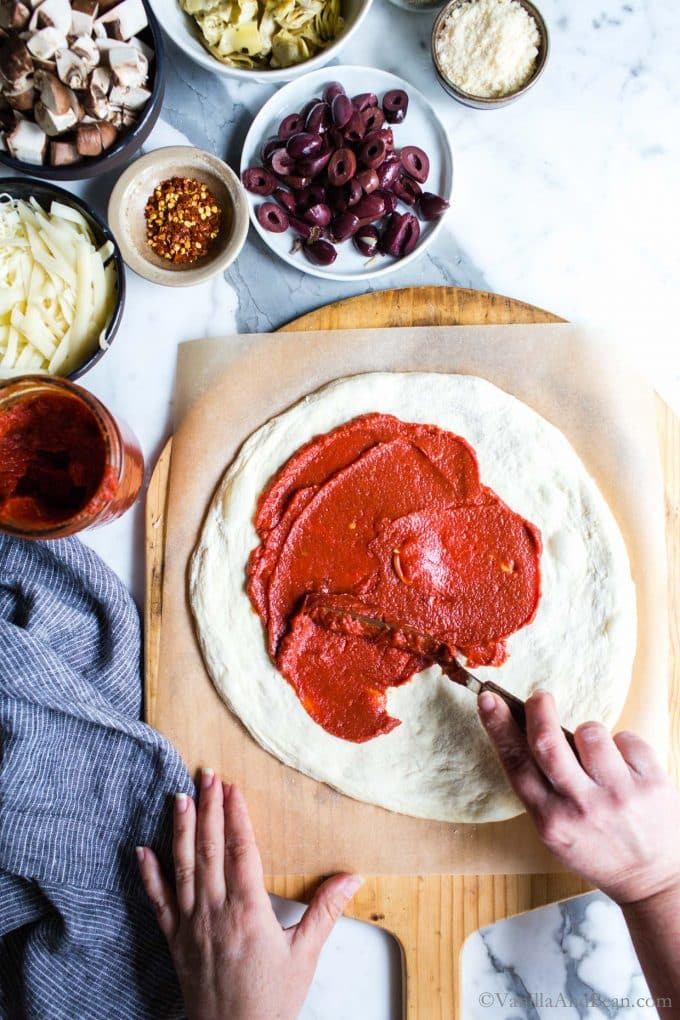
Add the Toppings
The delicious thing about pizza is that you can personalize it. Setting up a pizza bar is a fun way to entertain and also let the family create their own masterpiece. Let your cravings guide you!
For the sauce, you can opt for a rich and thick red pizza sauce, or go for pesto. Try my spinach basil pesto, lemon basil pesto, or garlic scape pesto or a white sauce. A thin layer will bring out the best potential for the bottom to crisp up.
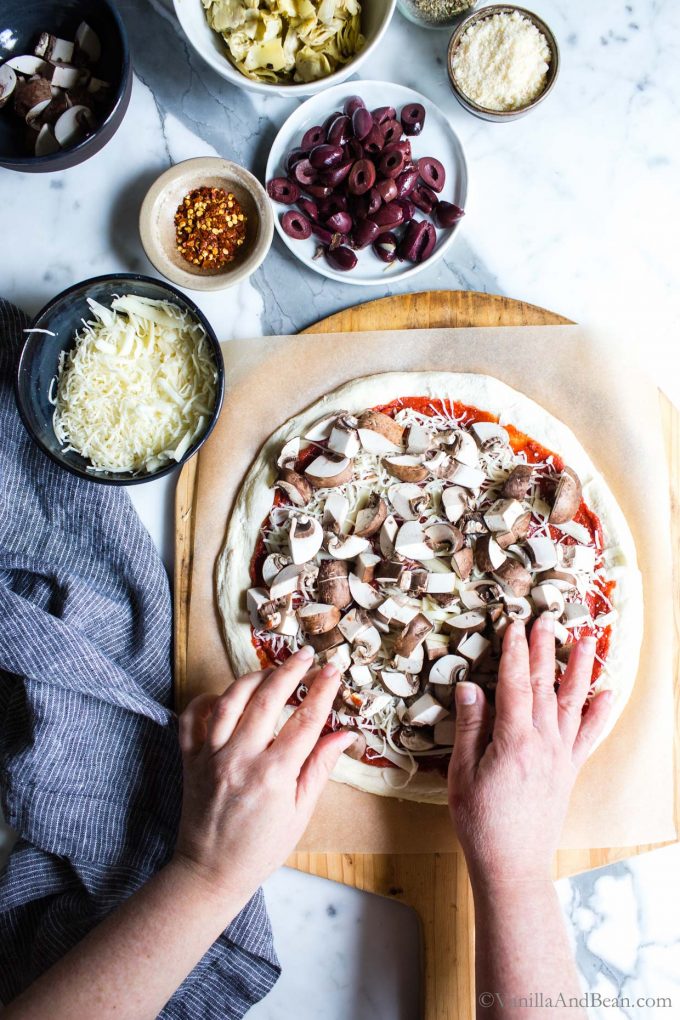
The Toppings: Less is more when it comes to pizza toppings, depending on how crisp/chewy you prefer the bottom crust to be. More veggies = softer crust.
Bake the Sourdough Pizza
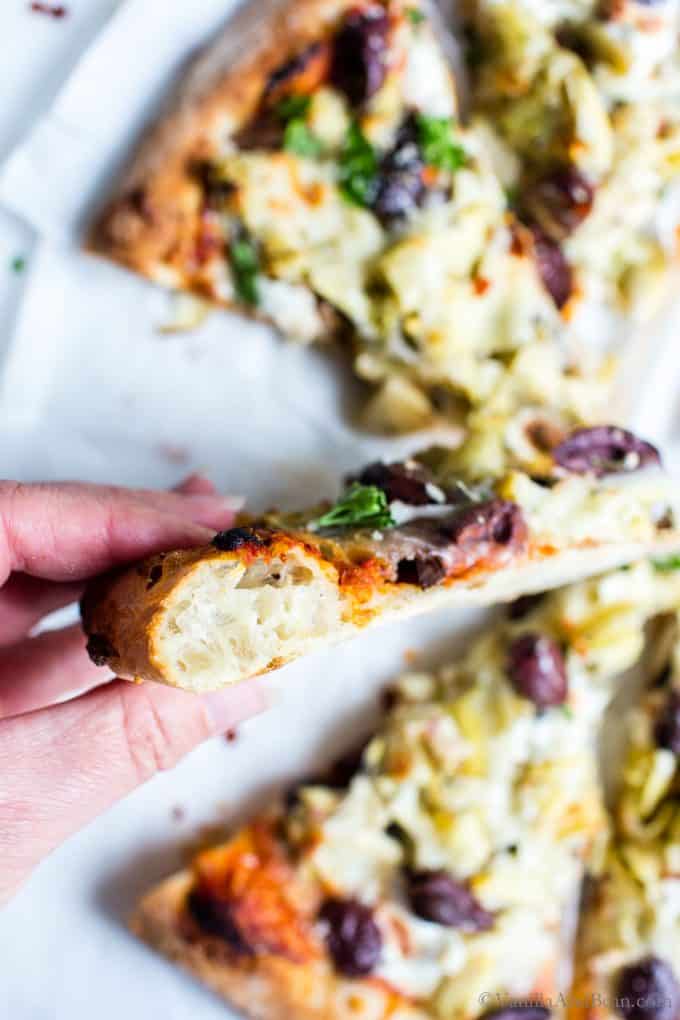
Bake the pizza for about 7-9 minutes, or until the cheese is melty and the crust is golden with some charring. It bakes fast, so keep an eye on it! Use the peel or back of a sheet pan to remove the pizza from the oven and transfer to a cutting board.
Allow the pizza to rest for about five minutes before cutting into it. Your sourdough pizza is ready!

Traci’s Tips
- Note that parchment paper is generally rated for use under 500F. So at 550F, with any overhang, beyond the sourdough pizza dough, the paper will char and become brittle. Cooks Illustrated has more on this.
- Timing: Use the times mentioned in the recipe as a guide rather than a determining factor for when the sourdough pizza dough is done fermenting and proofing. The ambient temperature and how active your starter is will determine when the dough is ready. It’s ready when it’s ready.

Overnight Sourdough Pizza Dough (with Active Starter)
Ingredients
For Four 11" Pizzas:
- 1/4 C (50g) Sourdough Starter bubbly, doubled in size, active starter
- 1 1/3 C + 2 Tbs (350g) Water 80f (26c) **See note on Hydration
- 3 Tbs (30g) Extra Virgin Olive Oil plus more for proofing vessels
- 3 C (410g) Bread Flour
- 1/2 C + 1 Tbs (100g) Whole Wheat Flour or Whole Wheat Bread Flour *see note for flour subs
- 1 1/2 tsp Fine Sea Salt
For Two 11" Pizzas:
- 2 Tbs (25g) Sourdough Starter bubbly, doubled in size, active starter
- 3/4 C (175g) Water 80f (26c) **See note on Hydration
- 1 1/2 Tbs Extra Virgin Olive Oil plus more for proofing vessels
- 1 1/2 C (205g) Bread Flour
- 1/4 C + 2 tsp (50g) Whole Wheat Flour or Whole Wheat Bread Flour *see note for flour subs
- 3/4 tsp Fine Sea Salt
Instructions
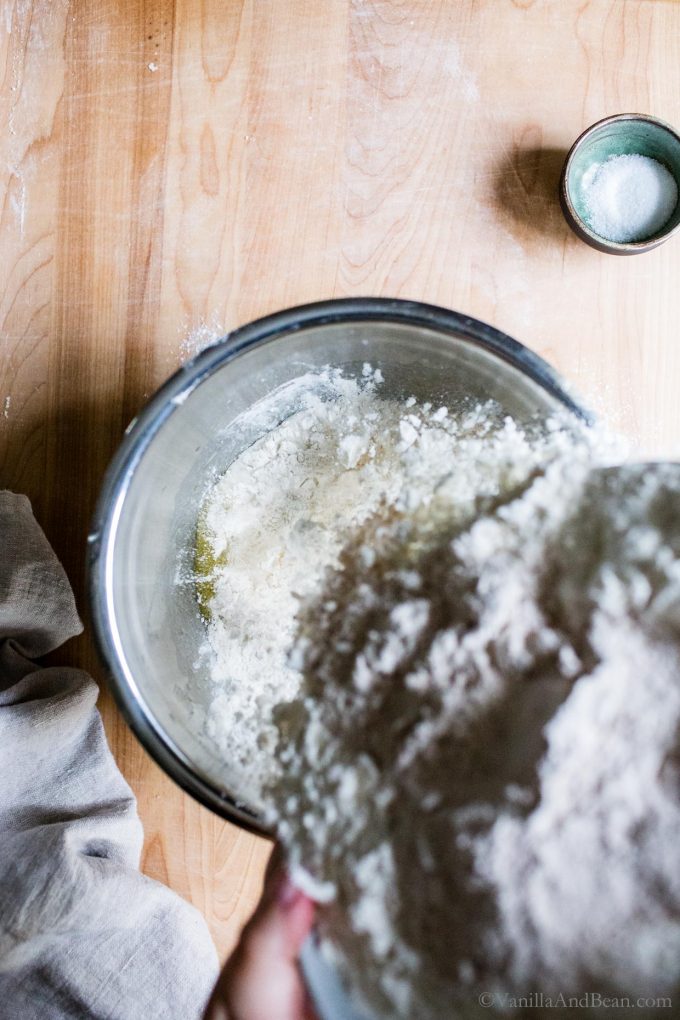
Mix the Dough:
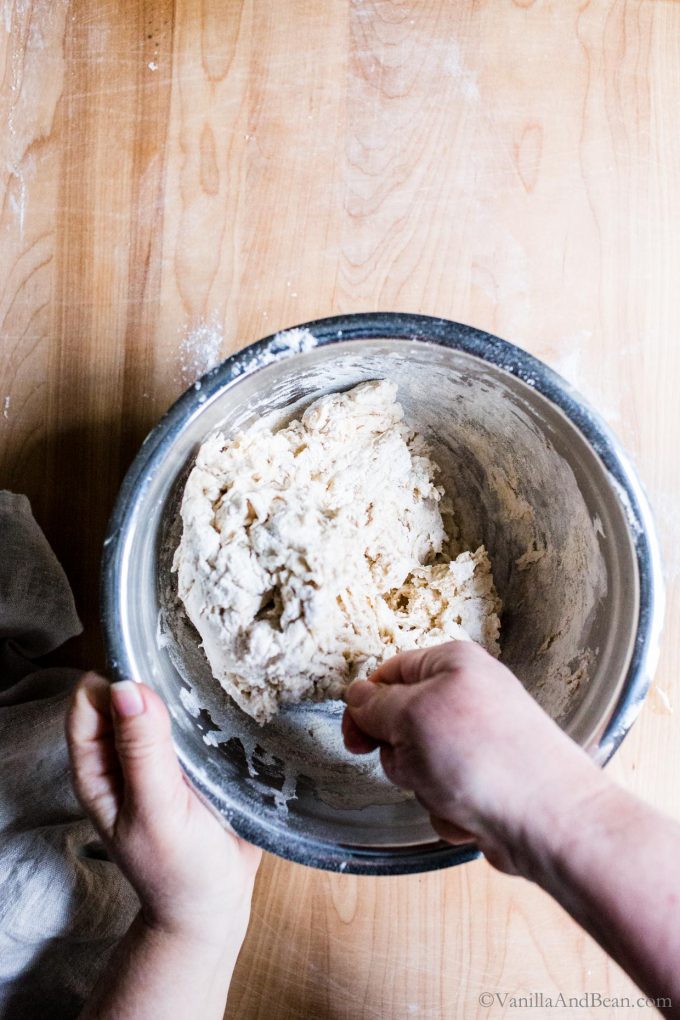
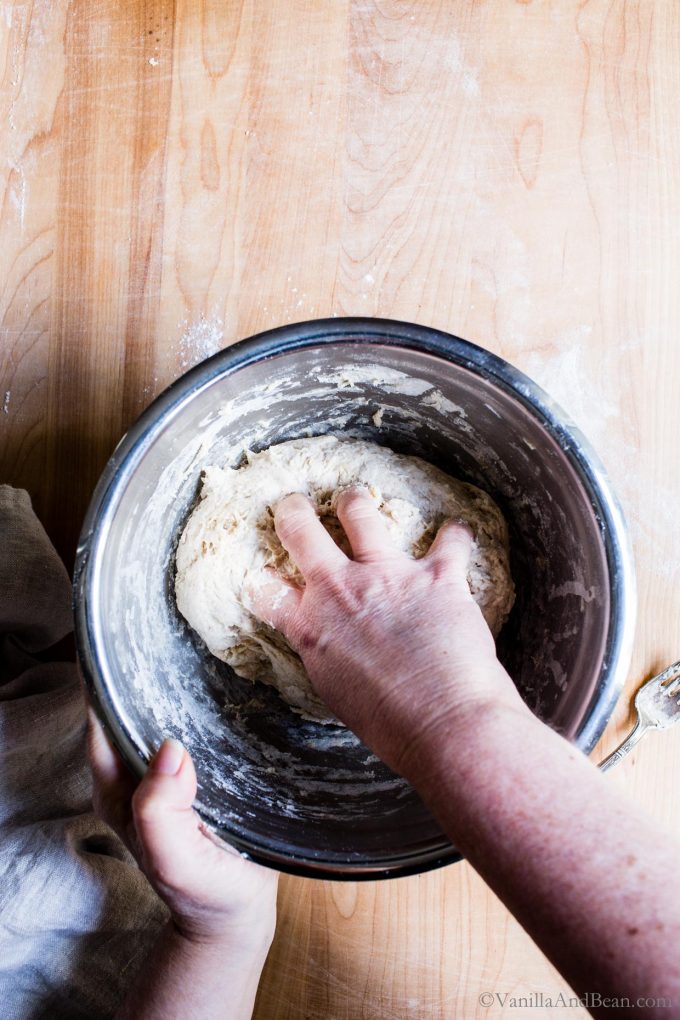
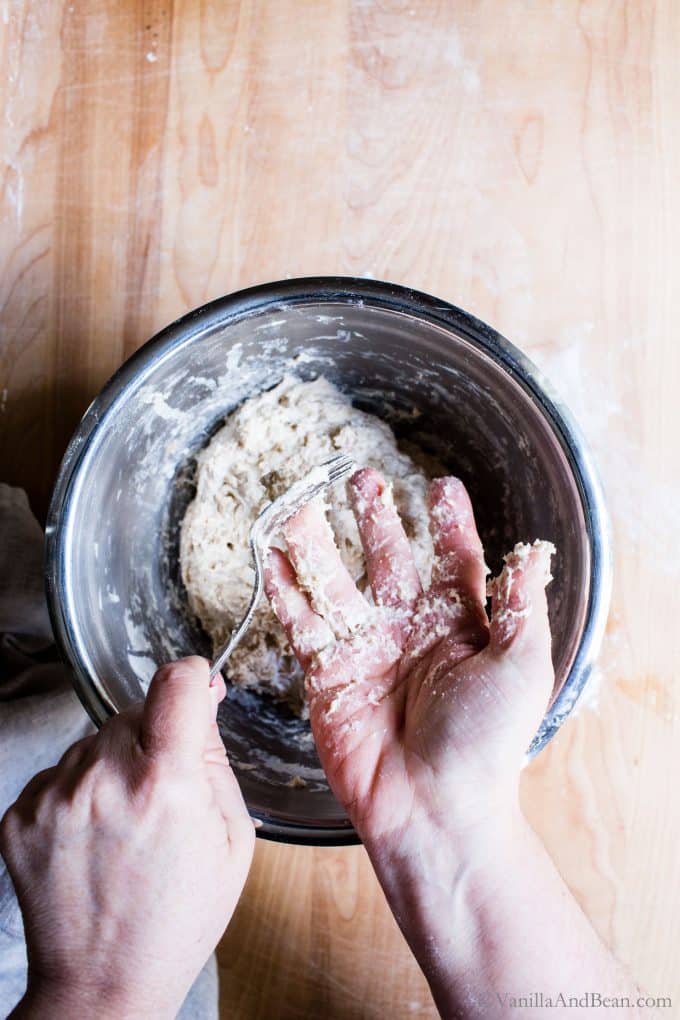
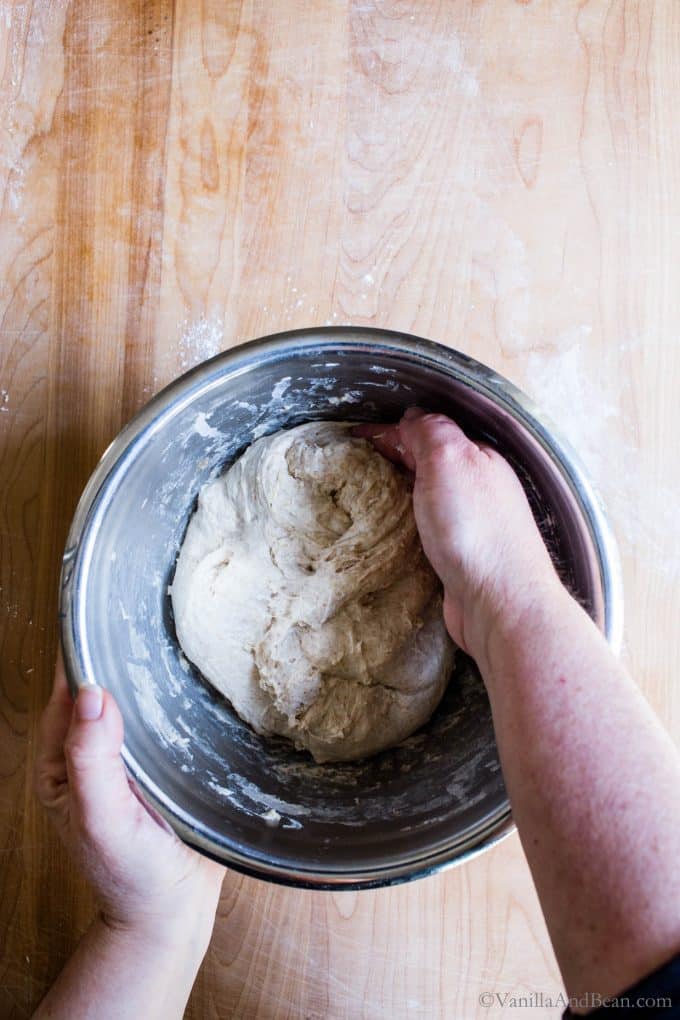
- In a large mixing bowl for 4 pizzas (or a medium bowl for 2), add the starter, water and olive oil. Mix with a fork, then add the flour and salt. Mix with a fork until a shaggy dough forms. The dough will seem dry. Switch to kneading with your hand, using your fingers like claws and by folding the dough to knead until there are no dry bits left. The dough will feel stiff and sticky at this point
- Use the fork to scrape the dough off your fingers. Cover the bowl with a damp tea towel and allow to rest for 30 minutes at room temperature.
Fold the Dough:
- Once the initial rest is done, fold the dough. This simply means to take a portion of your dough, while still in the bowl, gently stretch it and press it down towards the center of the dough. Repeat this process until you work all the way around the dough. Notice how the dough changes from when you first kneaded it. It should be softer, not as messy and more playable, although still sticky. TIP: Moisten your fingers with water before handling the dough – it won't stick as much.At this point you can leave the dough to bulk ferment at room temperature OR you can do up to two more folds over the next hour at 30 minute intervals. Performing folds builds strength and structure and improves the overall quality of your dough. Do whatever fits your schedule. You'll still have a fabulous pizza either way!
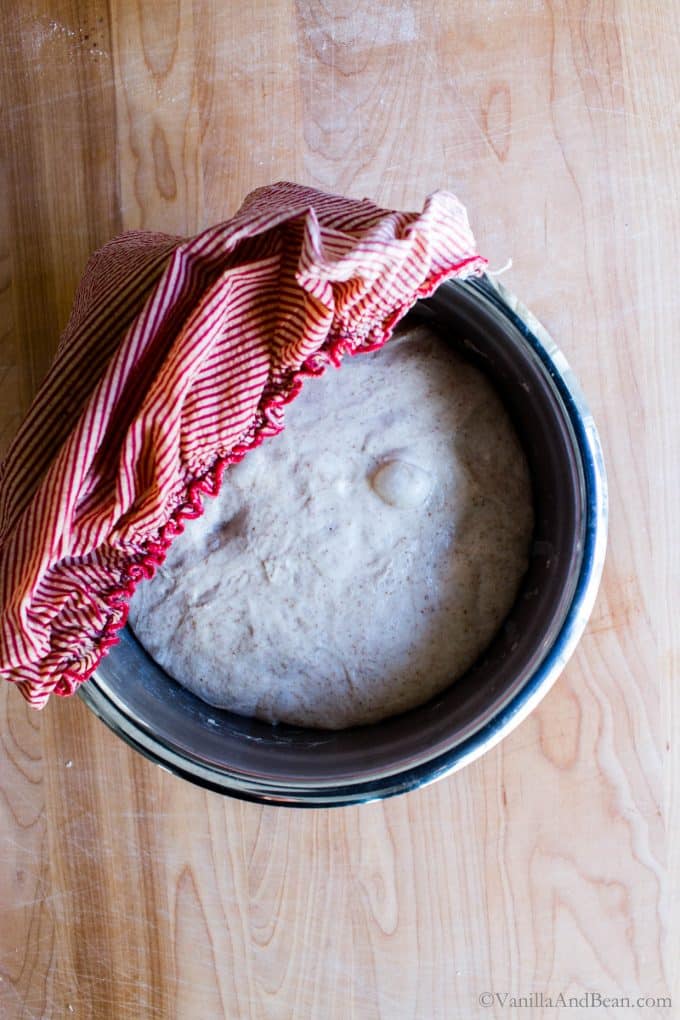
Bulk Fermentation (first rise):
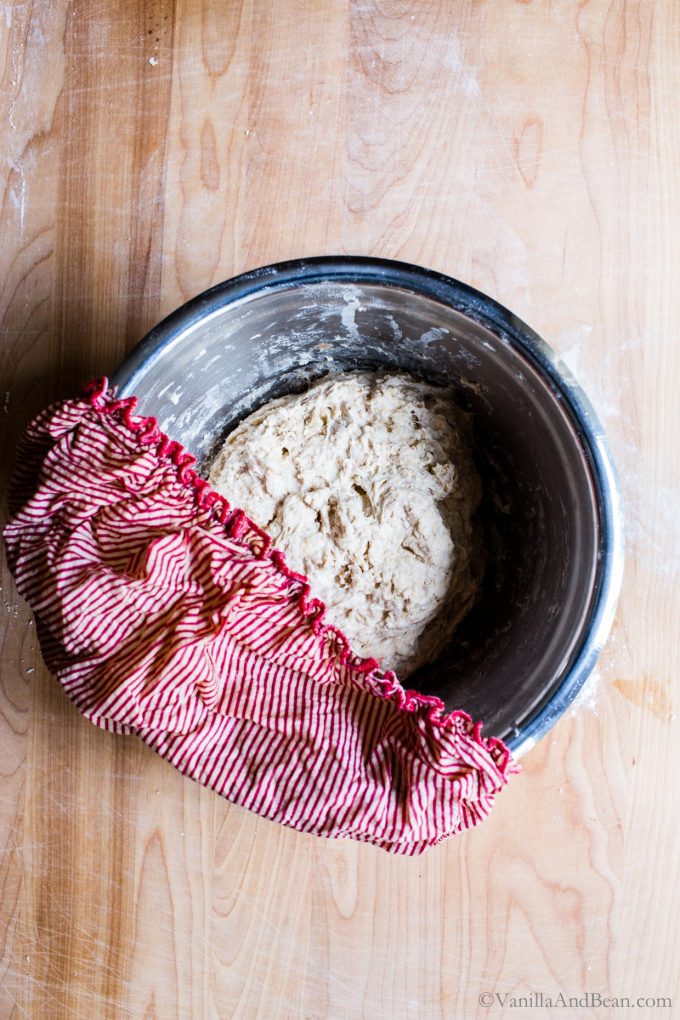
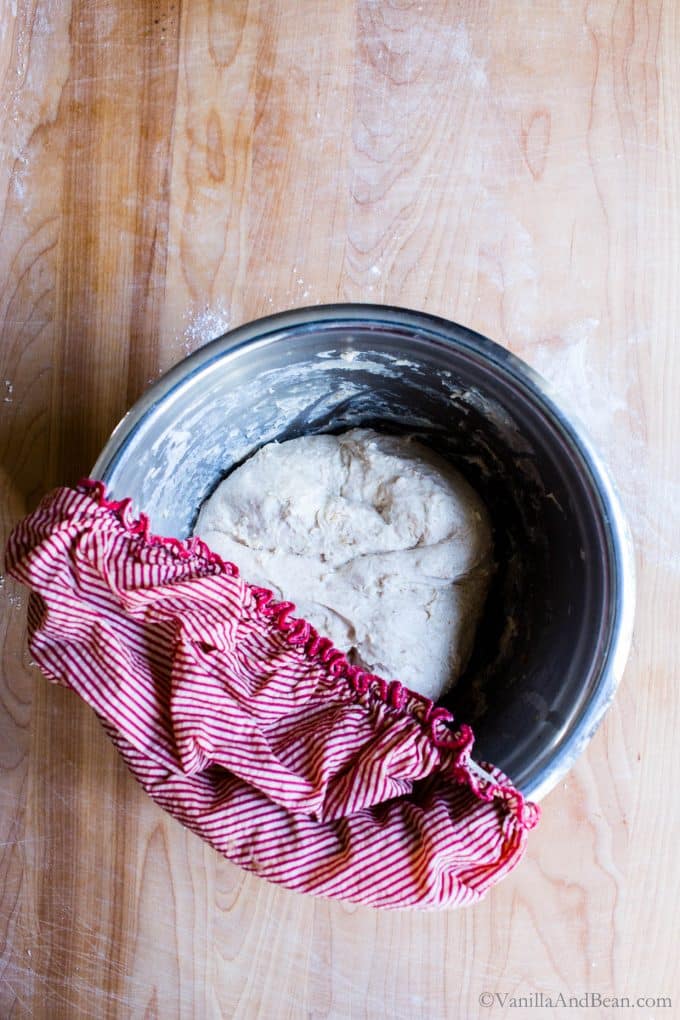
- Cover the bowl with two damp tea towels (doubling up keeps the dough from drying out). Rest the dough at room temperature until it doubles in size, is jiggly and no longer looks dense. At 70F (21C), this will take anywhere from 8-10 hours. In my cooler kitchen, 65-68F (18-20C), it takes upwards of 12-14 hours to double in size. Use this time and temperature as a guide and not a determining factor for when the dough is ready. It's ready when it's ready.
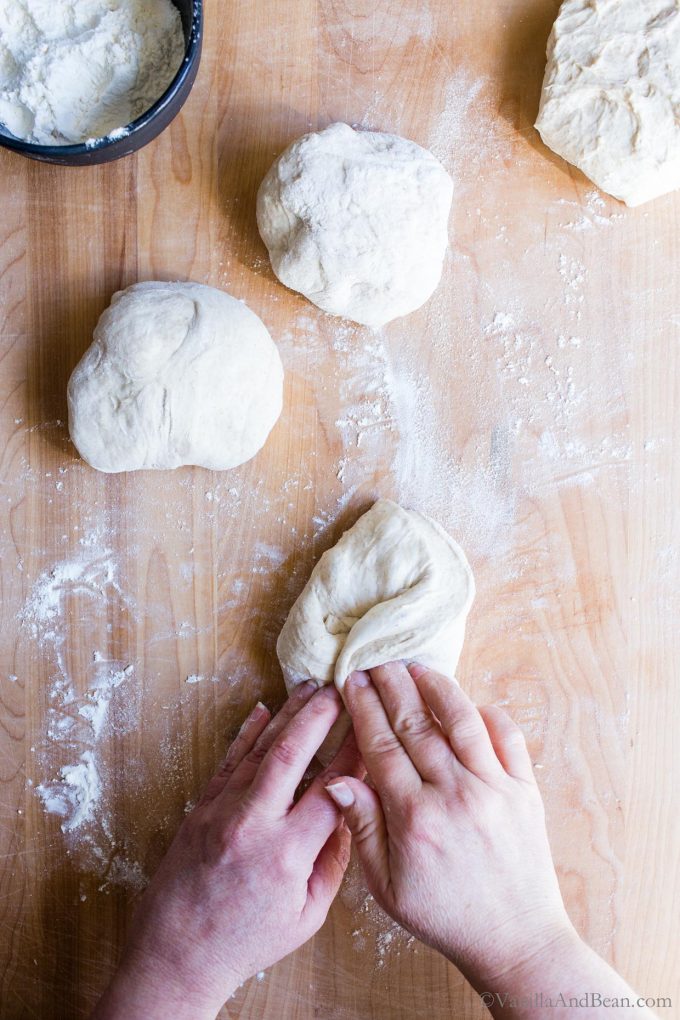
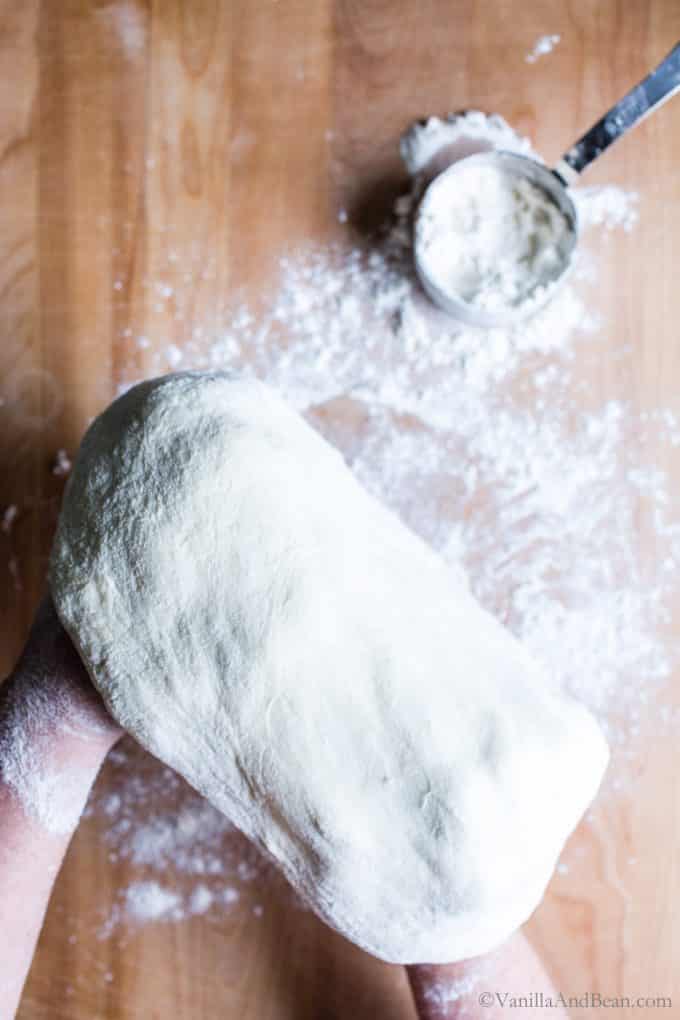
Initial Shaping:
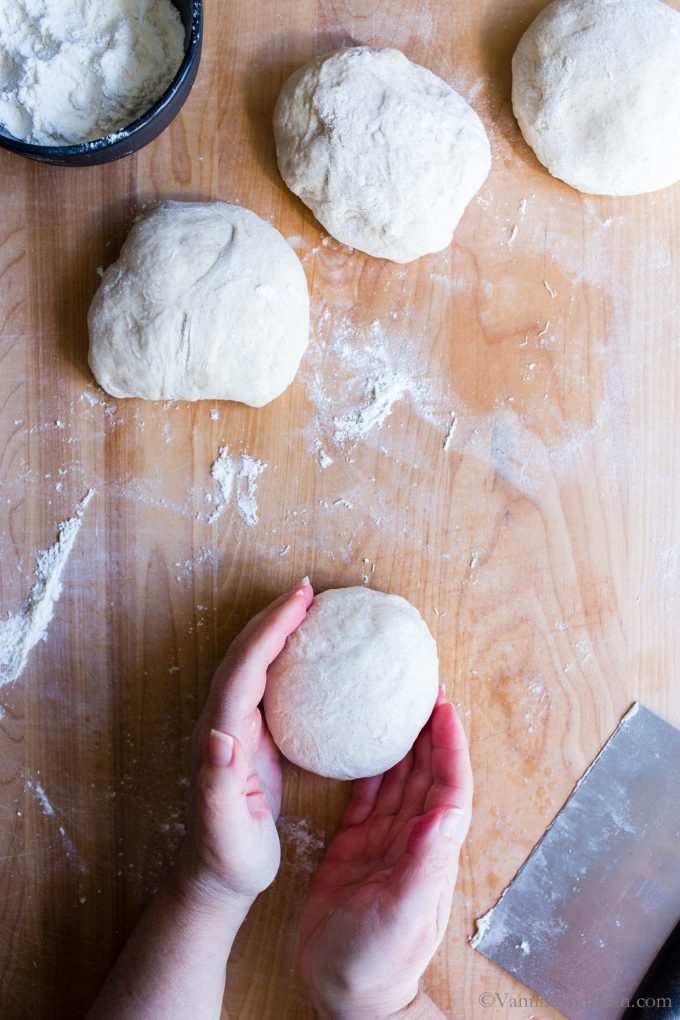
- Once the dough has doubled in size, it's time to shape the dough. Coax the dough out of the bowl and onto a floured surface. Divide the dough into equal pieces using your bench scraper – four for four 11" pizzas or two for two 11" pizzas. Then shape each piece into a rough round by folding each side to the middle, then the top and bottom. Flip the dough over and allow it to rest for about 10 minutes (set a timer). This is a good time to prepare your proofing vessels. I like to use a 4 C (950mL) lidded glass bowl for this – one for each ball. It helps the dough hold it's shape and they're reusable. Zip top or reusable food storage bags can be used as well. Simply brush the vessel throughly with olive oil to prevent sticking. After the bench rest, shape the dough into dough balls. Make sure the skin/surface is taught, then transfer the dough to it's proofing container seam side down. Put a lid on the container or seal the bag. (see VIDEO tutorial below).Time to Freeze the Dough (optional): If you opt to freeze your dough balls, this is the time to do it. Freeze them in zip top bags or in their glass storage containers. When ready to use, thaw them out overnight in the refrigerator, then carry on with proofing the following day. Note that the dough doesn't quite bake up as beautifully as fresh dough, but freezing is an option.
Proof the Dough (second rise):
- After shaping the dough, there are two ways to proof the dough, depending on your schedule.A. Refrigerator: After shaping the dough, you can pop it in the fridge for up to two days. Keep in mind that it's still rising as it sets in the fridge, but at a much slower rate. Set the dough in its proofing vessel on the bottom shelf if you can. Two to three hours before you're ready to make pizza, pull the dough out of the refrigerator and set at room temperature so the dough can finish rising and/or warm up to room temperature (this at a kitchen temperature of 65F). Trying to shape pizza with cold dough is frustrating and results in a lackluster crust, so make sure you give it time to warm up to room temperature and finish rising. B. Room Temperature: Right after shaping the dough and If you're ready to make pizza, skip refrigeration and proof the dough at room temperature for about one and a half hours (this at a kitchen temperature of 65F). The warmer the kitchen, the quicker the rise. Keep an eye on it. When is the Dough Ready? The dough is ready to make pizza when it's risen between over one and a half times in size to just doubling in size, is puffy and springy to the touch (it's pretty forgiving – just make sure it's at room temp). PRO TIP: In a Hurry? I usually don't advocate for speeding up sourdough, but this is a time where you can! If you want the proof to go a little more quickly, pop the dough balls in their proofing vessel, in the oven with the oven turned off and the light on. This will speed the process a bit.
Let's Make Pizza!:
- Prepare the Oven: Place an oven rack on the second setting from the top. If making a second pizza, set another rack two positions below the top one. You can easily bake two pizzas at a time. Place an upside down sheet pan and/or a pizza stone on a rack, one on each rack if baking two pizzas. If you proofed the dough in your turned off oven, remove the dough now.Preheat the Oven & Pan/Stone: to 550F. You'll want to preheat for at least 45 minutes.
- Have a sheet of parchment paper ready for each pizza you're making. Also, have a pizza peel or sheet pan standing by to slide the shaped and topped dough on for transferring the unbaked pizza to the oven and onto preheated pan and/or baking stone.Prepare Ingredients: Just before getting ready to shape the final dough, gather and prepare all your ingredients, chopping small or slicing thin. When making pizza, less is more for a crisper bottom crust (I over top my pizza – so don't go by example if you want a crisper bottom crust). You can opt to saute the veggies before putting them on the pizza if you like. I go with raw.
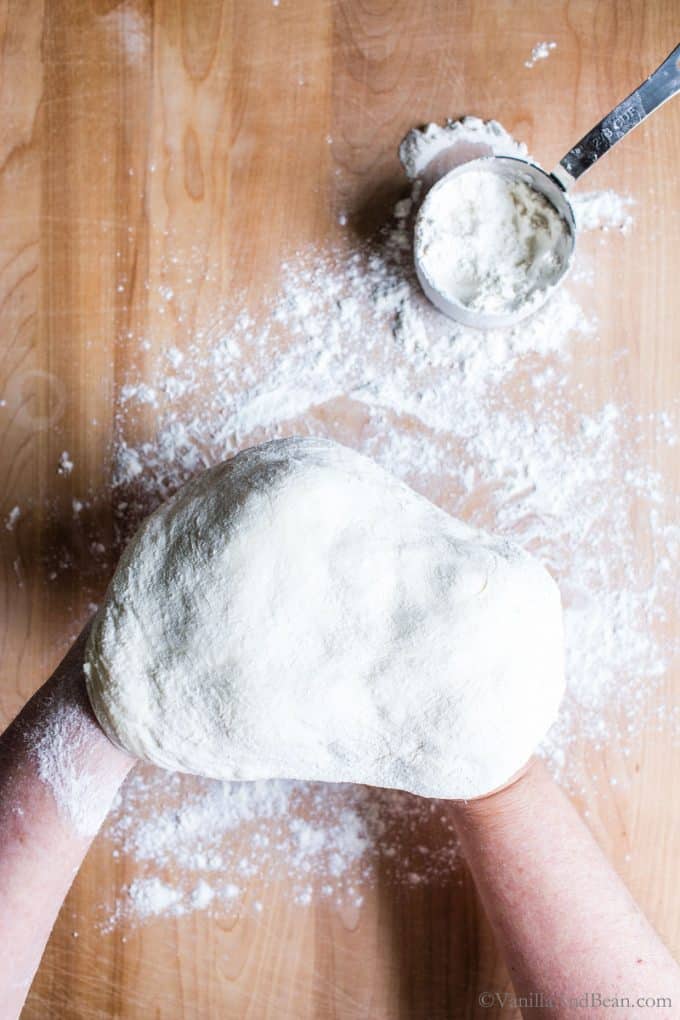
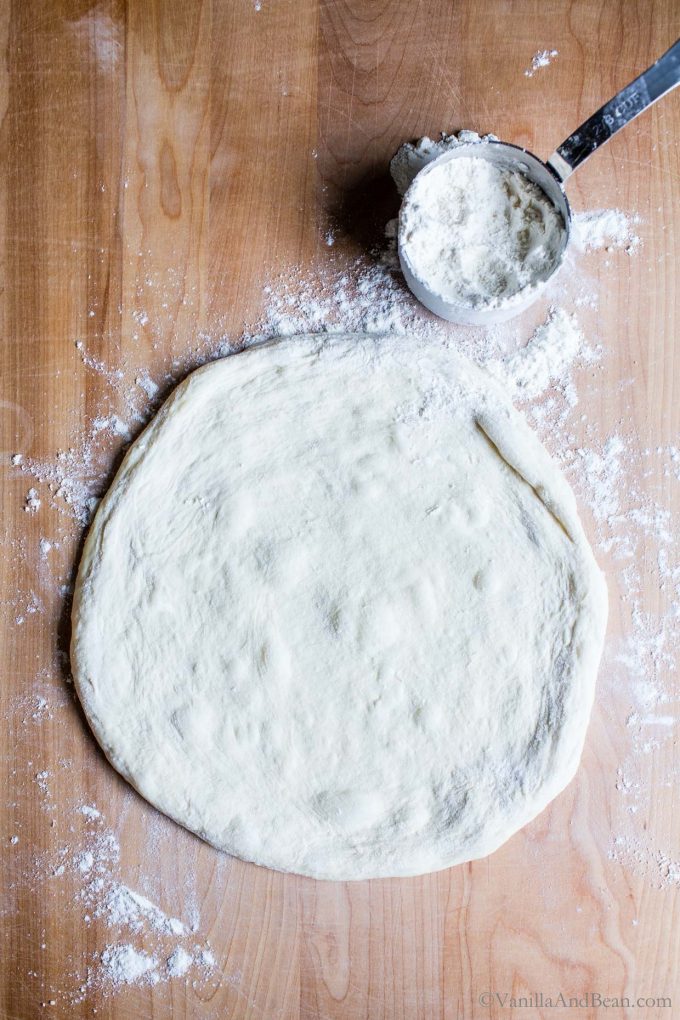
- Shape the Pizza Dough (see how to shape VIDEO below): Don't be shy with the flour here! Gently nudge the dough out of the proofing vessel and onto a floured surface trying to keep it in a round as best you can. Flour the top and edges of the dough generously. If it's sticking to anything, sprinkle a bit more flour. Dimple the dough using your finger tips on both hands gently pressing down to the surface of the board (think focaccia) 4-5 times. Avoid the outer 1/4"- 1/2" of the dough – this is your crust edge. Pick the dough up and place it on the backs of your fisted and floured hands gently pulling and stretching the dough while moving your hands to transfer the points of contact with the dough. Shape into a disc shape taking care not to rip the dough. Place back down on your floured surface. Is the shape how you like it? If not give it a few stretches again using the back of your hands until you're happy with the shape. The dough should measure 11" (28cm). Don't worry if it's not perfectly round – a rectangle or amobea shape works too! If you feel the dough is tight, place it on the board and let it rest for about 5 minutes before you attempt shaping again. It will relax as it rests. If making two pizzas, shape them both, one after another.Transfer each pizza round to a piece of parchment paper and trim the edges of the parchment flush with the pizza dough, leaving just enough overhang to act as a handle. Note that parchment paper is generally rated for use under 500F. So at 550F, with any overhang, the paper will char and become brittle.
- Add the Toppings – less is more! (see a crispier option in the notes***): The Sauce: Spread a thin layer of sauce on the pizza. You can opt for a red pizza sauce, your favorite basil pesto or garlic scape pesto or a white sauce. A thin layer will bring out the best potential for the bottom crust to bake through. The Cheese: A limited scattering of cheese on top of the sauce is a delicious way to add layers to the pizza. I like fresh shredded parmesan. Then, after the veggies and for the top, try a variety (in a limited amount) of cheeses like an Italian blend, shredded mozzarella, fresh mozzarella and/or feta. The Veggies: Less is more when it comes to pizza toppings. I don’t mind if the bottom crust is a bit soft so I pile on the toppings. If you prefer a crisper crust, go light on the sauce and toppings. My favorite pie includes mushrooms (raw), marinated artichokes (squeezed of its juices/oils) and Kalamata (drained throughly).
Bake the Pizza:
- Working quickly (you don’t want the raw dough with the toppings to hang out too long), transfer the pizza onto a pizza peel or the back of a sheet pan using the parchment as a handle if needed. Open the oven and pull out the rack with the preheated stone or pan. Slide the pizza onto the preheated pizza stone and/or pan using the parchment as a handle if needed. Be careful as the oven is HOT! Repeat with the second pizza if making two. Bake the assembled pizza(s) for 7-9 minutes OR until the dough is golden brown with some charring, the cheese has melted and sauce is bubbly. The pizza bakes fast at high heat, so keep an eye on it! Remove the pizza(s) from oven and allow to rest for five minutes. Cut into 8 equal pieces and enjoy!
Store Leftover Pizza:
- Store pizza leftovers in a lidded container in the refrigerator for up to three days. Reheat at 350F for about 10 minutes.


I did the float test and it passed. So I tried it. So this morning I retried because the starter was way more active and it has been sitting for about 4 hours and nothing. The room temperature is about 65-70 degrees. We have a little heater in our bedroom and that is where I had it.
I made a dough yesterday evening, and it was in a warm room all night and it did not rise at all. The dough feels heavy.
Hi Deiadre! Oh no! Can you tell me a little more so I can help troubleshoot? It sounds like a starter issue. Was your sourdough starter at least doubled in size, active and bubbly? What was the average temperature of the room while the dough was rising?
I’m back again.. my crust has not been cooking all the way through.. I don’t know where I’m going wrong. The dough has not been getting brown and staying gummy :(
Hi Leah! Oh no! I’m sorry to hear your crust isn’t cooking through. I’m curious if you’re employing an external oven thermometer to check the true temperature of your oven? It’s pretty typical that the temperature gage on the oven doesn’t reflect the true temperature of the oven. This *could be the reason your pizza isn’t cooking properly. Did your dough double in size before baking? How did the shaping go? Let us know, okay?
Thank you! Yes I think it doubled but I need a better gauge on that. And I haven’t tested my oven but im reading about that! I might just get by with your discard recipe for now ;)
Is three days in the fridge pushing the limit? Im making my dough on Monday and plan to use Friday evening. Should I just freeze the dough?
Hi Leah! I would freeze it, but for no longer than about a week. I hope you enjoy the pizza!
I will give it a go thank you!!
Can you par bake and then store the crust for a day or two and then bake with it? And store par baked in freezer for easy pull out pizza nights?
Can you use pizza flour with this recipe
Hi Julie! I’ve not par baked or used pizza flour (is that 00 flour?) in this recipe, so I’m not sure how it would turn out. If you experiment, please let us know how it goes!
Great crust. And I appreciate all of the tips and tricks that you provide in your post. Thank you for sharing all of that information. I had a great-tasting pizza on the 1st try (with my first use of a sourdough starter)!
Thank you for your note, Sharon and giving the recipe a go! So excited to be a part of your sourdough journey! Hooray for great tasting homemade pizza!
Where is the actual RECIPE? I’ve been trying to find it and read it can be found on the recipe card. And where is that found?
Frustrated
Hi Charlotte! The recipe card is at the bottom of the blog post on the recipe card. On the recipe card, you’ll see features such as prep time, cook time, calories, servings etc. and the recipe itself. There’s a print button and save button as well if you’d like to use those features. If you look at the top of the blog post, or the area you land on when you come to Vanilla And Bean, there’s a link “jump to recipe” that will take you right to the recipe card if you’d prefer to skip step by step photos, commentary and recipe tips.
What a wonderful pizza dough. I do have to ask though- I froze 2 for the next week and they are extremely dense after baking. Is there a reason for this?
Hi Jessie! Thank you for your note and giving the pizza a go. So glad you’re enjoying the recipe! I’m curious about your process after freezing the dough? It needs to be thawed in the refrigerator (overnight), then proofed about 3 hours before tossing the dough. Because the dough was dense, it sounds like maybe the dough was under-proofed.
Wow thank you! It did thaw in fridge but I only left it out for about an hour so it must have been underproofed. Thank you!
This is the best pizza crust we have ever had. I replaced half of the water with yogurt whey. So yummy. Thank you for the recipe.
Best news ever, Sandra! Thank you for your note and giving the pizza crust a go!
Hi! I’ve tried this recipe before and we truly enjoy it! I am making some freezer meals for my SIL as they’re getting ready to welcome a new babe! Would it be possible for me to fully make and cook this and then freeze it for them or would not recommend? Thanks!
Hi Cate! Thank you for your note. Such a sweet thing to do for your SIL! 😀 Since I’ve not tried freezing after baking, I’m not sure how the crust would hold up. If you test it, I’d love to hear if it works.
looks tasty! https://vanillaandbean.com/sourdough-pizza-crust/
Gratitude! Have made this several times this year and feel it is time to say thank you as it has become my/our go-to pizza dough recipe. Have now shared it with friends and family. Wish I could share a photo…
Hooray! Thank you SO much for your note and sharing with friends and family, Bern! SO happy to hear you’re enjoying the sourdough pizza and it’s on repeat!
Perfect! Made 2x 11”. Let the second proof go in the fridge 2 days cause, well, life. Baked on my cast iron pizza pan. Keeper!
Hooray! So happy to hear, Emily! Love the 2 day fridge rest and cast iron pan. Thank you for coming back, sharing a note and rating the recipe!
The absolute best pizza dough out there. We have made it twice and both times it was both delicious and easy to handle. Thanks for sharing.
Hooray, Santina! Thank you for coming back and sharing your thoughts. I’m super happy to hear y’all are enjoying it! Easy to handle is key :D
Hi Traci!
I’m looking forward to my first attempt at making pizza dough. I’m confident that it’ll turn out great because your recipes always hit the mark. I have one question: does this recipe make 4 – 11” pizzas or 2 – 11” pizzas?
Thank you!
Hi Camille! Thank you for your note and sending a smile. Hooray for your first attempt – SO excited! You can make four, 11″ pizzas or two, 11″ pizzas, – your choice! I wrote the ingredients for either portion on the recipe card for convenience. I usually make two for Rob and I, so we can have leftovers, but when we have guests or family over, I make four or more! Please keep in touch and let us know how you do!
Made this pizza crust for the first time and it was the tastiest crust ever! Thanks so much for this recipe!
Hooray! Thank you, Savannah, for coming back, leaving a note and rating! Here’s to more homemade pizza!
I’m sorry if someone has already asked this, I tried to scan the comments first to see.
But how long can the dough stay in the refrigerator before taking out to bake? I mixed up the dough today (Thursday), but I was hoping to use them on Saturday without freezing them, because they haven’t turned out as well like you said, after freezing.
Hi Leah… I’m glad you asked! The shaped dough will be fine in the fridge for about 48 hours, so I wouldn’t hesitate using the dough on Saturday. A reminder to mix some dough myself!
I made it and found that the dough did not cook through. Also did not have big air bubbles as I expected 😔
Hi Rose! I’m sorry to hear this recipe didn’t work for you. I’m curious about oven temperature and if the oven was hot enough. Also for big airy bubbles, look for a recipe that’s a higher hydration and doesn’t include whole wheat. Whole wheat offers an earthy flavor but it weighs down the dough. I hope this helps!
Used this recipe and made 2 pizzas, the dough was delicious…..My husband said it was his favorite so far out of all my pizza dough trials. When I first pressed the dough out to make the pizza shell, it seemed a bit thin but the end result was fantastic. I cooked the pizza in a flat cast iron, one I use for tortillas, I added a sprinkle of oil and put just the dough in the oven for about 3 min then took out and added topping. Cooking the dough first made the dough rise a bit so it was not so thin for the toppings.
Hi Bonnie! Thank you for your note and giving the pizza a go. So happy to hear your hubs loved it too :D Excellent tip about baking on a flat cast iron… I’m going to try that! If you give the dough a few pokes with the tines of a fork (dock the dough) it’ll help keep the air from pushing the pizza crust up – so you’ll have a flatter surface for your toppings. Thank you again, Bonnie!
This is my favoriet of all the sourdough crust recipes i have tried. I have used it with many different flour combos and its always greatand my official go to crust recipe
Hi Janna! Thank you for your note and giving the recipe a go. So happy to read your note!
I have tried A LOT of sourdough pizza dough recipes but this one is the very best of them all. THANK YOU! Amazingly soft chewy crust. Just perfect. Excellent instructions and easy to follow.
Hiii Melissa! Thank you for your note, rating and giving the recipe a go! So happy to hear you enjoyed the sourdough crust and that the directions were easy to follow. Here’s to delicious, homemade pizza!
My new favorite pizza crust recipe! Thank you so much.
Made a neopolitan and a white pie. Both were incredible.
Hooray Michelle! Thank you for your note and sharing your thoughts. So happy to hear! Your Neapolitan and white pie sound fabulous!
This is amazing flavorful wonderful textured dough. I have two different starters
I made a batch of dough with each .
Made home made tomato sauce
the end result delicious margherita pizza’s
Thank you
Hi Avra! SO happy to hear you enjoyed the sourdough pizzas! Thank you for your note and giving the recipe a go. What fun, two starters and a margherita pizza! Hooray!
It was perfect the first time. I learn so much from you as well! Keep it up great post.
SO happy to hear Ghulam! Thank you for your note, rating and giving the recipe a go. Here’s to homemade pizza!
Thank you Sarah! It’s such a treat and especially that it’s homemade!
Thanks so much for this recipe! My daughter is staying with us during Covid lockdown. We made the sourdough pizza crust and absolutely loved it. The directions were easy to follow and we especially loved the tip for transferring the crust to the oven using the parchment paper. It could have been a real disaster without it.
Hi Teresa! Ohhh, so happy to hear you two enjoyed the recipe and the directions were helpful. I love that you and your daughter made this together – what fun! Thank you for coming back to leave a note and rating!
I’m with Liz…pizza is number one on my list of foods I am missing right now. I’ve never mastered the technique of shaping the pizza dough no matter how many times I’ve tried though I keep at it. Maybe with your tips I’ll get it down. Had been toying with the idea of venturing into the sourdough starter scene before your post last week. Looking at this pizza may be even more motivation to give it a go!
Hi Jean! Homemade pizza is SO good! And the process is so much fun… watching the dough change over time and figuring out your favorite toppings. YES to sourdough… if you go there, please keep in touch. I’m here for you!
Your instructions are so clear and easy –thank you! I will make pizza using your recipe soon.
Keep us posted, Eva!