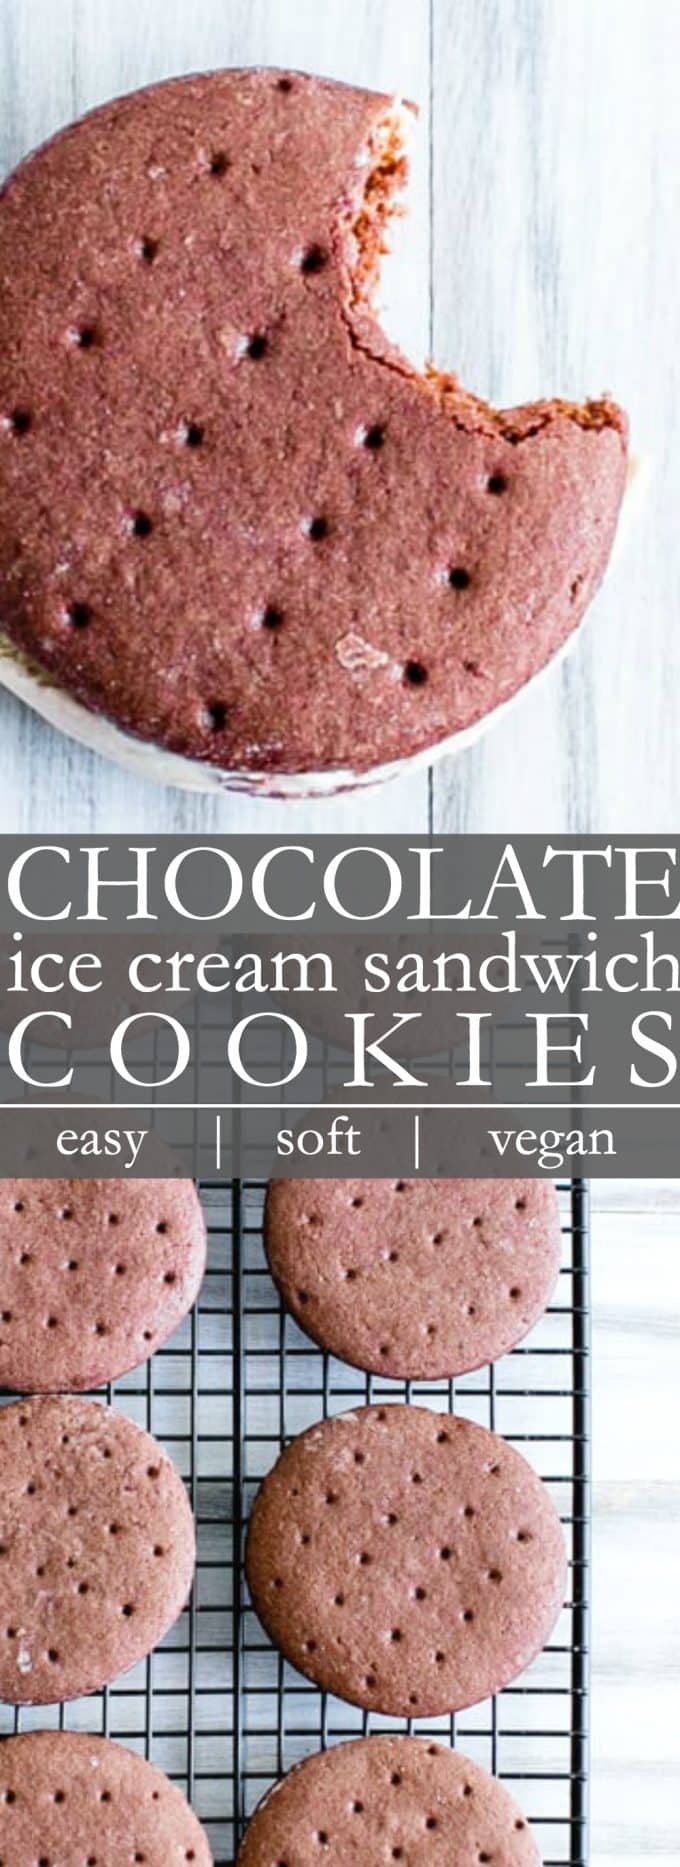
These soft batch vegan Chocolate Ice Cream Sandwich Cookies makes any ice cream extra special! Egg free and dairy free, simply delicious! Vegan. Disclosure: This post is sponsored by Rodelle. All opinions are my own.
Recipe Inspiration
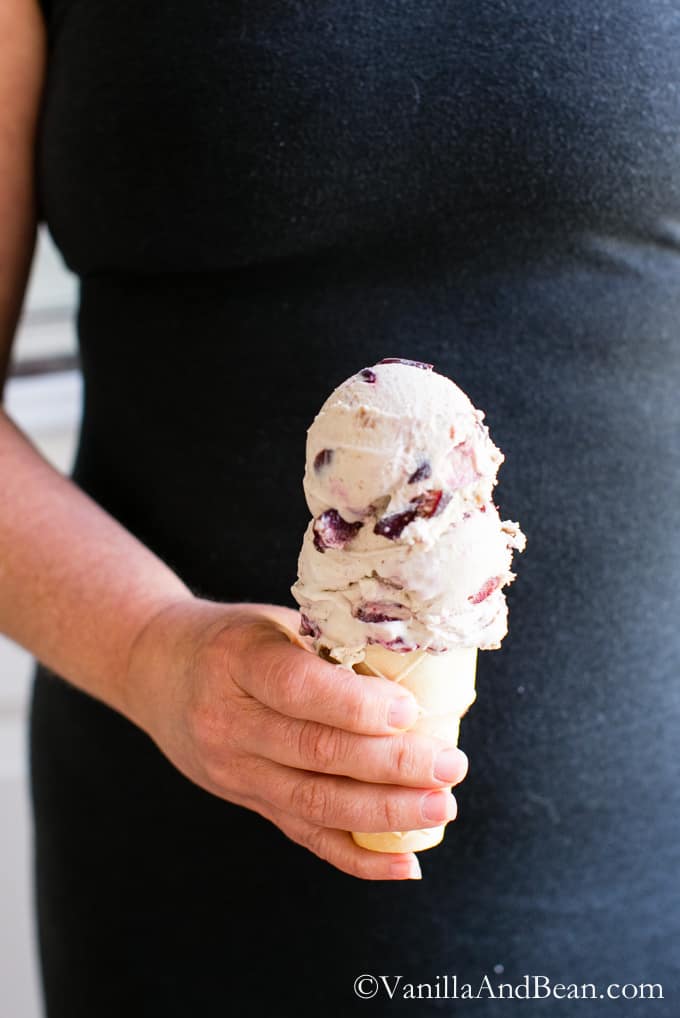
This week just keeps getting better. My mosquito bite issue is under control and after flashing my heart filled eyes over vegan Bourbon Soaked Cherry Vanilla Bean Ice Cream, I knew I wanted to take this recipe to the next level.
Can there even be another level?
This Ice Cream Sandwich Cookies recipe take me back to ice cream man days… You know, the truck with the annoying music playing, which, as a kid, was the most beautiful music one could hear. I can hear my brother screamin’ now…
…..I C E C R E A M Maaaaaaannnn……. feverishly looking for someone to give him quick cash as the obnoxious truck rounded the corner on those hot, Texas Summer days.
A New Take on Ice Cream Sandwiches
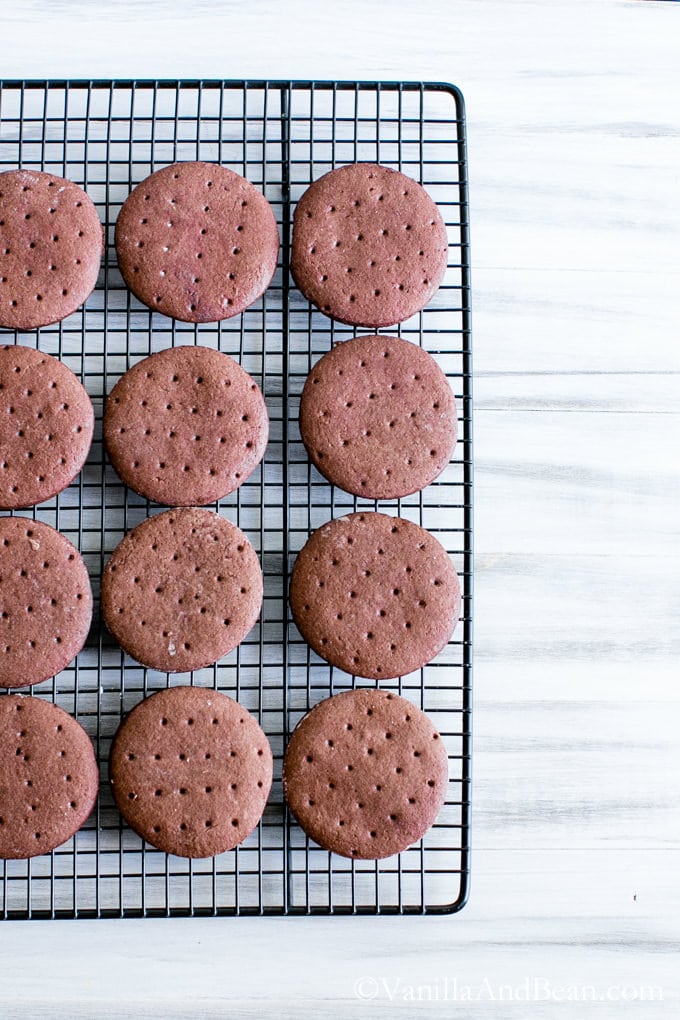
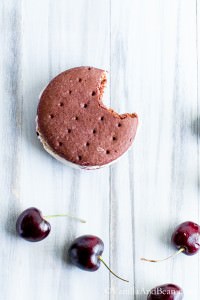
Thing is, these Ice Cream Sandwich Cookies aren’t the stick-to-your-fingers of yesterday’s ice cream sandwich. They are pillow soft without the sticky, yet firm enough to hold up to slightly softened ice cream. No one will ever know these are vegan ice cream sandwich cookies.
How to Make Chocolate Ice Cream Sandwich Cookies
Planning ahead is key to creating these vegan Ice Cream Sandwich Cookies so that when ready to share, they come together with ease.
- First, soften the ice cream by holding it at room temperature then spread it into a small baking pan. Freeze.
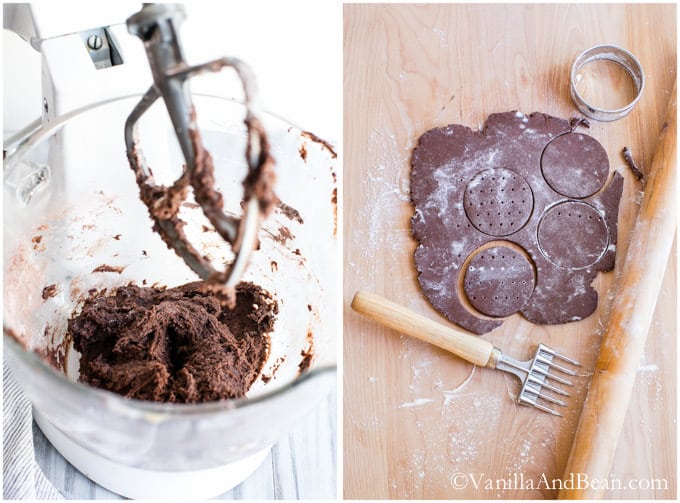
- Second, in a stand mixer, mix the brown sugar, coconut oil, and extract. Next mix in the apple sauce and the sifted flour, cocoa powder and salt.
- Third, allow the dough to rest in the refrigerator for at least an hour.
- Fourth, roll out the dough and cut into cookies. Chill briefly then bake.
- Last, assemble the ice cream sandwiches.
Share shortly after assembly for a soft cookie and creamy ice cream set.
Elevate Your Cookies
For this recipe, I tried Rodelle Kitchen’s Chocolate Extract for the first time. Previously, I made these cookies with Vanilla Extract.
I was skeptical. I mean, how could a rich vegan chocolate ice cream cooke cookie tease out any more chocolate flavor and why bother with another extract taking up precious real estate in my pantry?
Now I know. Rodelle’s Chocolate Extract adds an in-depth chocolate richness and takes these cookies from delicious to over the top decadent. But, vanilla is always a good choice if chocolate extract is unavailable!

A Few Recipe Notes
- The ice cream can be prepared and cookies made at least two days in advance. Hold these two separately however and assemble just before serving. Keeping the assembled sandwiches in the freezer will freeze the cookies and it will be difficult to eat the sandwich without a bunch of squeeze-out!
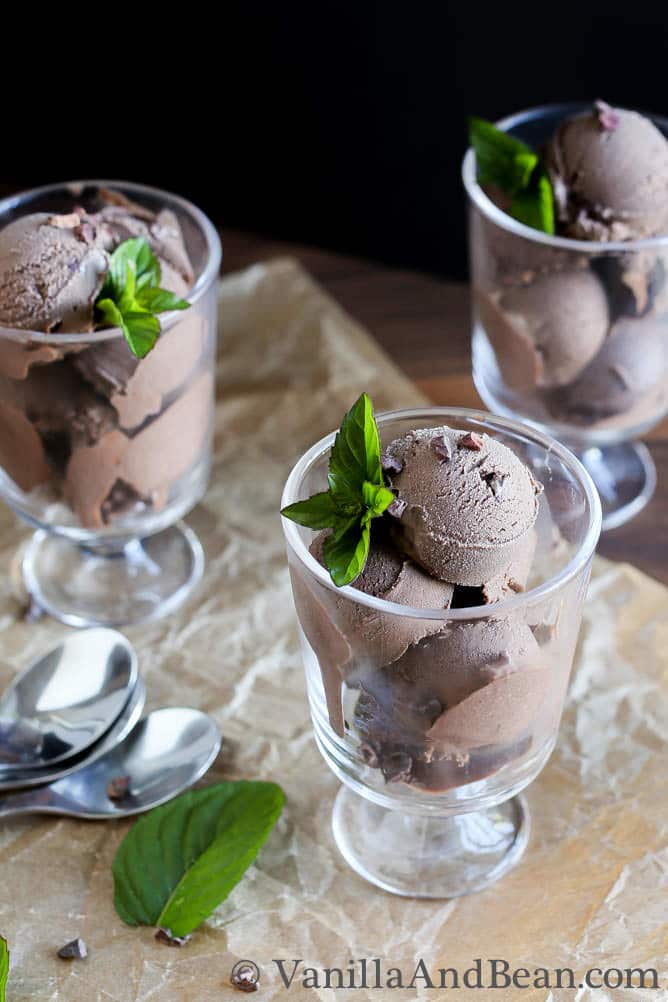
- Your favorite ice cream can be used for these ice cream sandwich cookies. I love these vegan homemade ice creams: Bourbon Soaked Cherry Ice Cream, Dark Chocolate Cocoa Nib Ice Cream.
- To cut the cookies I use a round 3″ biscuit cutter. A floured large rim glass jar works too!
- Vanilla extract can be subbed for the chocolate extract.
More Ice Cream Treats to Love
- No Churn Strawberry Chocolate Chip Nice Cream
Chocolate Ice Cream Sandwich Cookies
Ingredients
For the Ice Cream:
- 1 Recipe of Bourbon Soaked Cherry Vanilla Bean Ice Cream or at least 1 1/2 pints *approximate* of your favorite ice cream. 680g
For the Cookies:
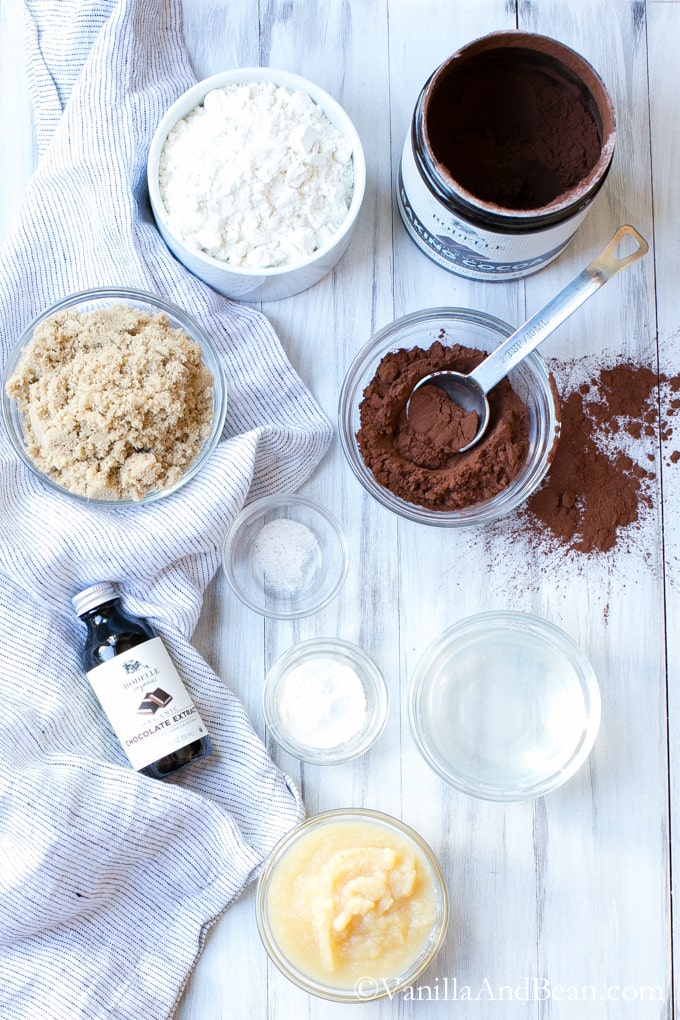
- 1 1/3 C All Purpose Flour 190g
- 1/4 C Unsweetened Cocoa Powder 30g, I use Rodelle
- 1 1/4 tsp Baking Powder
- 1/8 tsp Sea Salt
- 1/3 C Coconut Oil Unrefined, Cold-Pressed, melted and warm to the touch
- 3/4 C Light Brown Sugar 138g
- 2 Tbs Chocolate Extract * or Vanilla Extract, I use Rodelle
- 1/2 C Unsweetened Apple Sauce 113g
- 1 Tbs Water
Instructions
To Prep the Ice Cream:
- Allow the ice cream to set on the counter until it becomes soft enough to spread. Line a 9 1/2" X 12" (24cm X 30cm) baking or sheet pan with parchment paper, clipping the sides of the parchment to the pan so as to hold it in place. Evenly spread the ice cream to about 1/2" thick. Place a sheet of parchment directly on top of the ice cream, smoothing it out and making sure the top is completely covered as to prevent freezer burn. Place back in the freezer for at least an hour.
For the Cookies:
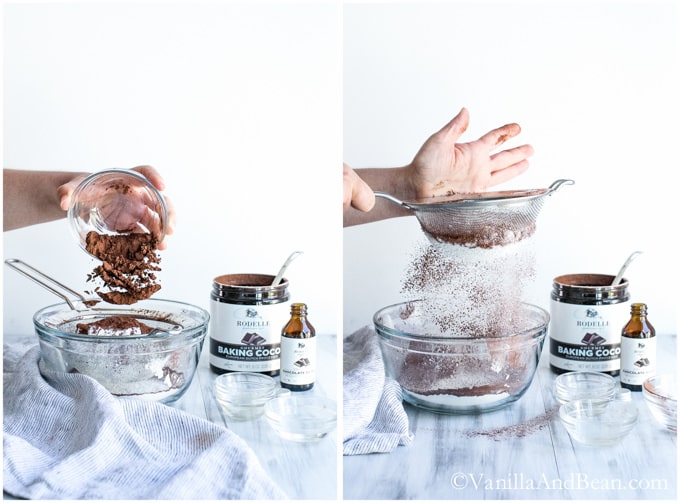
- In a medium bowl, sift flour, cocoa powder, baking powder, and salt. Set aside.
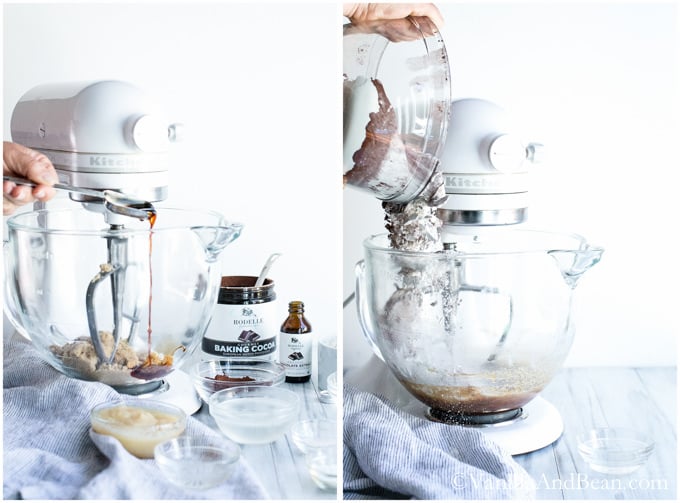
- In order for the coconut oil to stay in a liquid state, be sure it is warm to the touch. In a stand mixer with the paddle attachment, mix the coconut oil and brown sugar for about 1 minute or until the ingredients are throughly incorporated. Add the chocolate extract and apple sauce. Mix on medium low until the apple sauce is incorporated, about 30 seconds. Scrape down the bowl.
- To the oil/sugar mixture, add the flour mixture. Mix on medium low for about 20 seconds. Scrape down the bowl, add the water and mix again just until there are no longer any dry ingredients visible. About 10 seconds. The dough will be very soft and sticky.
- Lightly dust work-surface with flour, and dump dough onto it. Sprinkle a pinch more flour on top of the dough and work it into about a 1/2" disk. Wrap in plastic wrap and refrigerate for at least an hour (it can rest overnight if needed). It will become firm enough to roll out.
- Line two sheet pans with parchment paper. Set aside. Lightly dust work surface, dough and rolling pin with flour. Roll dough out to between 1/8"-1/4". Cut out cookies with a 3" (7.6 cm) round cookie cutter. Prick top of cookies with tines of fork or chocolate chipper. Transfer cut cookies to a parchment lined baking sheet. Gather the scraps, work the dough, dusting with flour as needed, and reroll dough, cutting the remaining cookies. Place cut cookies in the refrigerator for 20 minutes. This will prevent the cookies from spreading.
- Preheat oven to 350F (177C) with baking rack placed in the center.
- Bake cookies for 11-12 minutes. They will still feel soft when done. Transfer to a cooling rack to cool completely. Using a pastry brush, brush off any excess flour. Assemble ice cream sandwiches or store in a lidded container at room temperature for up to two days, until ready to use.
To Assemble:
- Line a sheet pan with parchment paper. Remove the ice cream from the freezer. Remove the parchment from the top. Lift the ice cream out of the pan using the parchment as handles and place it on a work surface.
- Using a 3" (7.6cm) cookie cutter, firmly press into the ice cream and twist the cutter several times. Use a small offset spatula to scrape underneath the disk, scraping the parchment, and lift the disk of ice cream out. Place the ice cream disk on another parchment lined pan and place it in the freezer. Working quickly, cut out 9 more discs, placing them on the pan in the freezer.
- Enjoy the leftover ice cream or store it in the freezer in a lidded container for up to a week. If holding the disks for a few hours, before serving, place a piece of parchment over the disks as to prevent freezer burn. If holding for longer, store individual disks between parchment and place in a freezer bag or lidded container for up to a week.
- When ready to serve, sandwich an ice cream disk in between two cookies. Serve immediately. Keeping the assembled sandwiches in the freezer will freeze the cookie and it will be difficult to eat the sandwich without a bunch of squeeze-out!


Will these keep in the freezer? I want to make some but then freeze some for later. Have you tried this?
Hi Angelina – I did try freezing the entire sandwich. The last step under -” To Assemble: When ready to serve, sandwich an ice cream disk in between two cookies. Serve immediately. Keeping the assembled sandwiches in the freezer will freeze the cookie and it will be difficult to eat the sandwich without a bunch of squeeze-out!” You could store them in the freezer for a short period, but I wouldn’t go over 30 minutes or so. I hope this helps and you enjoy the recipe!
Hello! These look so amazing! I’m really looking forward to trying these out this summer!
Question, can I omit the chocolate altogether and keep them vanilla cookies? Will the texture be the same? I want to make these for my sisters birthday party :)
Thanks for the recipe!
Hi Yvonne! Thank you for your note and kind words! So happy you’re considering the recipe. Unfortunately I don’t have a straight answer for you, but found a bit of information on the subject on Food52 about this topic. It looks like the cookies would require less moisture and more flour if omitting the cocoa. Too, without the cocoa, they’ll likely be sweeter – maybe too sweet.
But because I’ve not tested a vanilla version, I’m unable to say specifically how to alter the recipe. You could play with the recipe a bit – there’s some time before the party! I hope this helps.