
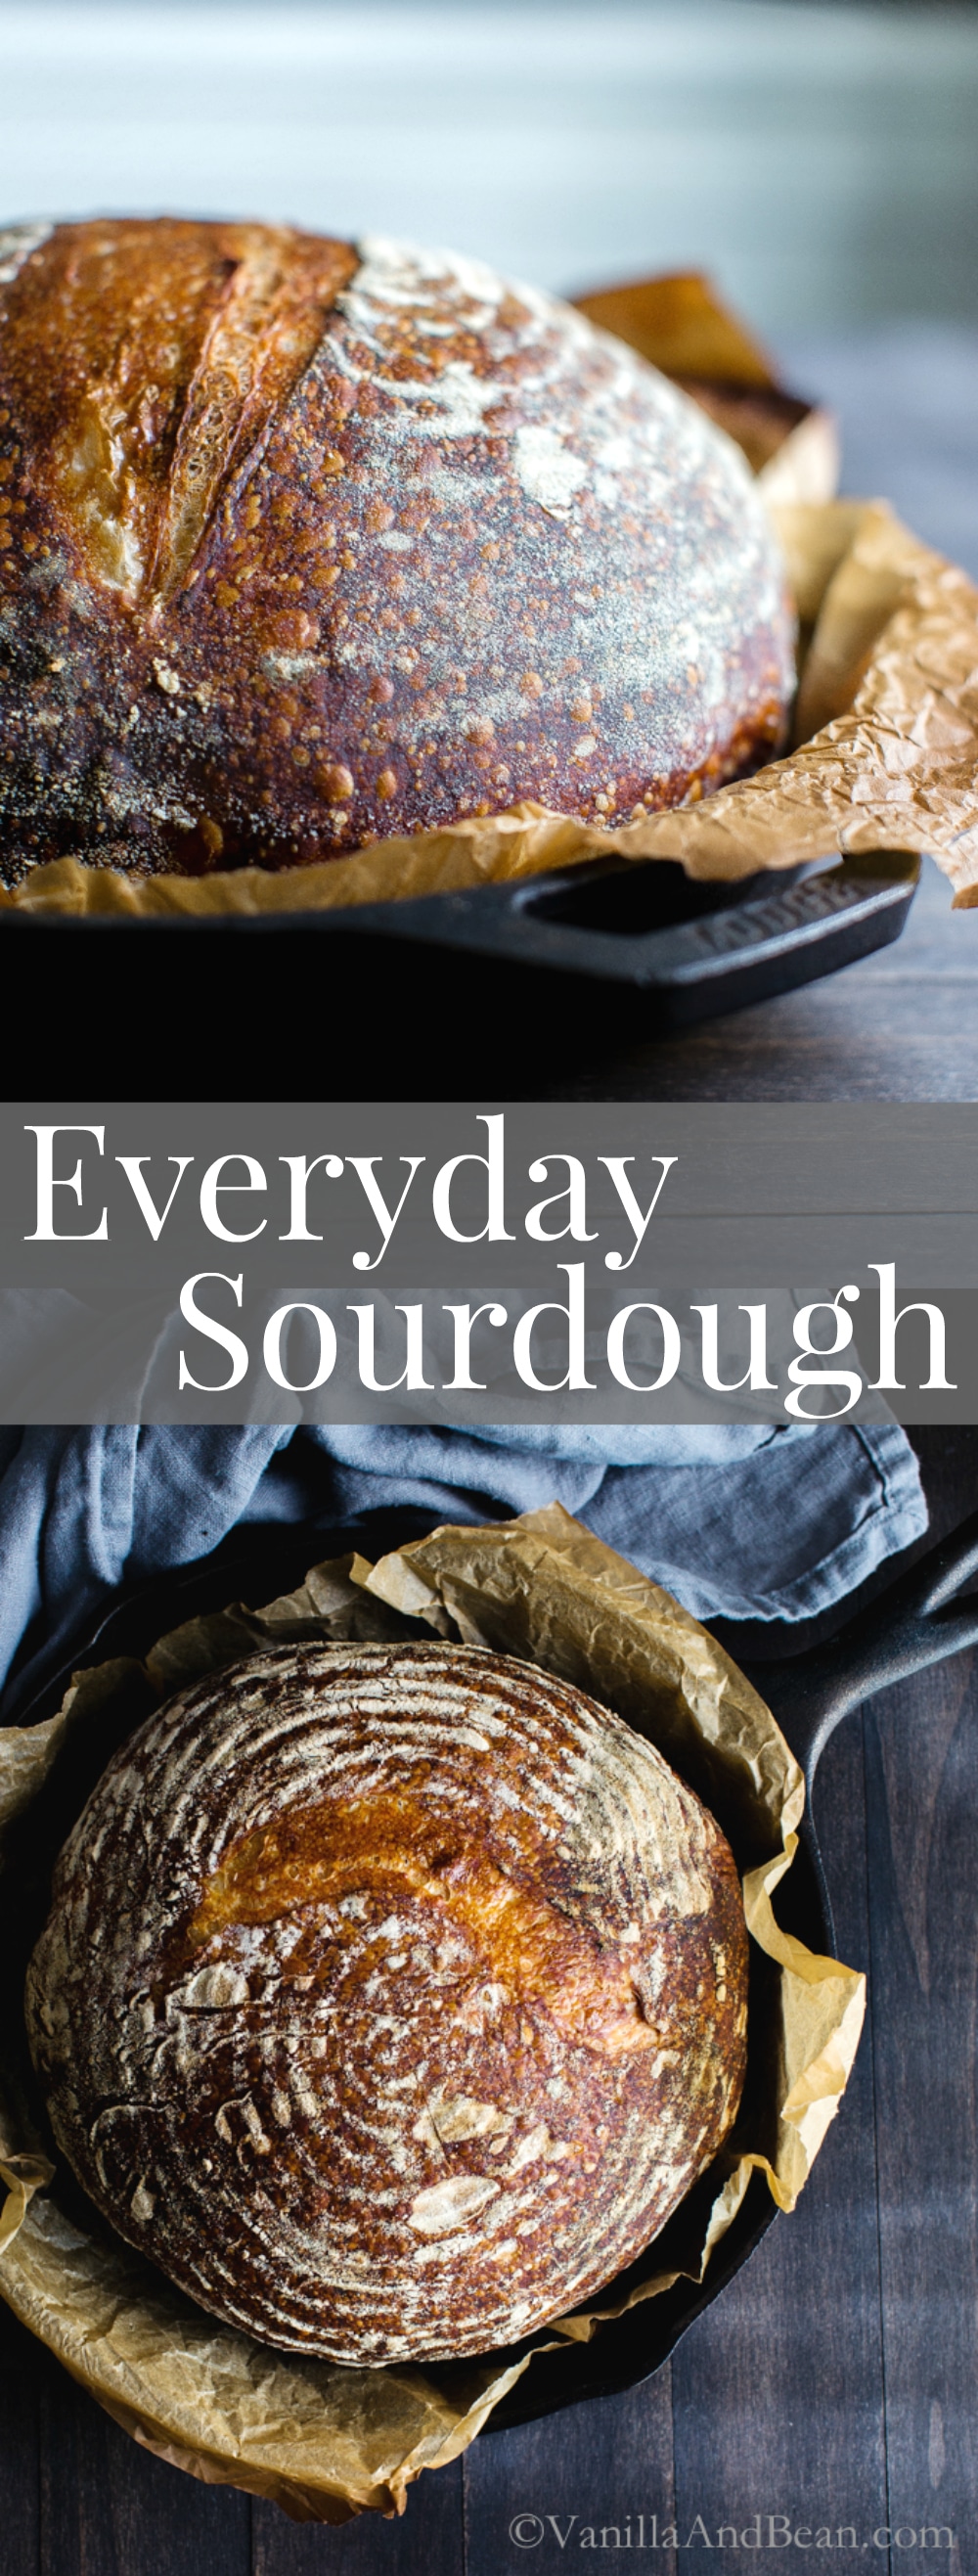
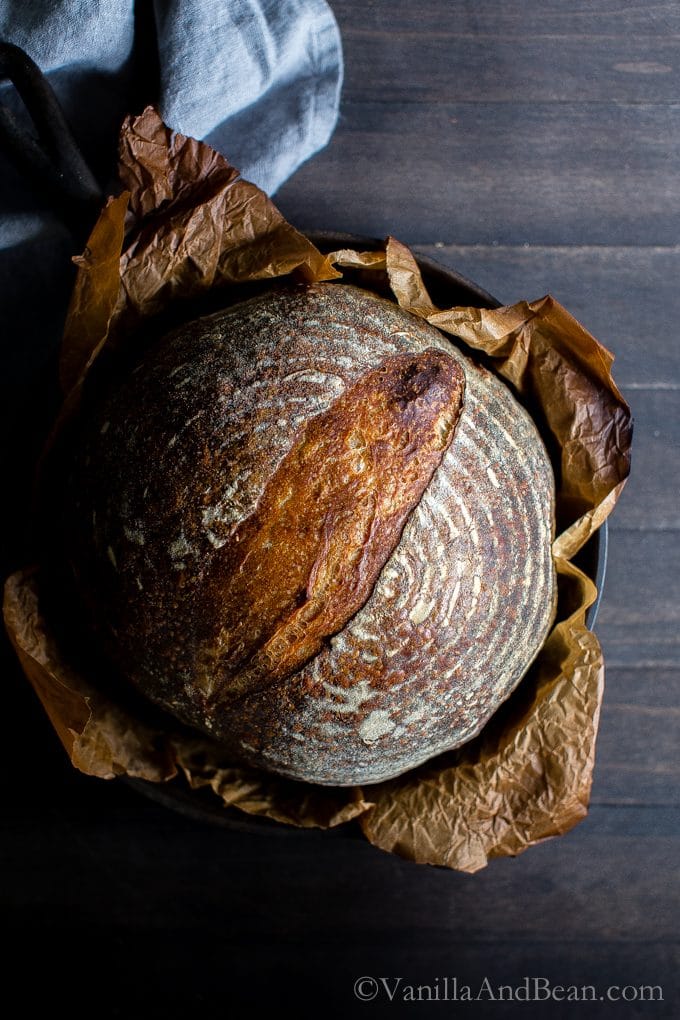
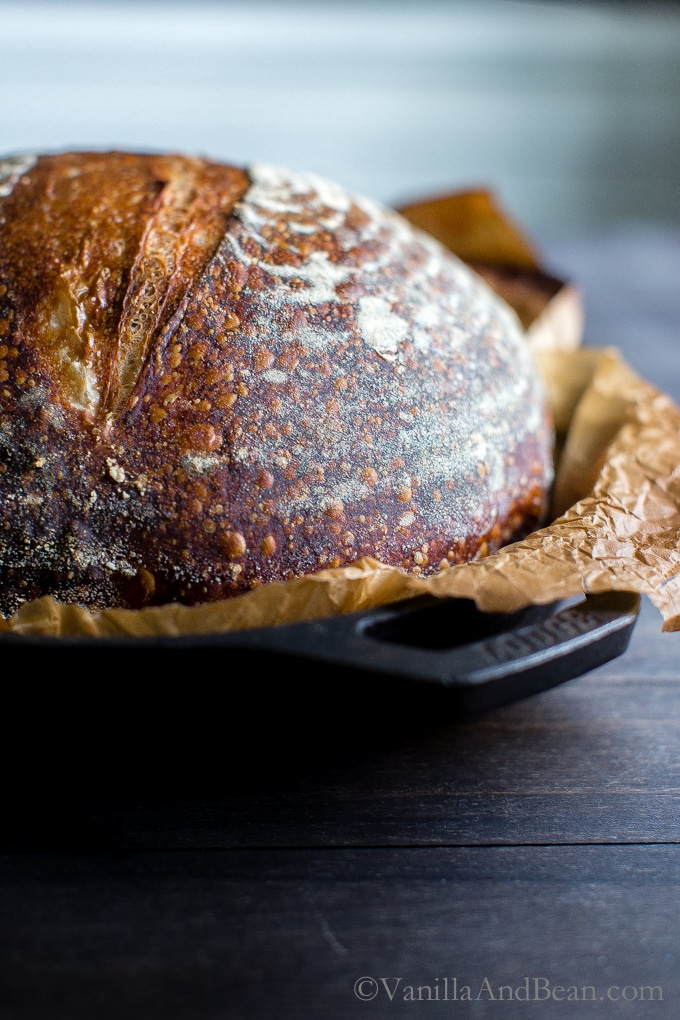
New to homemade sourdough bread or simply improving your craft? Everyday Sourdough from Emilie Raffa’s book Artisan Sourdough Made Simple is a fabulous starting point for new sourdough bakers or simply to hone your sourdough skills. DIY a Sourdough Bread Starter to create a beautiful wild yeast sourdough loaf!
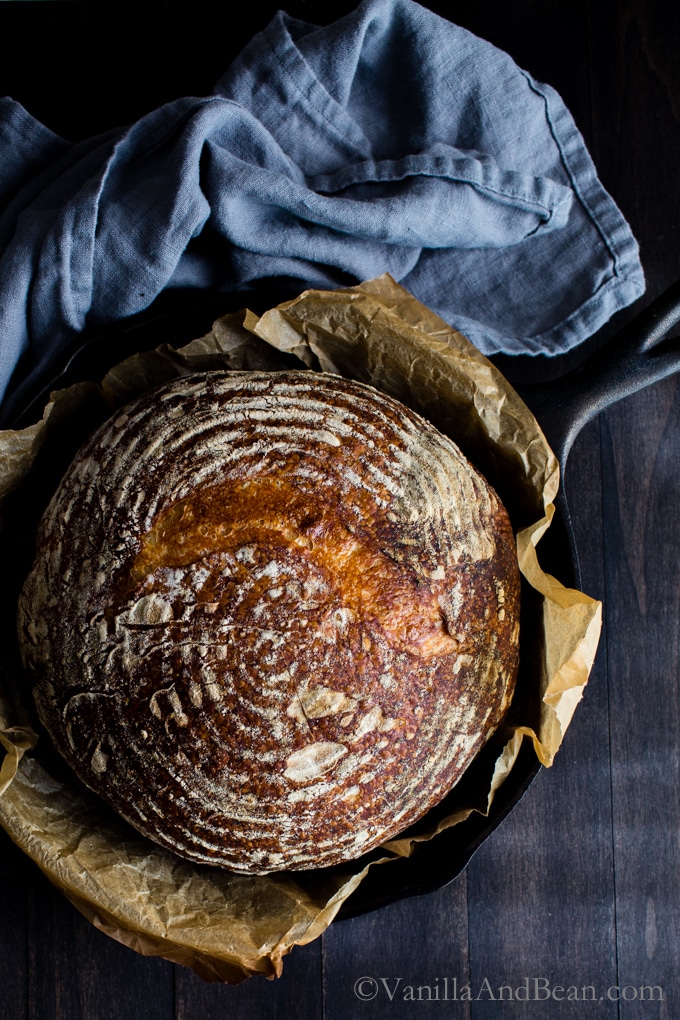
I received a copy of Emilie’s book and am happy to be able to share it in this space. All opinions are my own.
A Sourdough Journey
Prior to going to pastry school, I’d never tried making homemade sourdough bread, although I had read books about it. Intimidated by the terminology, flours, feeding schedules, shaping techniques and knowing, I never took the time or had the courage to dive in.
During pastry school I worked with yeasted bread until I could make it in my sleep. But it was naturally leavened sourdough that mystified me. Only having a few opportunities in school to work with it, I never really gained the hands on knowledge I’d anticipated. So, I continued to read about it, gleaning little nuggets that would some day make me the bread baker I wanted to be.
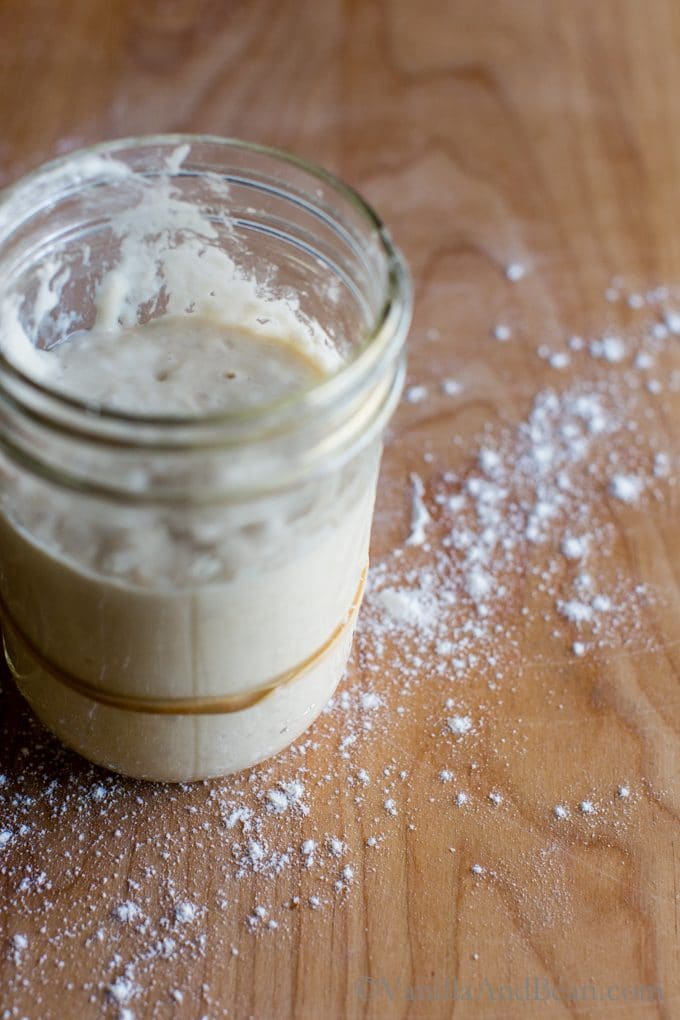
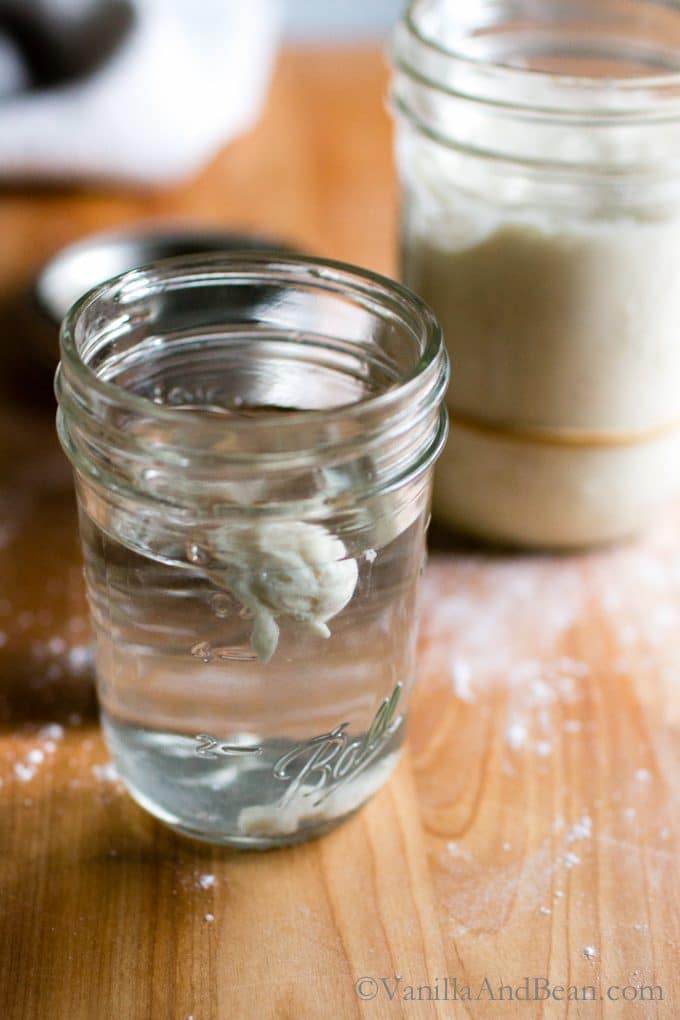
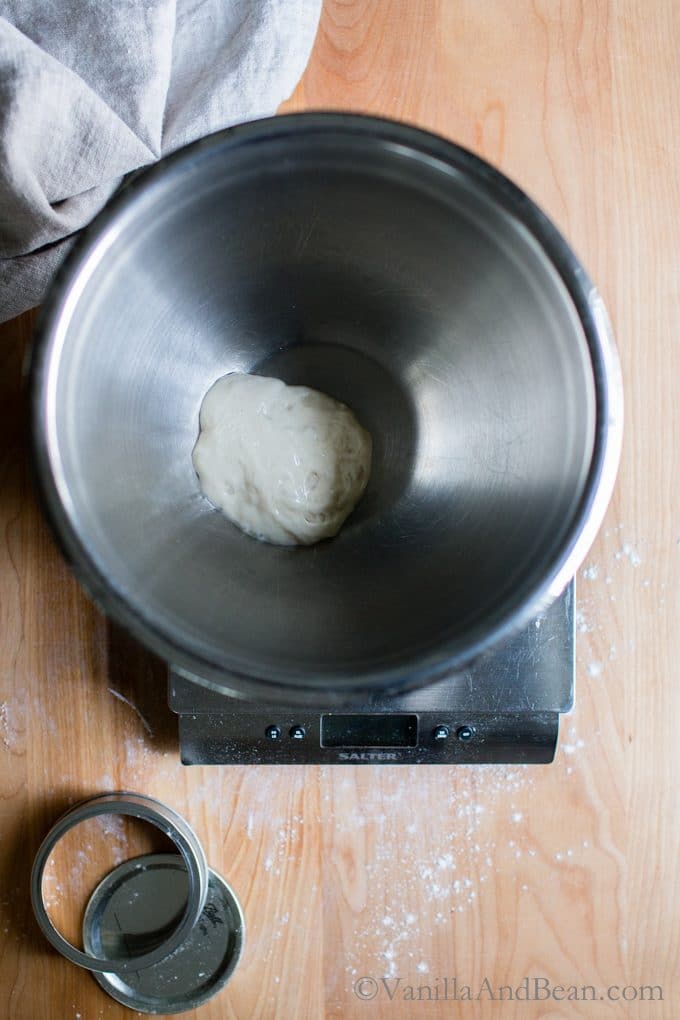
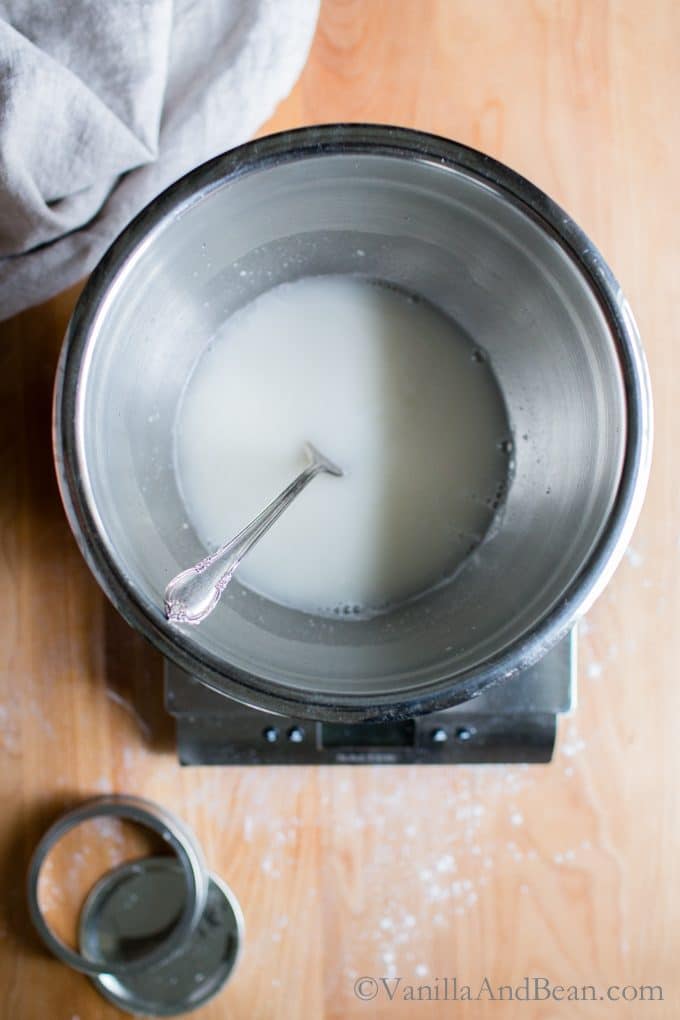
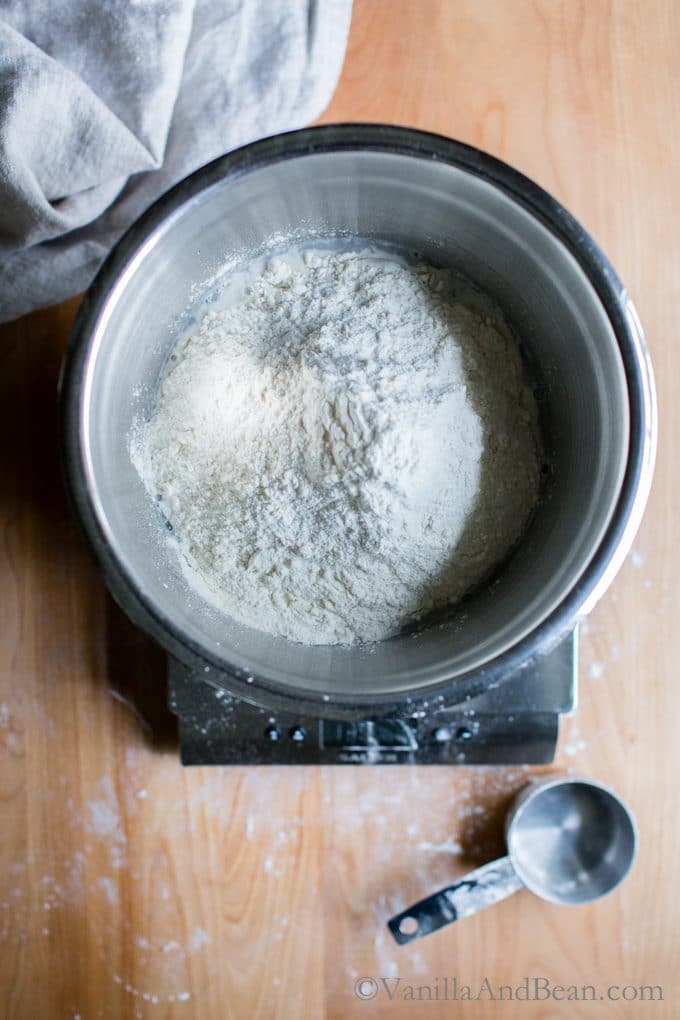
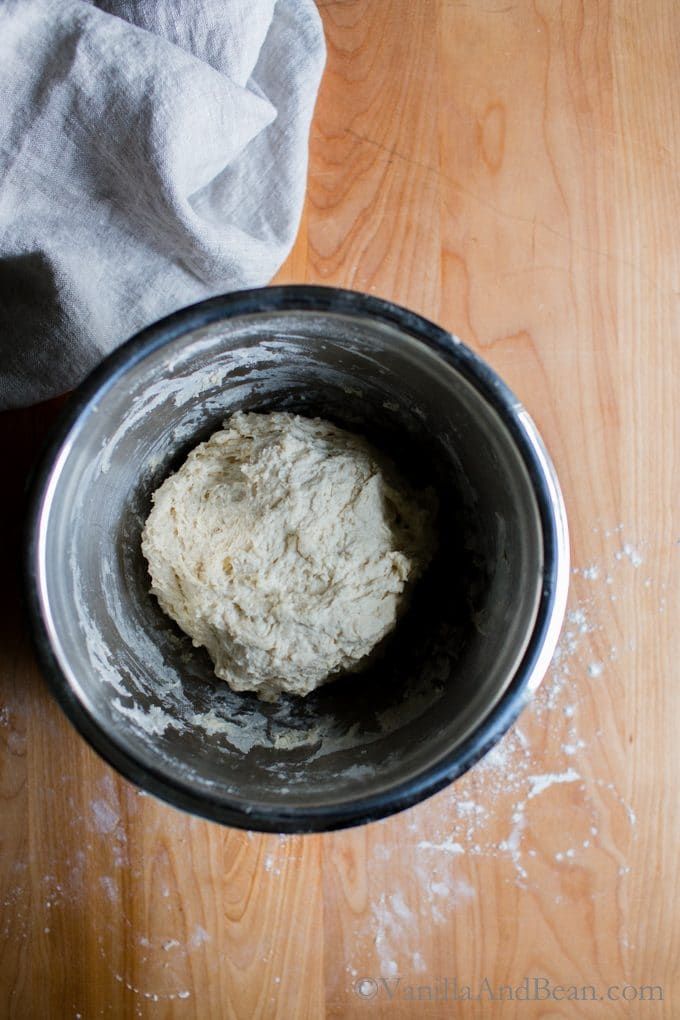
A friend of a friend offered some sourdough starter, knowing my interest. I promptly killed it after attempting sourdough again. Then, I carried some of my mom’s starter back to Whidbey with me after a visit to Texas.
I persisted, yet…
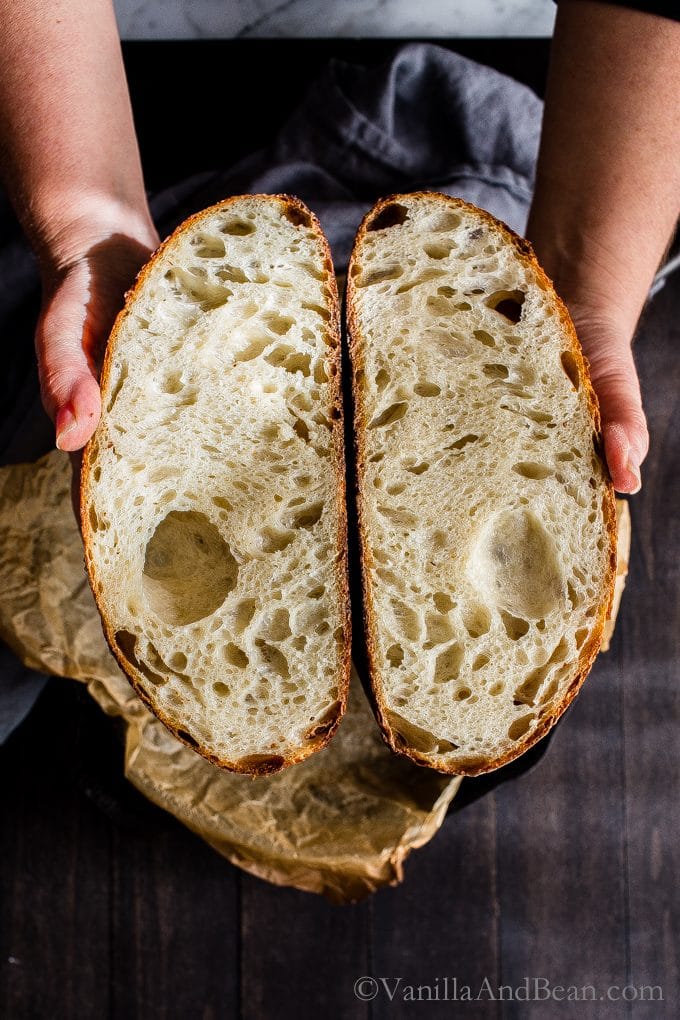
I couldn’t quite get the dough to its fluffy pillowy softness, the crumb to its tender-chewy texture, or the crust to its crusty bliss as I had tasted, seen in books, bakeries.
I tried again, still not producing the loaf of my dreams. Why is this SO hard?
I gave up sourdough baking early last winter with the hopes of starting again this fall.
Sourdough Success!
With the help of Emilie Raffa’s book Artisan Sourdough Made Simple, I am a sourdough baker! When I heard she was publishing a book on her sourdough method, I knew it would be my best chance yet to finally learn how to make the perfect loaf. I’ve been following Emilie’s blog, The Clever Carrot, for a while now.
After diving into sourdough again using Emilie’s thorough and approachable new book and in a short period of time, I can confidently say,
I am a sourdough baker.
Making everything from Sourdough Sandwich Bread, Sourdough Pie Crust and Homemade Sourdough French Toast to this simple Buttery Sourdough Discard Cornbread recipe.
And, you can do it too!
An Essential Resource
Emilie’s book is for the beginner or more advanced sourdough baker. So if you’re just starting sourdough, intrigued or have been baking for a while, this book is for you. Her recipes are approachable, creative, completely mouthwatering and clearly written for success. Her photography and gentle nudges will inform and inspire you.
________________________
Looking for a delicious Multigrain Sourdough Bread recipe to challenge your bread baking prowess? Check out this reader favorite Seeded Multigrain Sourdough Bread.
My Sourdough Toolkit (affiliate links):
- 7 Quart Dutch Oven
- 10″ Cast Iron Skillet with Deep Dish Skillet for a lid
- Bench Scraper
- Parchment Paper
- Digital Food Thermometer
- Lame – for scoring the dough
- Banneton(s)
- Digital Scale
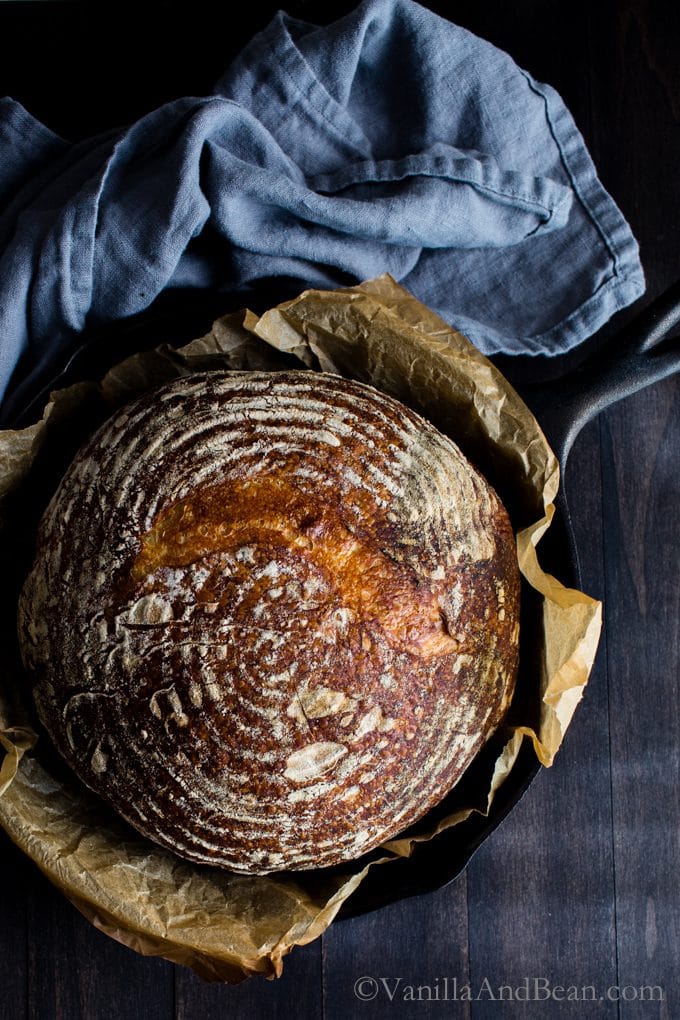
Emilie’s Everyday Sourdough Recipe
Ingredients
- 1/4 cup (50g) Sourdough Starter, previously fed, active and bubbly
- 1 1/3 cup + 2 tablespoons (350g) Warm Water, about 80f (26c)
- 4 cups (500g) Bread Flour
- 1 1/2 teaspoons Fine Sea Salt
Instructions
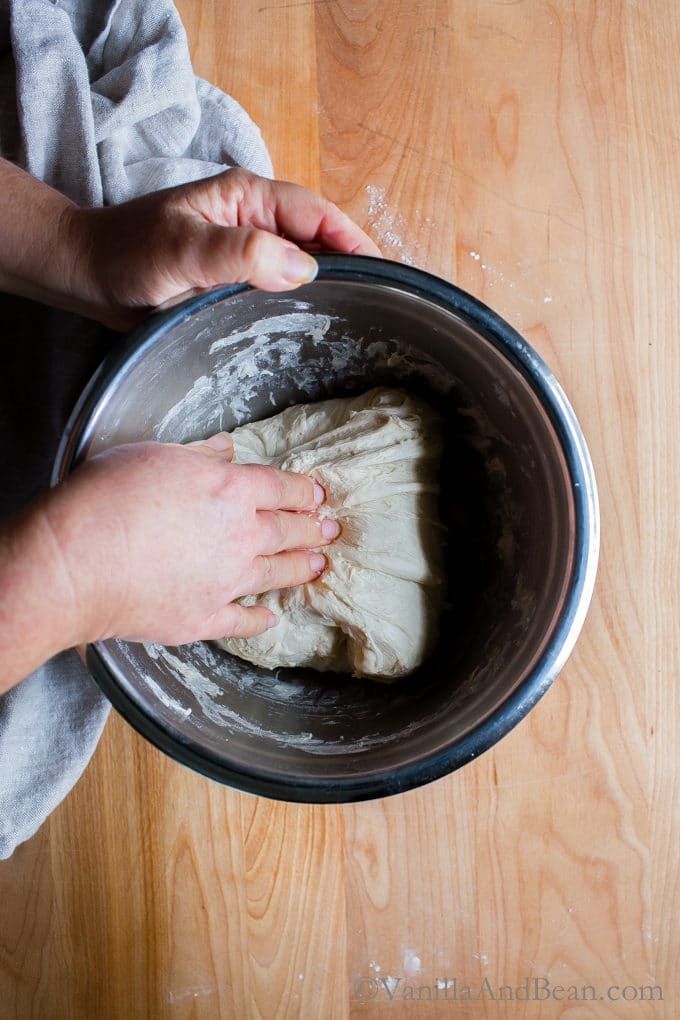
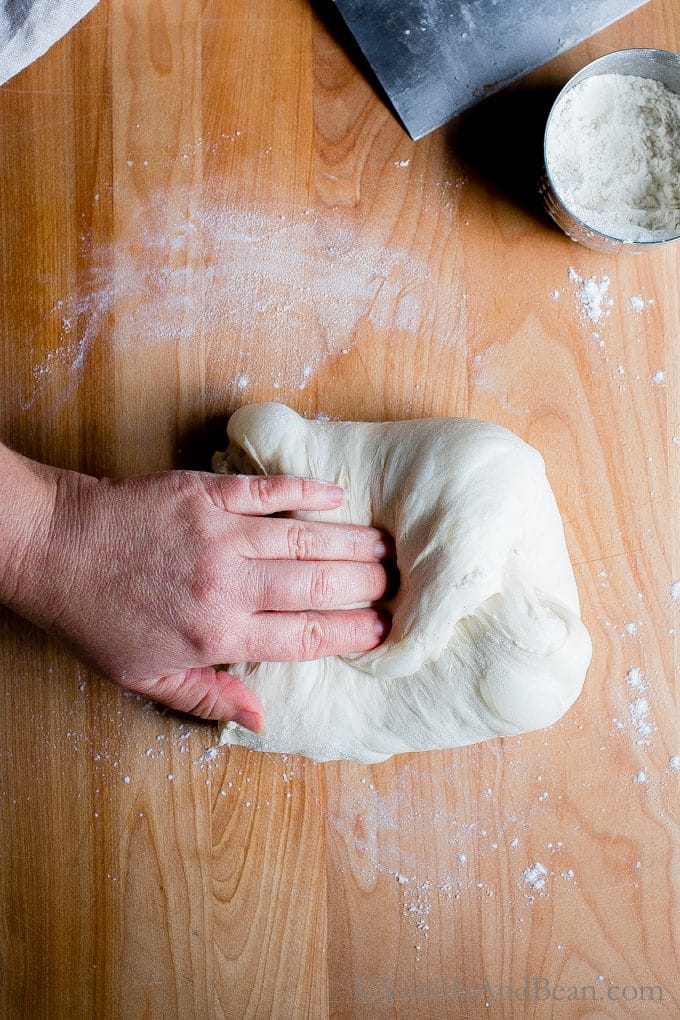
- Make the Dough: In the evening, whisk the starter and water together in a large bowl with a fork. Add the flour and salt. Combine until a still dough forms, then finish mixing by hand to fully incorporate the flour. The dough will feel dense and shaggy, and it will stick to your fingers as you go. Scrape off as much as you can. Cover with a damp towel and let rest for 30 minutes. Replenish your starter with fresh flour and water, and store according to preference. After the dough has rested, work the mass into a fairly smooth ball. To do this, grab a portion of the dough and fold it over, pressing your fingertips into the center. Repeat, working your way around the dough until it begins to tighten, about 15 seconds.
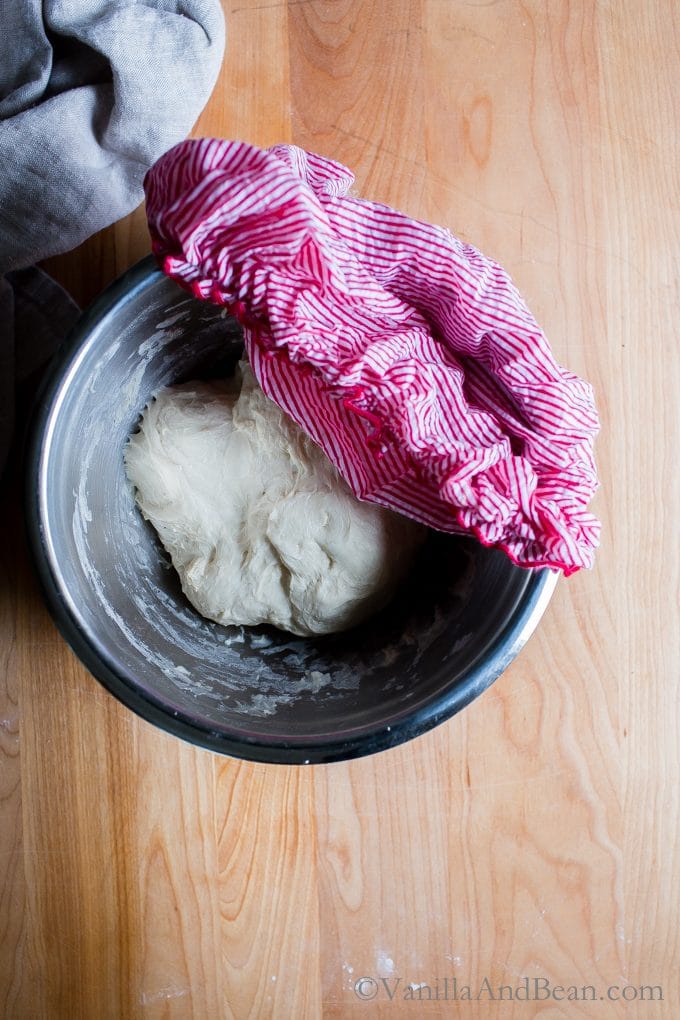
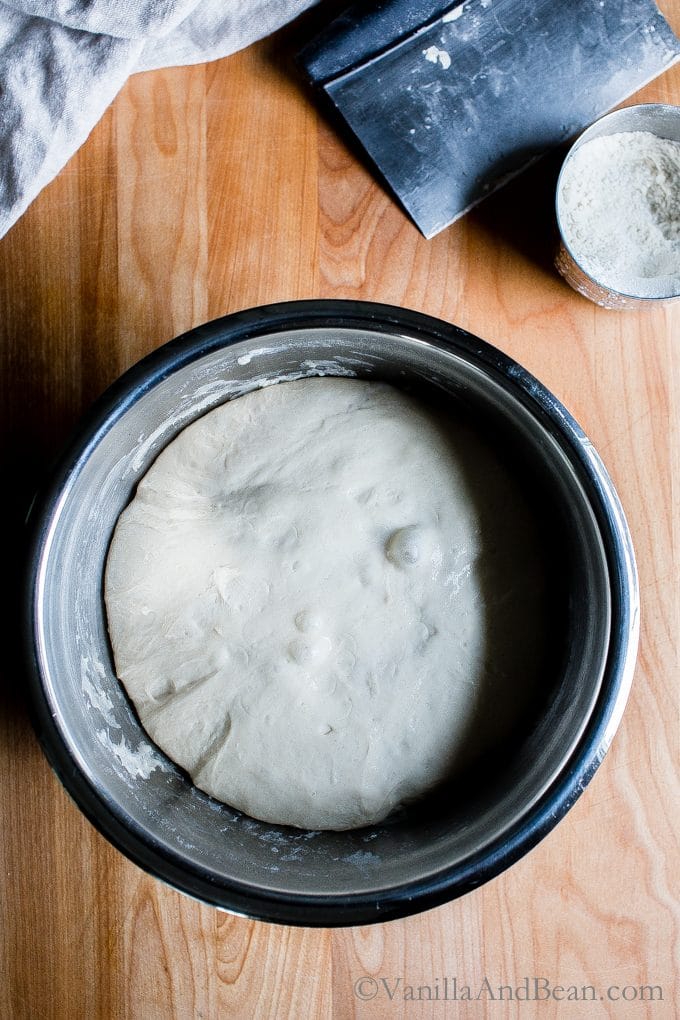
- Bulk Rise: Cover the bowl with a damp towel and let rise overnight at room temperature. This will take about 8-10 hours at 70F (21C). The dough is ready when it no longer looks dense and has doubled in size. (Traci's Note: Mine generally takes 12-13 hours to rise, but I have a chilly kitchen!).
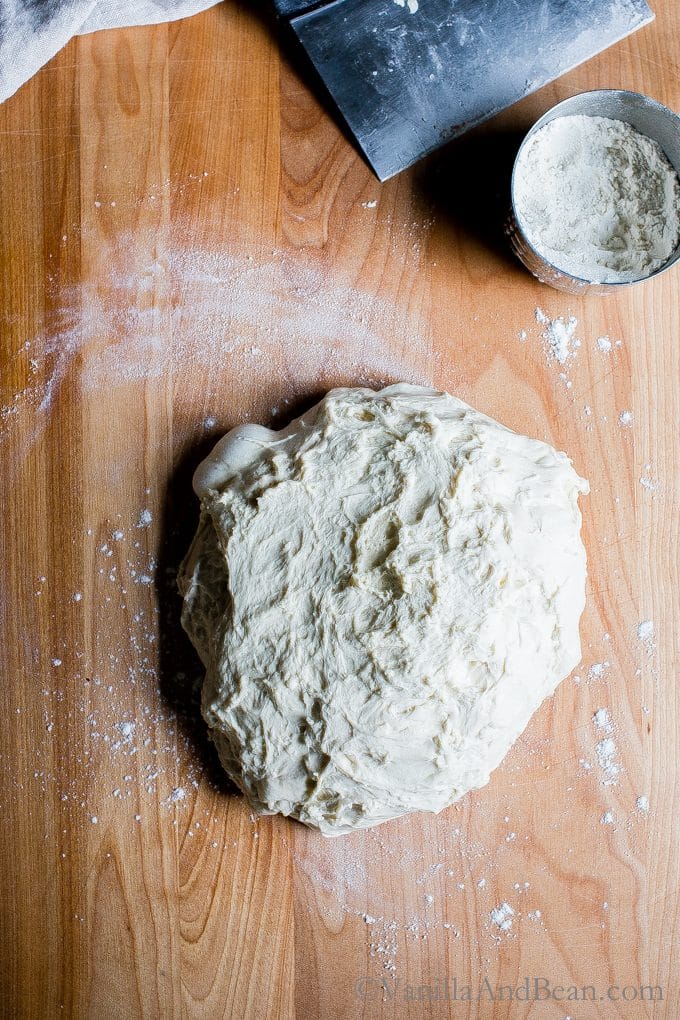
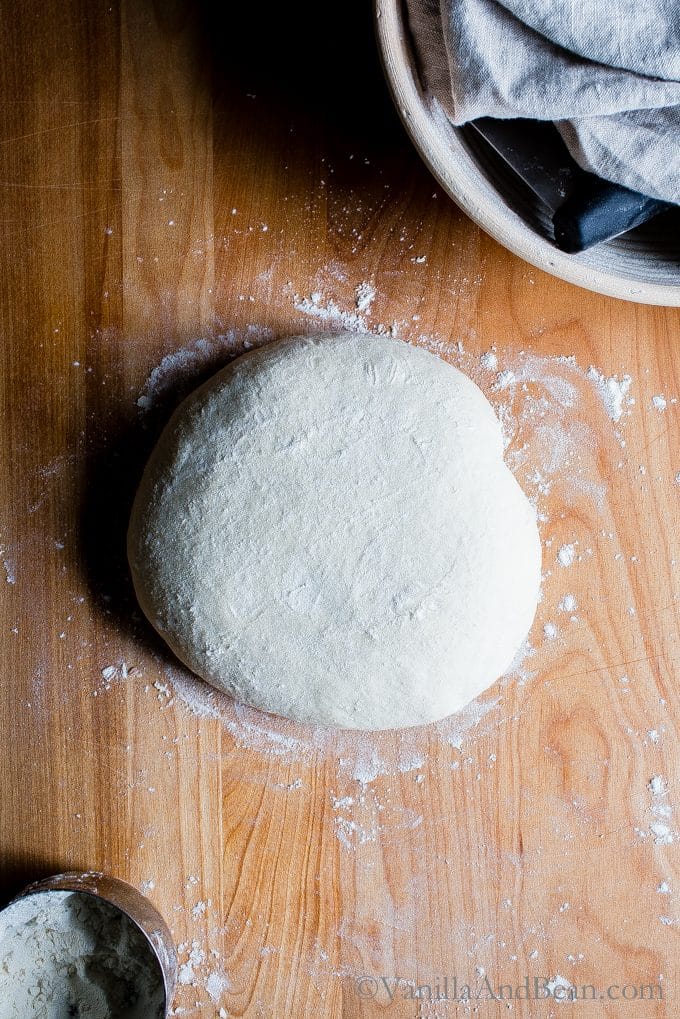
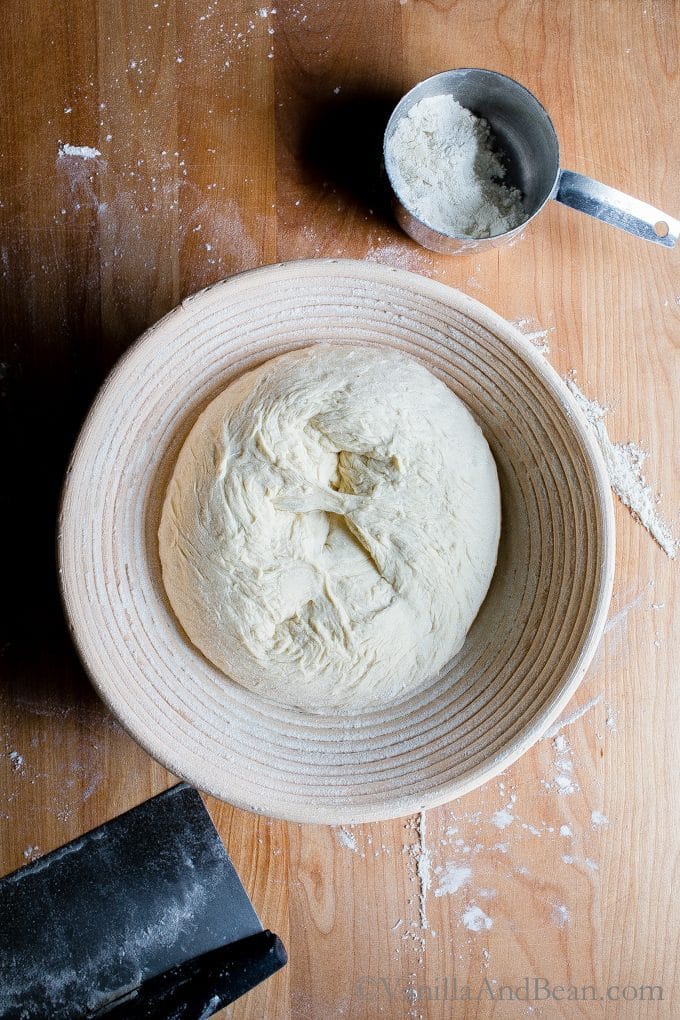
- Shape: In the morning, coax the dough into a lightly floured work surface. To shape it into a round, start at the top and fold the dough over towards the center. Turn the dough slightly and fold over the next section of dough. Repeat until you have come full circle. Flip the dough over and let rest for 5 to 10 minutes. Meanwhile, line an 8-inch (20cm) bowl with a towel (or use a banneton) and dust with flour. With floured hands, gently cup the dough and pull it toward you in a circular motion to tighten its shape. Using a bench scraper, place the dough into the bowl, seam side up.
- Second Rise: Cover the bowl and let rest for 30 minutes to 1 hour. The dough is ready when it looks puffy and has risen slightly but has not yet doubled in size. Preheat the oven to 450F (230C). Cut a sheet of parchment paper to fit the size of your baking pot leaving enough excess around the sides to remove the bread. **UPDATE (5.20)** Place a sheet pan on an oven rack directly under the oven rack you'll be baking the bread on. This protects the baking vessel from the intense heat of the oven and helps prevent a too-dark or burnt bottom. (See notes for more information).
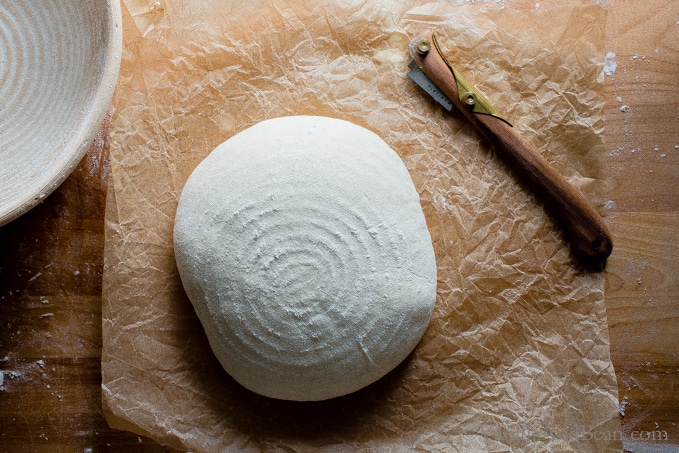
- Score: Place the parchment over the dough and invert the bowl to release. Sprinkle the dough with flour and gently run the surface with your hands. Using the tip of a small, serrated knife or a razor blade, score the dough with a cross-cut pattern about 1/3" (8mm) deep and about 2-3" (5-7cm) on the top or any way you like. Use the parchment to transfer the dough to the baking pot.
- Bake: Bake the dough on the center rack for 20 minutes, covered. Remove the lid and continue to bake for 30 minutes. Then, carefully remove the loaf from the pot and bake directly on the oven rack for the last 10 minutes to crisp the crust. (To check if the bread is ready, check the internal temperature of the loaf. It should read between 190F-205F when done.) When finished, transfer to a wire rack. Cool for 1 hour before slicing. Sourdough is best consumed on the same day it's baked. To maximize freshness, cool completely and store at room temperature in a plastic bag for up to one day (My sourdough is generally storing for between 3-4 days.)
Notes
Nutrition
Nutrition is provided as a courtesy and is an estimate. If this information is important to you, please have it verified independently.
Made it? Leave a comment below!
The most helpful comment may include recipe rating, feedback, any modifications or helping other commentors.




Turned out great but how can i get a more open crumb with this recipe? Mine had pretty small bumbles.
Hi Ryland! So happy to hear! For a more open crumb, you’ll need a higher hydration dough. I hope this helps!
Instead of leaving overnight, can I proof it in the oven at 100% to make the bread faster?
Hi Matt! I’m not sure what proof it in the oven at 100% means. You can proof overnight or during the day.. whatever fits your schedule (bakers schedule is only a suggestion). If you like, you can turn on your oven light (with the oven off). Remember that time = flavor.
I don’t know what I did wrong but my dough is sooooo tough. I’ve left it to rise longer and I’ll still attempt to bake it.
Hi Jennifer… oh goodness. Can you add about 10g of water to loosen it? Are you beyond bulk fermentation?
I’m making my 1st loaf of sourdough. What’s the best way to bake the bread if I don’t have a dutch oven or an iron skillet?
Irina commented below “ I baked my bread directly on a pizza stone without any container. I just put a roasting pan with some water on the bottom of the oven, to create steam and put the dough directly on the hot stone. Bread rose and came out with a crusty crust.” I hope this helps!
I use a stainless steel stockpot and put a sheet pan over the top for the first 20 mins, then remove for the last 25-30 mins. Works great, did a lot of research because I also do not have a dutch oven.
This is my go-to sourdough bread recipe. I’ve shared it with others and they’ve had great success. Thank you for simplifying sourdough.
Hi Teresa! Thank you for your note, sharing your success and sharing the recipe with others! Hooray! I’m SO happy to hear. :D
I used 25% spelt flour and the rest AP and turned out beautifully! Some of the yummiest bread I’ve baked yet. Thank you!
YES to spelt, Kelly! Hooray! Well done! So happy to hear you’re enjoying the yummiest bread!
I am a first time sourdough baker and my bread turned out beautifully!
Hi Rebecca! Way to go YOU! That makes me SO happy! Thank you for your note :D
If I have a smaller dutch oven and need to split the dough into 2, should the bake times remain the same or do I need to adjust? Thanks for an easy to follow recipe!
Hi Kelsey! Here’s what I do with my Seeded Multigrain Sourdough: “If baking two, 1 lb boules, bake as described with lid on. Then, remove the lid and continue to bake lid off for 15-20 minutes. To check if the bread is ready, check the internal temperature of the loaf. It should read between 190F-205F when done. When finished, transfer to a wire rack. Cool for 1 hour before slicing.” This method should work fine with this sourdough bread as well. I hope this helps.
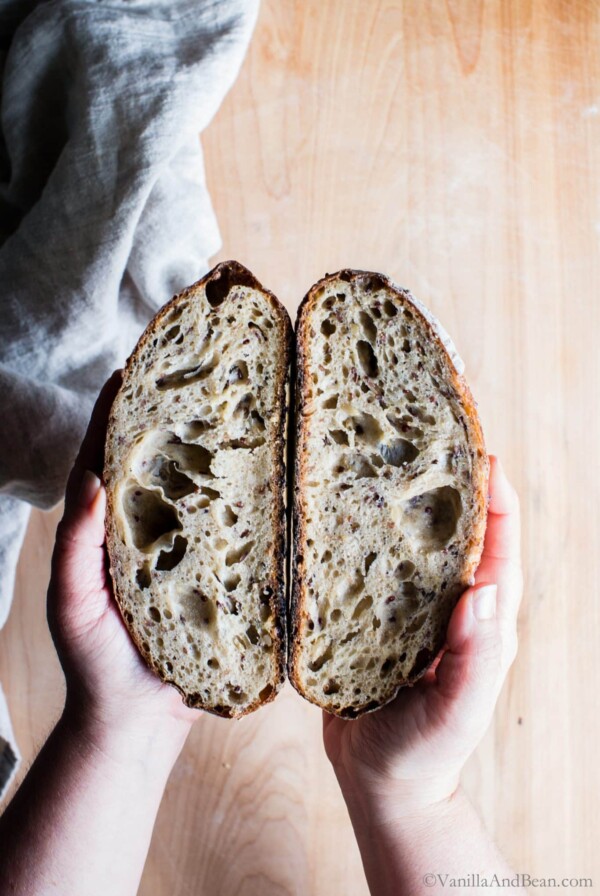
Thank you! Just baked my first loaves this morning and they are the best tasting loaves I’ve done yet! I noticed they don’t have a very open structure or large air bubbles inside. I noticed after my bulk proof and shaping they didn’t really rebound in puffiness during 2nd proof. Any tips? More starter? Wetter dough? The bread is still soft and delicious but has more the appearance of sliced sandwich bread.
Hooray Kelsey! So happy to hear. I think what you’re after is a high hydration dough which produces lovely large holes. The trade off is a challenging dough to work with because It’s so wet. This recipe produces a tighter crumb because of the hydration. As far as proofing, you could give it a bit more time to create a little more puff. Remember, it’s the dough to keep your eye on rather than the time. I hope this helps! And thank you again for your note!
Hi! I wasn’t able to get my sourdough to rise. Any tips? I let it sit on the counter overnight with a damp towel on top. Also felt my dough was not quite the right consistency. Could I add more starter?
Hi Jenna! I’m so sorry your dough didn’t rise. I know it can be disappointing. A few things come to mind. Did you do the float test to see if your starter was ready? What was the temperature of your kitchen? I find my dough takes much longer during Fall, Winter and Spring than summer because I have such a chilly kitchen. Sometimes up to 16 hours! Did you weigh your ingredients? Maybe give the dough more time to rise if your kitchen is chilly.
I did do the float test and it was ready! I also gave the dough extra time to rise. I tried a second batch and it seems to better but we will see! Maybe weighing ingredients would be better since there is so much air in the starter.
Thanks for the help!
Thank you for this! At every stage I was convinced i was doing it wrong, but I kept going and got this beautiful loaf! It was so straightforward and much easier to understand than other recipes. This is the first bread I’ve ever made! I don’t know how to post pics otherwise I would- I do agree with some commenters that it wasn’t very sour, but that could also be because my starter is relatively young. Thank you!
Hi Elizabeth! Thank you for your note and pressing on through this recipe! I completely understand the feeling of being convinced one is doing something wrong, lol. I’m SO excited you kept going and now, you’ve made sourdough! Hooray! What’s next? The sourness can come from the age of the starter, but also I find, the longer I can stretch out the bulk fermentation, the more flavor I can pull from the dough. Sometimes I’ll slow fermentation down by putting the dough in the fridge for 8-10 hours, then pull it to finish bulk fermenting on the kitchen counter overnight. I’m so excited for you! Keep going!