
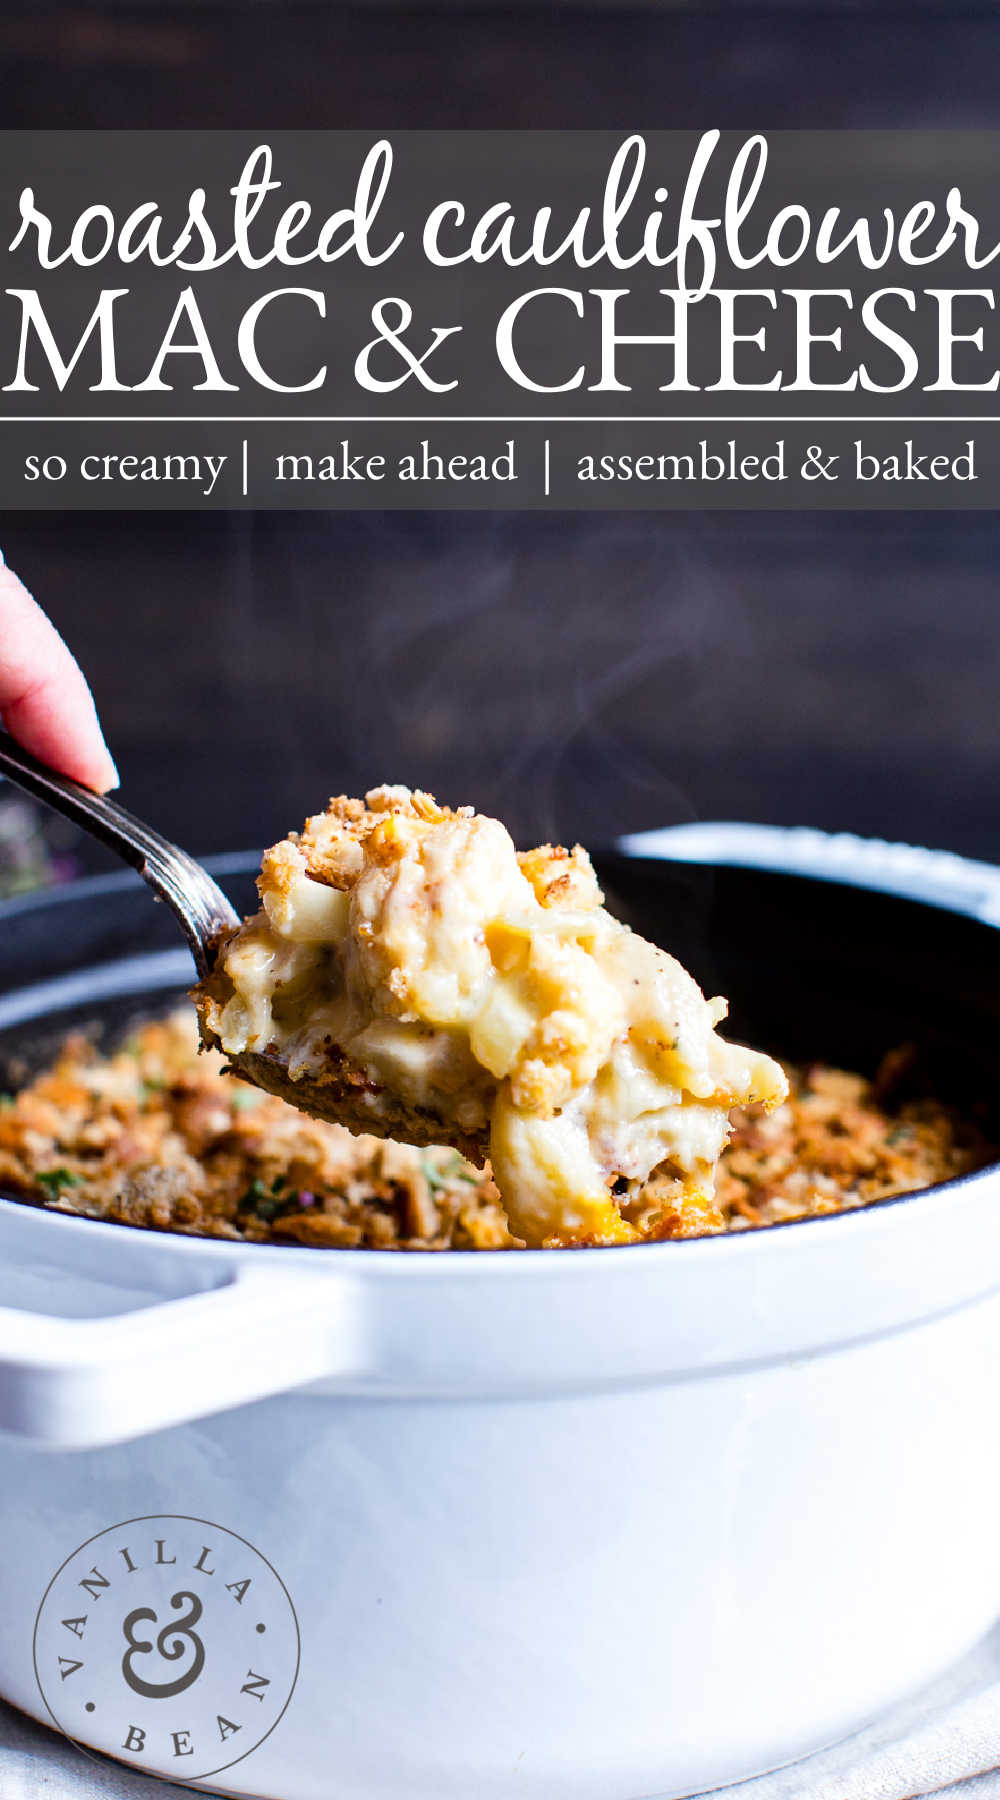
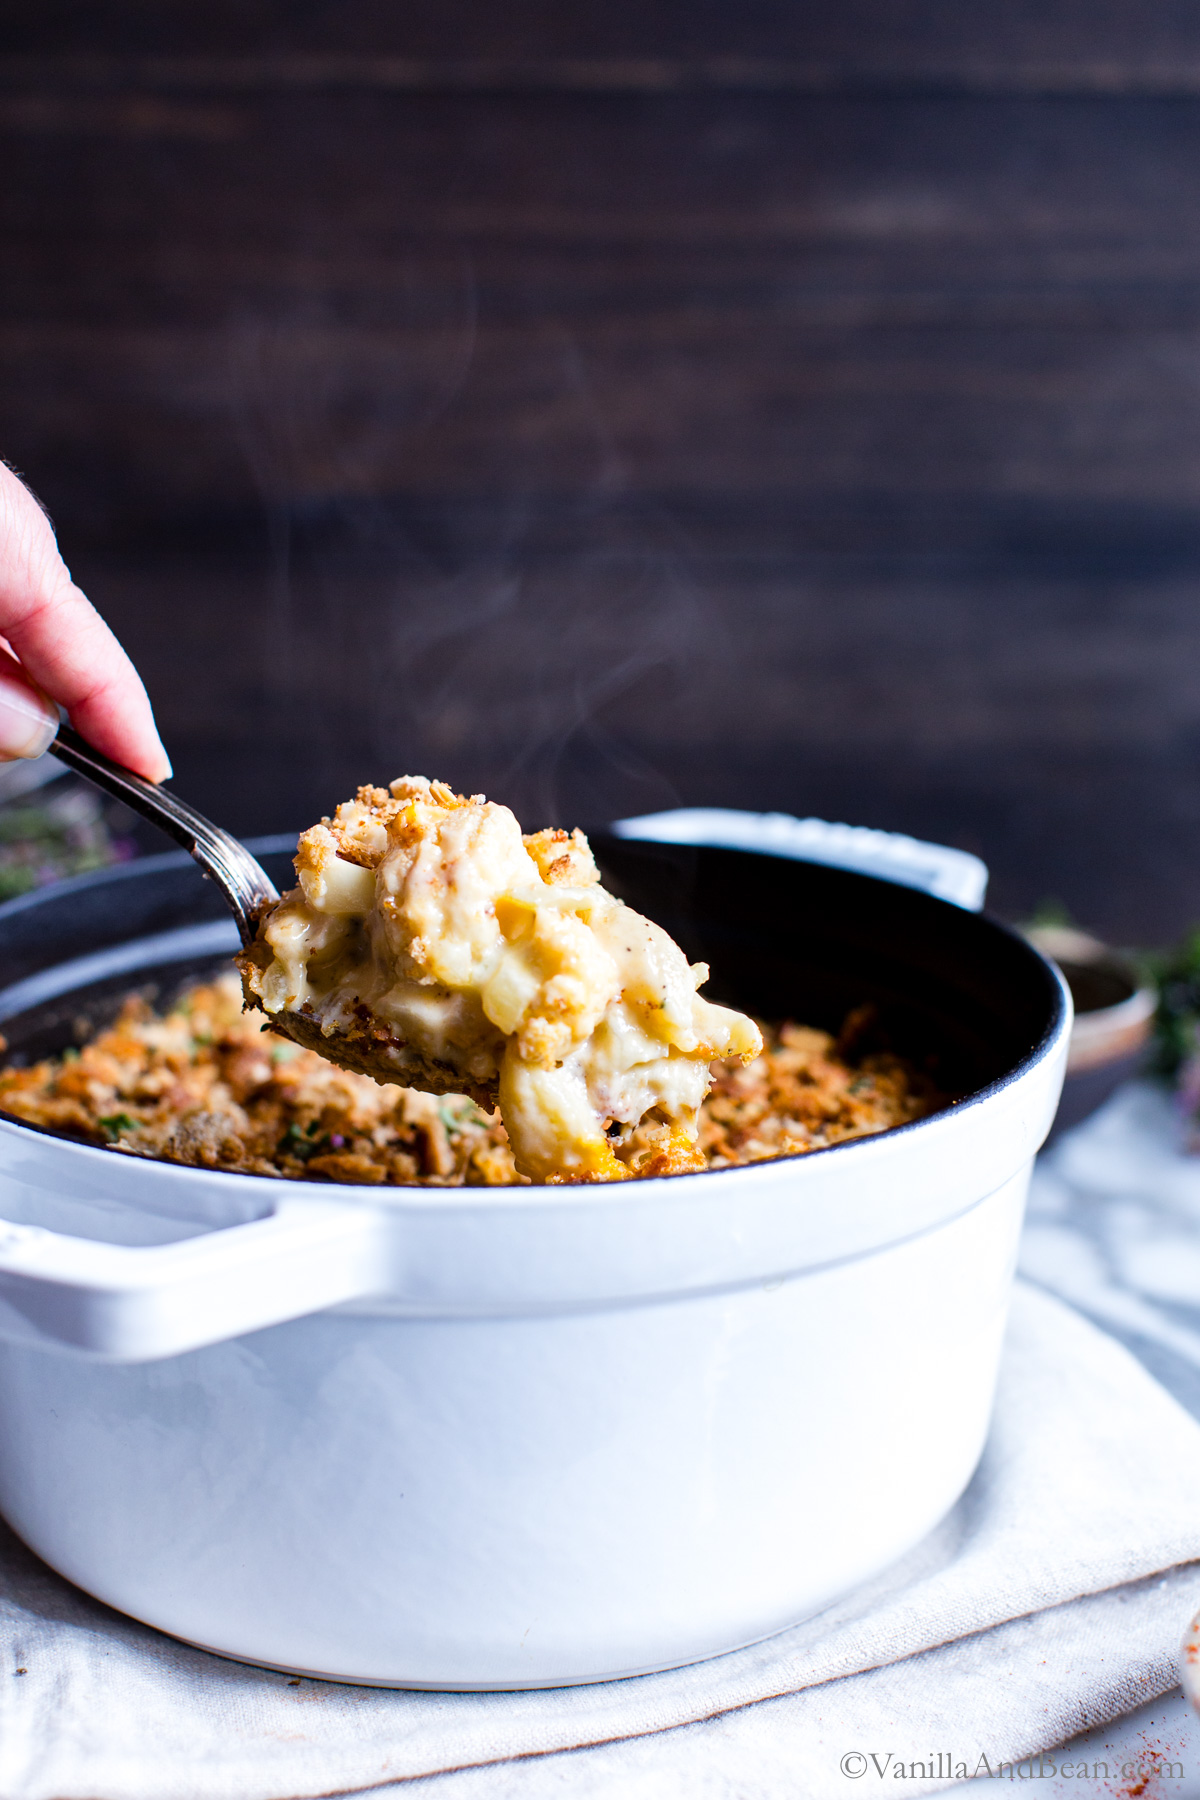
Creamy, cheesy, rich and so delicious (!!), this Cauliflower Mac and Cheese will satisfy comfort food cravings with sneaky veggies. It features oven roasted cauliflower, pasta shells, cheddar and Parmesan cheese in an easy to make béchamel. It’s sprinkled with breadcrumbs then baked to perfection. This recipe works beautifully as a vegetarian main or side dish.
⭐️⭐️⭐️⭐️⭐️ Recipe Review: “This is literally the BEST mac & cheese I have ever HAD and easiest I have ever MADE! Just LOVED it. My family LOVED it.”
You will receive recipes and kitchen tips, along with information about our partners and offerings. For more details, review the Vanilla And Bean privacy policy.
Baked Cauliflower Mac and Cheese Comfort Food
I’ve never met anyone who didn’t like mac and cheese. It’s one of those comfort foods that seem to pop up on my NEED-o-meter more often than I should probably entertain.
But for this mac and cheese, we’re including cauliflower, so we get the enjoyment of more veggies and a rich and indulgent dish. It’s a win-win!
This Recipe Is
- hearty and rich
- versatile for serving style
- homemade comfort food with hidden veggies
If you enjoy cauliflower recipes, you’ll love this tasty mac and cheese recipe.
Choose Your Vessel
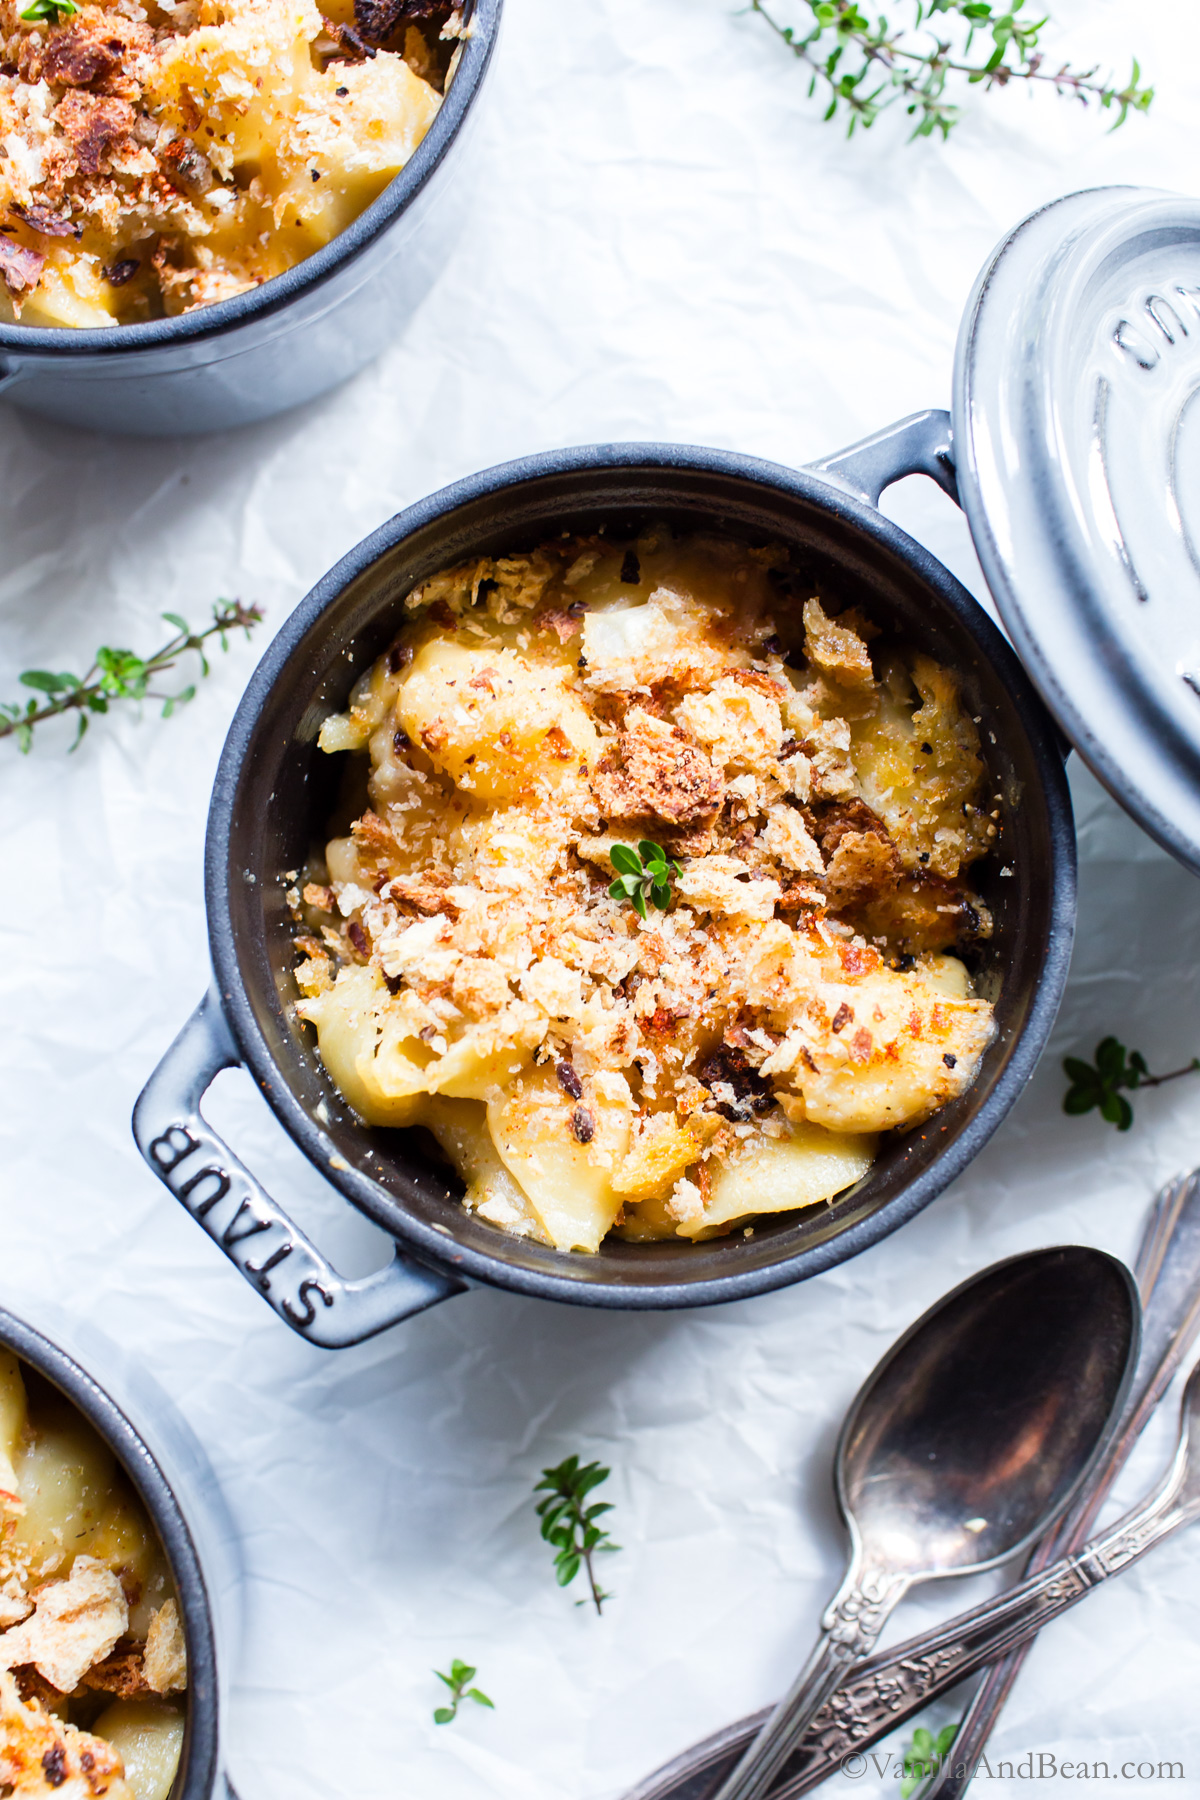
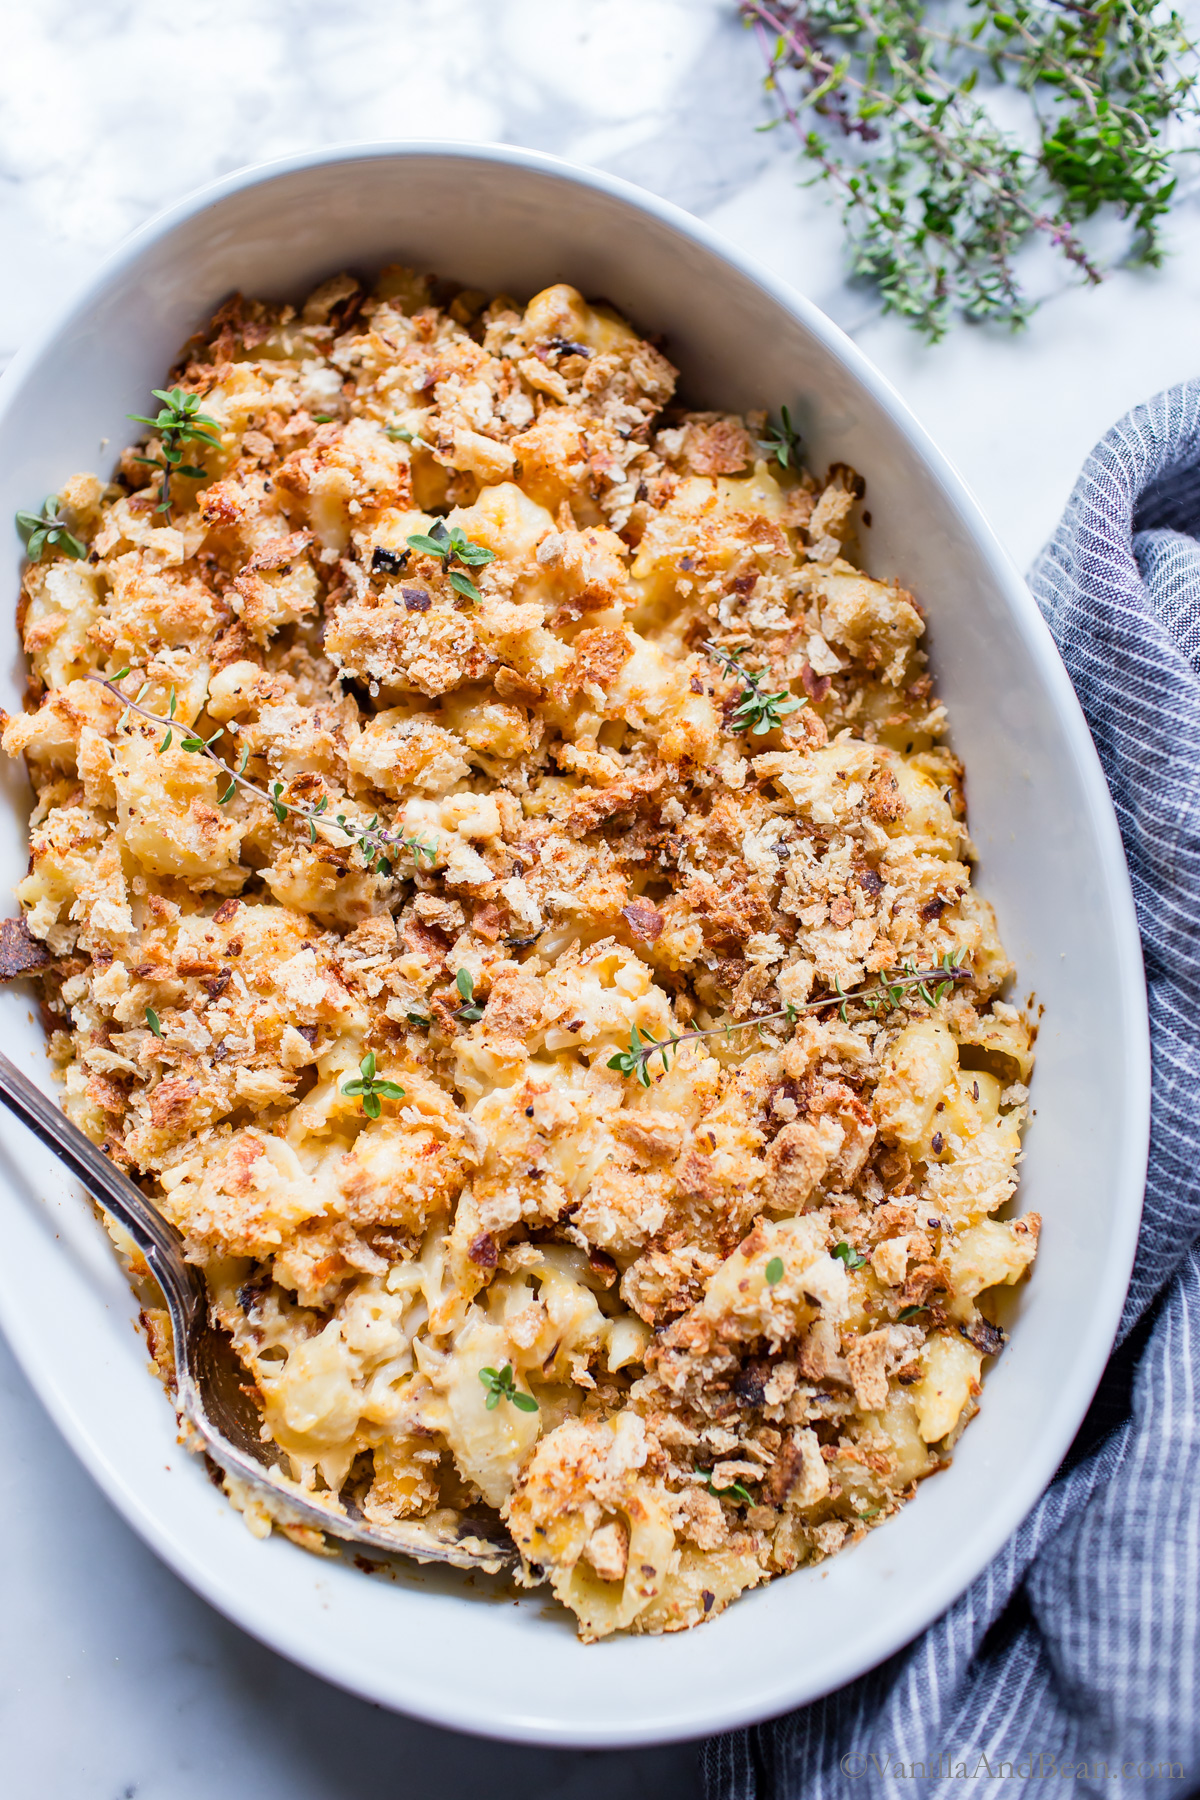
After making this recipe over the years (it’s a family favorite!), I’ve discovered several options for the cookery employed in making this recipe. Choose your vessel:
- Dutch Oven – (2.75 quart \ 2 Liter): What I love about a Dutch oven is that for this recipe, the casserole is assembled and baked in one pot, so clean up is a little quicker. Plus, if I’m taking this recipe somewhere, the Dutch oven has a lid and it keeps the baked mac and cheese warm.
- Individual Ramekins (.26 quart \ .25 Liter): These are fun for sharing in smaller portion sizes. I use four ramekins for quick service and put the leftovers in a small baker, without the breadcrumbs. It can be stored in the fridge for another serving later in the week.
- Baker 2 3/4 quart – 3 1/2 quart: For table service, when I want to serve a pretty dish that doesn’t need to be portable.
___________________
How to Make Cauliflower Mac and Cheese
at a glance
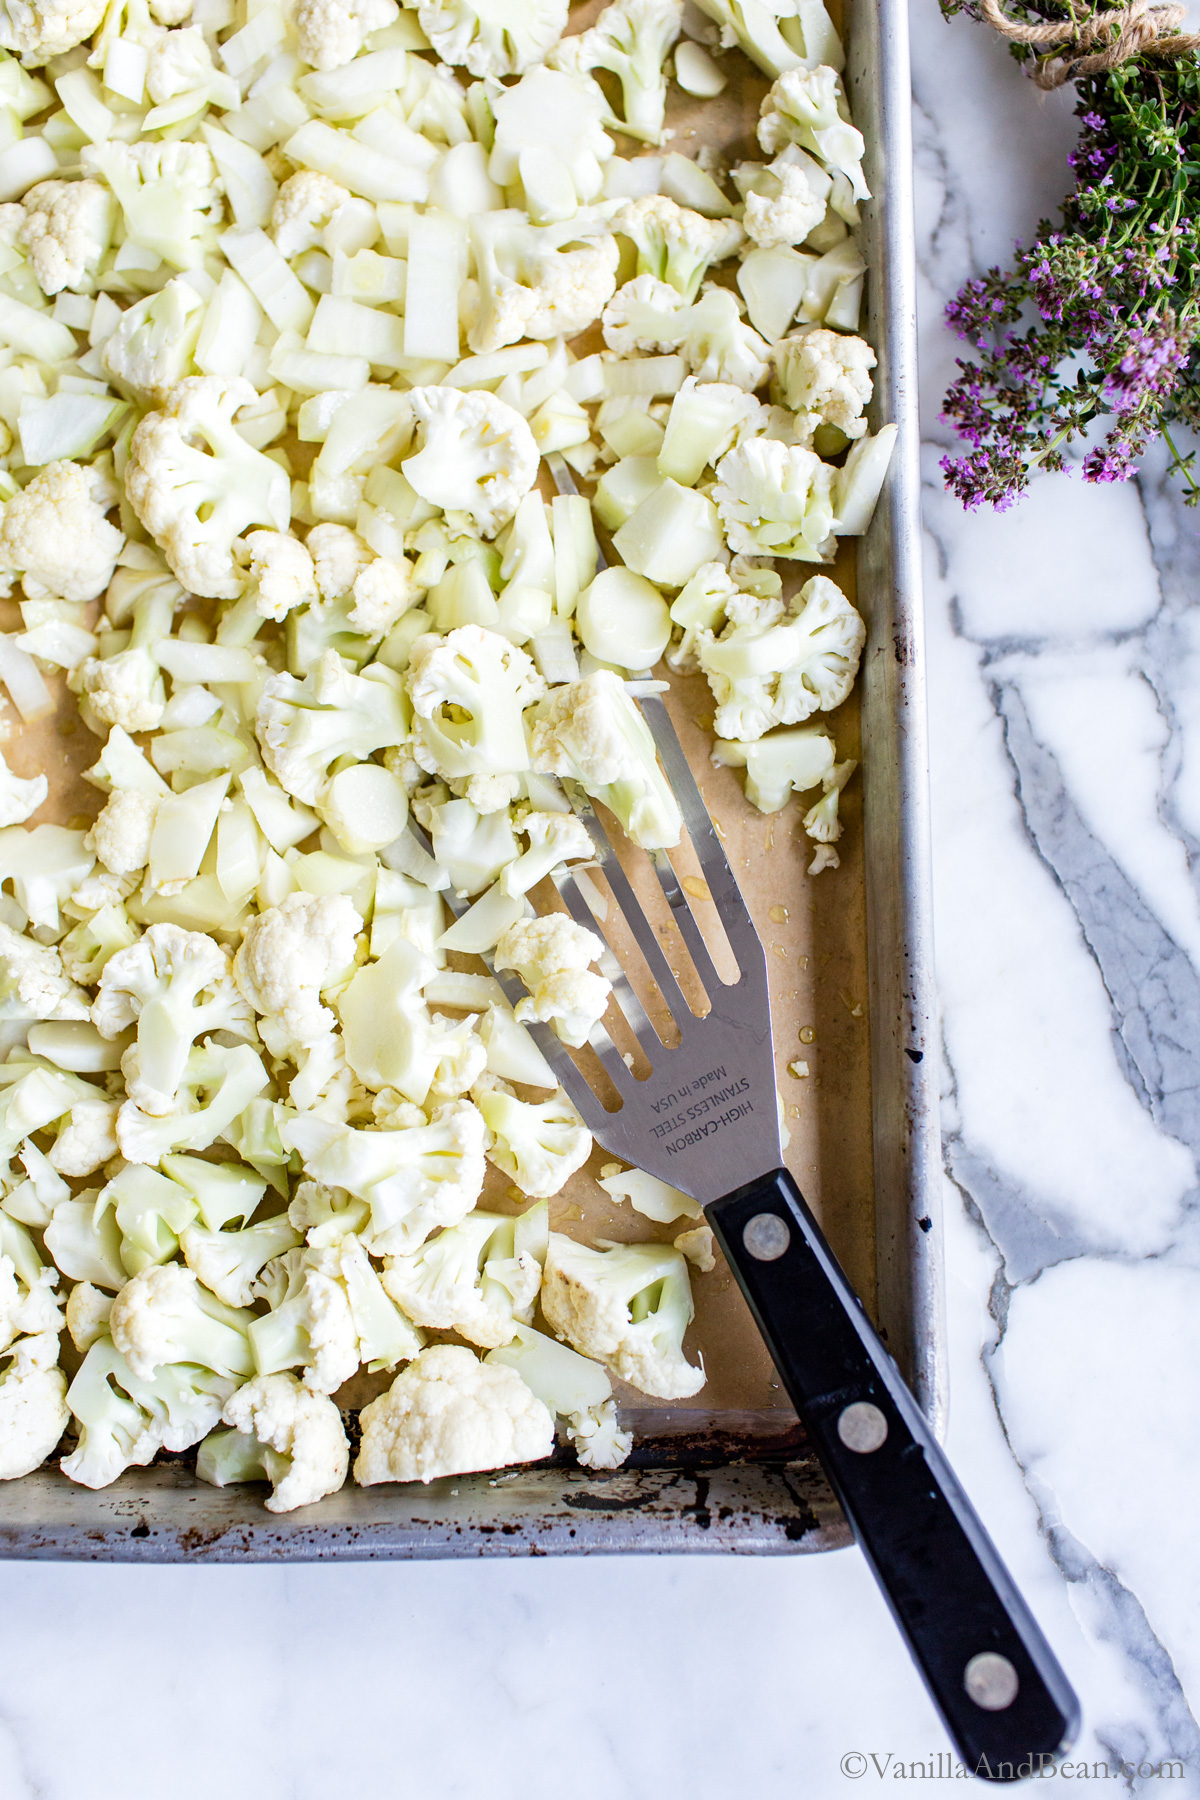
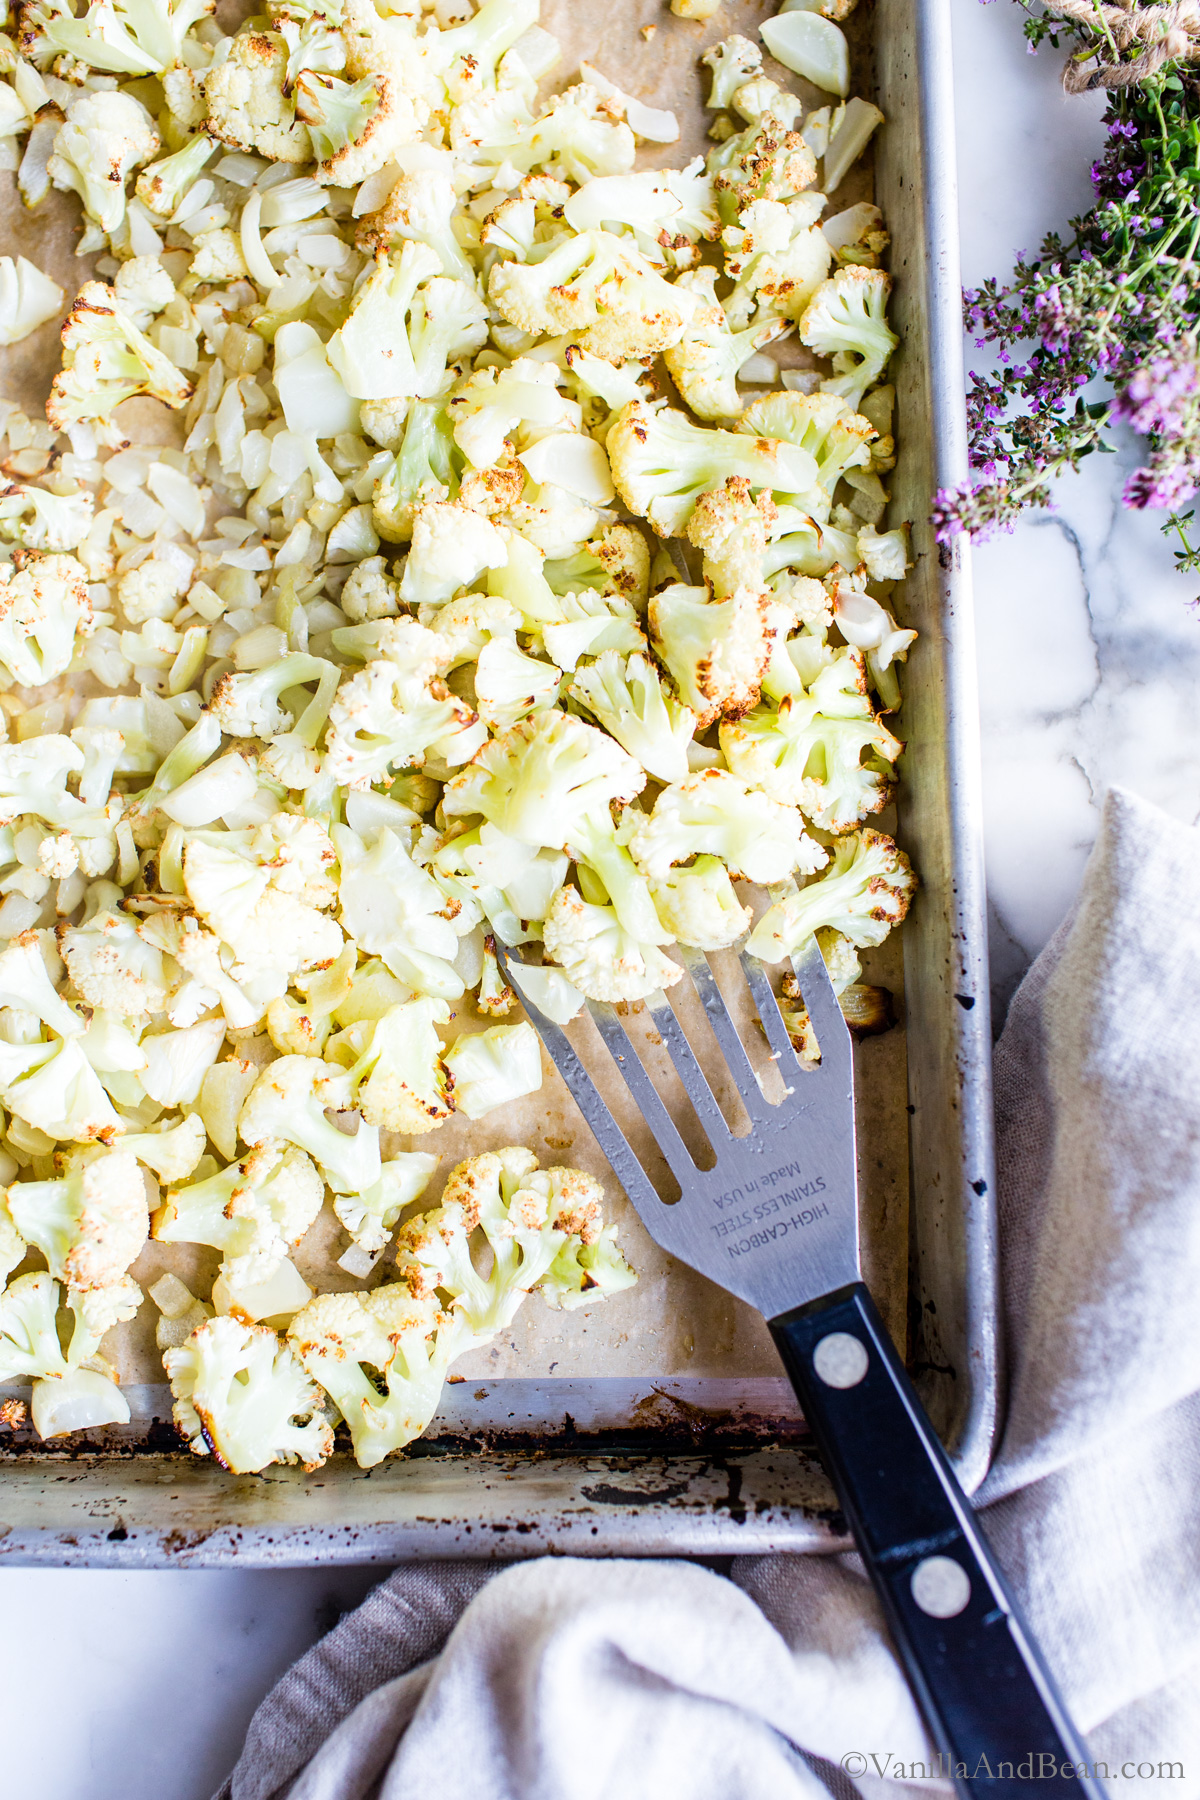
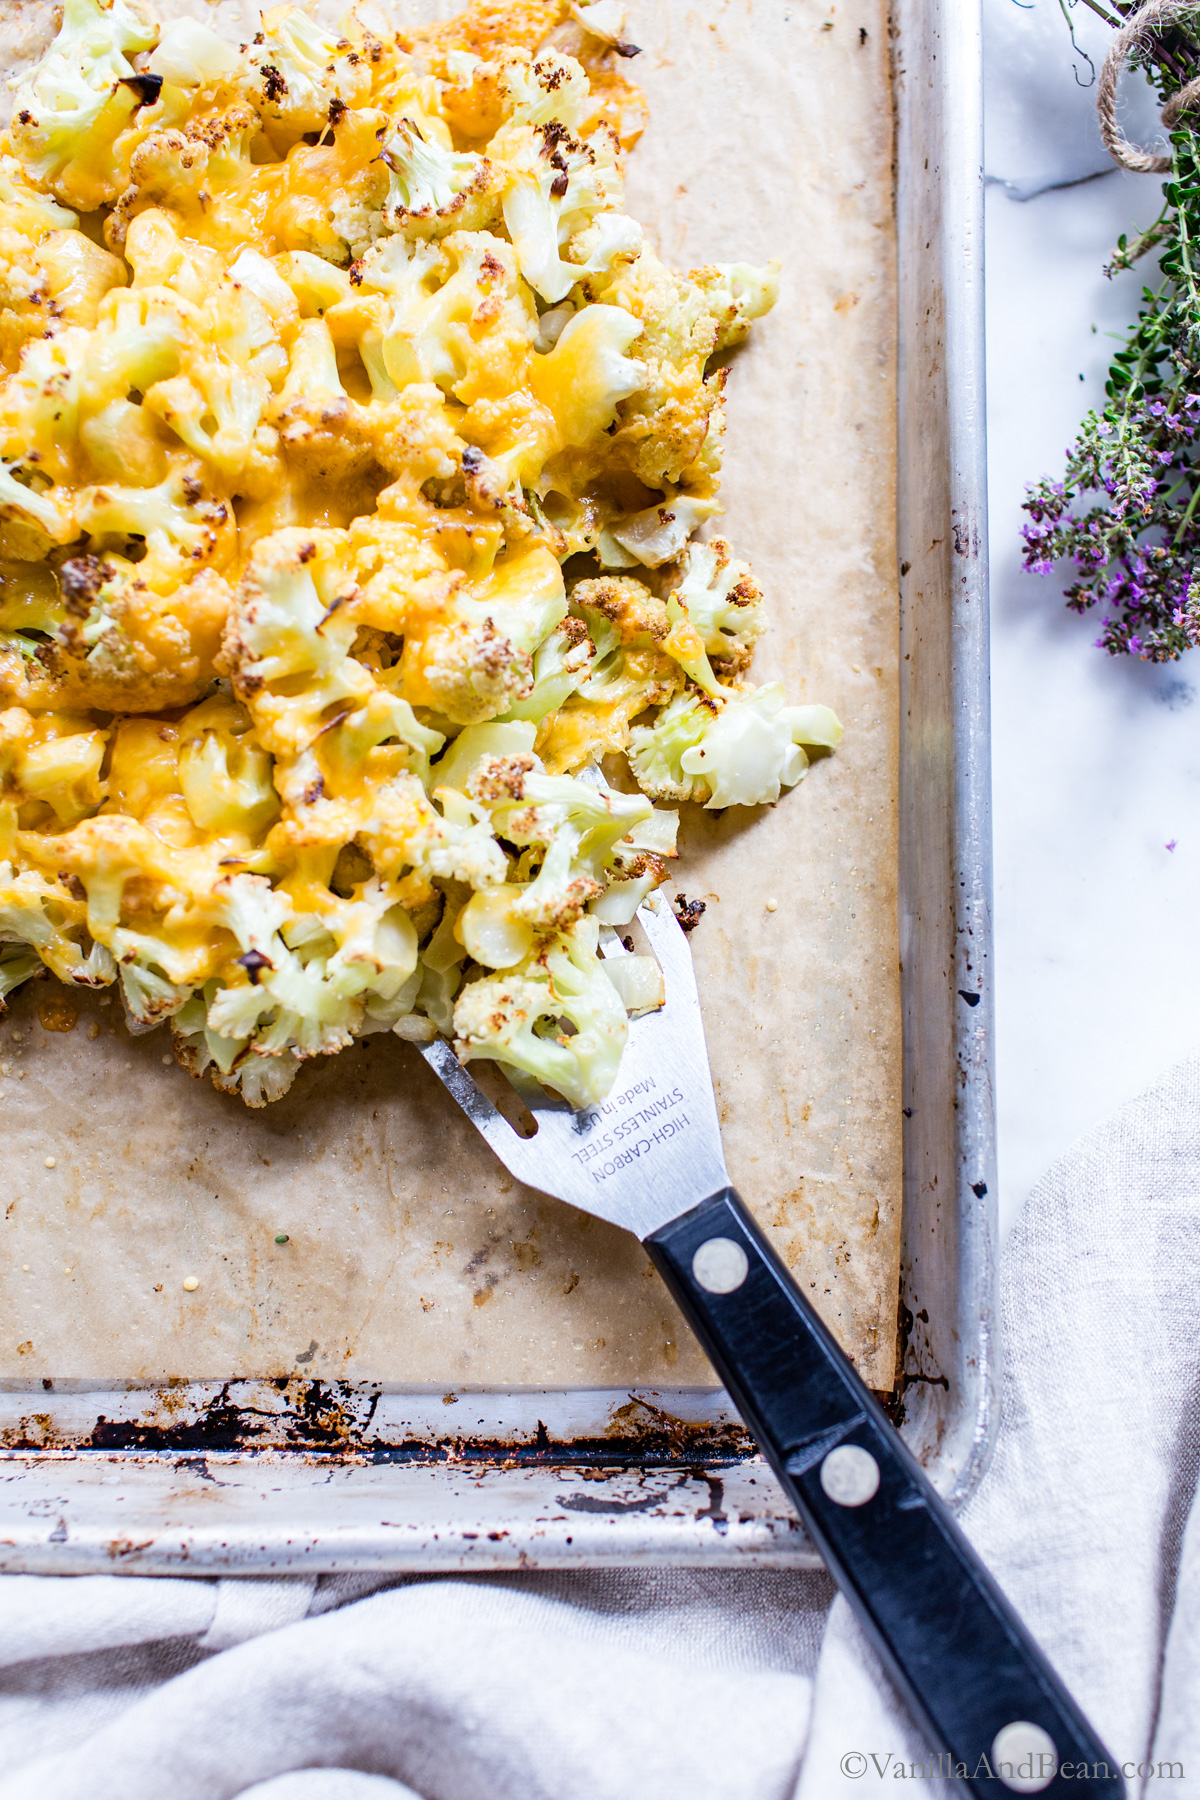
Preparing cauliflower macaroni and cheese involves several steps, however, some of the prep and cooking time can be done simultaneously. Multitasking keeps things moving along.
About those Crunchy Breadcrumbs on Top
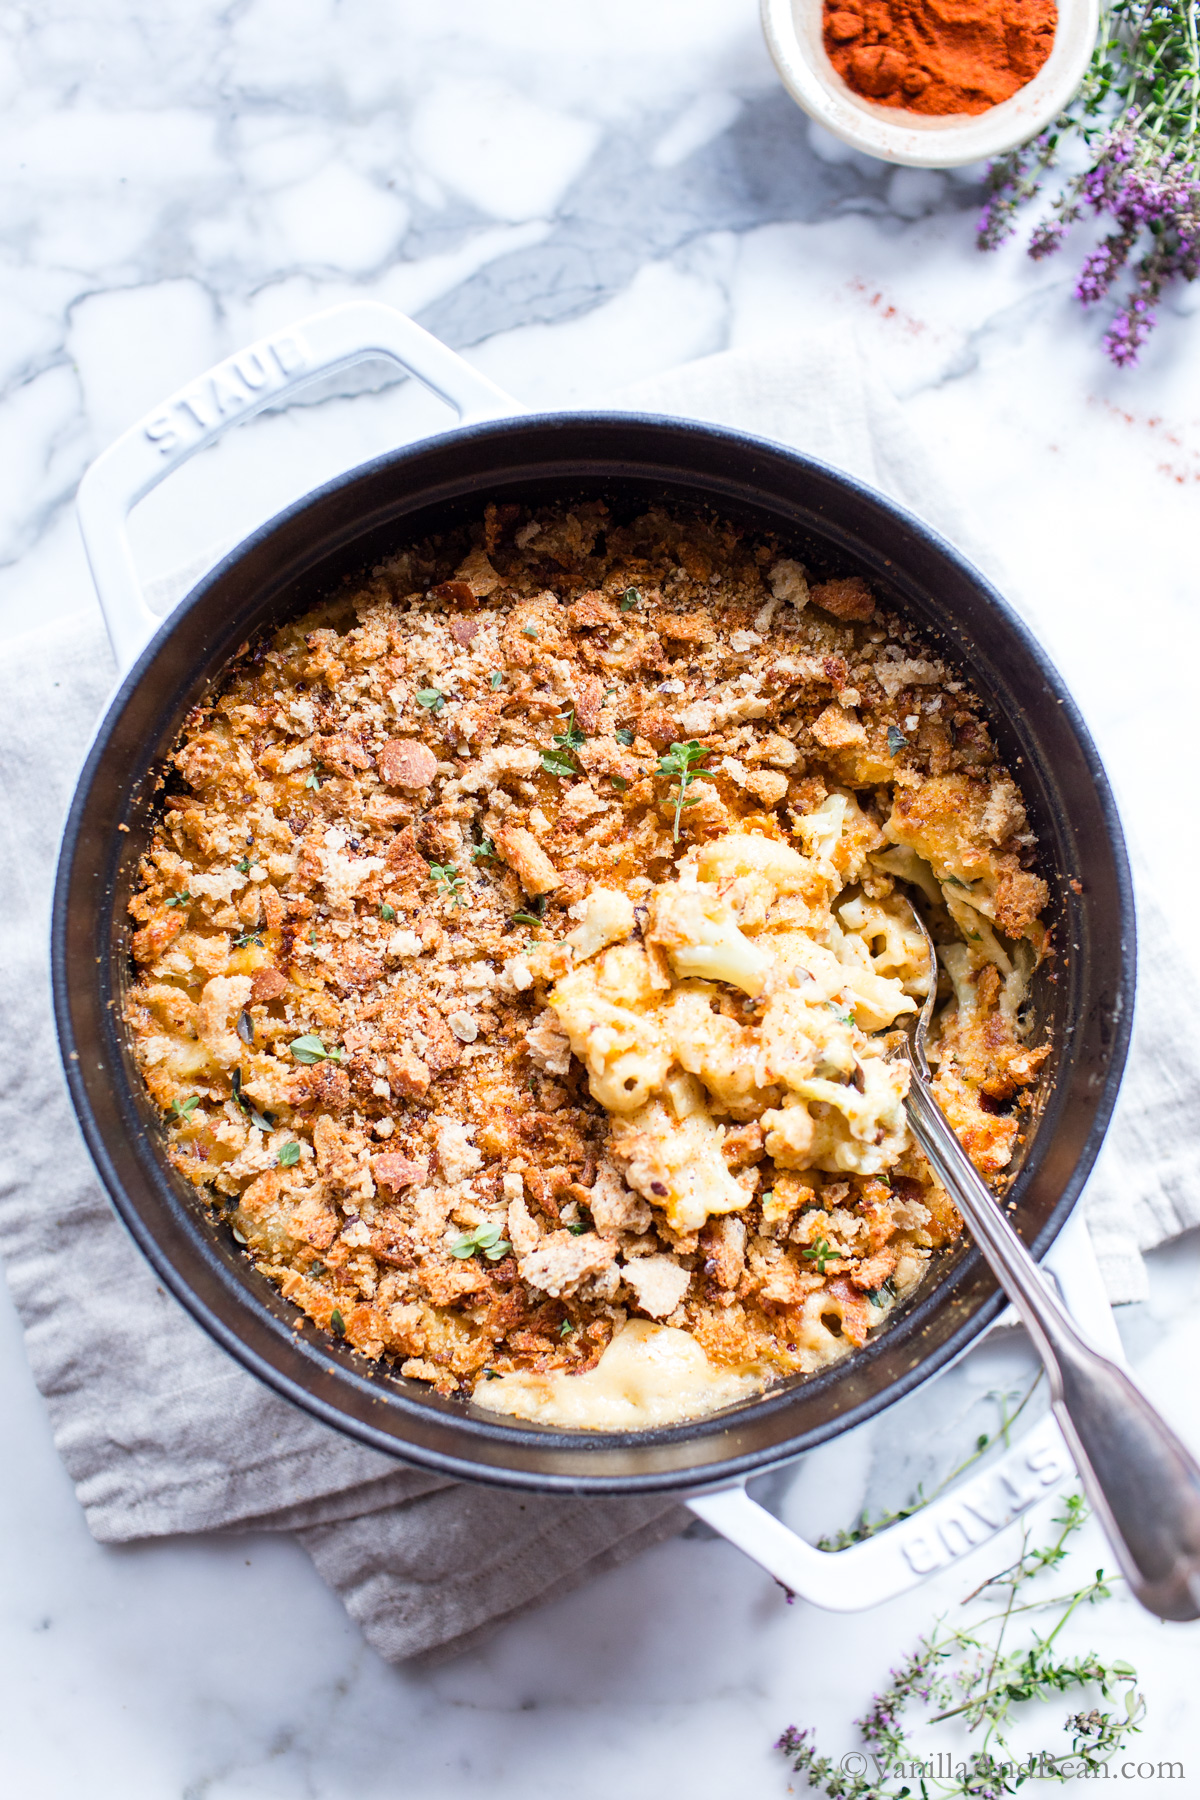
If you have time to make breadcrumbs or have homemade breadcrumbs stashed in the freezer, this is the time to use them! Sourdough? All the better! Homemade breadcrumbs go a long way to elevate this recipe. They’re easy to pull together too! How to DIY breadcrumbs is found in the recipe notes.
But, you can absolutely enjoy this recipe with unseasoned store bought breadcrumbs. Use whatever you have time for!
Traci’s Tips
- Roasting the cauliflower before adding it to the pasta and béchamel sauce draws out its moisture and brings out its best flavors and texture.
- Keep those little brown crunchies on the pan with the cauliflower and cheese. They taste fabulous!
- For a hybrid approach, I typically use homemade cashew milk in this recipe because I always have it on hand. Whole milk works great too!
- Tip: Microplaned garlic is simply using your zester to get more mileage out of your garlic.
Roasted Cauliflower Mac and Cheese Recipe
Ingredients
- 2 Tbs + 1 tsp Vegetable Oil, I like melted coconut oil or olive oil, divided
- 1 (1 3/4 pounds / 800 grams) Head of Cauliflower, trimmed and cut into small pieces. You'll need 5-6 cups (1 pound 2 ounces / 500 grams).
- 1 cup (125 grams) Red or Yellow Onion, small diced, about 1 small onion
- 1/2 cup (60 grams) Grated Parmesan, divided
- 2 1/2 cups (8 ounces / 200 grams) Grated Sharp Cheddar Cheese, one small block, divided
- 8 ounces (225 grams) Pasta Shells, or Elbows
- 1 tablespoons Unsalted Butter
- 2 teaspoons Garlic, microplaned (2-3 large cloves)
- 2 tablespoons Whole Wheat White Flour, or All Purpose Flour
- 2 cups (480 grams) Whole Milk, or homemade cashew milk***
- Tabasco, to taste
- Black Pepper , to taste
- 1 teaspoon Fine Sea Salt
- 3/4 cups (55 grams) Homemade Bread Crumbs, recommended **see note to DIY, or use unseasoned prepared bread crumbs
- Smoked Paprika
- Fresh Thyme, optional, for garnish
Instructions
- Preheat oven to 425 Fahrenheit, with rack positioned in the center of the oven. Line a sheet pan with parchment and spread 1 tablespoon of oil on the parchment. Set aside.
Prepare the Cauliflower:
- Arrange the trimmed and cut cauliflower on the sheet pan with the diced onions distributed evenly and in one layer. Once the oven is preheated, put the sheet pan in the oven and set the timer for 15 minutes.
- Check on the cauliflower after 15 minutes. Give the pan a shake and gently, using a spatula, redistribute the cauliflower again in one layer. Set the timer for another 5 minutes then check again. The cauliflower should be turning a nice golden color with bits of dark brown. Roast for an additional 5 minutes if needed. Redistribute the cauliflower again, but this time to the center of the pan. It's ok if it's piled up. Add 1/4 cup Parmesan and 1/2 cup Cheddar and bake for an additional 8-12 minutes or until the cheese is thoroughly melted. Remove the pan from the oven and set aside.
Cook the Pasta:
- Meanwhile, put a pot of water with a heavy pinch of salt on to boil for the pasta shells. Do this in a 3 1/2 – 4 quart (3.3 – 3.7 Liter) Dutch oven if you can (for fewer pots to clean). Add the pasta once the water is boiling and boil until tender (or as indicated package directions). Drain pasta and set aside. It's okay if it sticks together. If using a Dutch oven, there's no need to clean it, unless pasta has stuck to the bottom. You'll make the sauce in it too.
- Reduce the temperature of the oven to 350 Fahrenheit (176 Celsius).Spray the bottom and sides of a baker (8 1/2 inch x 11 inch or 8 inch x 8inch / 21.6 x 28 centimeters or 20 x 20 centimeters) and/or ramekins with pan spray. Set aside. Otherwise, continue making the recipe in the Dutch oven to go from stovetop to oven.
Make the Sauce:
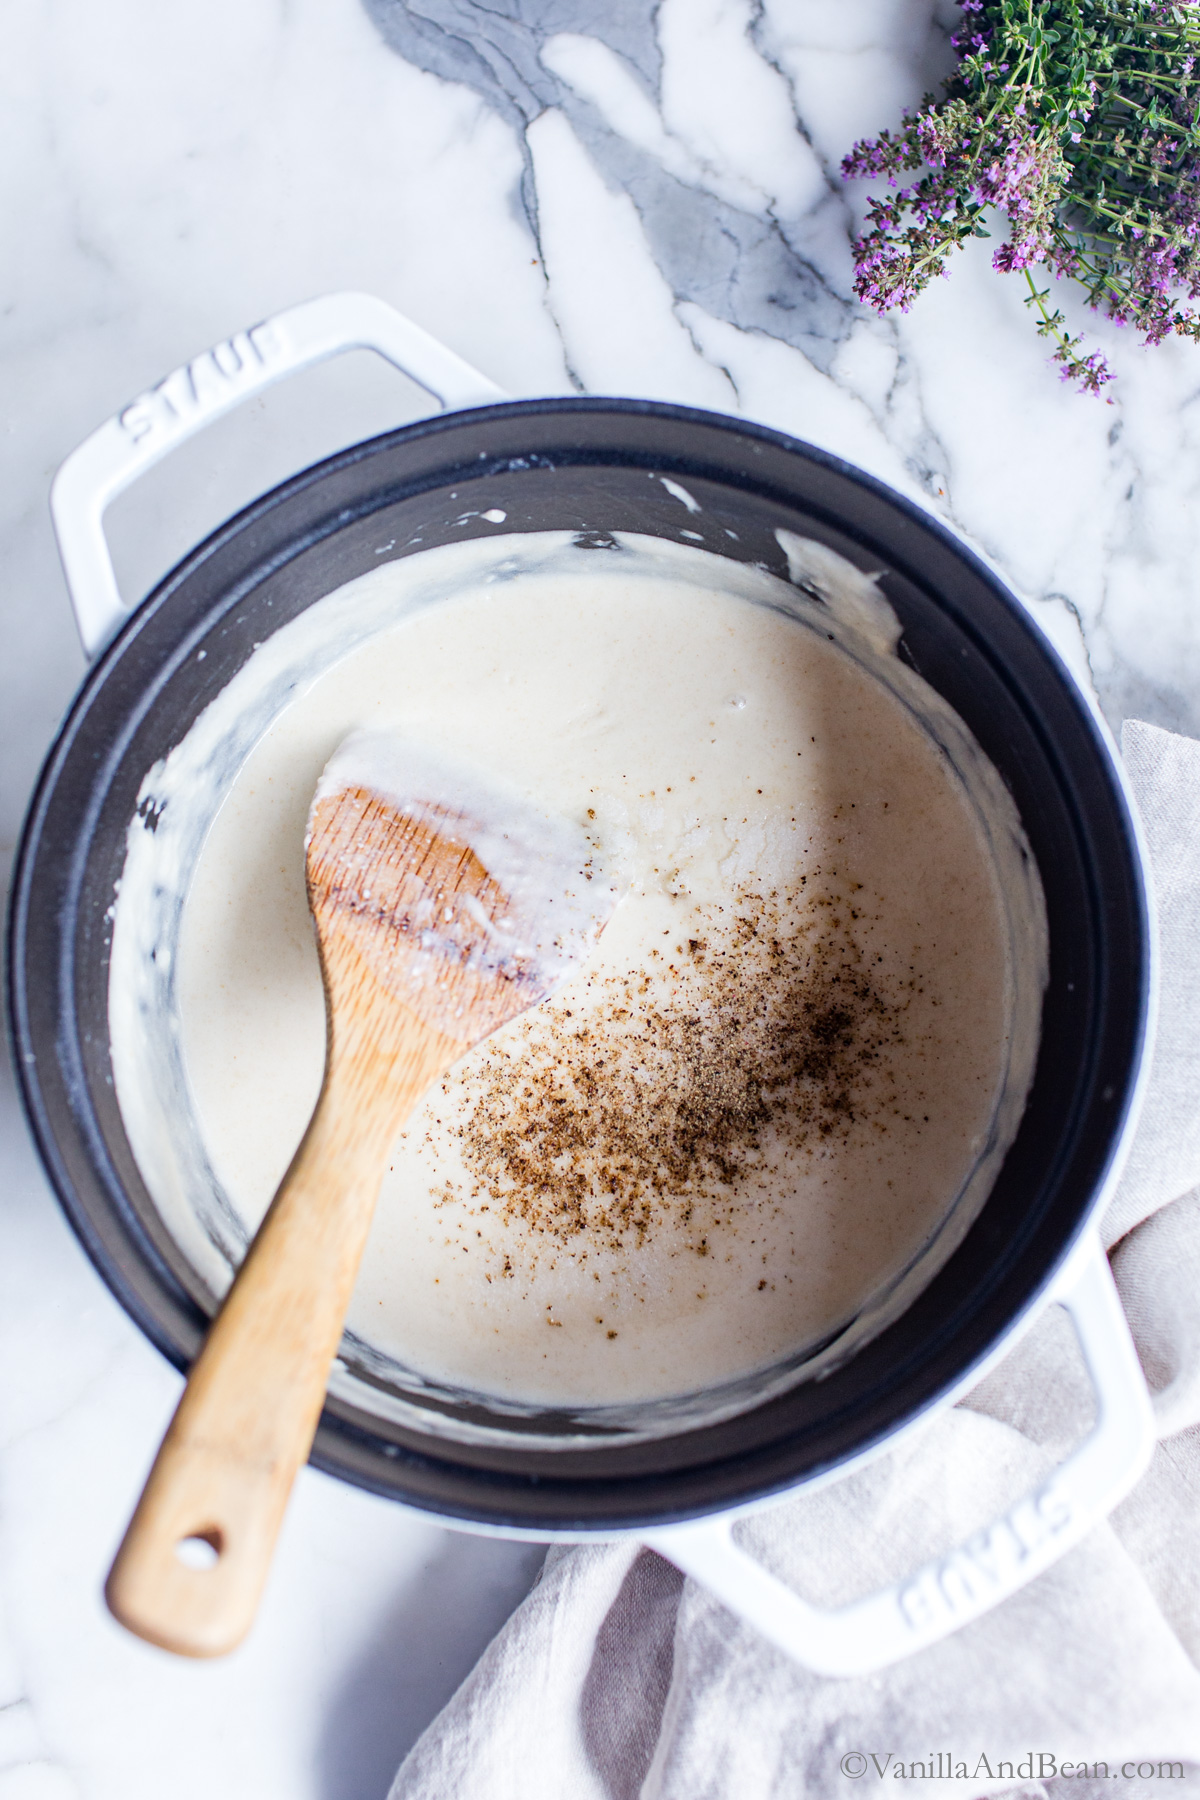
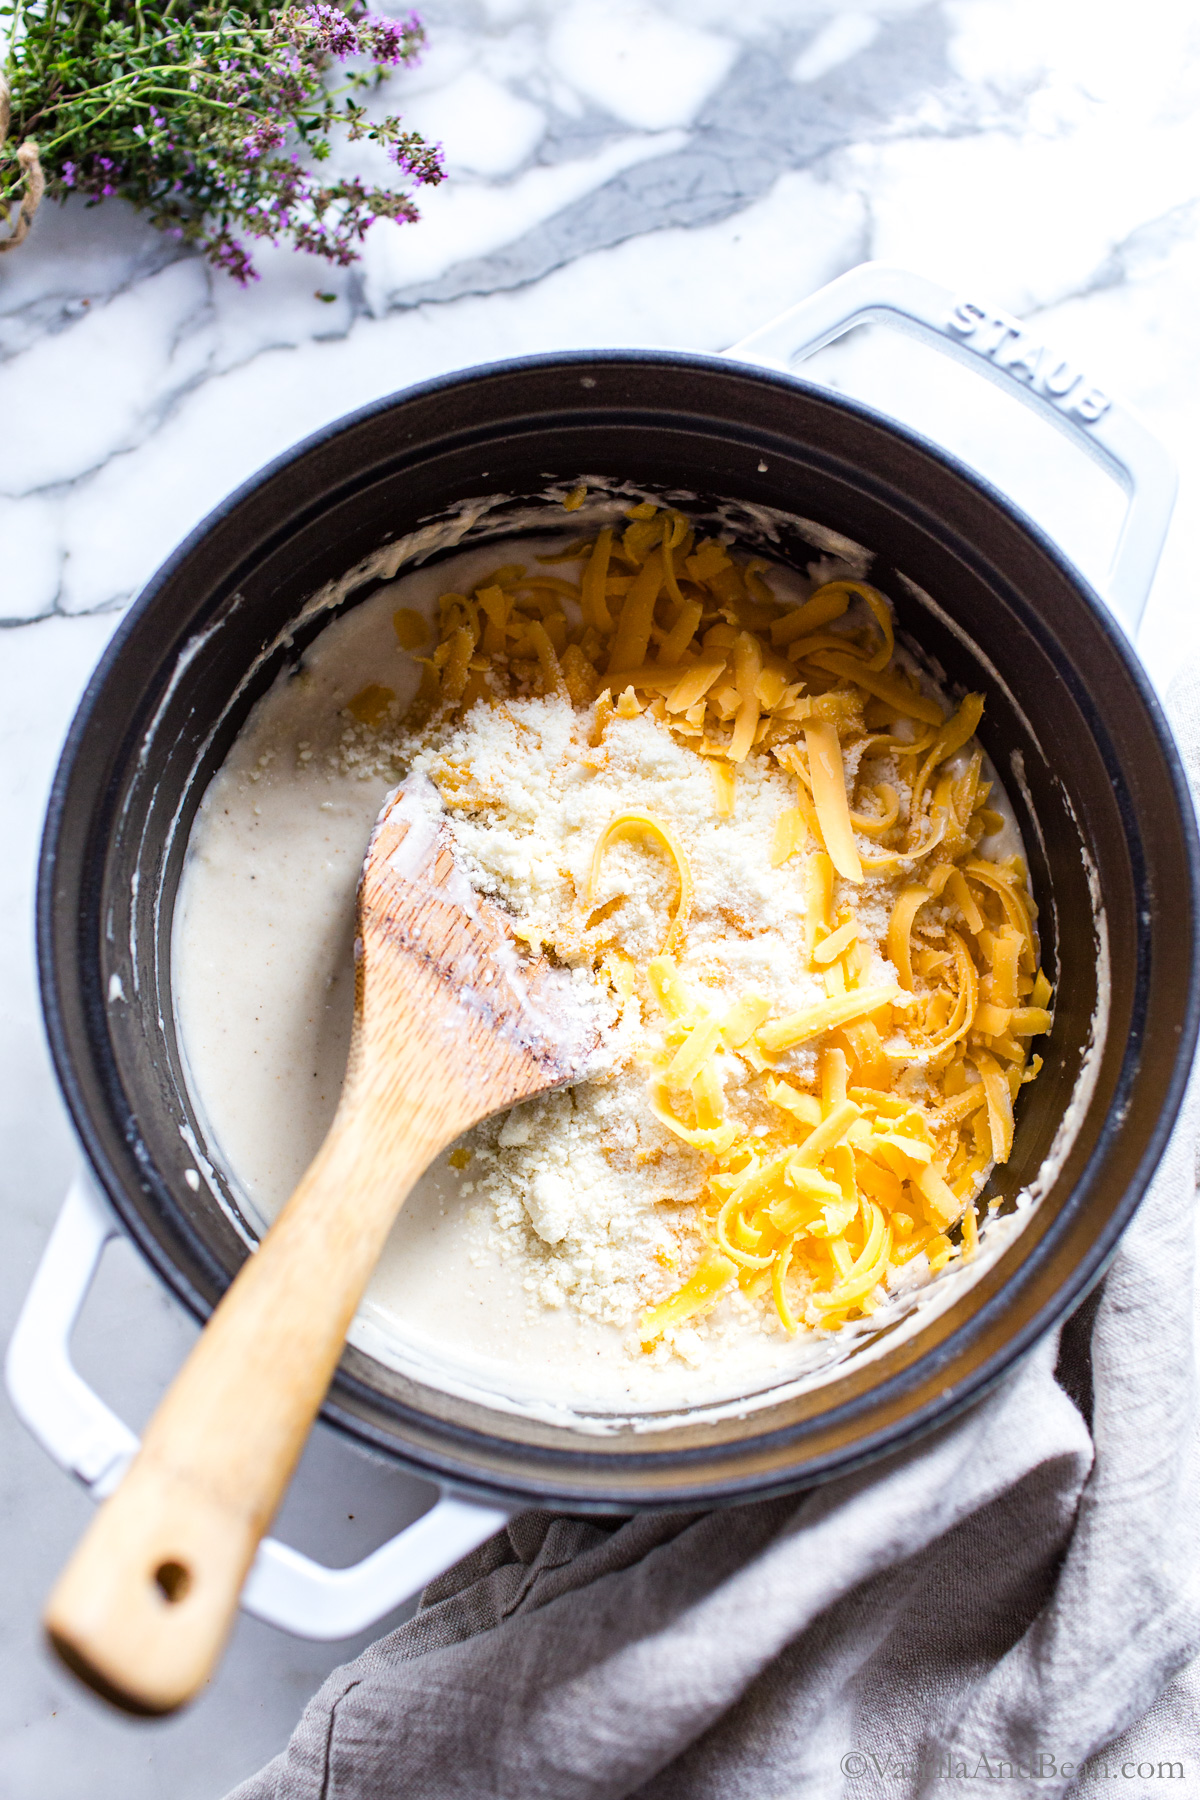
- Warm the milk in the microwave in a heatproof, spouted bowl or measuring cup until steaming. Set aside. To the Dutch oven, or medium sauce pot add the remaining 1 tablespoon oil and 1 tablespoon of butter. Melt and allow the butter to bubble. Turn the burner to low. Toss in the microplaned garlic and push it around the pan using a whisk for no more than 10 seconds. Sprinkle in the flour and whisk constantly until a loose paste is formed. Now you're ready to add the milk, a little at a time while whisking the entire time. Continue to add a little more milk at a time while the sauce begins to thicken slightly and become smooth, with little to no lumps. Once all the milk is in the pot and your sauce is smooth, add the salt, pepper, and the remaining cheese. A few glugs of tabasco to taste is especially nice here. Stir until completely smooth and thickened. Remove the pot from the heat.
Finish and Bake the Mac and Cheese:
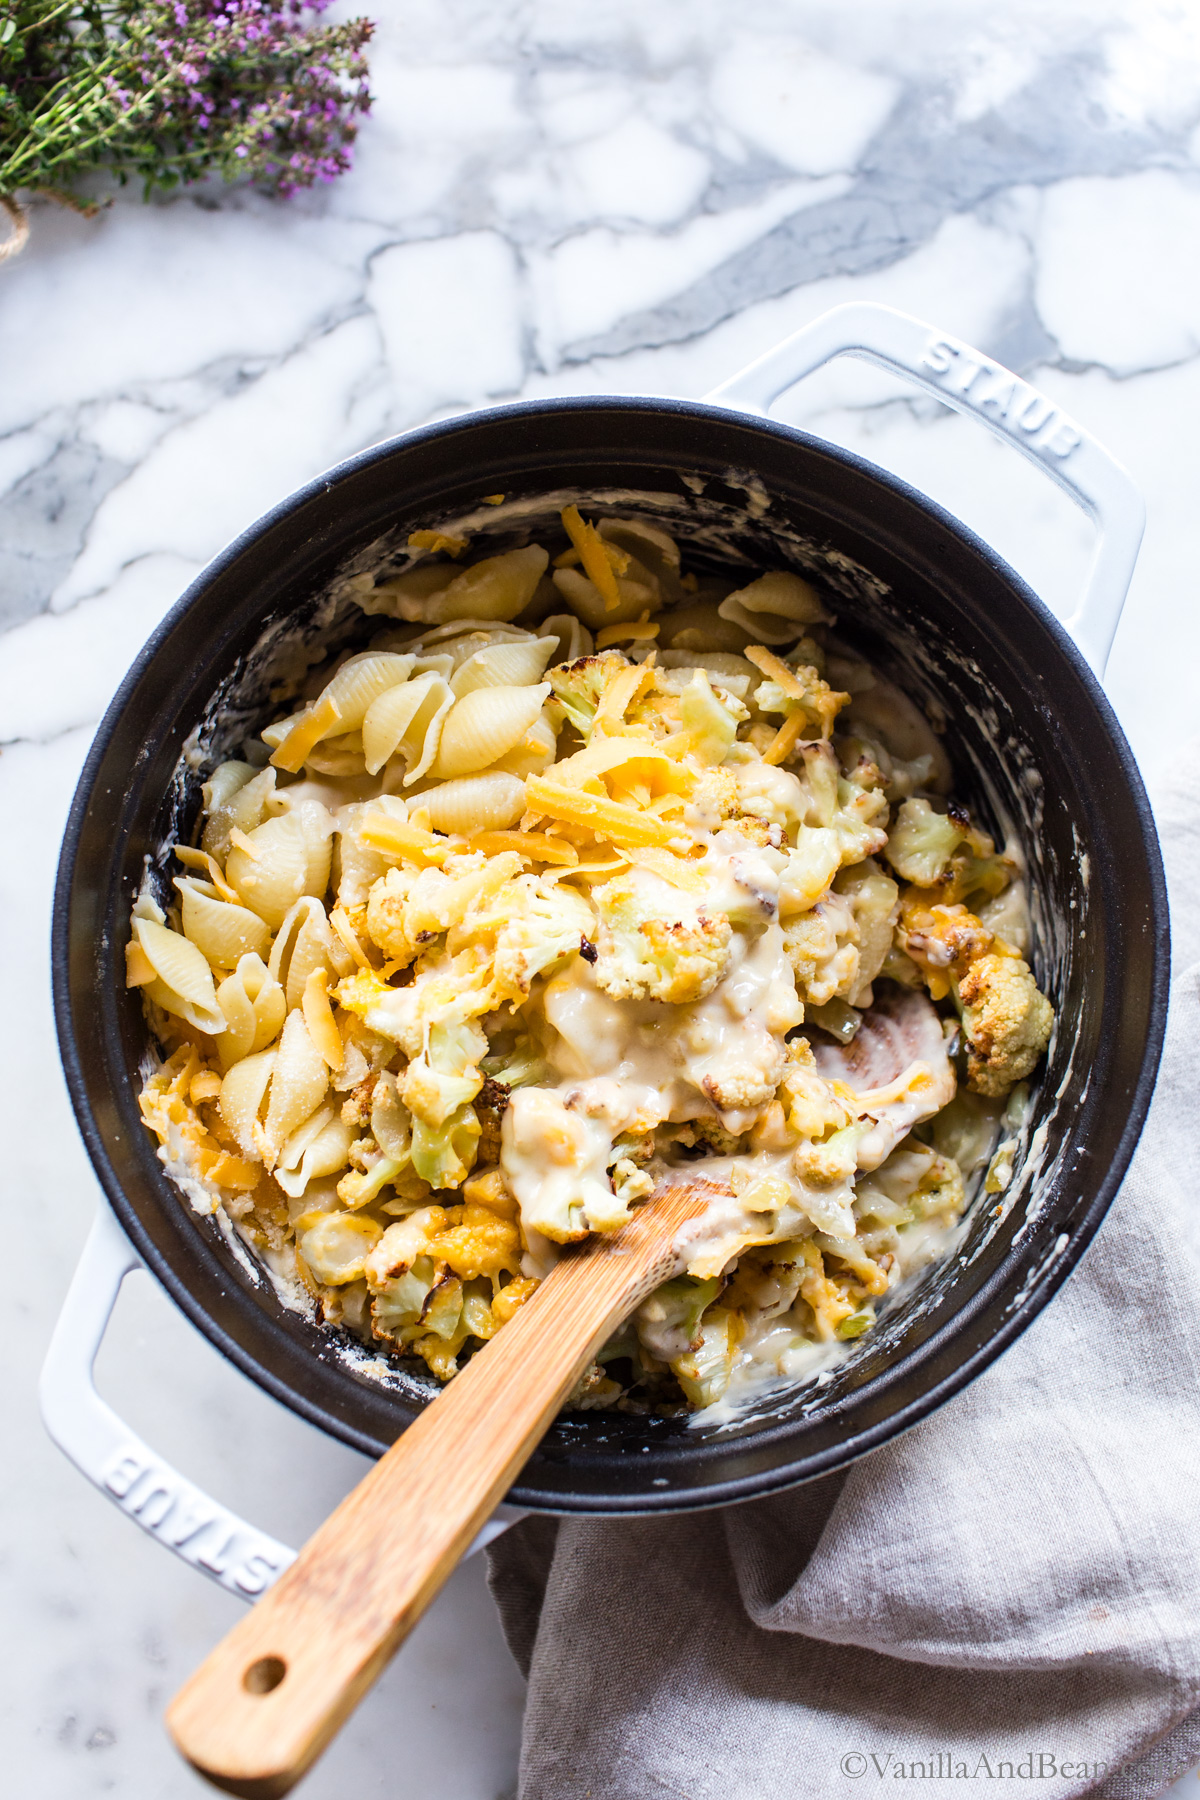
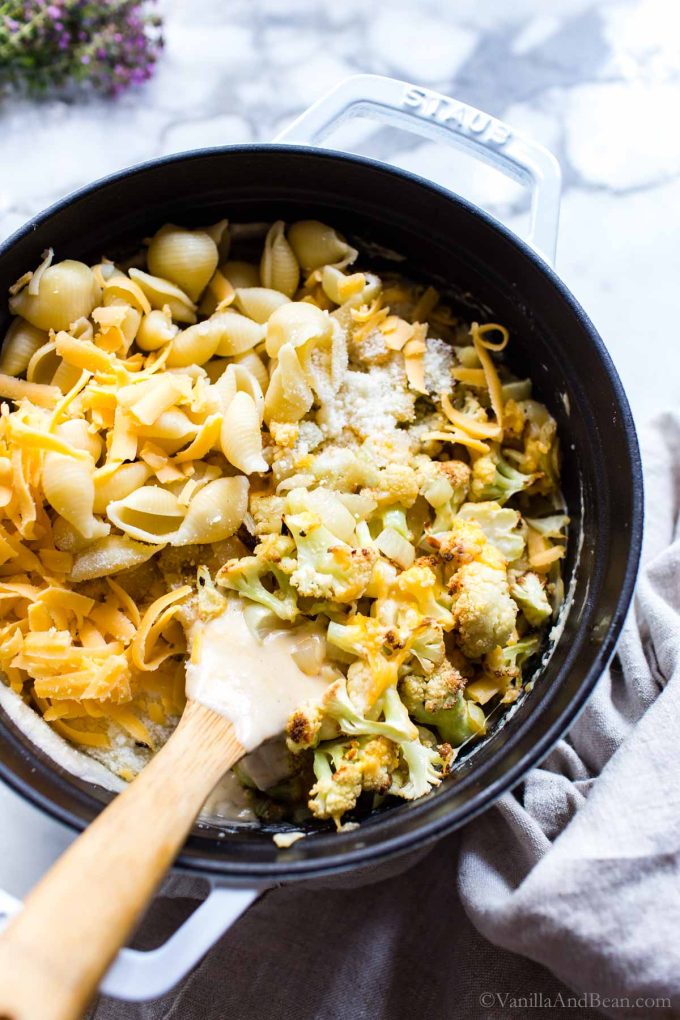
- To the sauce, stir in the cooked pasta, roasted cauliflower, and the little bits of crunchies on the pan. If using a Dutch oven, wipe the top clean around the rim and continue with the breadcrumbs. If using a baker, transfer the mixture to the prepared baker. Cover the mixture with breadcrumbs. Sprinkle paprika, a pinch of salt and a few grinds of pepper over the top, to taste. A little paprika goes a long way.
- Bake uncovered for about 20 minutes or until the breadcrumbs are toasty and the mac and cheese is heated through. Check after 10 minutes to make sure the bread crumbs aren't getting too dark. If so, simply lay a piece of foil over the top. If baking in a Dutch oven, you'll need to give the casserole about 5-10 more minutes.
- Garnish with fresh thyme. Serve.
To Store and Reheat:
- Store in a lidded container in the refrigerator for up to three days. Freeze for up to two weeks. Thaw overnight in the fridge. Gently rewarm stovetop with a splash or two of milk to loosen and soften things up.
Video
Notes
- Preheat oven to 300F.
- Place 2-3 slices of sourdough bread in a food processor. Process until crumbs are formed, chunky or smaller. If the bread is older and dry, you may need to remove the crust before processing.
- Transfer the crumbs to a parchment lined sheet pan arranging in a thin layer and bake for 5 minutes. Stir and rotate the pan. Bake for another 5 minutes and check to see if they’re dry and lightly golden brown. Give the crumbs up to an additional 5 minutes as needed. The darker they’re baked here, the darker they’ll be in your final dish.
- Allow crumbs to cool on a sheet pan completely.
- Store in a zip style bag up to three days at room temperature. Homemade breadcrumbs can be frozen for up to a month.
Nutrition
Nutrition is provided as a courtesy and is an estimate. If this information is important to you, please have it verified independently.
Made it? Leave a comment below!
The most helpful comment may include recipe rating, feedback, any modifications or helping other commentors.



I love this recipe! Perfect proportions. I really like the idea of some of the cheeses melted on the cauliflower/onion as well as in the sauce. Used fontina and also habanero cheeses as a substitute for the cheddar because it’s what I had. And I had a lot of cauliflower but the recipe absorbed it well. I served sliced tomatoes on the side. It was so delicious.
Hi Susan! Thank you for your note and giving the recipe a go. Isn’t the cheese melted on the cauliflower so nice? Fontina and habanero cheese sounds amazing (thank you for your tip). Sliced toms on the side sounds perfect!
I made this yesterday and it was absolutely delicious! I made it with unsweetened soy milk, and added nutmeg and cayenne and omitted the smoked paprika. The roasted red onion added color, flavor and crunch, the roasted cauliflower was delicious, and the sharp cheddar and parm was super flavorful. Thanks for a great recipe! I love cauliflower and am always looking for new recipes.
Hi Susan! I love your hybrid approach with the unsweetened soy milk! Thank you for your note and sharing your tip about the nutmeg and cayenne – YUM!
Thanks so much, Traci! I can’t wait to make this, I think it’s going to be delicious!
I have another couple of questions for you:
1) I do have a small enamel dutch oven, and I’ve only ever used it for covered slow cooking in the oven, I’ve never thought to do mac and cheese in it and then transfer it uncovered to the oven for browning! I’m assuming it will brown just as well in such a high-sided pot, as opposed to a low casserole dish?
2) Have you tried doubling this recipe for a 13×9 dish? Would this recipe work by exactly doubling the ingredients?
Thanks again!
Hi Tina… 1. It depends on what you’re after: fewer dishes or more surface area for browning. Using the DO will increase the depth of the mac and cheese which means the breadcrumbs won’t be spread out as much… I’ve always had good browning both ways, but if you want more surface area, go for the pan rather than the DO. 2. I’ve not tried doubling the recipe, but if I needed to, I wouldn’t hesitate doing it. I’m not sure if it would all fit in a 13×9. I hope this helps, Tina! Let us know how it turns out for you!
Can I make this in the morning and refrigerate it and then bake it in the evening or next day ?
That should work, Marianne! Put the breadcrumb topping on just before you bake it, otherwise it’ll probably get soggy hanging out in the fridge. I hope you enjoy it!
This was a great addition to my Thanksgiving meal! Followed the recipe exactly, but used whole wheat rotini in place of the shells. The sauce took a little longer to come together because my dutch oven wasn’t quite hot enough when I added the cheese. My breadcrumbs didn’t get toasty, but I mixed them in and it tasted fine.
This is literally the BEST mac& cheese I have ever HAD and easiest I have ever MADE! Just LOVED it.
My family LOVED it.
I have to say, this is one of my favorites too, Judie. So happy you and your family enjoy it too! Thank you for your note! :D
Wow! This is fantastic! This recipe is a keeper for me! Thank you! My sister couldn’t get enough!
Hooray, Eudocia! Oh it is so good! In fact, I spied cauli at the market last weekend… hoping to pick up a head this weekend and make a batch. We love it too! Thank you for sharing your success! :D
I made this without the pasta and it was delicious for anyone watching carbs!
Oh, that is a great idea, Michelle! Thank you for the tip! :D
We made this for dinner this evening. ♡♡♡ it & will make again! Thank you for sharing your recipe.
Hi Nancy!! This made my day! :D Thank you for sharing your success. I’m so glad y’all enjoyed the mac & cheese!!
This is way cool, Traci. I love the well-done photos and can almost taste the food I am looking at. I look forward to seeing more recipes on here so I can cook new things. You’re doing something right if your Mom is going to try it even though she is not a cauliflower fan. :)