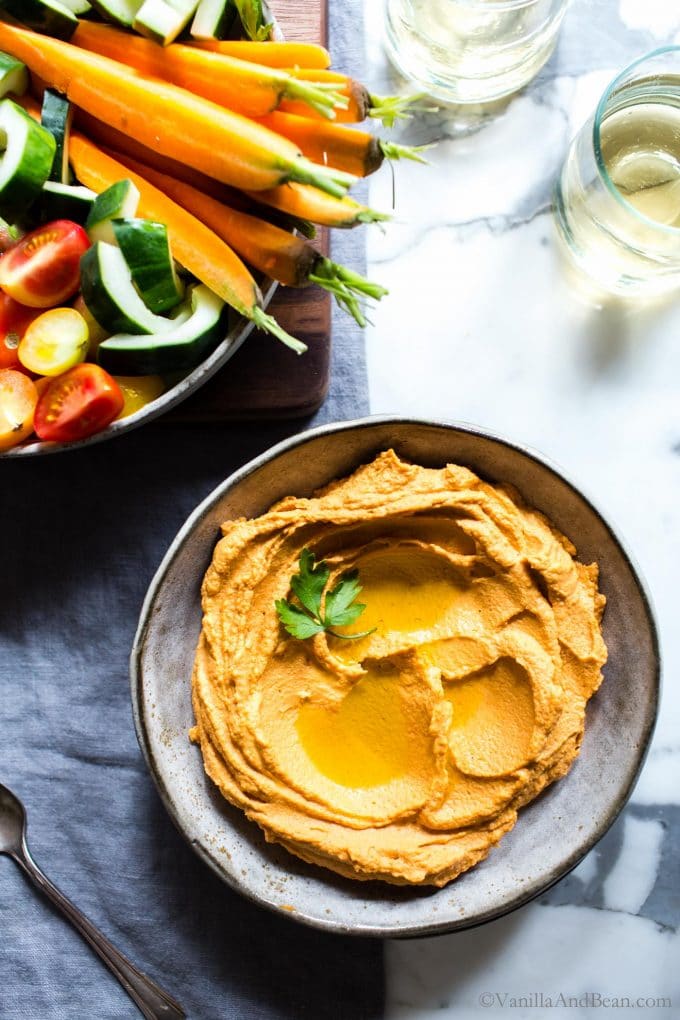
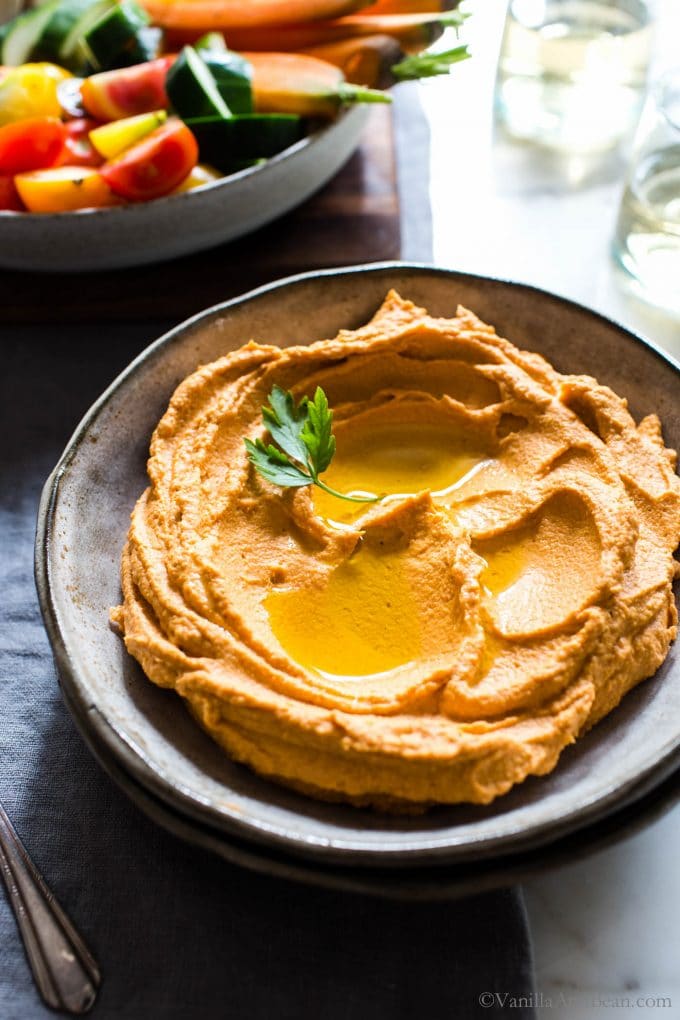
Quick to whip up with canned or home cooked chickpeas (garbanzo beans), this Roasted Red Pepper Hummus is super creamy, flavor packed and perfect with crunchy veggies or Sourdough Pita Bread. I’m sharing a simple tip to create the creamiest, silkiest hummus! This recipe is vegetarian, vegan and easily gluten free.
⭐️⭐️⭐️⭐️⭐️ Reader Review: “I’ve finally found the PERFECT Hummus recipe (and believe me I’ve looked for many years)…thank you so much for sharing it. Happy Family eating it with my freshly made pita bread!!!!” ~ Sheila
A Familiar Snack/Spread/Dip
Loved the world over, hummus is a familiar recipe in our vegetarian household. This easy to whip up, pantry ingredient recipe only requires a few ingredients and it’s simple enough for everyday and meal prep. While this recipe can be made with canned cooked chickpeas, it’s especially delicious made with homemade Cooked from Scratch Chickpeas.
Hummus is perfectly at home on sandwiches, a snack platter, schmeared in pita pockets, or paired with this reader favorite 10 Minute Olive Tapenade.
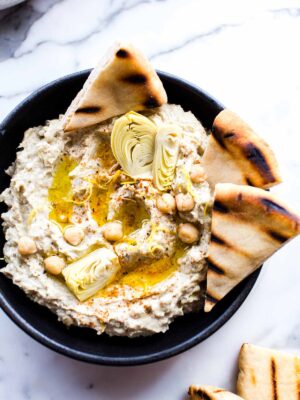
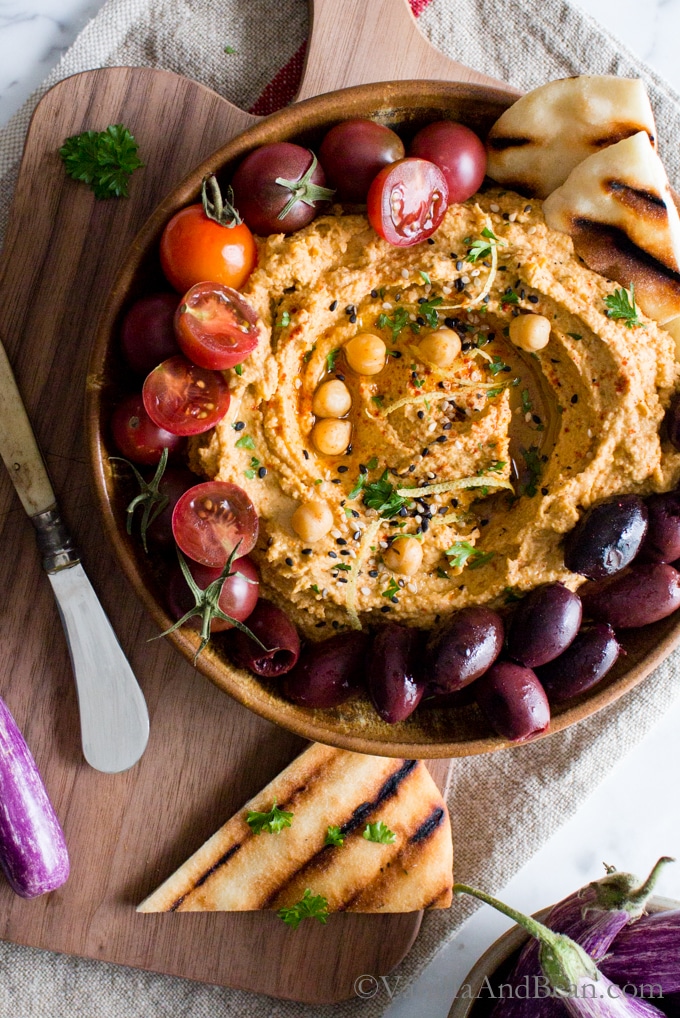
You may have seen my Smoky Roasted Eggplant Hummus and this Artichoke Hummus, but this Roasted Red Bell Pepper hummus is the one I make most often. The flavor is deep and complex, a smoky-sweet yet savory hummus you’ll make over and over!
_____________________
How to Make Roasted Pepper Hummus
step by step

For the Creamiest, Silkiest Hummus
I’ve written about this before in 2017 when I shared this Roasted Eggplant Hummus recipe. Back then, the only way I knew to get the creamiest hummus was to peel each individual chickpea. Now, I don’t know about you, but when I want hummus, there’s no way I’m going to peel all those little peas (what a pain!).
So I settled for making hummus that was creamy, but not as creamy silky smooth as my newish found technique (stick with me here).
For a silky smooth hummus, instead of peeling the chickpeas, simmer cooked chickpeas in a bit of baking soda. This breaks down and softens the chickpeas.
The Baking Soda Trick
There’s this baking soda trick that renders cooked chickpeas soft, completely turning the skins and peas to mush. Perfect for creating a most silky smooth hummus experience.
I first tried this baking soda technique a few years ago using Ottolenghi’s method in his book Plenty (Hummus with Ful), where he soaks dry chickpeas overnight in baking soda, drains the chickpeas then cooks them stovetop in more baking soda laden water. This baking soda tip is a revelation in my hummus cooking/making and eating experience. Truly, the results are spectacular.
According to Cook’s Illustrated “The alkaline environment created by the baking soda helps break down the pectin in the beans, softening the beans’ skins so well that they disintegrate during cooking…”

Traci’s Tips
- Store bought roasted peppers in a jar can be used, but I find home roasted red bell peppers to be more flavorful.
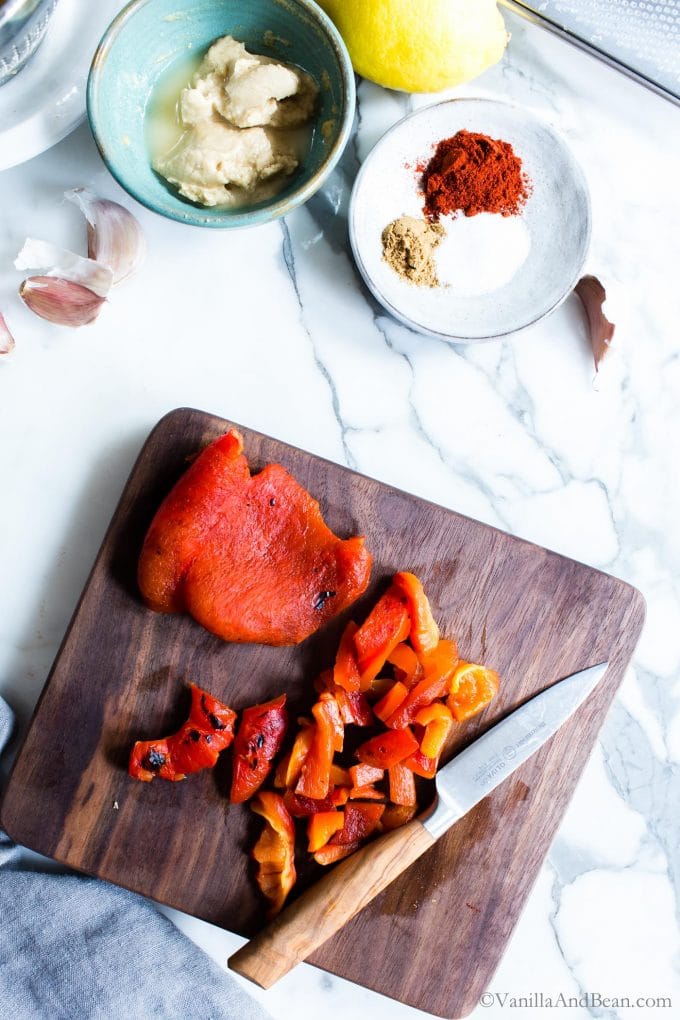
- Dry that bell pepper! In an effort to control moisture in this recipe, it’s important to pat the bell pepper dry before adding it to the other ingredients.
- Share With: Greek Pita Sandwiches, Sourdough Pita Bread, or Easy Olive Tapenade.
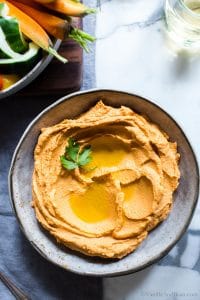
Rich and Creamy Roasted Red Pepper Hummus
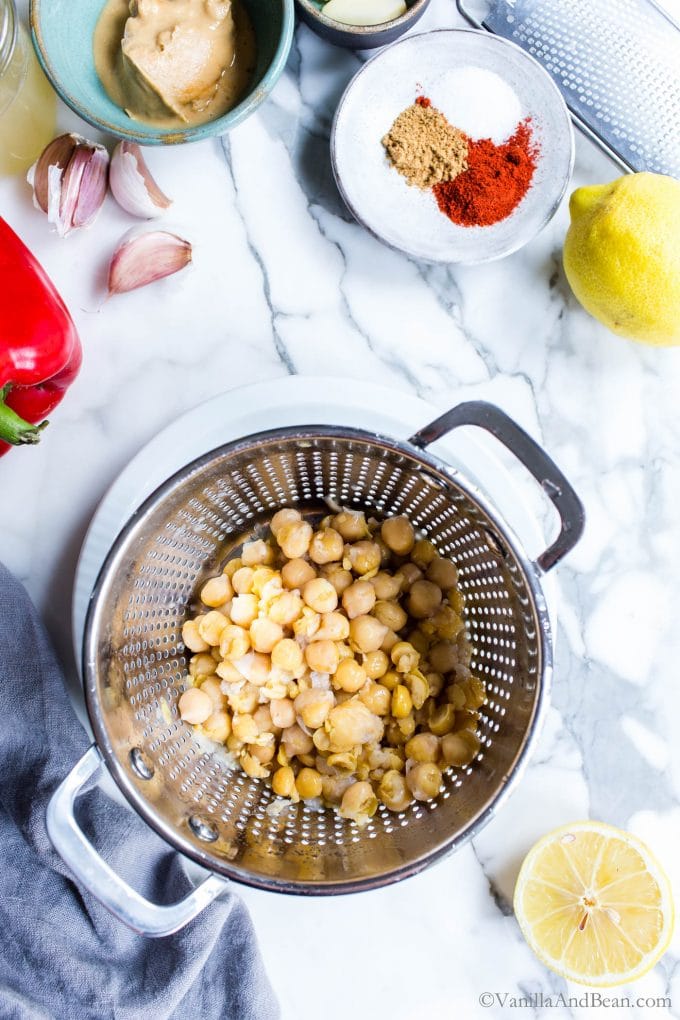
Ingredients
- 1 (215g) Red Bell Pepper
- 1 15 oz (439g) Can of Chickpeas drained, brine reserved. (or about 2 C homemade cooked chickpeas)
- 1/2 tsp Baking Soda
- 1/4 C (60g) Tahini unsalted
- 1 1/4 tsp Smoky Paprika
- 1/2 tsp Cumin ground
- 1/2 tsp Fine Sea Salt to taste
- 2 Plump Cloves of Garlic cut into chunks, or about 1 1/2 tsp minced (take this up to 3 cloves for extra garlicky).
- 1 Lemon zested
- 1 Tbs + 1 tsp Lemon Juice
- 2-4 Tbs Chickpea Brine reserved from the can of chickpeas
- Olive Oil for Drizzling
Instructions
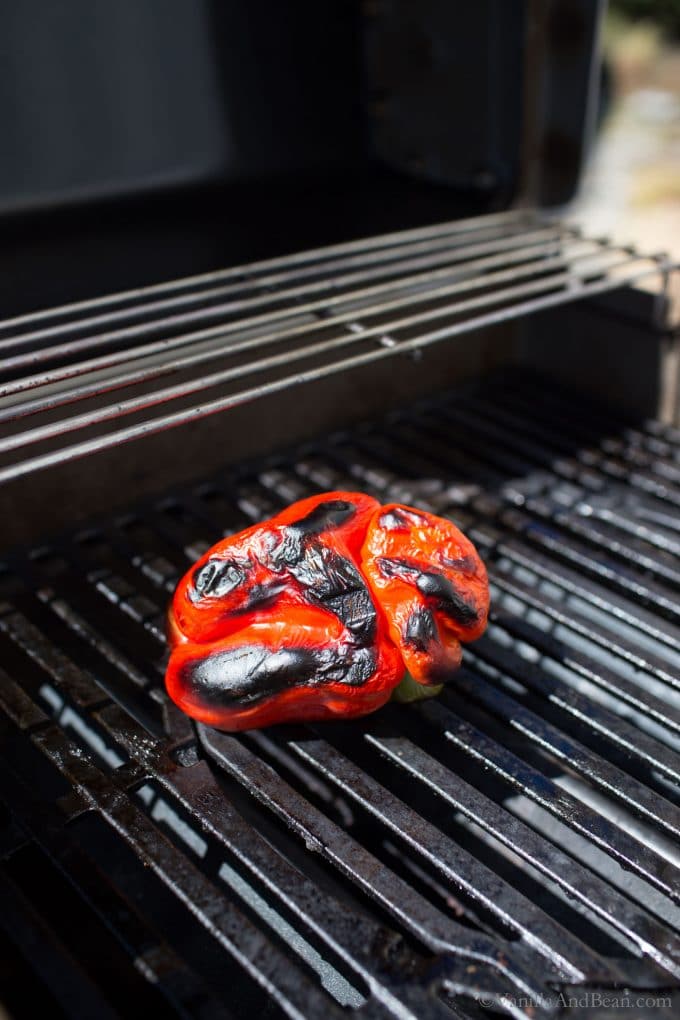
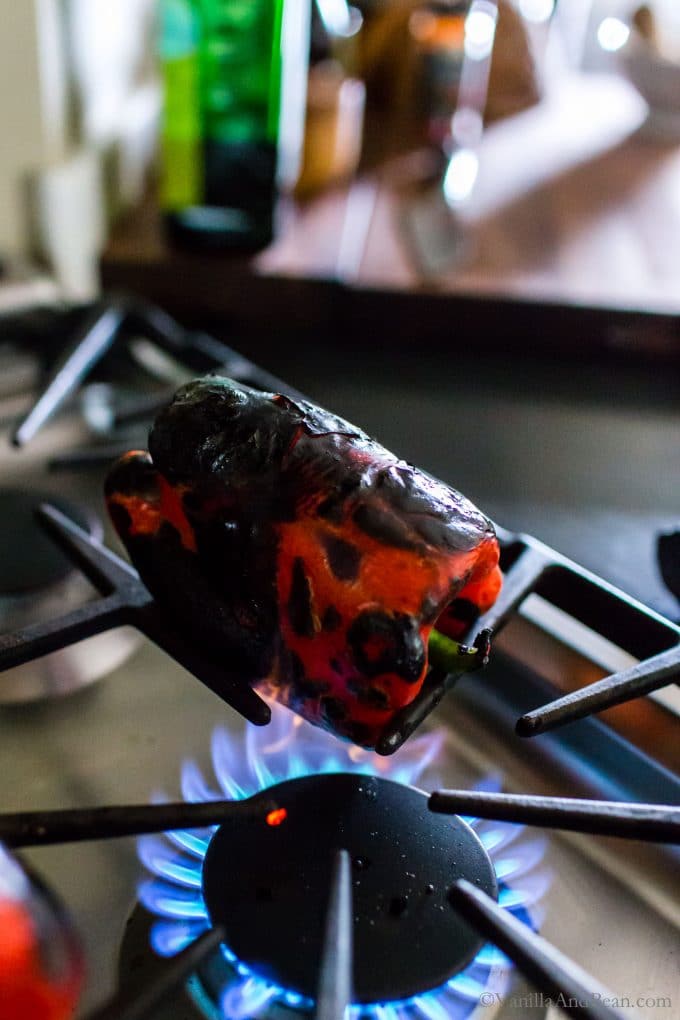
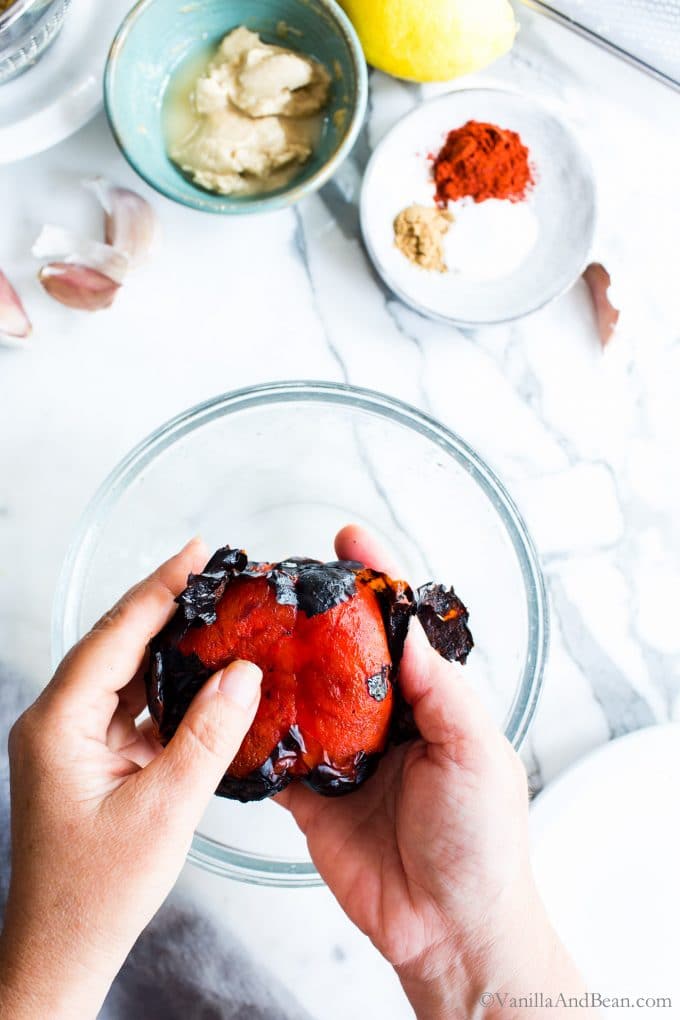
Roast the Bell Pepper (three ways):
- A. Oven Roasted Pepper: Preheat oven to broil. Place the peppers on a sheet pan on the top oven rack and char the pepper for about 15 minutes using tongs to rotate the pepper every 4-5 minutes so that all sides, tops and bottoms are blackened. B. Stove Top Open Flame Roasted Pepper: Place the peppers on the grate over a medium open flame, using tongs to turn the peppers as they char (tops and bottom too), getting them good and blackened. This takes about 15 minutes.C. Grill Roasted Pepper: Heat grill to highest heat setting. Place the pepper directly on the grill grate, using tongs to rotate the peppers as they char, getting each side, top and bottom blackened. This takes about 15-20 minutes.
- Remove the pepper from the oven/stovetop/grill, placing the pepper in a bowl. Cover for 10-15 minutes to steam (this will help the skin slip off with ease). Or to keep more dishes clean, steam the pepper right in the blender pitcher.Under running water, when the pepper is cool enough to handle, slip off the skin, remove the stem and seeds. Pat the pepper as dry as possible using paper or tea towel. Slice the pepper in large chunks and transfer to a in a high speed blender, (I use VitaMix* see note). You should have about 3/4 C (110g) chopped pepper. Make ahead tip: Red bell pepper can be batch roasted, peeled, seeded, patted dry and stored in the freezer for several weeks. Thaw before using in this recipe.
For the Chickpeas:
- Drain the can of chickpeas, reserving the bean brine (aka aquafaba). Transfer chickpeas to a small sauce pot, cover with about two inches of water and add the baking soda. Stir.Bring to a boil, turn the heat to medium to medium low heat and simmer for about 10 minutes. The chickpeas are done when they're falling apart and are easily smashed between pinched fingers. Rinse and drain throughly. Transfer to the blender with the bell pepper.
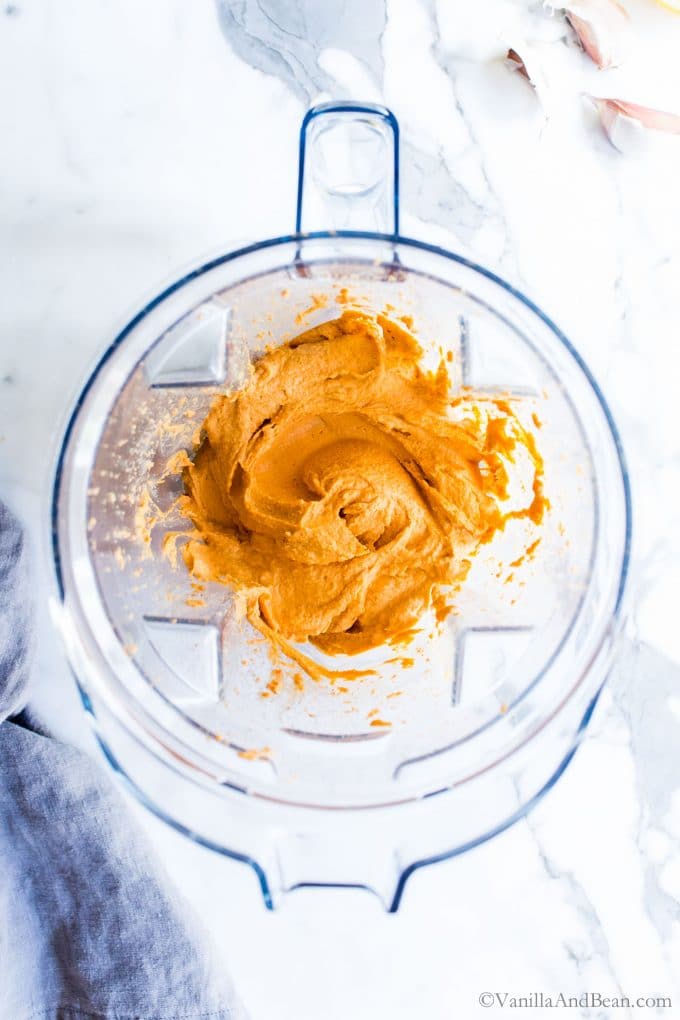
Finishing the Hummus:
- To the blender with the chickpeas and bell pepper, add the tahini, paprika, cumin, salt, garlic, lemon zest and juice. Use the tamper to get things going starting on a slower speed then increasing as the mixture loosens. Stop to scrape the pitcher down periodically. Drizzle in the chickpea brine a few tablespoons at a time (I usually use about 2-3 Tbs) to loosen the hummus. Taste the hummus for seasoning adjustment – I usually use 3/4 tsp fine sea salt. Blend until perfectly smooth and until desired consistency, using tamper and stopping to scrape down the container periodically.
- Scrape hummus into a lidded container and refrigerate at least an hour prior to sharing so the flavors can marry. Allow to come to room temperature if possible before sharing, drizzling with a bit of olive oil to taste. Garnish with a sprinkle of paprika, or chopped parsley.
- Store in the refrigerator for up to three days or in the freezer for up to two weeks. Thaw in the fridge overnight.


I’ve finally found the PERFECT Hummus recipe (and believe me I’ve looked for many years)…thank you so much for sharing it. Happy Family eating it with my freshly made pita bread!!!! (ps I never comment…but it’s THAT good)
Just found this recipe and it really sounds great. I was wondering if I could substitute cooked beetroot for the peppers?
Thanks heaps
Anne
Hi Anne! That sounds fabulous, but I wouldn’t add smoky paprika. Please let us know how it turns out!
Thanks Traci – will try that and let you know
Anne
This hummus is really creamy and delicious! I used a yellow pepper because that was what I had. It turned out very good! Thanks for the recipe!!
Hi Leonora! Thank you for your note and giving the recipe a go. SO happy to hear you’re enjoying the hummus. Yellow bell works deliciously too! I’ll make a note!