

Ready in under an hour, my fresh, and buttery classic homemade sourdough biscuits recipe comes together with just 25 minutes of hands on time. Made with simple ingredients plus sourdough discard, bake and enjoy right away or store in the freezer overnight (or longer). These biscuits go from freezer to oven for ultimate easy! Buttery, soft, light and fluffy, these are the star at the breakfast table.
⭐️⭐️⭐️⭐️⭐️ Reader Review: “This is my go to recipe for biscuits. I keep a stash of them in my freezer at all times. They bake up perfectly two at a time from frozen in my toaster oven for fresh biscuits several days a week.” ~ Andrea

You will receive recipes and kitchen tips, along with information about our partners and offerings. For more details, review the Vanilla And Bean privacy policy.
Classic Sourdough Discard Biscuits
A quintessential comfort food, sourdough biscuits truly are a simple food. They’re made with basic ingredients like flour, butter, milk (sometimes buttermilk) and salt.
The wow factor in this recipe comes from the sourdough discard incorporated into the dough. So hang on to that discard! It’s a practical way to use up sourdough discard, if you keep it on hand, tucked away in the back of the refrigerator.
Discard is delicious incorporated into biscuits, but also Fluffy Sourdough Banana Muffins, Classic Sourdough Pancakes with Buttermilk, Sourdough Chocolate Chip Cookies and more!
This Recipe Is
- tender and flaky
- rustic
- easy to make
If you make homemade sourdough discard recipes, you’ll love the ease and convenience of these classic biscuits.
________________________
How to Make Sourdough Discard Biscuits
step by step
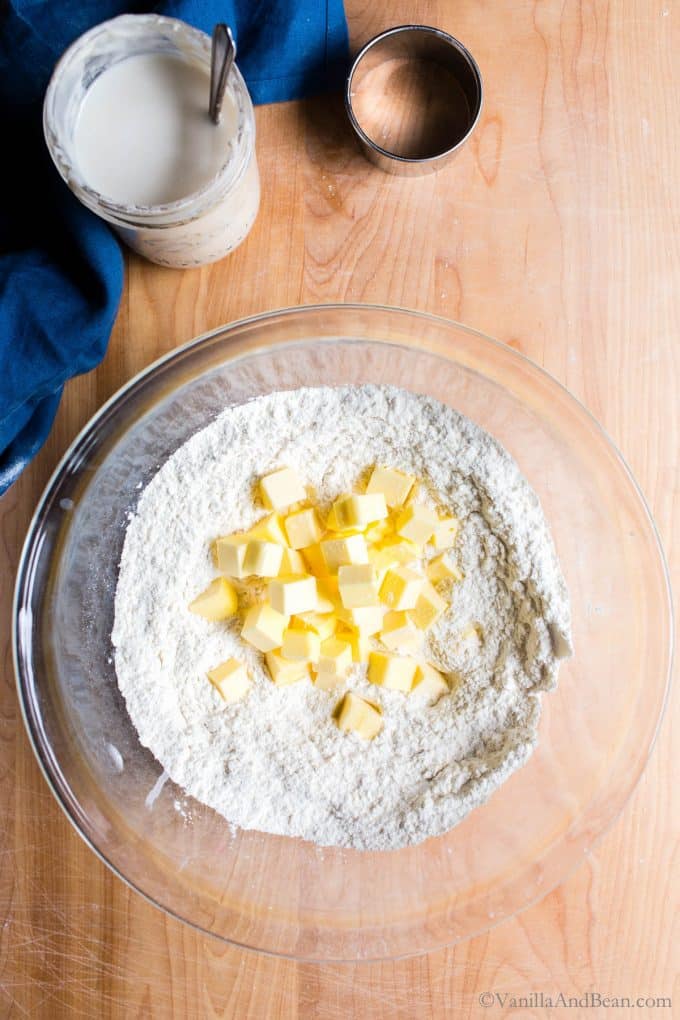
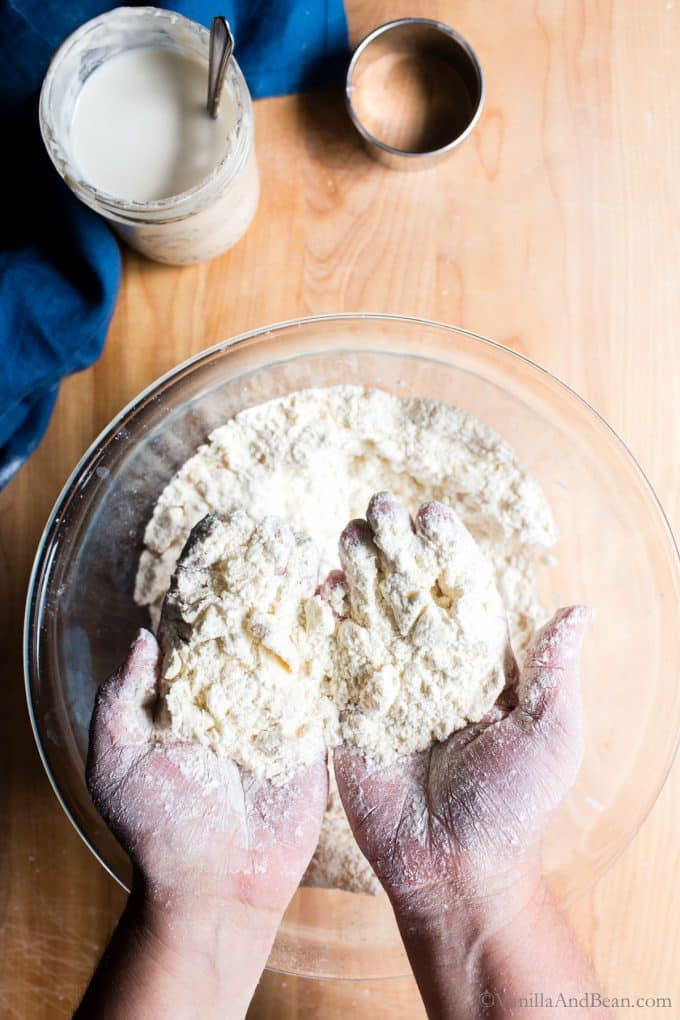
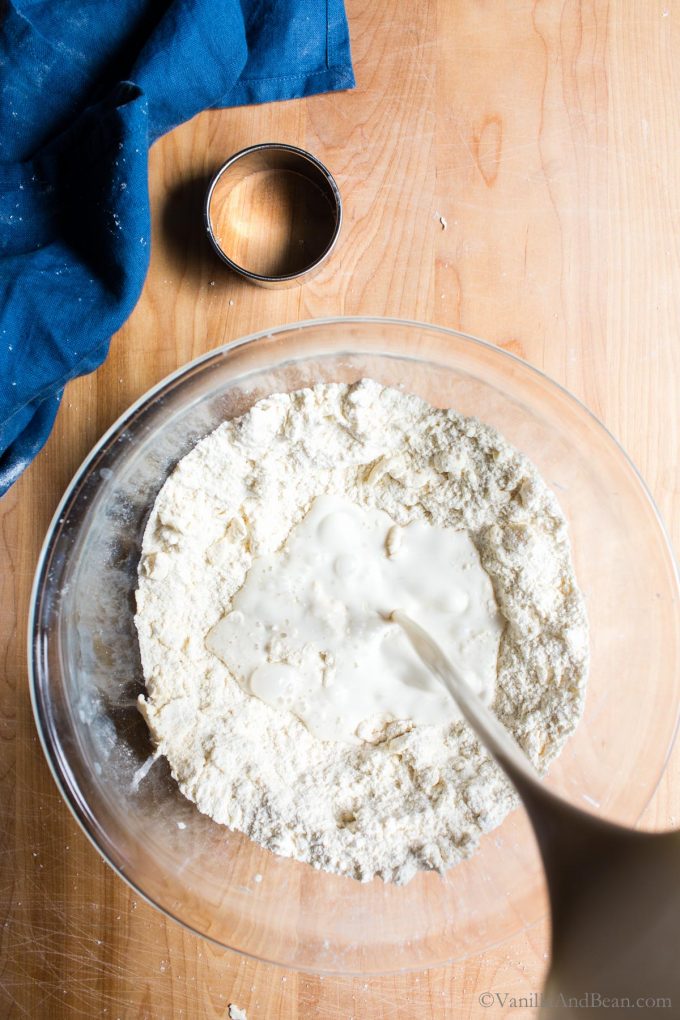
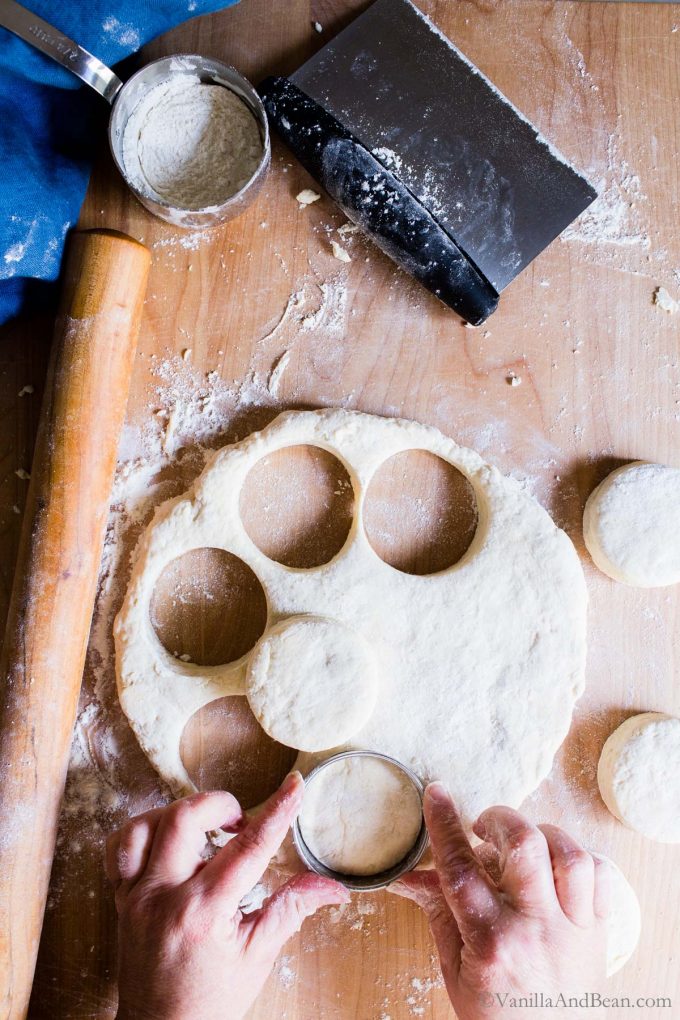
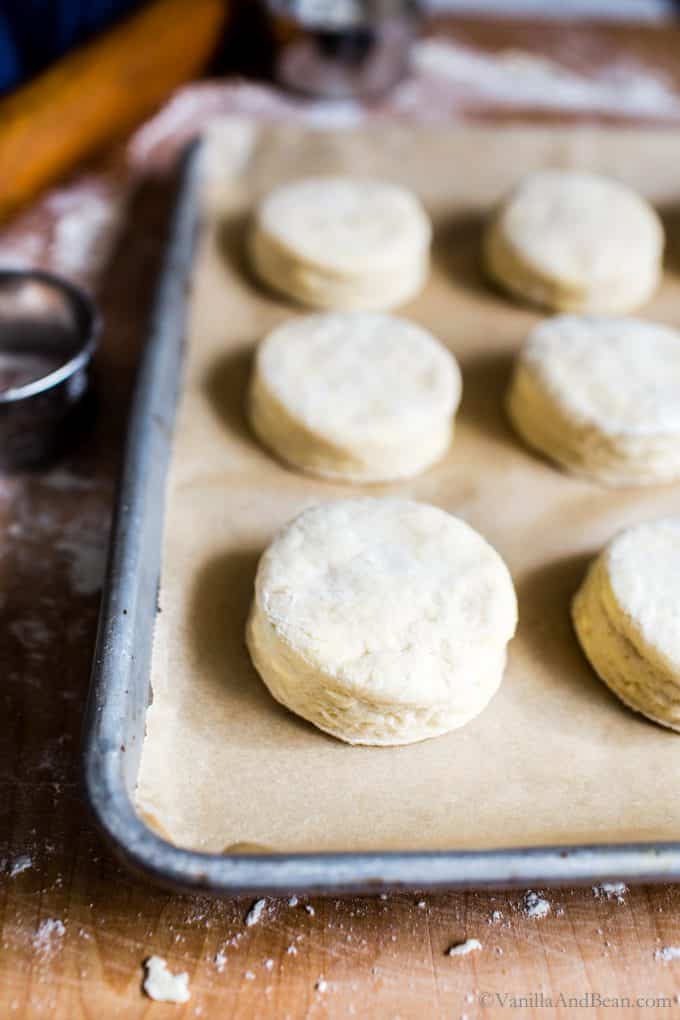
When cutting your biscuits, press the cutter down, then pull it straight back up. Avoid twisting the biscuit cutter. A clean, straight cut helps the biscuits rise to their full potential.
Things for Slathering And Drizzling
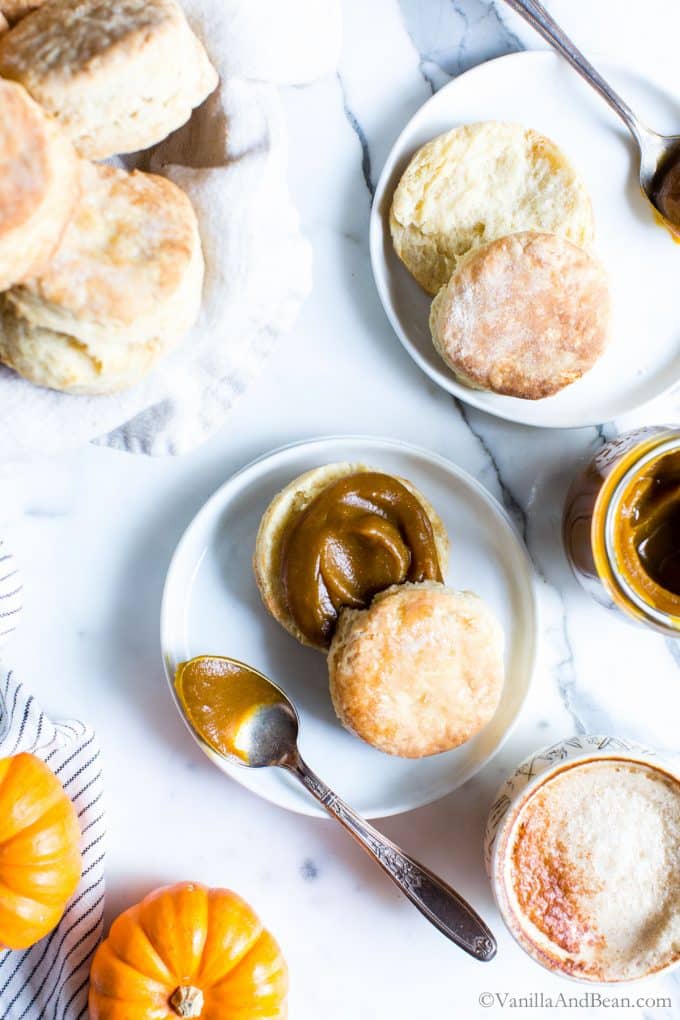
I love a good seasonal slather on biscuits. Aside from a delicious prepared strawberry jam, I make these recipes for biscuits when fresh and in season:
- Easy Rhubarb Freezer Jam
- Homemade Pumpkin Butter
- Easy Blueberry Compote
- Honey – look for local and if possible at the farmers market
- Rhubarb Maple Conserve

Traci’s Tips
- More Tangy Flavor (buttermilkish): To boost the sourness of these biscuits, and to DIY buttermilk, add two teaspoons of apple cider vinegar into the milk and sourdough discard mixture.
- Vegan / Dairy Free Sourdough Biscuits: Yes Please! Use vegan butter (I tested this recipe with salted Earth Balance) and reduce the salt to 1/4 teaspoon. Also, use plant milk. I use homemade unsweetened cashew milk.
- Need a Sourdough Starter? I have a how to make a Sourdough Starter blog post with everything you need to know to get started.
Fresh Homemade Sourdough Discard Biscuits
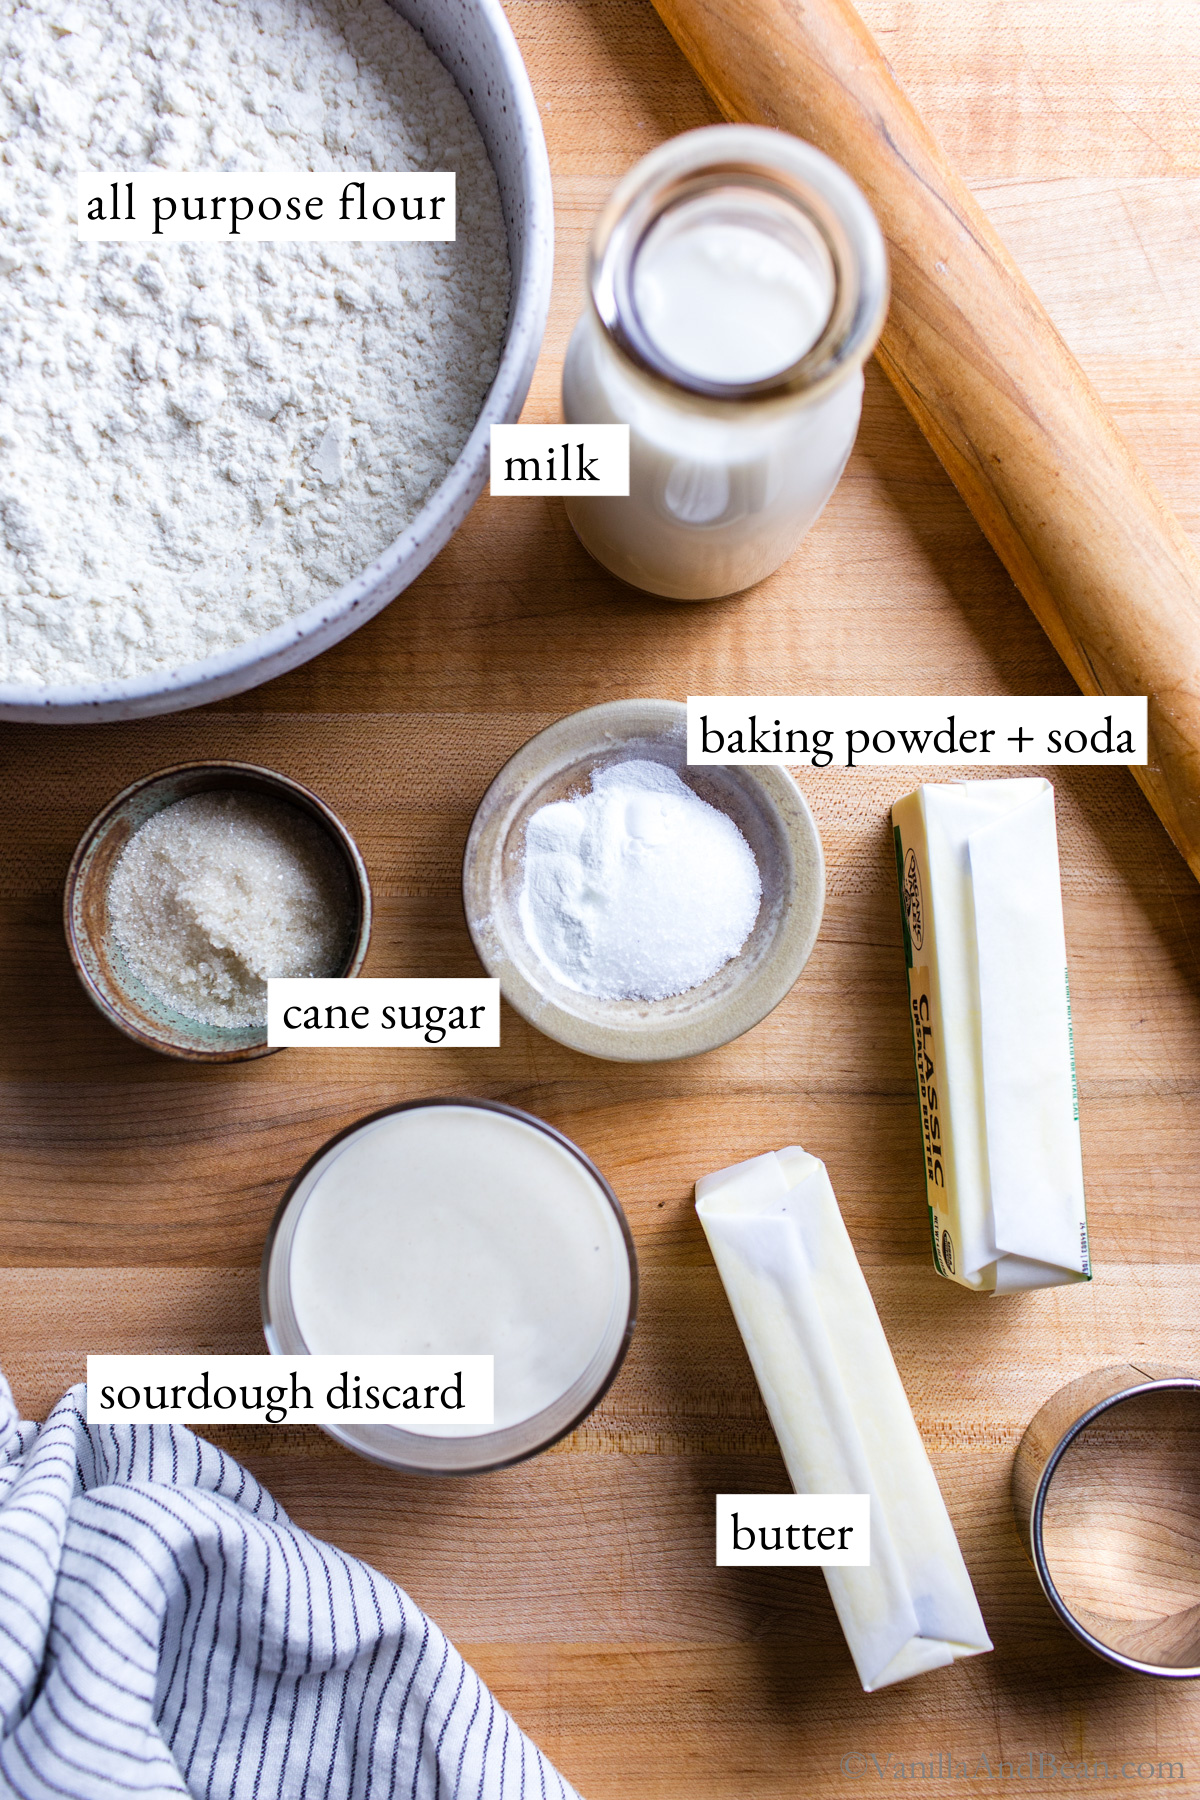
Ingredients
- 1/2 cup (155 grams) Sourdough Discard, 100% hydration
- 1 cup (230 grams) Whole Milk, (*see note for plant milk)
- 2 3/4 cups (420 grams) Unbleached All Purpose Flour
- 2 tablespoons Cane Sugar, or white sugar
- 1 1/2 teaspoons Baking Powder, non aluminum
- 3/4 teaspoon Baking Soda
- 1 teaspoon Fine Sea Salt
- 1 1/2 Sticks (175 grams / 3/4 cup) Unsalted Butter, cold, just from the fridge, cut into 1/2" pieces (*see note for plant butter)
Instructions
- Line a sheet pan with parchment paper and set aside. Make room in the freezer for the sheet pan.
- In a spouted measuring cup add sourdough discard, milk and optional apple cider vinegar**. Whisk. Set aside.
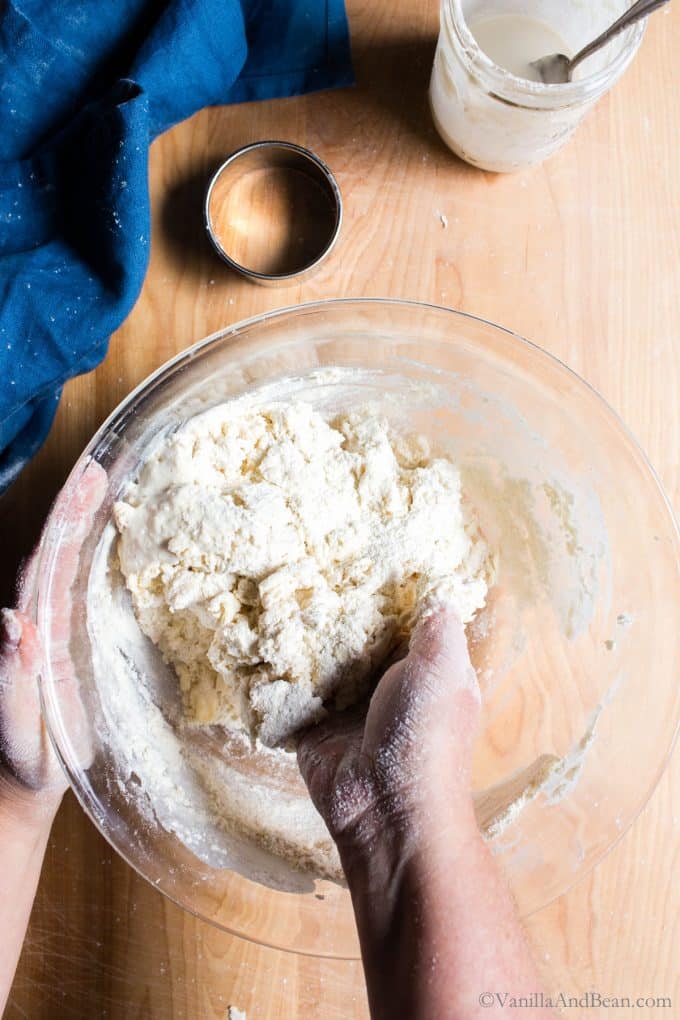
- In a large mixing bowl, whisk together the flour, salt, sugar, baking powder and soda. To the flour mixture, add cold butter. I like using my hands here, but a fork or pastry cutter may be used instead. Start incorporating the butter pinching and mashing the butter pieces in between your fingers, working quickly so the butter stays cold. The point is to coat the butter in flour, pinching and tossing the pieces. Once the flour and butter is incorporated, there should be small (pea size) and larger pieces (almond size) of butter remaining, coated in flour. If the butter starts to melt, put the whole bowl in the freezer for about 10 minutes to firm the butter back up.
- Make a well in the center of the flour/butter mixture and pour in the sourdough starter/milk mixture, reserving a few tablespoons. Gently mix, scooping up, folding and pressing the dough. Add the remaining milk and incorporate it into the dough if the mixture seems a little dry.
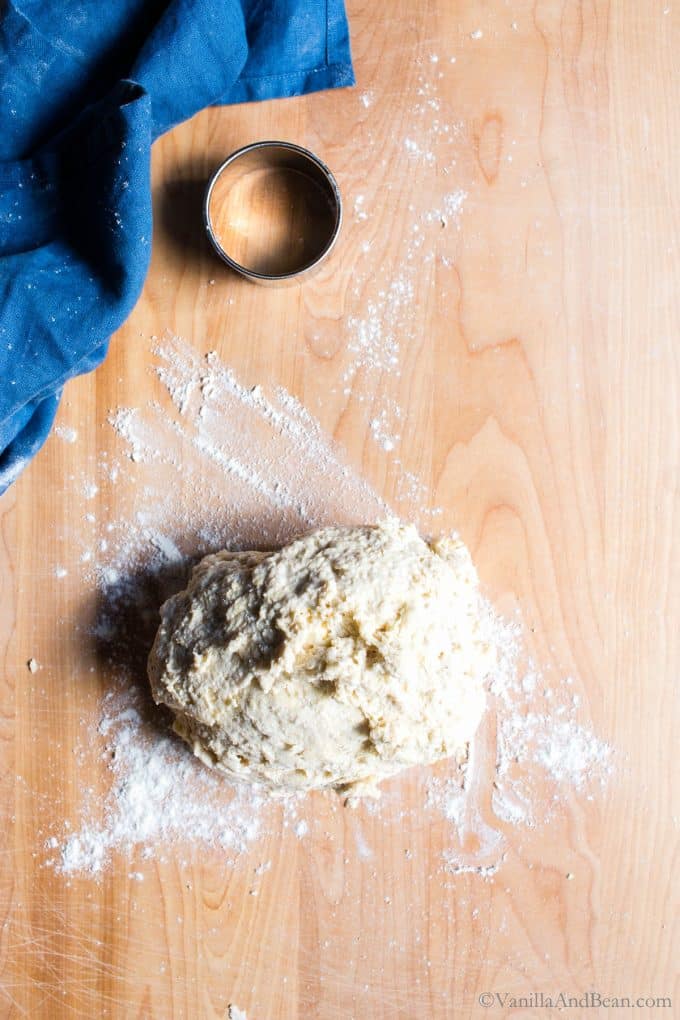
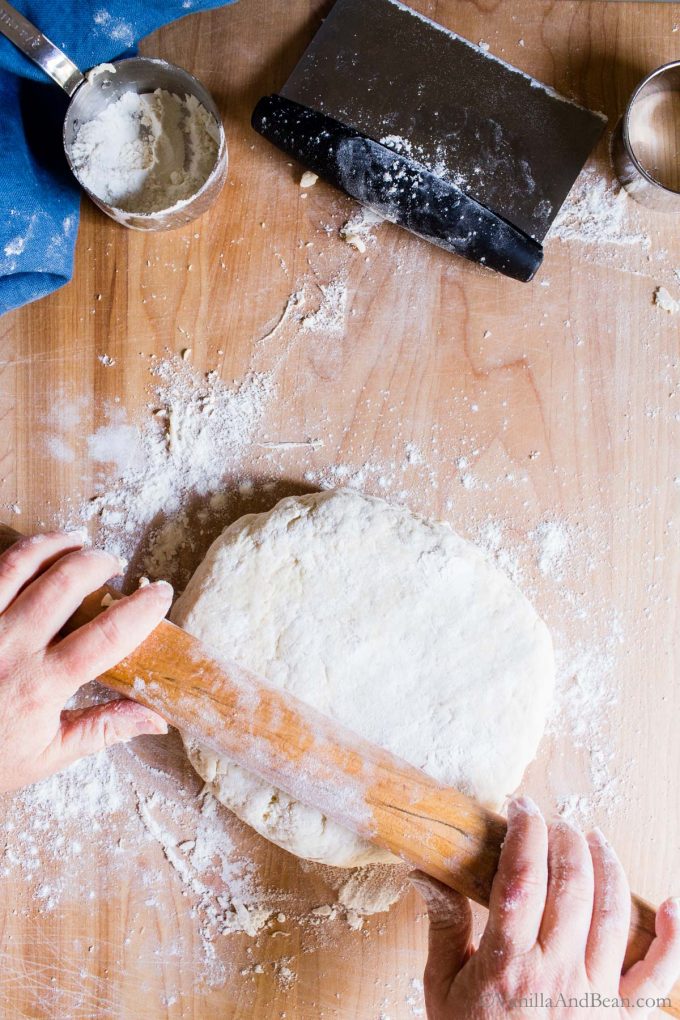
- Once the dough forms a cohesive mass, flour your work surface and turn the dough out. Flour the top of the dough and knead it a few times (folding and pressing) until a cohesive dough forms. Use your bench scraper to help manage all the bits. Pat and form the dough into a round. Lightly flour the top again and use a rolling pin or pat the dough out into about a 3/4" (1.9cm) thick disk. Cut the biscuits with a 2 1/2" (6.3cm) biscuit cutter (cut straight down and back up – no twisting) and transfer them to the parchment paper-lined sheet pan. Freeze the biscuits for at least 15 minutes. *Note* At this point the biscuits can be frozen solid, and held in a lidded container for up to three weeks. Bake partially frozen and completely frozen biscuits the same, straight from the freezer.
- While the biscuits are in the freezer, preheat the oven to 375F (190C) and arrange a rack in the center of the oven. Bake the biscuits straight from the freezer on a parchment lined sheet pan for 17-19 minutes until golden and the internal temperature read on a digital food thermometer is between 190F-200F when done (87C-93C). Share warm, right out of the oven.
- Store baked biscuits at room temperature in a covered container for up to two days or in the freezer for up to three weeks. Biscuits are best right out of the oven, but if needed, they can be gently reheated at 350F (175C) for about 10-15 minutes. Wrap in foil when reheating to retain their softness.
Video
Notes
Nutrition
Nutrition is provided as a courtesy and is an estimate. If this information is important to you, please have it verified independently.
Made it? Leave a comment below!
The most helpful comment may include recipe rating, feedback, any modifications or helping other commentors.






What could I use instead of sourdough discard ?
I made these using GF AP flour –
the flavor was good but I didn’t get much rise at all.
Does that mean the starter discard just wasn’t ready/yeasty enough?
its a newbie
Hi there Mr Downing! Thank you for your note. I’m sorry these didn’t work for you, but I see you used a GF AP flour. Unfortunately because I’ve not made these with a GF flour, I’m unable to say it was the flour as baked recipes are specifically formulated for the type of flour used. Sometimes, unfortunately, gluten full flour to gluten free is not always a one to one swap, although it does work sometimes. Did you use gluten free sourdough starter too? I’m curious about your baking powder… is it fresh?
I made the perfect biscuits this week. Perfect! Best biscuits I have ever had in my life. I am known for not being able to wash windows or make biscuits. I live at 7,600 feet and my biscuits are like rock solid pancakes normally. So, I followed this recipe except I decreased the baking powder to 1 tsp and the baking soda to 1/2 tsp with no vinegar because I used buttermilk. I have my own sourdough starter that I tend to randomly. I made the dough with a pastry cutter so I wouldn’t melt the butter, folded it 5 or six times when it was ready to knead, and then cut the biscuits. I froze them completely. I baked them at 375F for 22 minutes (till just turning golden). They were perfect! I am making a ton of them to freeze for the holidays as we will have a houseful (of appropriately quarantined family members). This recipe is awesome! Thanks
Hooray for perfect biscuits, Bonnie! Thank you for your note and sharing your journey with us! No doubt stocking the freezer for the holidays is such a great idea to share with your quarantined family. :D I hope everyone enjoys them too!
These turned out so good! My 12-year old declared I must make them every time I feed my sourdough! Great recipe. Really easy to follow. Thanks!
Hi Jen! Hooray and yes to every time (LOL)! So happy you’re and your little one are enjoying these tasty biscuits!
I figured out you can freeze the butter for a few minutes and then use the cheese grater to add it to the flour and that makes it quick and easy.
Thanks for the tip, Beverly!
I have made these twice. They are delicious and super easy
Hooray! Hooray, Avra! Thank you for your note… so happy to hear!
would you recommend using sourdough discard that is fresh and at its peak? (Like you would for a loaf) for instance, I keep all my sourdough discard in a mason jar in my fridge for a couple of days till I decide what to do with it. It still is airy and the cold slows the fermentation. Would that be okay to use?
Hi Tiffany! I don’t see why not… I’ve been playing with that scenario with SD pancakes and I’ve not noticed a difference. Please keep us posted!
I have made these several times now. I can not get the rise
From them. I am diligent about not turning my cutter.
Any suggestions? Other then the rise we live the flavor and ease.
Hi Ronica! Thank you for your note! So happy to hear your enjoying the flavor and ease of these biscuits. With regards to rise, I’m wondering if the bs or bp is expired or has lost its potency?
That was my next guess. I know I purchased these at Christmas time.
I have tried lots of different SD biscuit recipes, and this one is my favorite! Whipped up a batch tonight to go with beef stew and my daughter couldn’t quit raving about them. I’m so excited I’ve finally found a recipe that I’m happy with. I love that I don’t have to make a sponge the night before. This will definitely be my go-to biscuit recipe.
Hi Cheryl! Thank you for your note and giving the recipe a go! So happy to hear it’s your go-to recipe!
Looking forward to more great recipes using sourdough starter. I look forward to using my starter & bake LOTS of biscuits, pancakes & bread!!
It’s taken me a month to finally get a starter that’s growing. I live in the Rocky Mountain high altitude (above 8,000′) and had a lot of problems.
Home too cold so starter was not growing. Changed to filtered water even though water here is wonderful. Changed to a larger glass jar & using cheesecloth. Added 1/4c of whole wheat flour with 3/4c all purpose unbleached white.
And now, it sits in my oven (no heart!!) For 24 hours. And it stays at 71° (thanks to my Chef son too!)
After 3 days, finally starting to grow (bubbles in dough!) Feel very hopeful now that within 5+ days, I’ll have a strong sourdough starter.
Hooray for your starter to grow, and your diligence! You’ll be baking in no time!
I have found that my perfect temperature for rising bread and growing starter is my oven with the door propped open about an inch or two. The oven light brings the temp in there up to perfect. Try that!
Such a great tip Bonnie!