

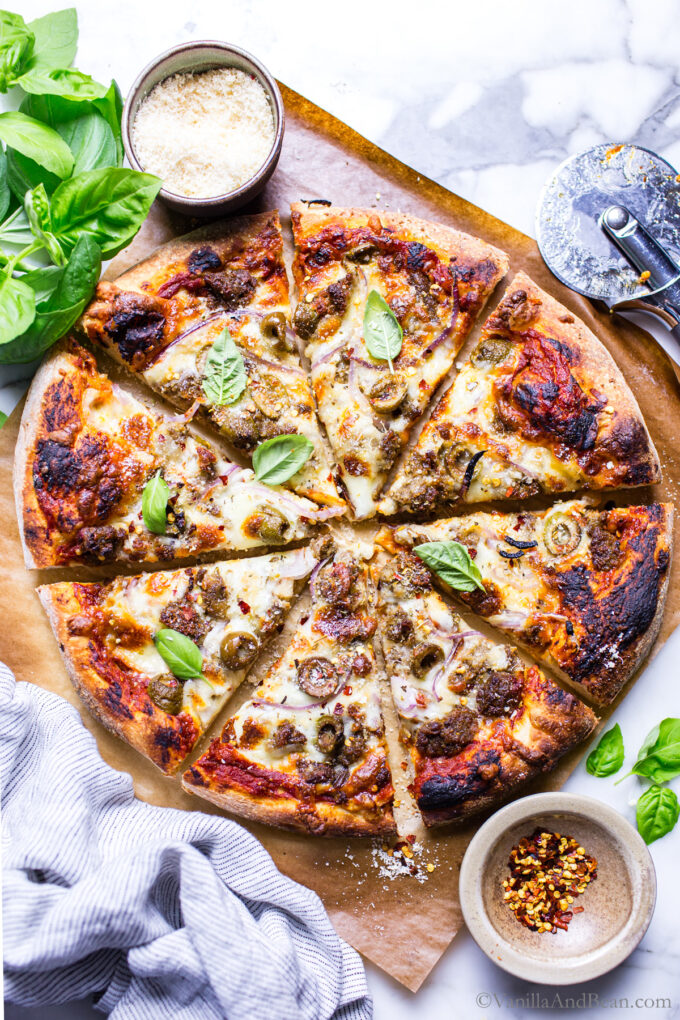
With a chewy texture and crispy crust, this Sourdough Discard Pizza Dough is made with inactive starter for flavor and instant yeast for leavening. It features whole wheat flour for an earthy flavor and bread flour for an easy-to-shape dough and chewy texture.
Make it same day or overnight (store up to three days in the fridge!). Bake it on the back of a sheet pan – no steel or stone is required!
You will receive recipes and kitchen tips, along with information about our partners and offerings. For more details, review the Vanilla And Bean privacy policy.
For Quicker Sourdough Pizza
You may keep discard on hand to make Sourdough Discard Recipes if you’re a sourdough bread baker. Sourdough discard delivers so much flavor and a tender crumb without waiting for the process of bulk fermentation and sometimes proofing, depending on the recipe.
This Recipe Is
- made with sourdough discard, or unfed/inactive starter
- chewy and crispy
- finished in about 2 1/2 hours (same day sourdough pizza!)
If you’ve made my overnight Sourdough Pizza Crust Recipe, you’ll enjoy the quickness at which this Sourdough Discard Pizza recipe comes together without compromising flavor or texture.

“I have been making my own pizza dough for years. This is the best I have ever made. Thank you for sharing.”
Diane
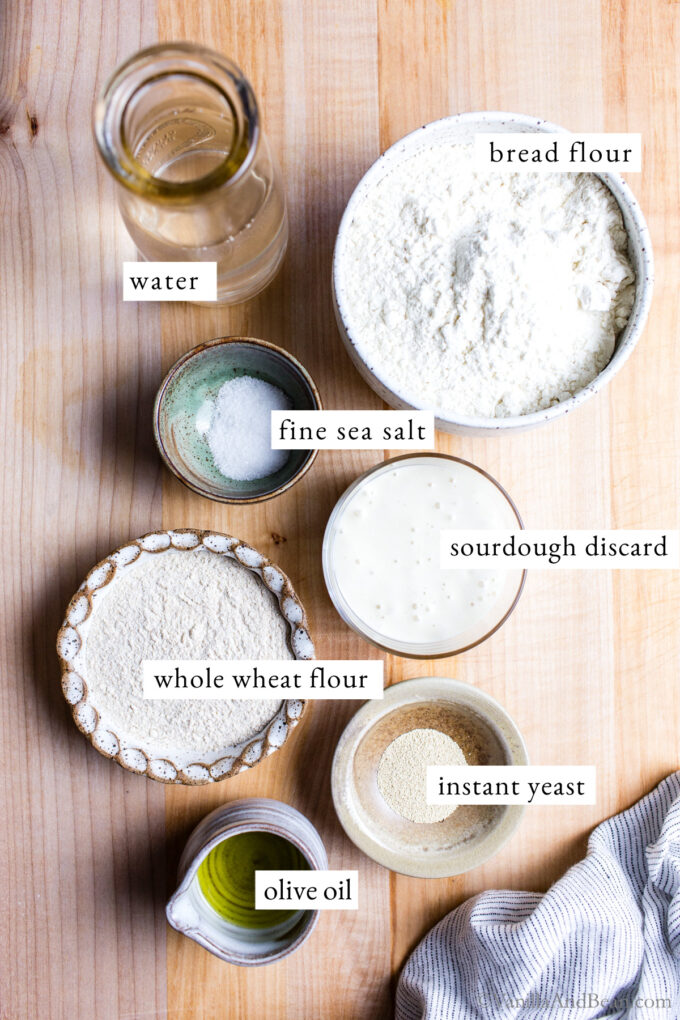
About the Key Ingredients
- Extra Virgin Olive Oil – we’re adding one tablespoon to the sourdough pizza dough to tenderize it and add just a hint of flavor. Use a high-quality extra virgin olive oil for delicious flavor.
- 100% Hydration Sourdough Discard – you’ll use your inactive (discard) sourdough starter straight from the fridge. My recipes use a 100% hydration sourdough starter (and discard).
- Instant Yeast – also known as quick-rise yeast, this variety of yeast does not require blooming/proofing before use. You add it right to the mixture of ingredients. Since we’re not using a sourdough starter for leavening but for flavor rather, instant yeast does the job instead.
Do the Windowpane Test
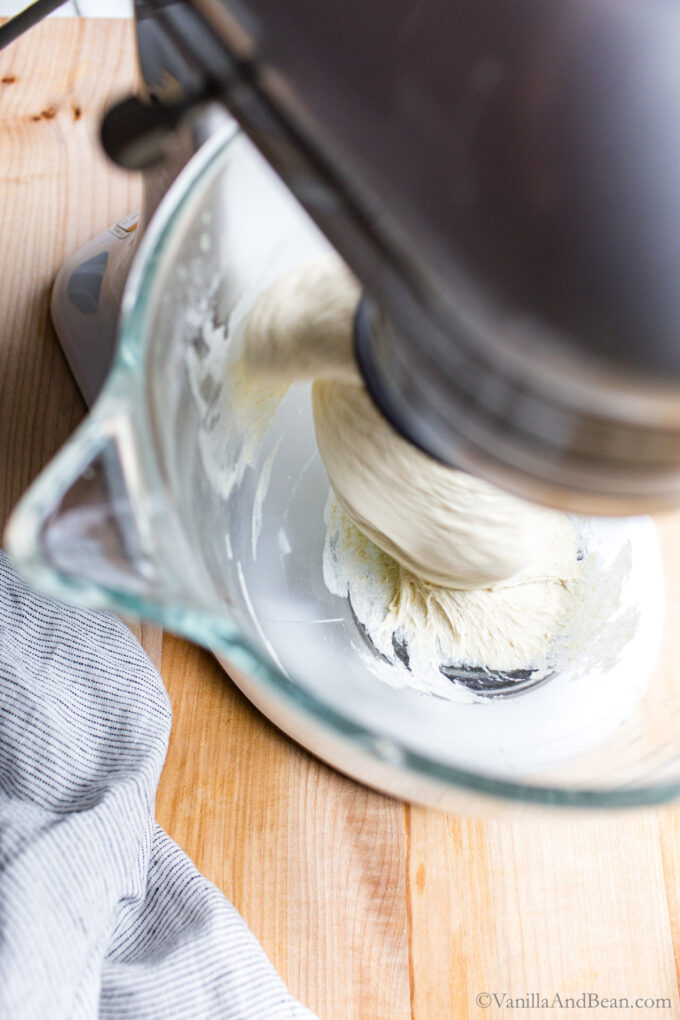
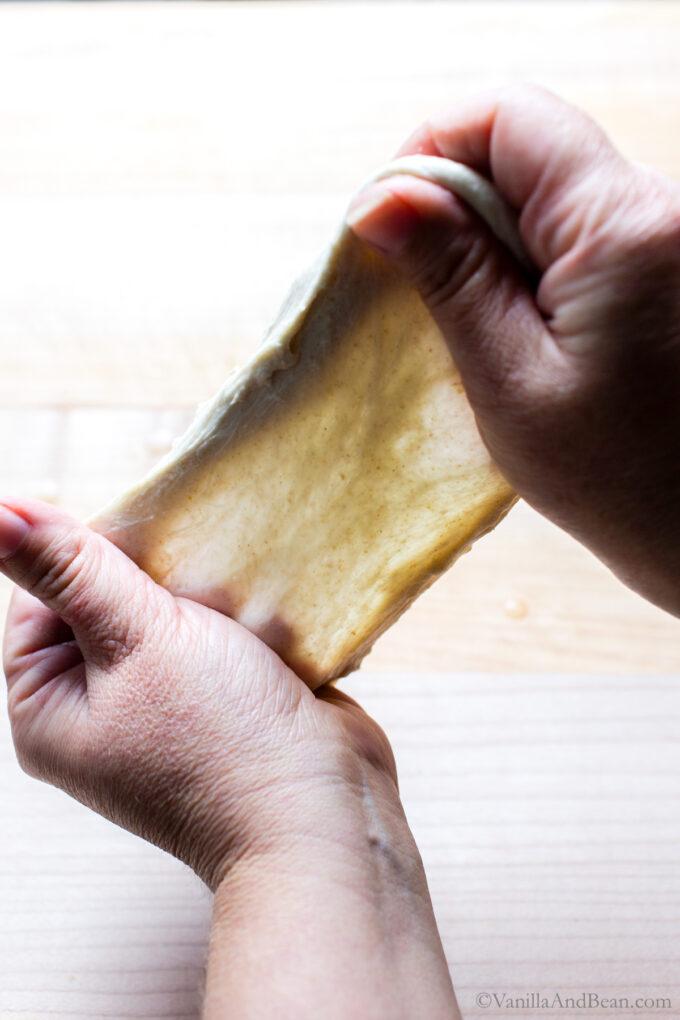
The windowpane test is a method bakers use to determine when gluten development is sufficient in a dough, enough so that mixing can be stopped. It’s easy to do:
- Moisten your fingers, take a small piece of dough from the batch and gently stretch it. It should stretch easily and not rip or tear. You should be able to see light through the dough – like a windowpane.
- If the dough easily rips or tears before it makes a windowpane, continue mixing for another minute, then test again.
A good way to get to know this test is to test before or at the beginning of mixing and then again after mixing, observing how the dough changes through the mixing process.
Pizza on Your Schedule
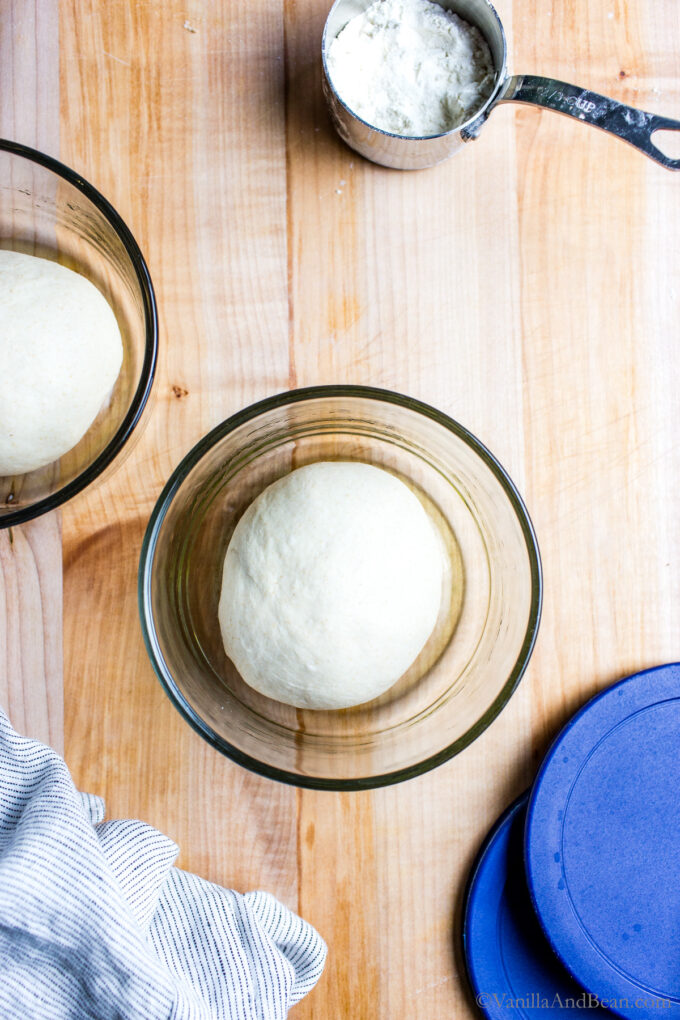
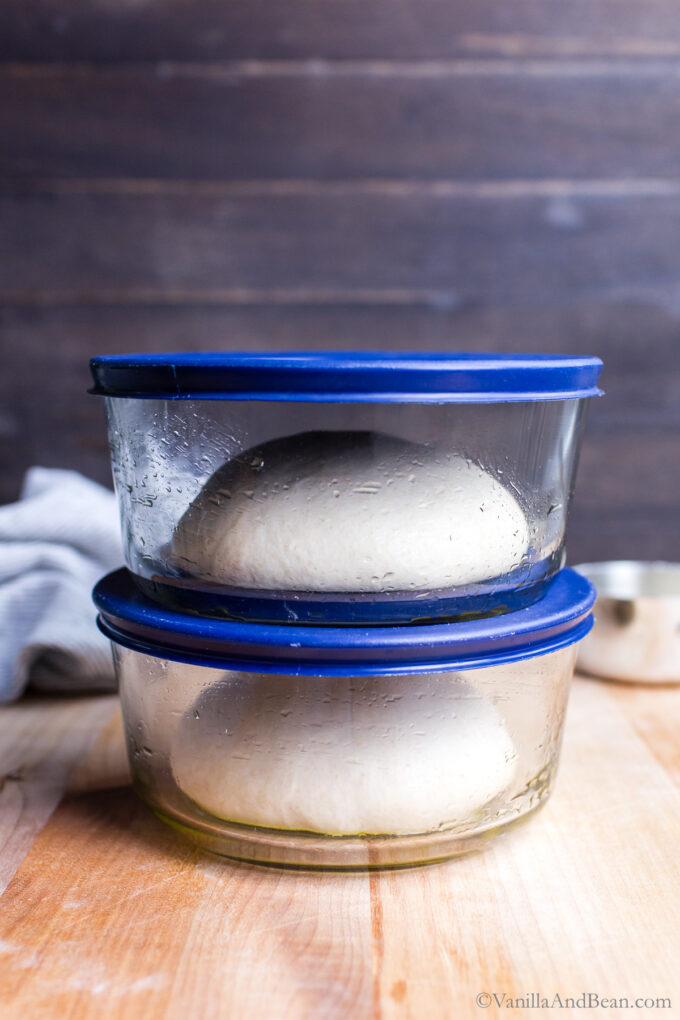
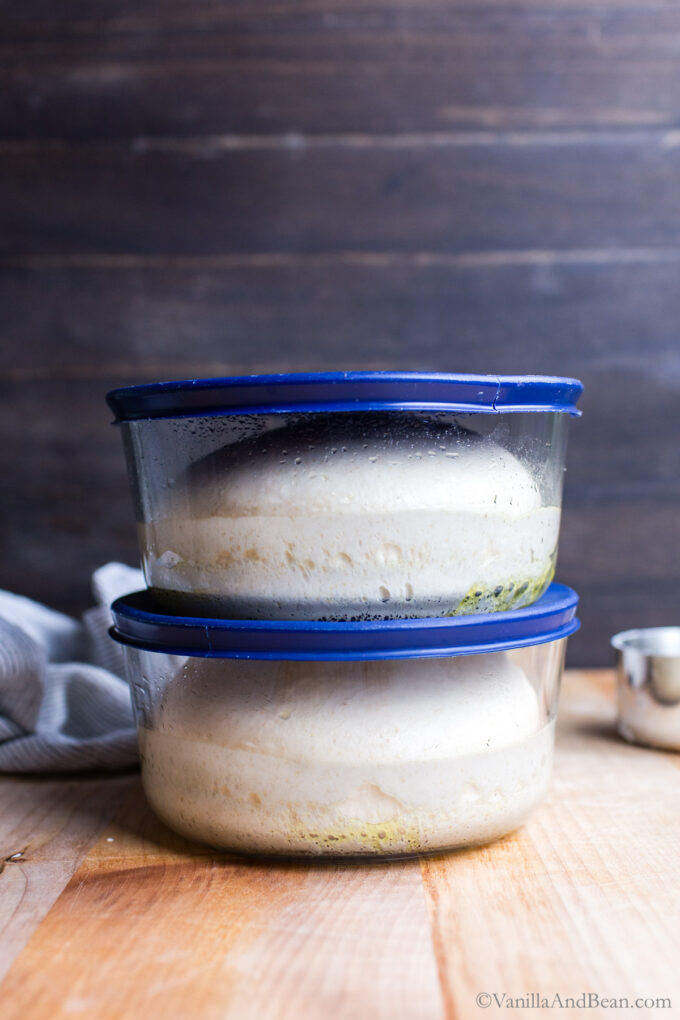
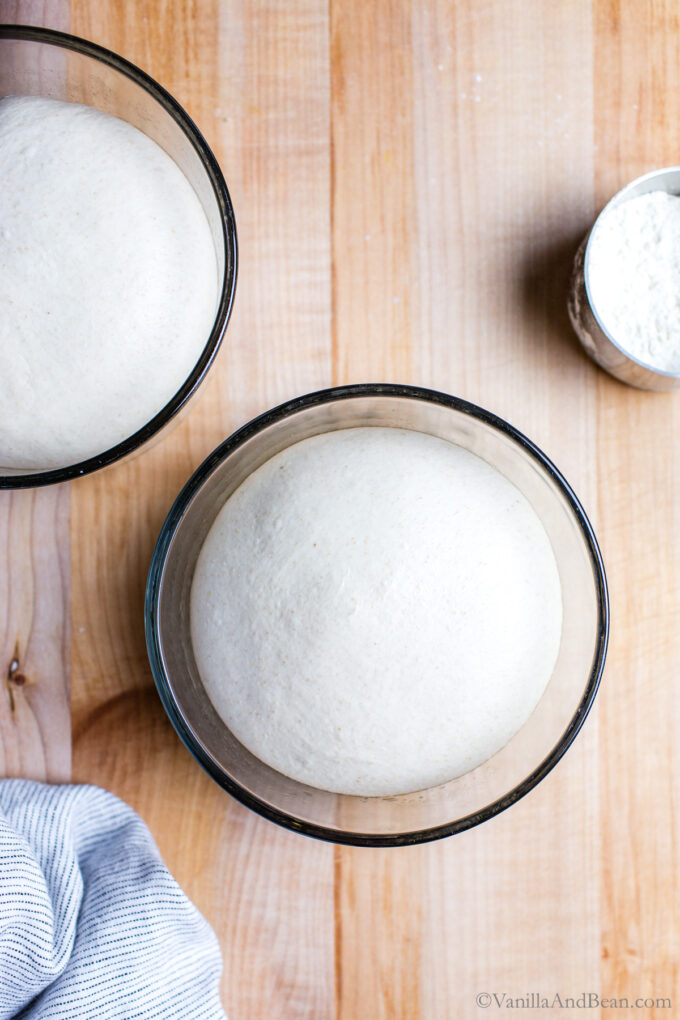
After mixing and shaping the dough, there are two ways to proof the dough, depending on your schedule:
Same Day Pizza: If you’re ready to make pizza the same day, proof the dough at room temperature for about two and a half hours (this at a room temperature of 65-68F) right after shaping the dough until the dough doubles in size. The warmer the kitchen, the quicker the rise. Keep an eye on it.
Next Day Pizza or Up to Three Days: After shaping the dough, you can pop it in the fridge for up to three days. It will continue to rise in the refrigerator, just at a slower rate. You’ll need to pull the dough from the fridge about two to three hours before you’re ready to make pizza so it can finish rising.
Preparing the Oven
You don’t need a special pizza oven to make pizza! Home ovens can bake up a delicious and beautiful homemade pizza.
Preheat the Oven & Sheet Pan and/or Pizza Stone to between 500 – 550 Fahrenheit. Ovens vary in their maximum temperature setting. My new oven maxes out at 525 Fahrenheit, so that’s the temperature I bake pizza at. Preheat for at least 45 minutes.
The dough is ready to make pizza when it’s risen between over one and a half times or to just doubling in size, is puffy and springy to the touch (it’s pretty forgiving – just make sure it’s at room temp).
____________________________
Shaping Pizza Dough
step by step
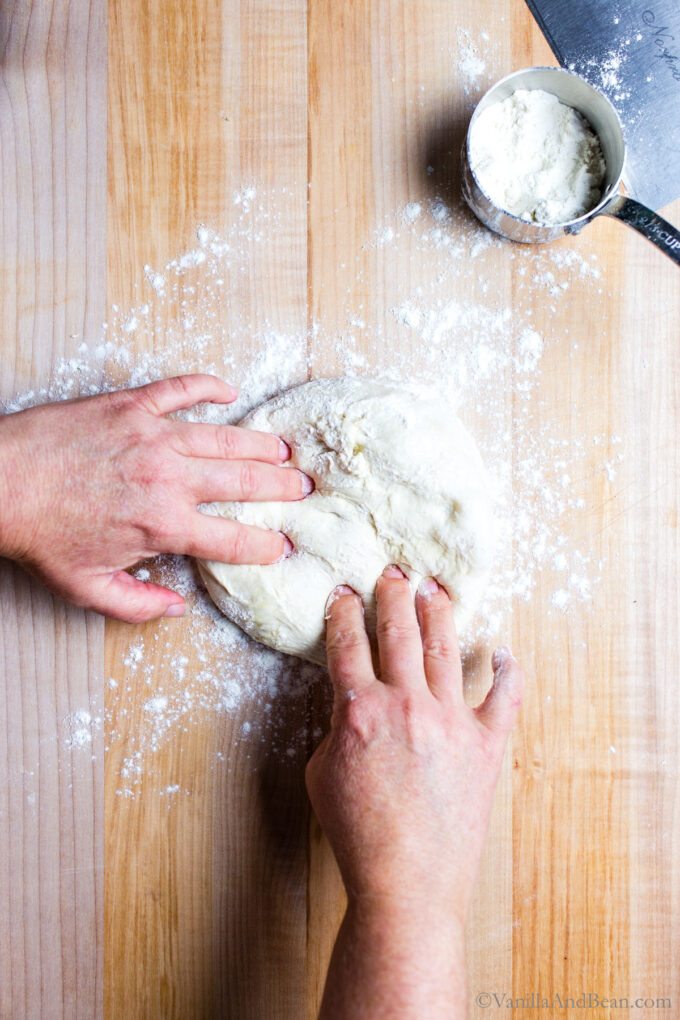
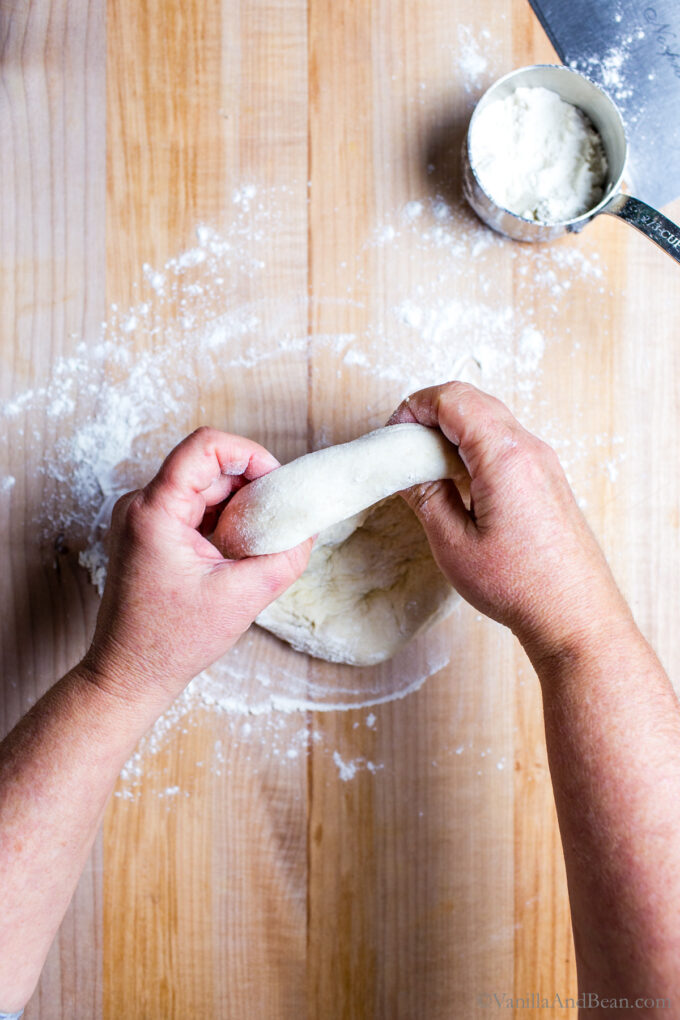
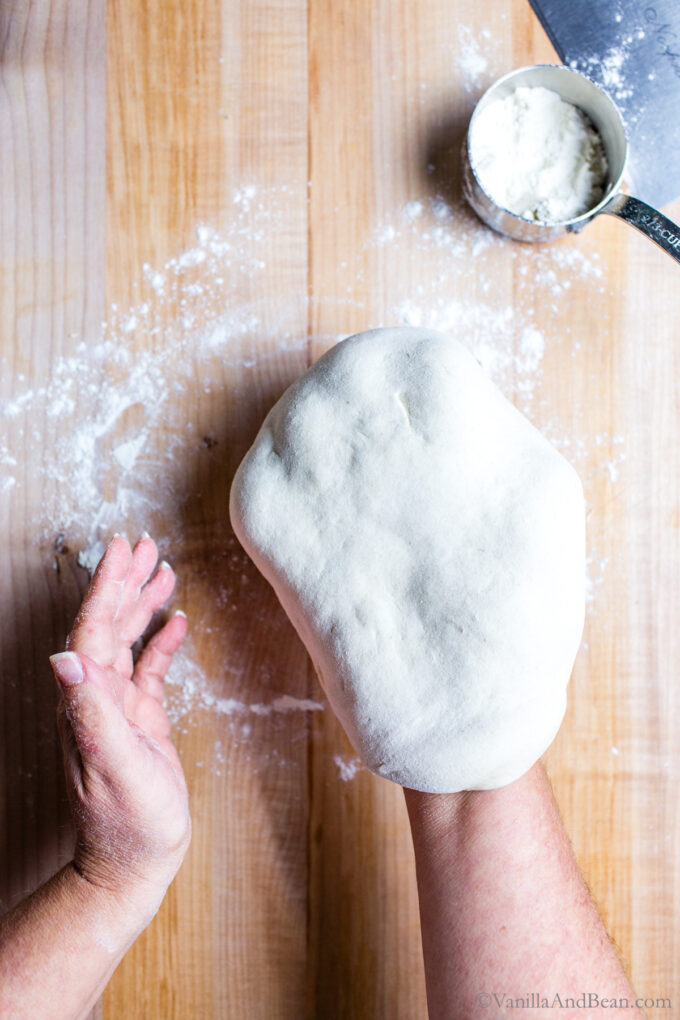
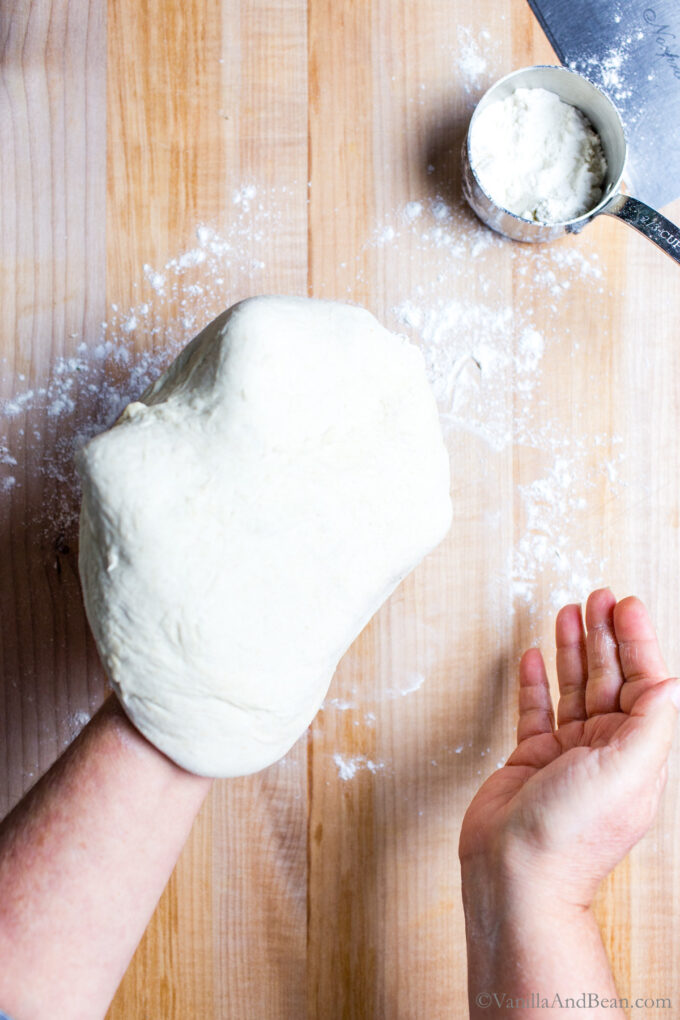
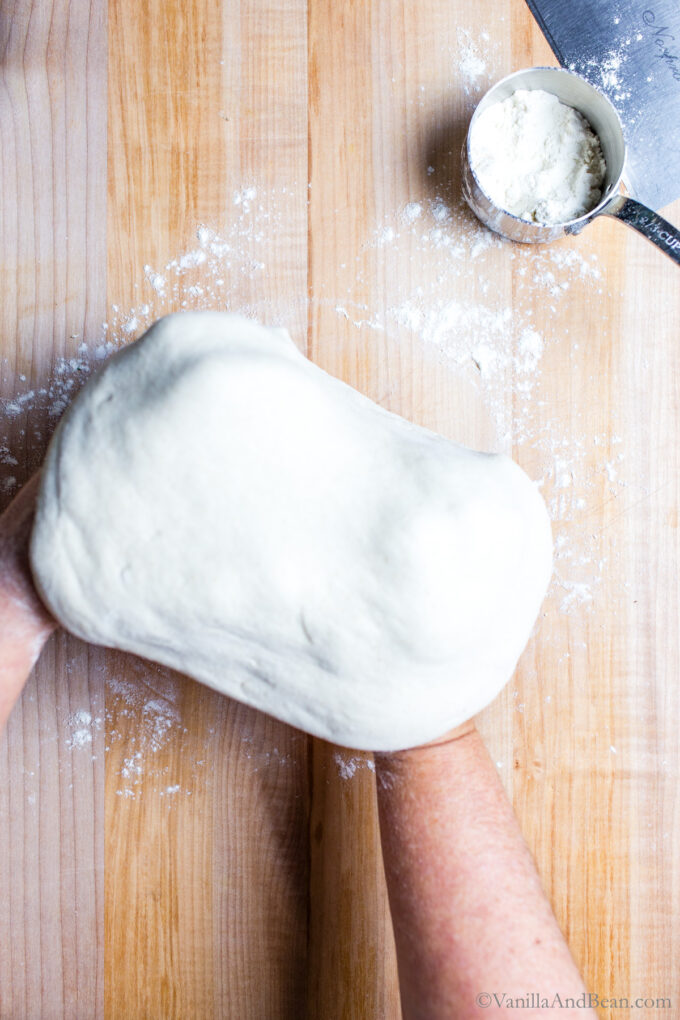
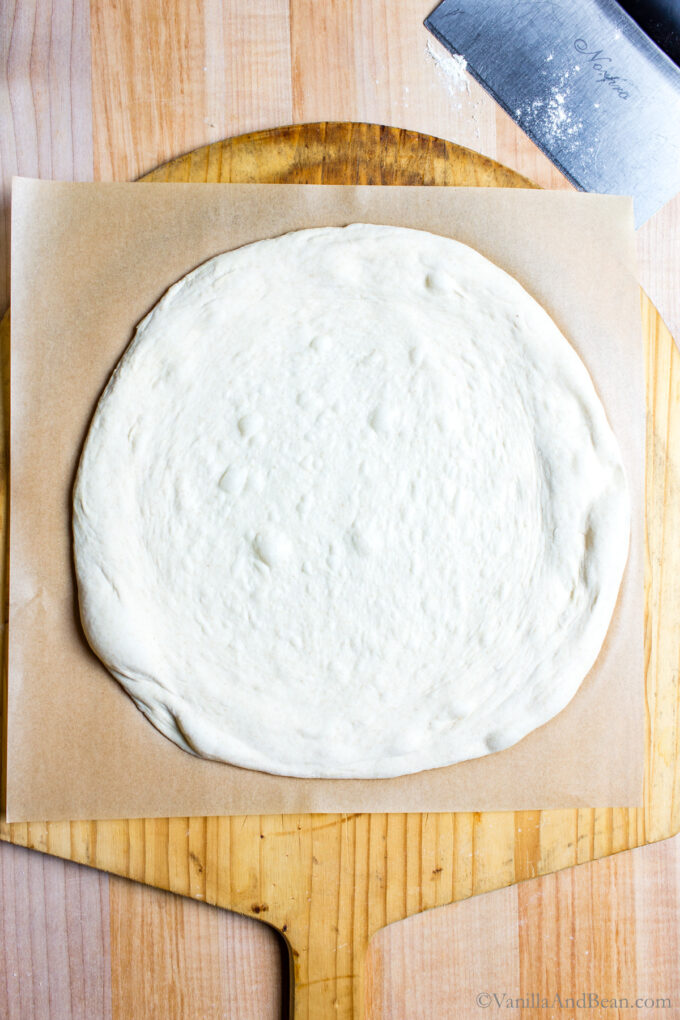
Use Plenty of Flour: This is a sticky dough. Flour the top, underneath and edges of the dough generously to prevent sticking, reapplying as needed.
Add the Toppings
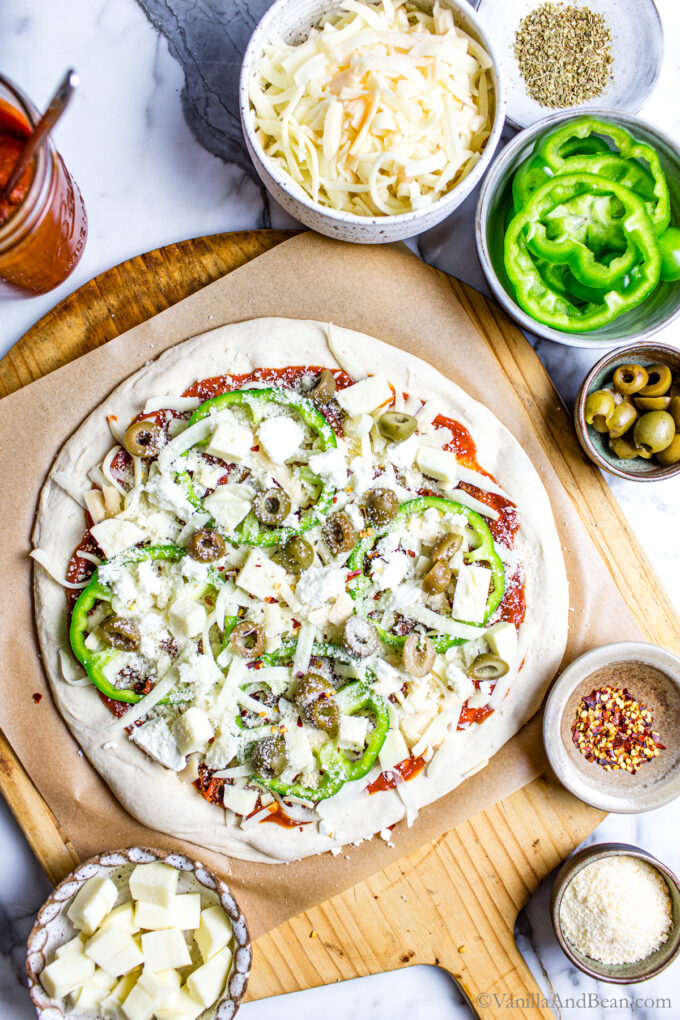
The delicious thing about pizza is that you can personalize it. Setting up a pizza bar is a delicious way to entertain and also let the family create their own masterpiece. Let your cravings guide you!
For the sauce, you can opt for a rich and thick red pizza sauce, or go for pesto. Try my spinach basil pesto, lemon basil pesto, or garlic scape pesto or a white sauce. A thin layer will bring out the best potential for the bottom to crisp up.
The Toppings: Less is more when it comes to pizza toppings, depending on how crisp/chewy you prefer the bottom crust to be. More veggies = softer crust.
Note I only make pizza with veggie toppings since we are a vegetarian household. Veggies are added either sautéed’ or raw. For veggie sausage, I cook it first, then top the pizza.
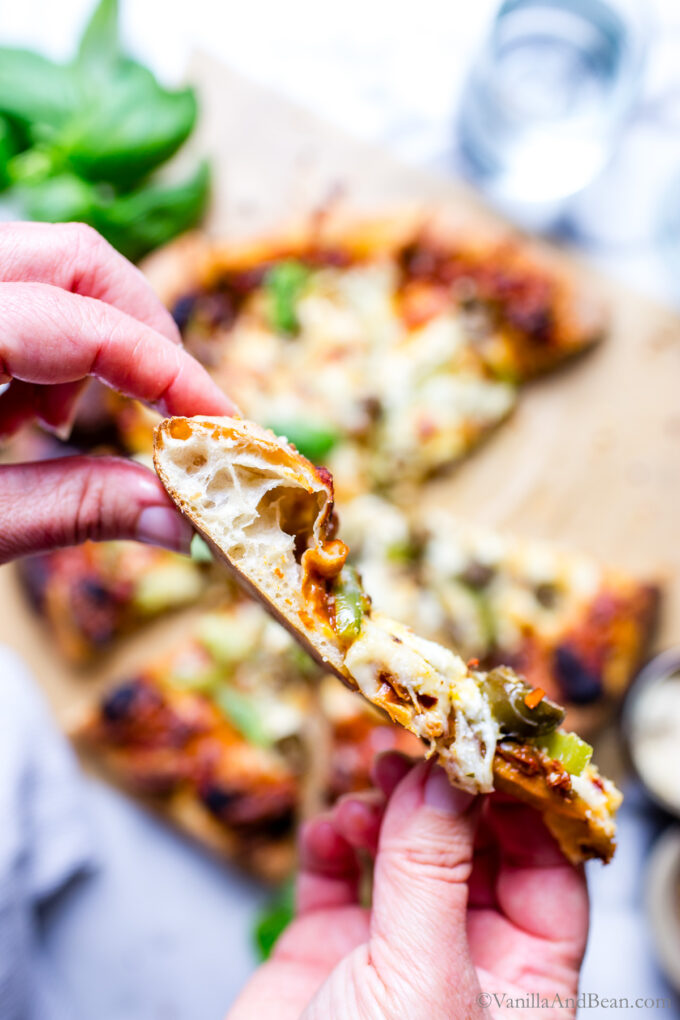
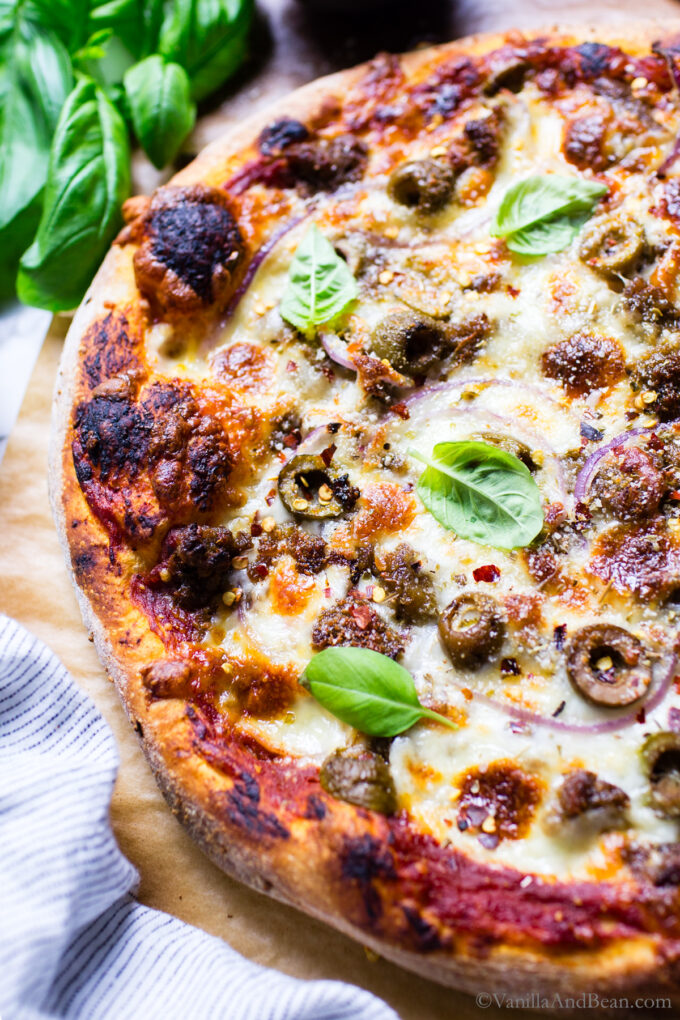
Bake the Pizza
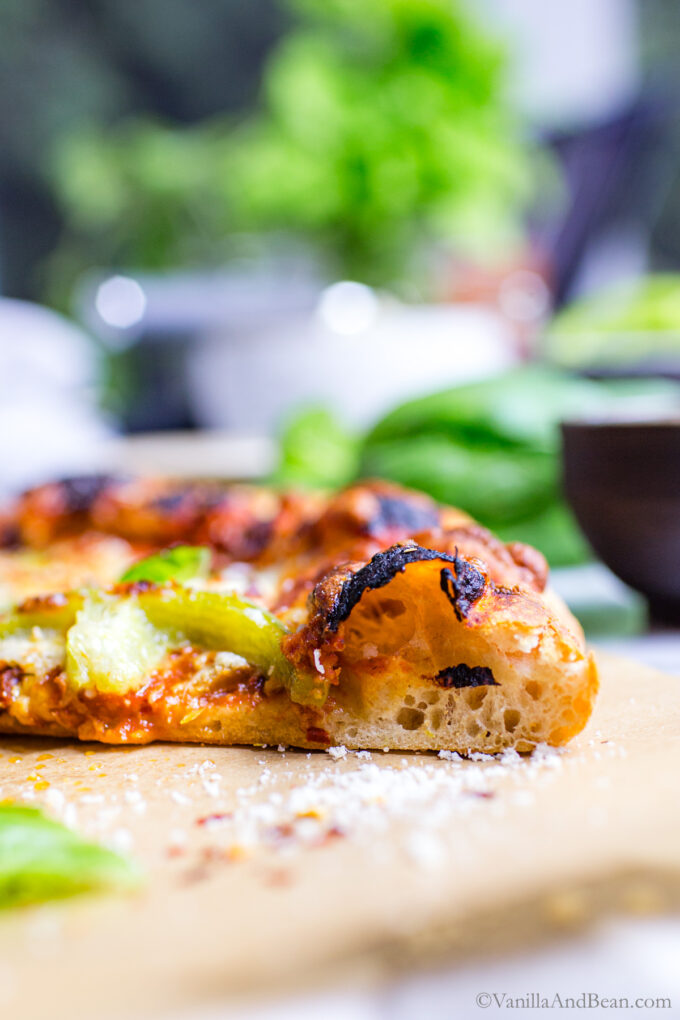
The pizza only takes about 7-10 minutes to bake, so keep an eye on it! Remove from the oven and allow the pizza to rest for about 5 minutes before slicing into it. This allows it to cool slightly.
If you like condiments for your pizza, you’ll love, Quick Pickled Jalapeno Peppers or Pickled Banana Peppers for added spice and Greek Yogurt Ranch Dressing or Dairy Free Ranch Dressing for dipping.
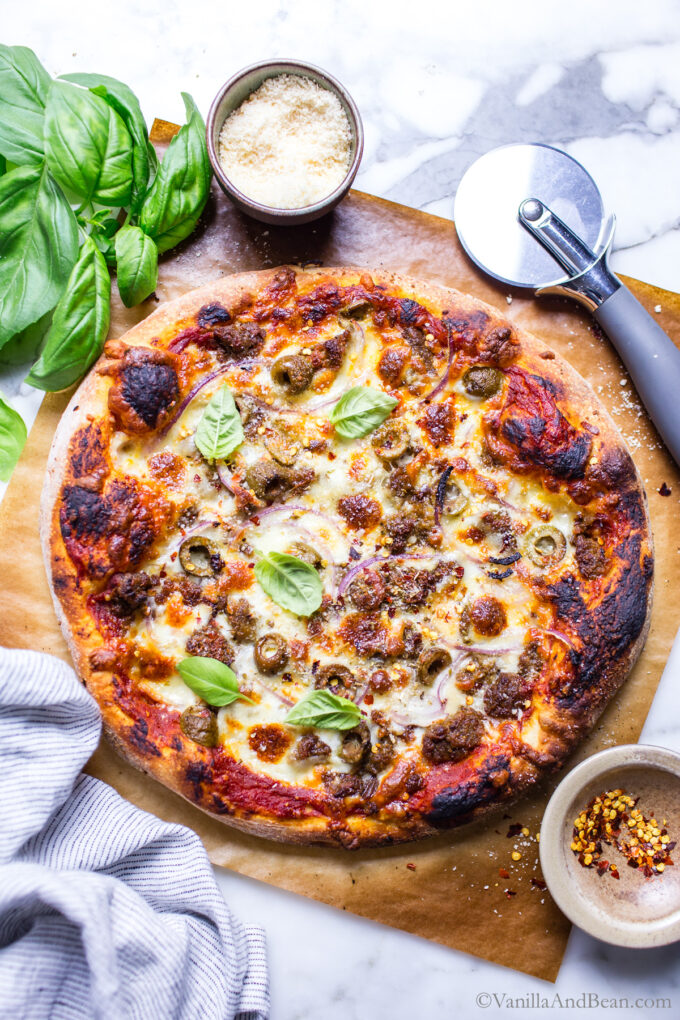
Traci’s Tips
- Note that parchment paper is generally rated for use under 500F. So at 550F, with overhang beyond the sourdough pizza dough, the paper will char and become brittle. Cooks Illustrated has more on this.
- TIP: If you prefer not to use parchment paper, you can use cornmeal or semolina on the peel instead to transfer the pizza to the oven.
- Crisper Crust? As written, this sourdough pizza dough recipe produces a soft, chewy crust with crispy edges. For a crisper crust, reduce the water just a bit. A few tablespoons makes a difference. Play with the hydration until you find your pizza bliss!

Discarded Sourdough Pizza Dough (same day or overnight)
Ingredients
For Two 11" Pizzas:
- 1/2 cup (130 grams) Sourdough Discard, 100% hydration stirred down, from the fridge
- 3/4 cup + 1 tablespoon (180 grams) Water, 105-110 Fahrenheit (41 Celsius) **See note on Hydration & *refrigerator proof
- 1 tablespoon (10 grams) Extra Virgin Olive Oil, plus more for proofing vessels
- 3/4 teaspoon Instant Yeast, aka Quick Rise Yeast
- 1 teaspoon Fine Sea Salt
- 1 3/4 cups (250 grams) Unbleached Bread Flour
- 1/4 cup (40 grams) Whole Wheat Flour
Instructions
Mix the Dough:
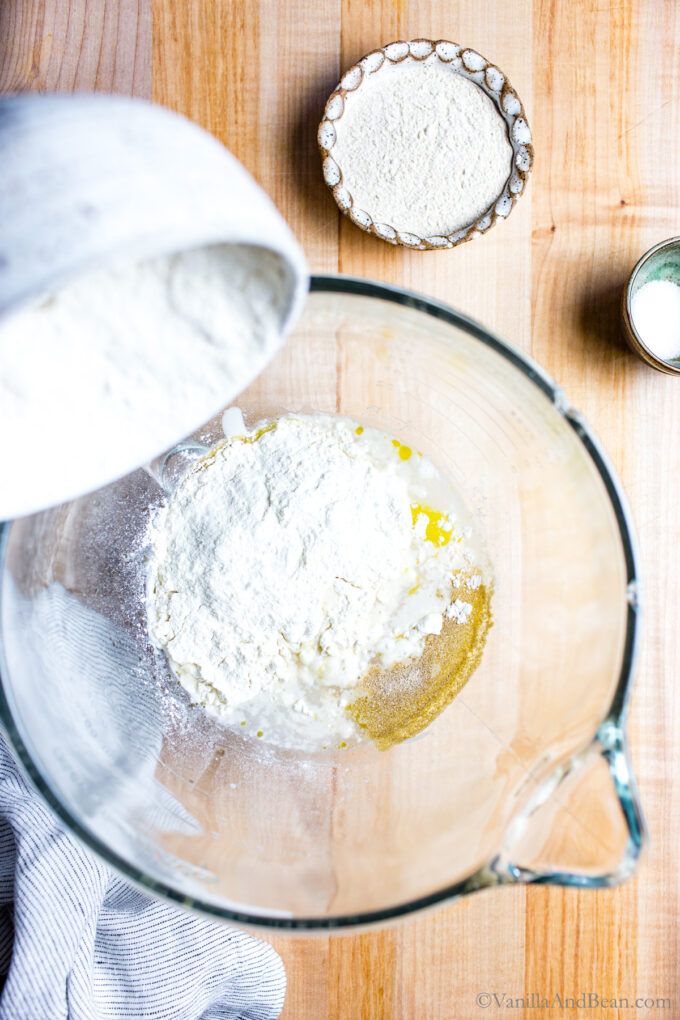
- In the bowl of a stand mixer add the sourdough discard, water, olive oil, instant yeast, salt, bread flour, and whole wheat flour.
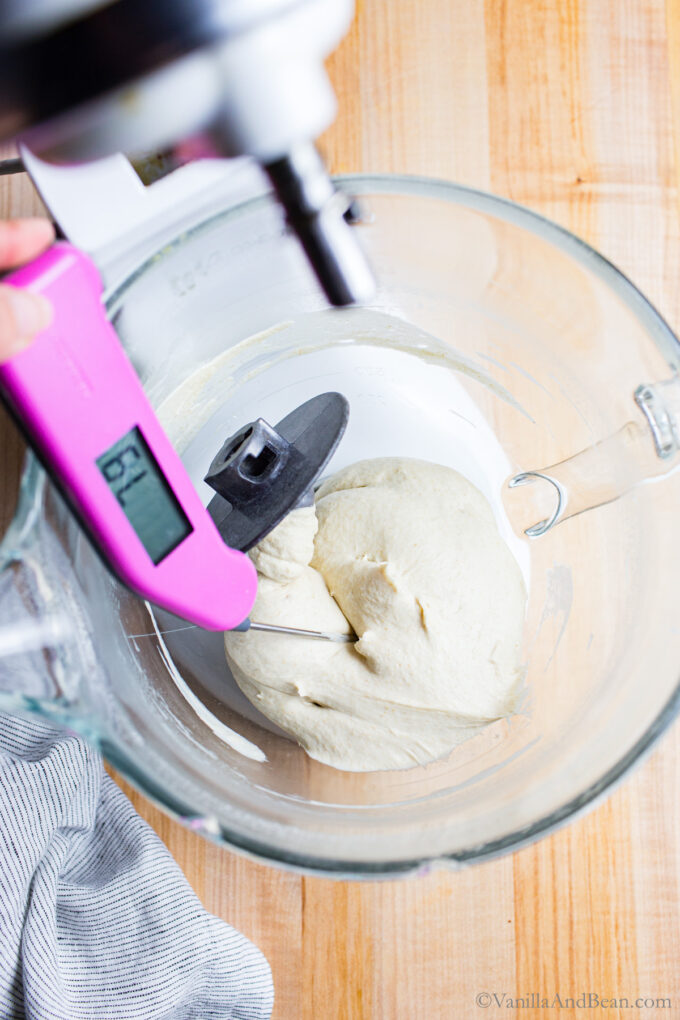
- Attach the dough hook, and mix at speed 4 for 12 – 13 minutes. Mix until the dough reaches 78-80 degrees Fahrenheit (25.5 Celsius) AND passes the windowpane test (see blog post). The dough will be soft and sticky, but supple. Tip: the dough should pull away from the bottom of the mixing bowl as the mixing progresses. If the dough continues to stick to the bottom, sprinkle in a few teaspoons of flour and continue mixing. *Alternatively, you can mix and knead with your hands. This will take about 15 +/- minutes of active kneading.This is a good time to prepare your proofing vessels. I use 4 cup (950mL) lidded glass bowls for this – one for each ball. It helps the dough hold it's shape, there's room to rise and they're reusable. Zip top or reusable bags may be used. Brush the interior of your vessel thoroughly with olive oil to prevent sticking.
Pre-Shape the Dough:
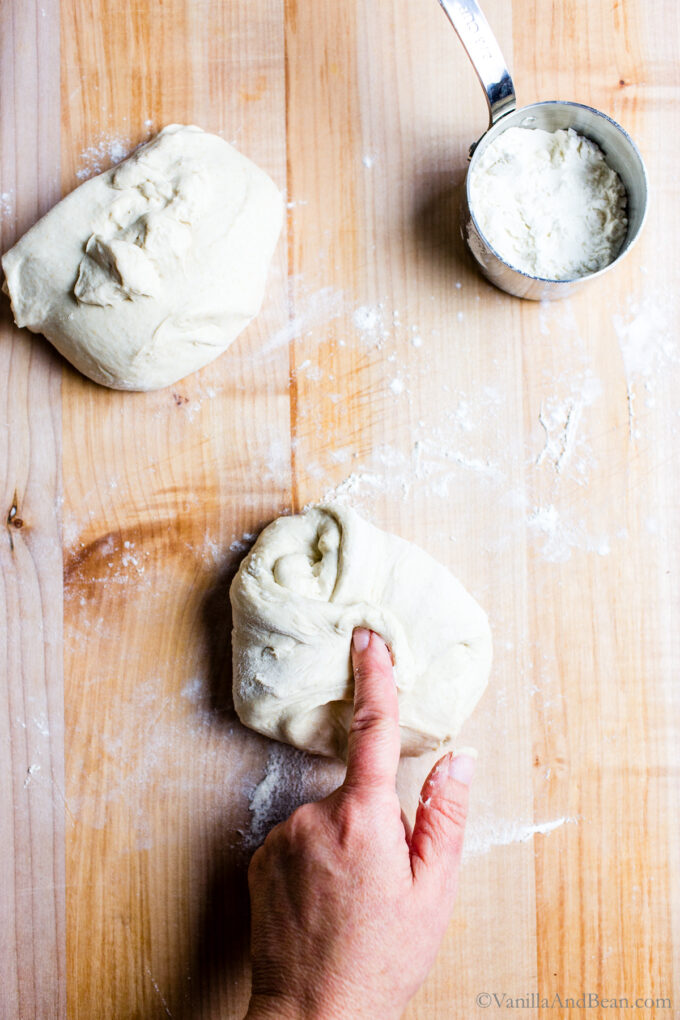
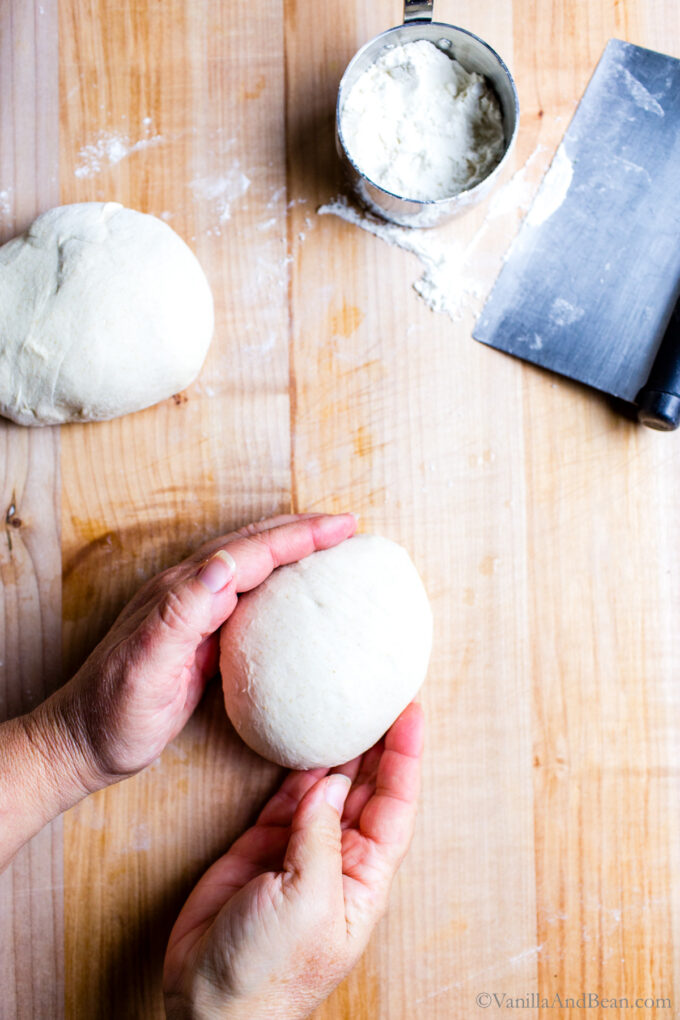
- Transfer the dough to a lightly floured work surface and divide into two equal pieces.
- Shape each piece into a rough round by folding each side to the middle, then the top and bottom. Flip the dough over shape the dough into dough balls. If the dough is sliding around, use your bench scraper to scrape away the flour and very lightly sprits the work surface with water. This helps the dough grip the surface. See how to shape video in blog post above or longer format video below for tutorial.Make sure the skin/surface is taught, then transfer the dough to it's proofing vessel seam side down. Put a lid on the container or seal the bag. See recipe note* below for retarding the dough in the refrigerator (up to three days!).(optional) Freeze the Dough: If you opt to freeze your dough, this is the time to do it. Freeze in zip top bags or in their glass storage containers. When ready to use, thaw overnight in the refrigerator, then carry on with proofing the following day. Note that the dough doesn't quite bake up as beautifully as fresh dough, but freezing is an option.
Proof the Dough :
- Proof the dough at room temperature for about two to two and a half hours (this at a kitchen temperature of 68F). The warmer the kitchen, the quicker the rise. Keep an eye on it. When is the Dough Ready? The dough is ready to make pizza when it's risen between over one and a half times to doubling in size, is puffy and springy to the touch (it's pretty forgiving – just make sure it's at room temp). TIP: In a Hurry? If you want the proof to move along quicker, pop the dough balls in their proofing vessel, in the oven with the oven turned off and the light on. This will speed the process a bit.
Getting Ready to Bake:
- Prepare the Oven: Place an oven rack in the center of the oven. If making a second pizza, set another rack two positions below the top one. You can easily bake two pizzas at a time. Place an upside down sheet pan and/or a pizza stone on a rack, one on each rack if baking two pizzas. If you proofed the dough in your turned off oven, remove the dough now.Preheat the Oven & Pan/Stone: to between 500 – 550 Fahrenheit (260-287 Celcius). Ovens vary in their maximum temperature setting. My new oven maxes out at 525 Fahrenheit, so that's the temperature I bake pizza at (previous oven at 550F). Preheat for at least 45 minutes.
- Have a sheet of parchment paper ready for each pizza you're making. Also, have a pizza peel or sheet pan standing by to slide the shaped and topped dough on for transferring the unbaked pizza to the oven and onto preheated pan and/or baking stone.Prepare Toppings: Just before getting ready to shape the final dough, gather and prepare all your ingredients, chopping small or slicing thin.
Let's Make Pizza!
- Shape the Pizza Dough (see VIDEO below): Gently nudge the dough out of the proofing vessel and onto a floured surface trying to keep it in a round as best you can. Flour the top and edges of the dough generously. If it's sticking to anything, sprinkle a bit more flour. a. Dimple the dough using your fingertips on both hands gently pressing down to the surface of the board (think focaccia) 4-5 times. Avoid the outer 1/4 inch – 1/2 inch (.63 cm – 1.27 cm) of the dough – this is your crust edge. b. Using the tips of your fingers just inside of the edge work the dough all the way around the edge while the dough hangs gently, touching the work surface.c. Using the palm of your hands, toss the dimpled dough between your hands, back and fourth a few times. The dough will continue stretching. Place the dough on the work surface and observe its shape, gently tugging edges that need it, to form a circle. d. Pick the dough up and place it on the back of your fisted and floured hands, gently pulling and stretching the dough while moving your hands to transfer the points of contact with the dough. Shape into a disc shape, taking care not to rip the dough. Place back down on your floured surface. Is the shape how you like it? If not give it a few stretches again using the back of your hands until you're happy with the shape. The dough should measure about 11 inches (28cm). Don't worry if it's not perfectly round – a rectangle or irregular shape works too! If you feel the dough is tight, place it on the work surface and let it rest for about 5 minutes before you attempt shaping again. It will relax as it rests. If making two pizzas, shape them both, one after another.Transfer each pizza round to a piece of parchment paper and if desired, trim the edges of the parchment flush with the pizza dough, leaving an overhang to act as a handle where needed. Note that parchment paper is generally rated for use under 500 Fahrenheit. So at 550 Fahrenheit, with overhang, the paper will char and become brittle.
- Add the Toppings – less is more. Note: I make pizza with veggie toppings since we are a vegetarian household. Veggies are added either sauteed' or raw. For veggie sausage, I cook it first, then top the pizza.
Bake the Pizza:
- Working quickly (you don’t want the raw dough with the toppings to hang out too long), transfer the pizza onto a pizza peel or the back of a sheet pan using the parchment as a handle if needed. Open the oven and pull out the rack with the preheated stone or pan. Slide the pizza onto the preheated pizza stone and/or pan using the parchment as a handle. Be careful as the oven is HOT! Repeat with the second pizza if making two. Bake the assembled pizza(s) at 500 – 550 Fahrenheit for 7-10 minutes OR until the dough is golden brown with some charring, the cheese has melted and sauce is bubbly. The hotter the oven, the quicker the bake, so keep an eye on it! Remove the pizza(s) from the oven and allow to rest for five minutes. Cut into 8 equal pieces each and enjoy!
Store Leftover Pizza:
- Store pizza leftovers in a lidded container in the refrigerator for up to three days. Reheat at 350F for about 10 minutes.
Video
Notes
Nutrition
Nutrition is provided as a courtesy and is an estimate. If this information is important to you, please have it verified independently.
Made it? Leave a comment below!
The most helpful comment may include recipe rating, feedback, any modifications or helping other commentors.





This recipe and blog tips and pictorial guides was very helpful for baking homemade pizza for the first time. They came out delicious and my husband went back for seconds😁👍🏻
Hi Alison! Thank you for your note and feedback. SO glad y’all are enjoying the pizza! Hooray for seconds!
Made it tonight loved it!! 🥰 Thank you!!
Best news, Sonia! Thank you for coming back and letting us know!
What does double hydration discard mean?
Hi Marcia! 100% hydration means that you maintain your starter with equal parts water and flour (by weight). So for example, if you have some discard you want to feed, you’d feed it with 60 grams of water and 60 grams of flour. This creates a 100% hydrated starter and discard. I hope you love the pizza recipe! Keep us posted, okay?
I just used some discard from my jar of it (I don’t regularly feed the discard)— so keeping fingers crossed that it works! Thanks for the reply.
I forgot to mention that I add garlic powder and some Italian seasonings to my dough. This was the best.
Oooh that sounds delicious, Diane! Thanks for the tip!
I have been making my own pizza dough for years. This is the best I have ever made. Thank you for sharing.
Love hearing this, Diane! Thank you for your note!
If I don’t have whole wheat flour can I replace with all purpose or more bread flour?
More bread flour! Hold back a few tablespoons of water and asses the dough as it mixes. It should pull away from the sides of the mixing bowl. I hope you love the pizza!
This recipe is a winner. The dough came together beautifully. I had a little pizza party for my neighbor’s kids & each child made their own pizza. We pre-baked the crust for 5 min, before adding the sauce & toppings. Delicious!
Hi Cecilia! What a fun pizza party! SO glad it was a hit. Thank you for your note!
I adore this recipe and have made numerous times and it’s always great. Today i added one teaspoon of raw honey and one teaspoon of diastatic malt powder and it was out of this world— tasted almost just like the pizza in Rome!
Hi Genevieve! Oh my goodness… that sounds delicious! Thank you for your note and tips. SO glad you’re enjoying the pizza!
I’ve tried quite a few pizza dough recipes, and this one is the best! Crispy chewy but not tough. I refrigerated the dough for 2 days before using it. It was easy to shape into a nice round crust. My best pizza making effort so far.
Best news ever, Elaine! Thank you for sharing your success with us and giving a NEW recipe a go!
Okay folks I have searched for a GOOD same day discard pizza crust recipe! This is it! Best ever and same day option!
I made a double batch accidentally, not paying attention to the fact it was already a 2 crust recipe. OOPS, I how had 4 crusts. Best mistake ever! I made 3 pizzas and a batch a bread sticks over the next 3 days.
So good, amazingly versatile, 1st one was same day which I sat in my oven with the light on to speed it up. 2-4 we’re stored in the fridge over night. Day 2 I pulled 2 out let them rest and rise maybe an hour while I prepped my toppings it was perfect. Day 3 made cheesy bread sticks for soup night.
Wow best homemade crust ever! Full of flavor, easy and chewy.
Hooray for 4 crusts, and it sounds like you made good use of the extra (those bread sticks – yum!). Thank you for your note and giving a NEW pizza dough a go, Molly!