No Bake Peanut Butter Bars for a treat anytime! Made with peanut butter, almond flour, chocolate chips, a hint of salt, vanilla and sweetened with maple syrup. This no bake peanut butter snack, like my 3 Ingredient Peanut Butter Balls, is a treat to have on hand when cravings strike!

“Simply amazing! I was tired of paying high prices for similar bars I’m able to make them now with my own healthy ingredients for my 11-year-old son who’s absolutely in love with these!”
LoriBeth
Balancing That Sweet Tooth
Enjoying an indulgent sweet every now and then is something I look forward to, but for everyday, I crave something thats less refined and naturally sweetened, like these bars or my other favorite, No Bake Peanut Butter Chocolate Oatmeal Bars. Always a fan of cake, cookies, and the like, I’m forever finding ways to balance my sweet tooth.
This Recipe Is
- super simple
- not *too* sweet
- grab n go ready!
If you make grab n go snacks at home and enjoy peanut butter, you’ll love these rich and tasty peanut butter bars with almond flour.
_________________________
How to Make Almond Flour Peanut Butter Bars
step by step
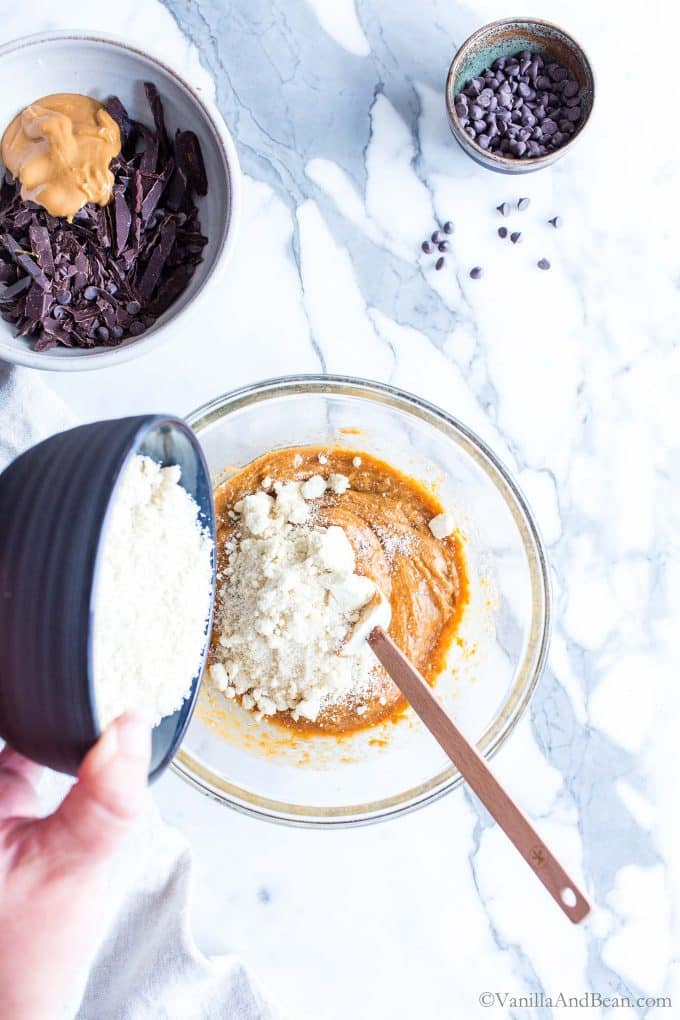
Be sure to use super fine almond flour (not almond meal) in this recipe. It compacts easier, so the bars won’t crumble when handled.
I like mini chocolate chips sprinkled on top for these bars. But I’ve also tried cocoa nibs for their crunchy, rich flavor, and they’re sugar free.
Traci’s Tips
- Variation: you can use cashew butter or other creamy nut butter of choice. I use natural peanut butter, crunchy for the dough, creamy for the chocolate top. I’ve also used almond butter to make these with delicious results.
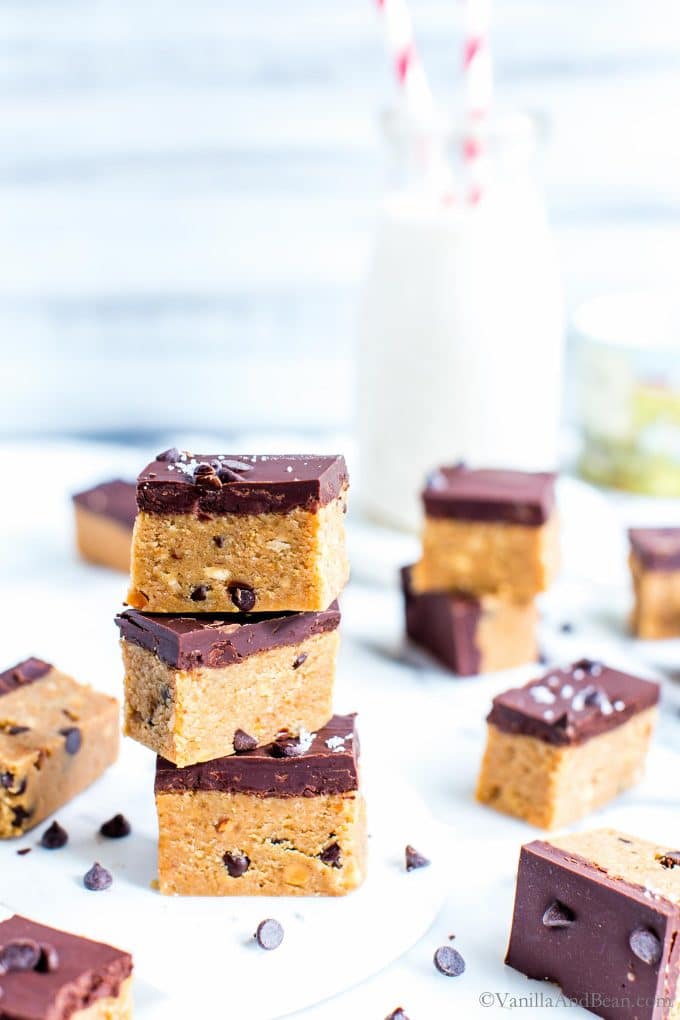
- Bar Size: These little peanut butter bars are super rich and satisfying. I cut them into 1 1/2″ x 1″ bar size to keep them small. This yields about 18 mini bars. Feel free to slice into larger pieces!
No Bake Peanut Butter Bars with Almond Flour (Naturally Sweetened)
Ingredients
For the Dough:
- 1 C (255g) Natural Peanut Butter, crunchy or creamy
- 1/4 C (85g) Pure Maple Syrup
- 1 tsp Vanilla Extract
- 1 1/4 C (125g) Super Fine Almond Flour, blanched, I use Bob's Red Mill. See note*
- 1/4 C (25g) Mini Chocolate Chips, plus more for sprinkling
- 1/4 tsp Fine Sea Salt
For the Chocolate Topping:
- 4 oz (120g) Bittersweet Chocolate, chopped small, I like 70% chocolate, or use chocolate chips
- 2 Tbs Natural Peanut Butter, creamy
- 1/2 tsp Flaky Sea Salt, optional
Instructions
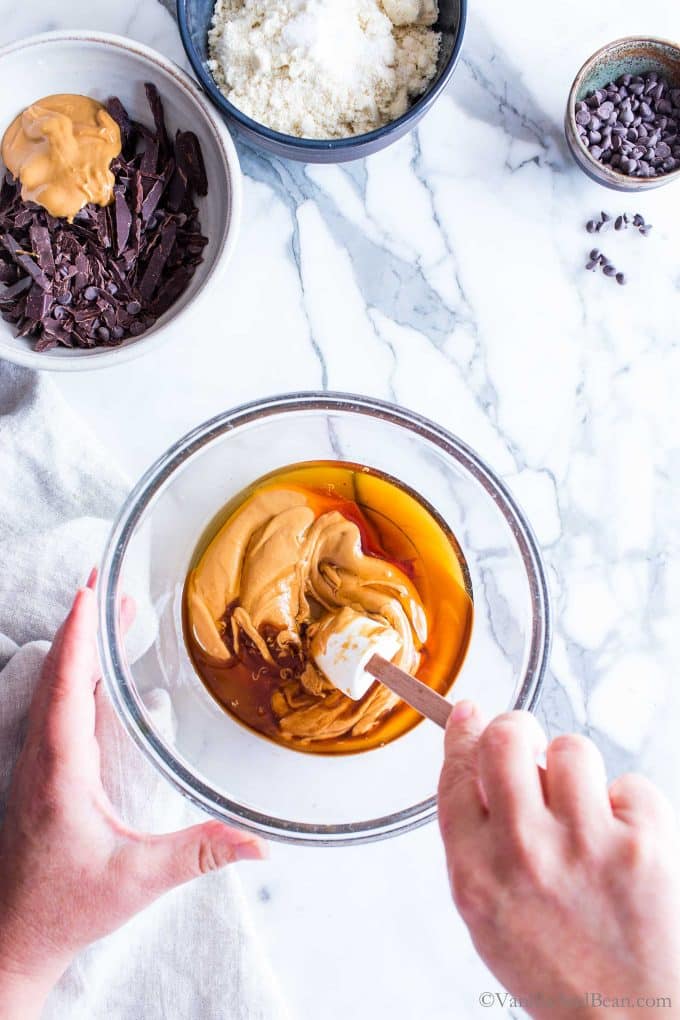
For the Dough:
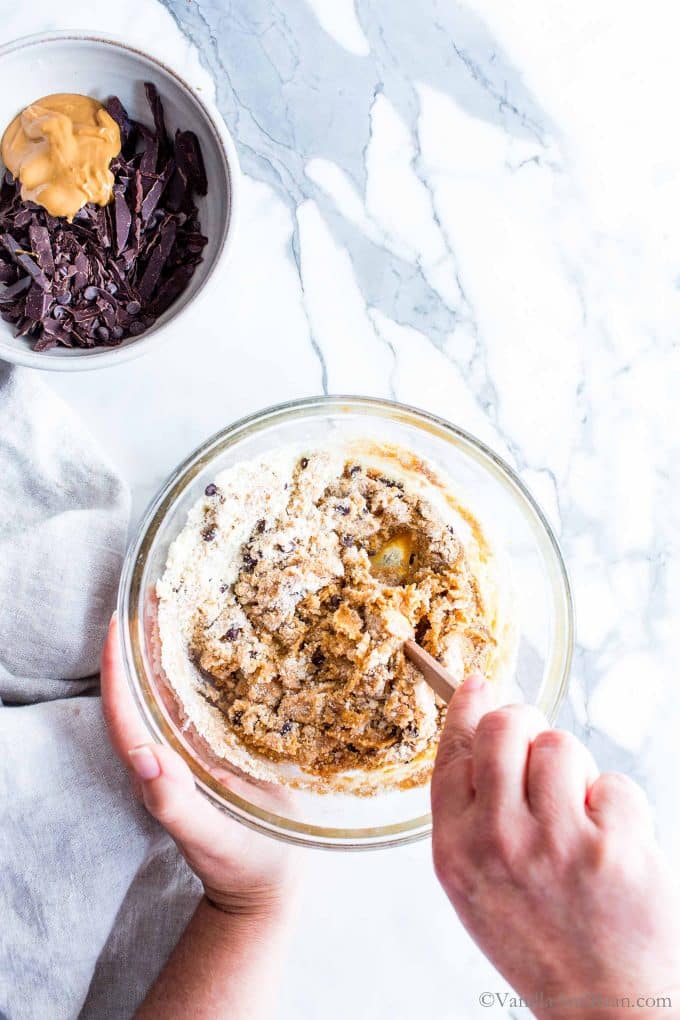
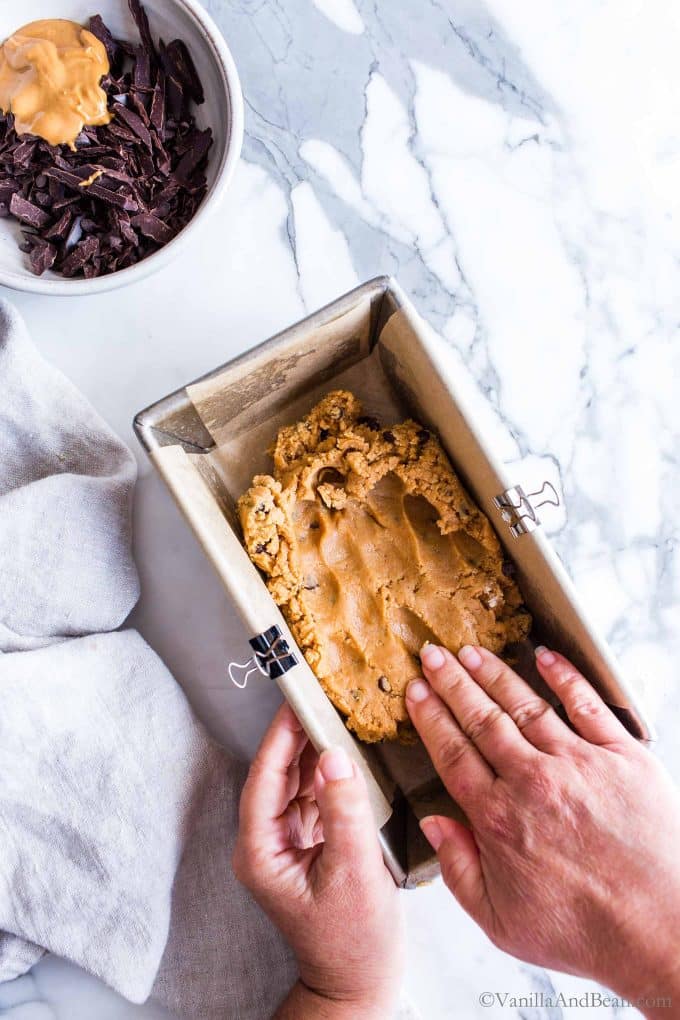
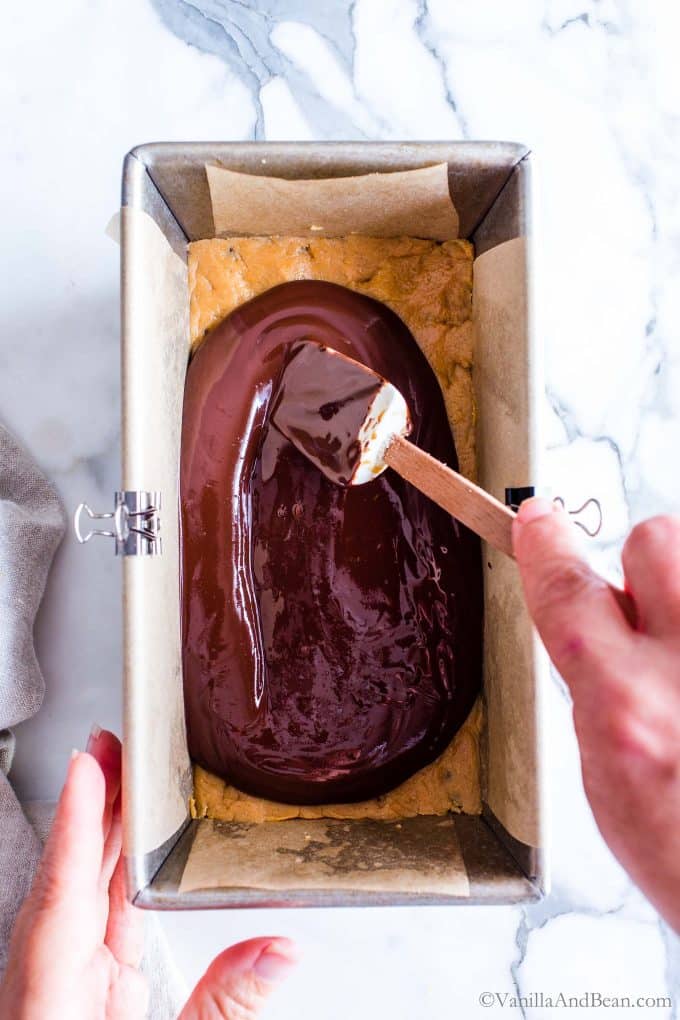
- Line a 9×5 inch loaf pan with parchment paper and grease the paper lightly with coconut oil. Set aside.In a medium bowl, mix the nut butter, maple syrup and vanilla until smooth. Stir in the almond flour, chocolate chips and sea salt and mix until the ingredients come together. Using your hands, firmly press the dough into the prepared pan in an even layer.
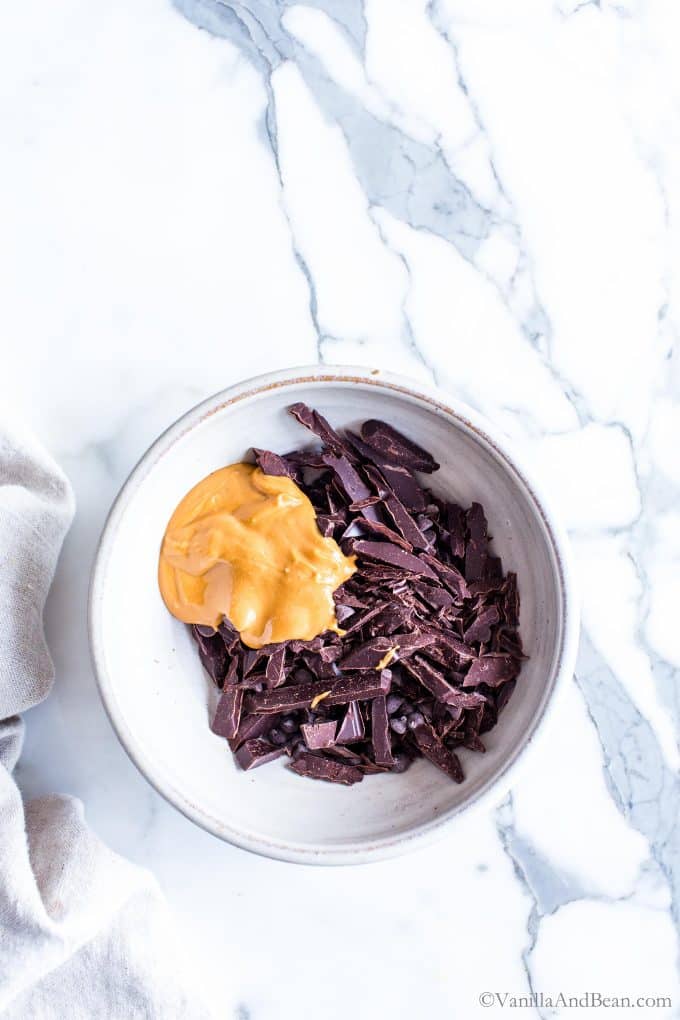
For the Chocolate Topping:
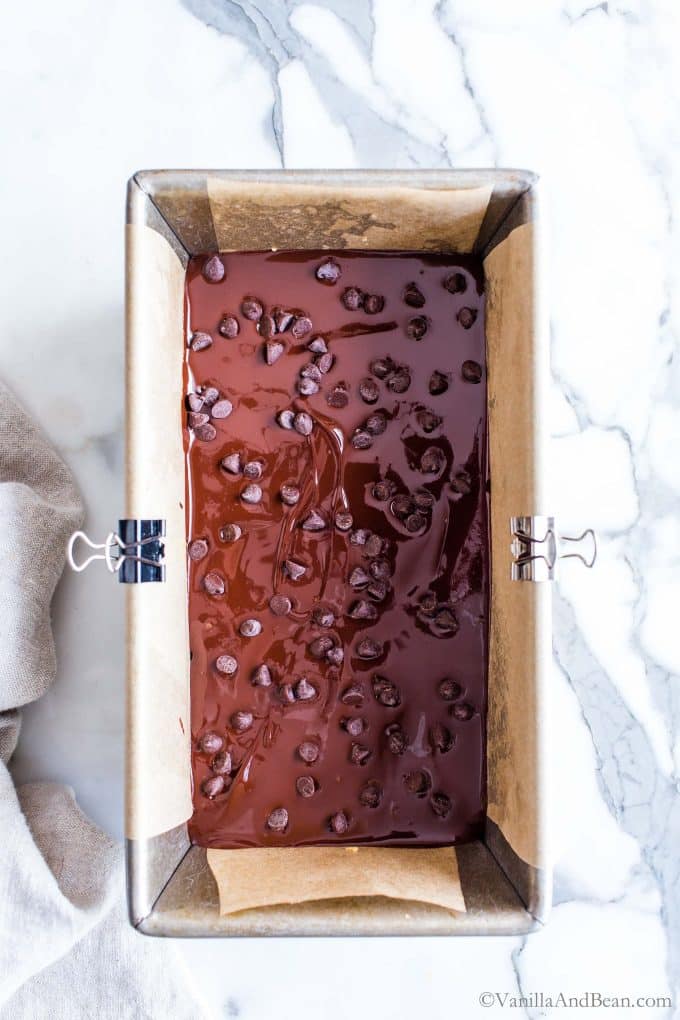
- In a microwave safe bowl, microwave the chocolate and peanut butter for 30 seconds. Stir. Microwave again for 30 seconds and stir until the chocolate is completely melted. The chocolate should be soft, smooth and shiny. Melt for a few more seconds in the microwave if needed. Pour and spread the chocolate over the dough into an even layer. Sprinkle with mini chocolate chips if desired.
- Rest in the refrigerator for at least two hours, or until firm. Slice into 18 pieces or as desired. Sprinkle with flakey sea salt if desired.
To Store:
- Refrigerate in a lidded container for up to two weeks or in the freezer snugly wrapped in parchment and stored in a lidded container or freezer bag for up to three months.
Notes
Nutrition
Nutrition is provided as a courtesy and is an estimate. If this information is important to you, please have it verified independently.
Made it? Leave a comment below!
The most helpful comment may include recipe rating, feedback, any modifications or helping other commentors.
Many thanks to Rachel Conner and HMH Books for sending Bakerita; 100+ No-Fuss Gluten-Free, Dairy-Free, and Refined Sugar-Free Recipes for the Modern Baker to me. All opinions are my own.

These are very tasty, just like having a Reese’s peanut butter cup but minus the guilt. I probably need to use a different almond flour or a little more, as I used the almond meal flour and it wasn’t quite as firm looking as the photo. But very close! The salt on top gives it a special extra kick. Will bookmark this.
Love hearing this, Gigi! Thank you for your note and five star review!
Thank you, we don’t have that brand of almond flour here so I used ground almonds and the Meridan peanut butter. Maybe I need to find the almond flour. I actually assumed it was the same thing but perhaps not
These tasted delicious but weren’t firm so hard to hold. Any advice on what we did wrong?
Hi Crona! Yes, they should be firm, easy to hold. I’m curious about the almond flour and peanut butter used. Bob’s Red Mill almond flour is super fine, so it compacts easily. Did you use natural peanut butter? Last, packing the peanut butter mixture firmly into the pan will help firm the bars up.
These are SO good! My husband and 3 teen boys agree. I will be making them again tonight..better do a double batch!
Love hearing this, Karoline! Thank you for your note. A double batch sounds good to me!
Simply amazing! I was tired of paying high prices for similar bars I’m able to make them now with my own healthy ingredients for my 11-year-old son who’s absolutely in love with these! Thank you again for sharing this delicious recipe. We are forever grateful.
Love hearing this, LoriBeth and thank you for your note! So glad you found a homemade version!