
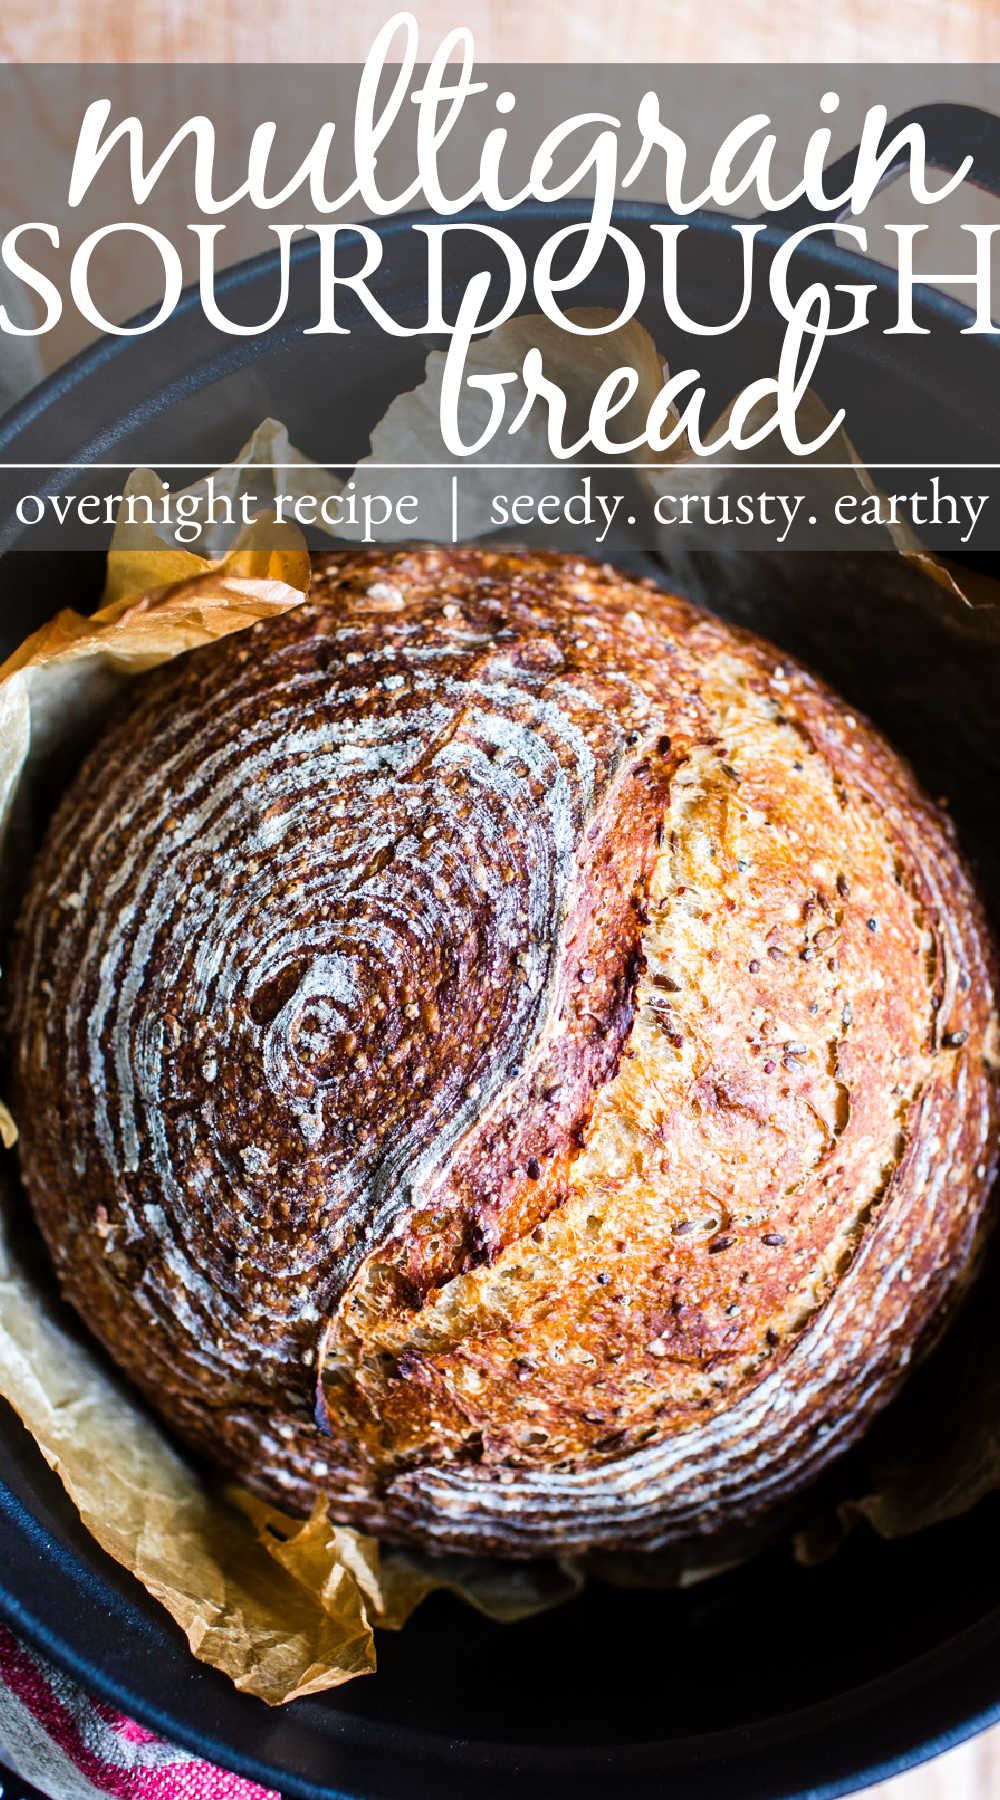
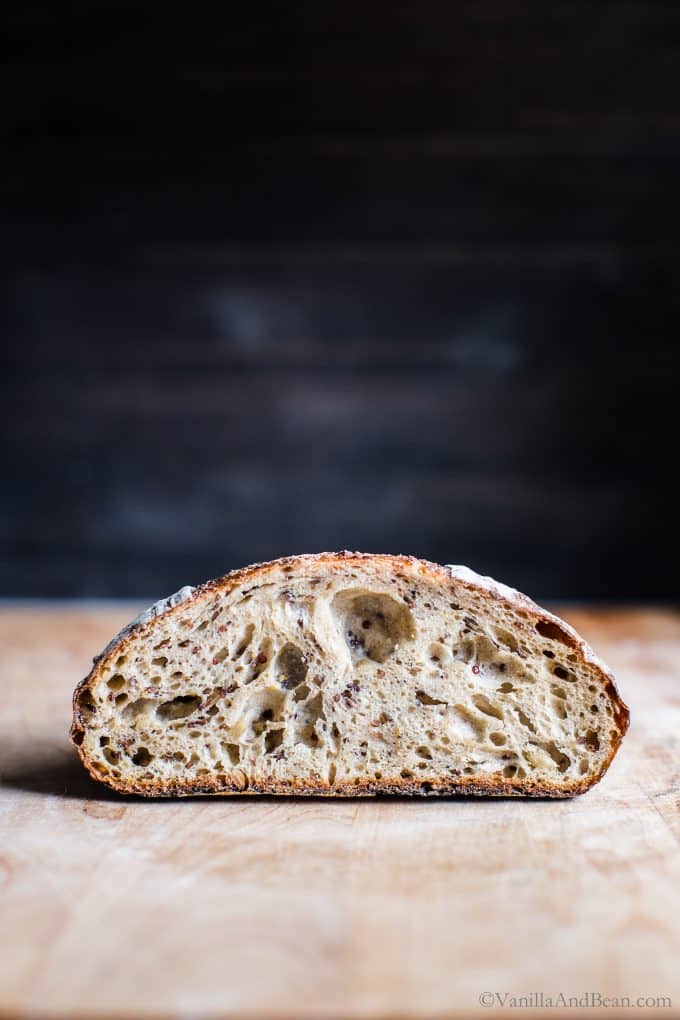
With a crunchy exterior and chewy interior, this reader favorite Seeded Multigrain Sourdough Bread is texture-rich with an earthy blend of grains and seeds to make a crave-worthy loaf. Made by hand, the ingredients are mixed, stretched and folded then fermented overnight. Once doubled in size, the dough is shaped, proofed then baked. Readers share this is a versatile loaf and one of their favorites (see comment section). Got leftover sourdough bread? This loaf makes irresistible Sourdough Croutons and Sourdough French Toast.
Looking for a soft sandwich loaf version of this bread? Check out my Soft Multigrain Sourdough Sandwich Bread recipe.
You will receive recipes and kitchen tips, along with information about our partners and offerings. For more details, review the Vanilla And Bean privacy policy.
Celebrating Multigrain Sourdough Bread
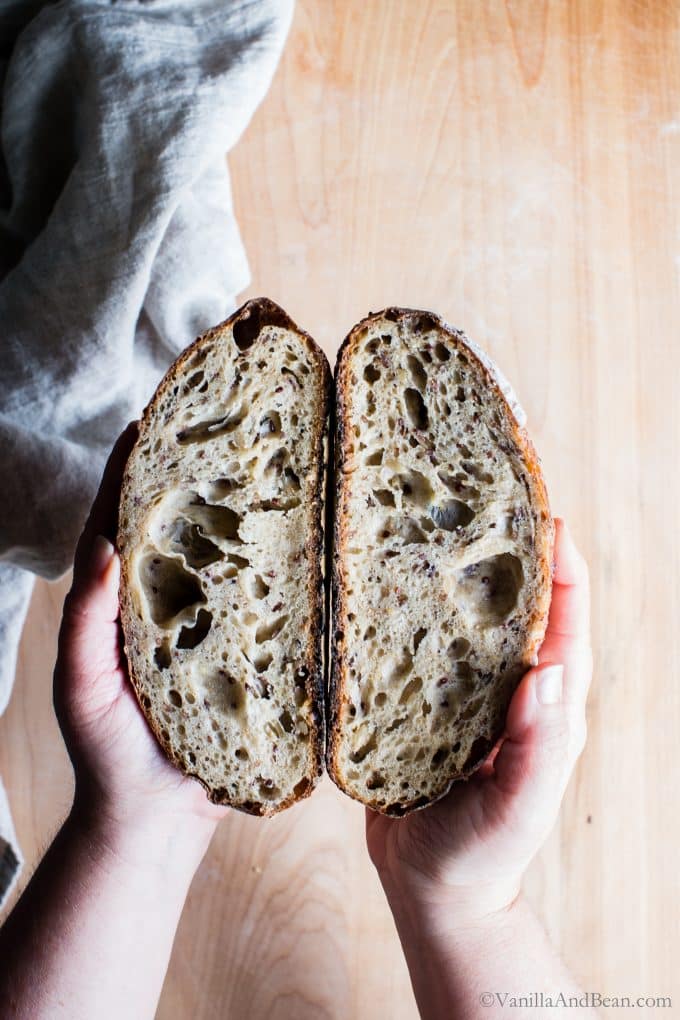
If you love making homemade sourdough recipes, you’ll enjoy this crusty, flavorful seedy loaf. It’s a perfect crumb for sandwiches, toast and anything you want to slather on it.
This was the first loaf I made after an eight-month gluten hiatus. I couldn’t believe how resilient the sourdough starter was after having been neglected for far too many months. After all, I was focusing my efforts on a gluten-free sourdough starter and bread recipe, which you can find here: my gluten free starter and gluten free sourdough bread.
I’m thrilled to be back to my glutenous ways and excited to share more sourdough recipes with you!
This Recipe Is
- has a sturdy closed crumb for sandwiches, toast and slathering all the things
- bulk fermented overnight
- quick room temperature proof
If you have sourdough starter discard, you can use it in these Olive Oil Sourdough Crackers or many other recipes found in my Sourdough Discard Recipe Library.
_______________________
How to Make Multigrain Sourdough Bread

Recipe Inspiration
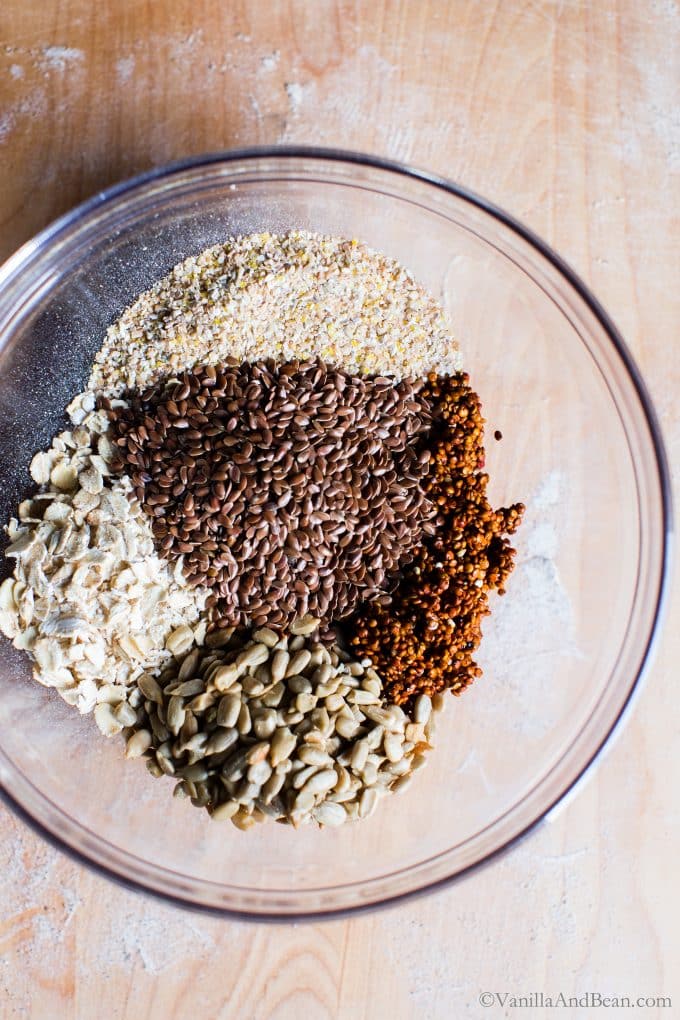
This seeded sourdough bread recipe is an adaptation on my Yeasted Multigrain Sandwich Bread, a bread I made often before learning how to make sourdough bread. Chock full of grains, including a 10 grain cereal, oats, and quinoa, I also add sunflower and flax seeds to create more texture and flavor.
Making sourdough bread isn’t hard, but, it’s a process that takes a little planning and practice. I used to say I think about sourdough longer than it takes me to create a loaf. And while this was the case at one time, now that I know how to make it, manipulate the rise time through retardation if needed, shape and proof the dough, and bake sourdough, the process doesn’t seem so daunting anymore. Its become closer to second nature, and I don’t think about it as much. A little more brain space is always good!
Scheduling Your Mix and Bake
The process is pretty straightforward but it takes a bit of planning. I typically mix the night before and bake early on a weekend morning because I have a bit more flexibility then. While you sleep, your little dough baby is growing! Here’s an overview for scheduling.
- Saturday Evening:
- prepare the soaker by pouring hot water over the mixture of seeds and grains.
- mix the dough using a previously fed, active sourdough starter, water and a mixture of bread and whole wheat flour. Rest the dough, then hand mix in the soaker.
- do a series of at least two stretches and folds with 30-45 minutes between each.
- Begin bulk fermentation overnight until dough has doubled in size.
- Sunday Morning:
- preshape the dough (optional), then shape.
- proof the dough for about 30 minutes.
- score and bake!
The aroma wafting through the house while the sourdough is baking is so warm and inviting, you’ll want to rip into the bread as soon as it comes out of the oven.
How Long for Bulk Fermentation
- Bulk fermentation (first rise) time depends on several factors: ambient temperature and how active your starter is. Also, a firmer dough will take longer to rise than a well-hydrated dough.
- When fermenting at room temperature, bulk rise time in summer will generally be quicker than from winter rise times.
- An ambient temperature of 70F (21C) will require a bulk rise time of about 8-10 hours. My kitchen tends to be cooler most of the year (68F (20C), but in the winter, it’s downright cold. It’s not unusual for my sourdough to take up to 14 hours to rise during the coldest months.
How To Tell When Sourdough Has Risen Enough
- The bulk fermented (first rise) dough is ready when:
- it no longer looks or feels dense
- is jiggly when the bowl is shaken
- has about doubled in size
- you may see a few large bubbles on the surface of the dough
Cool After Baking
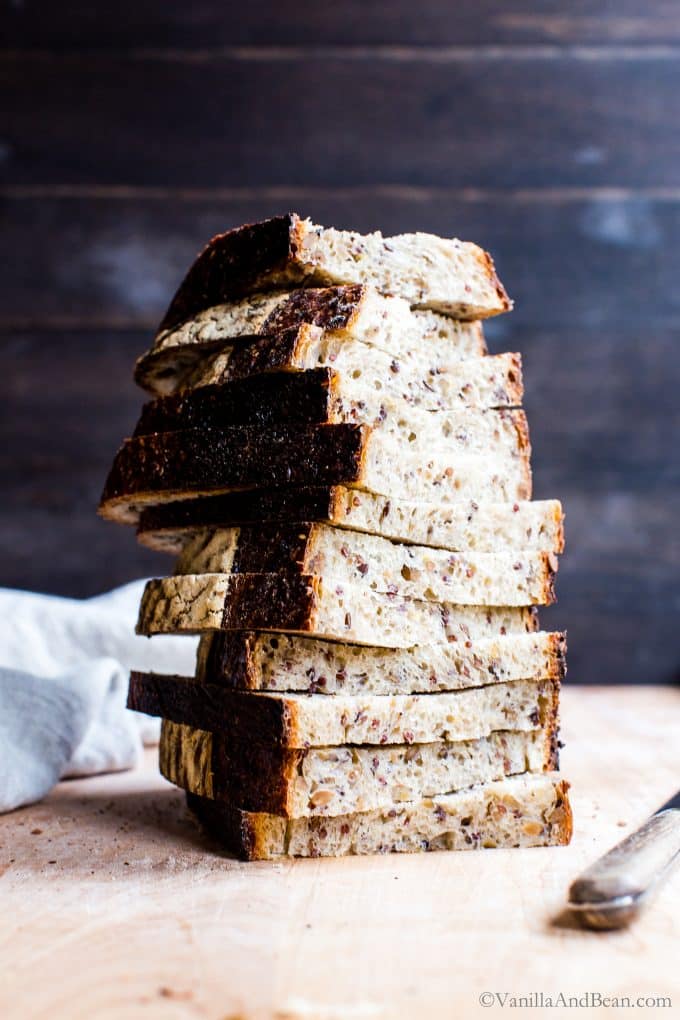
To complete the cooking process, sourdough bread needs at least an hour to an hour and a half to rest at room temperature. The crust will continue to develop as the sourdough cools as well. However, I won’t deny that I’ve ripped into a few loaves before the hour was up. It’s sublime with a slather of butter.
The Best Vessel to Bake Sourdough Bread In
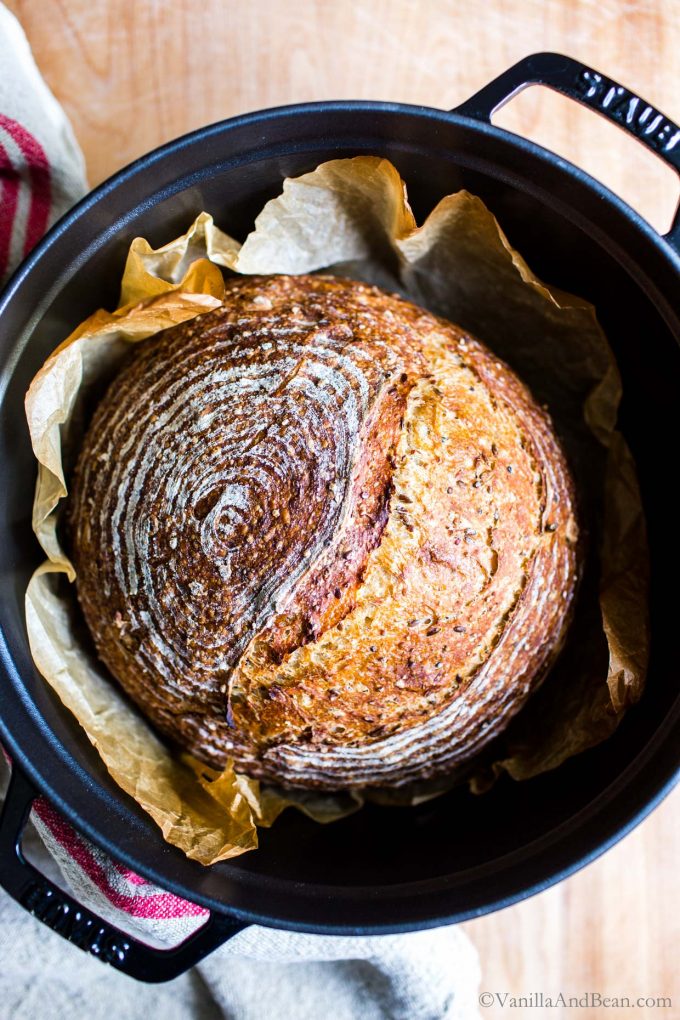
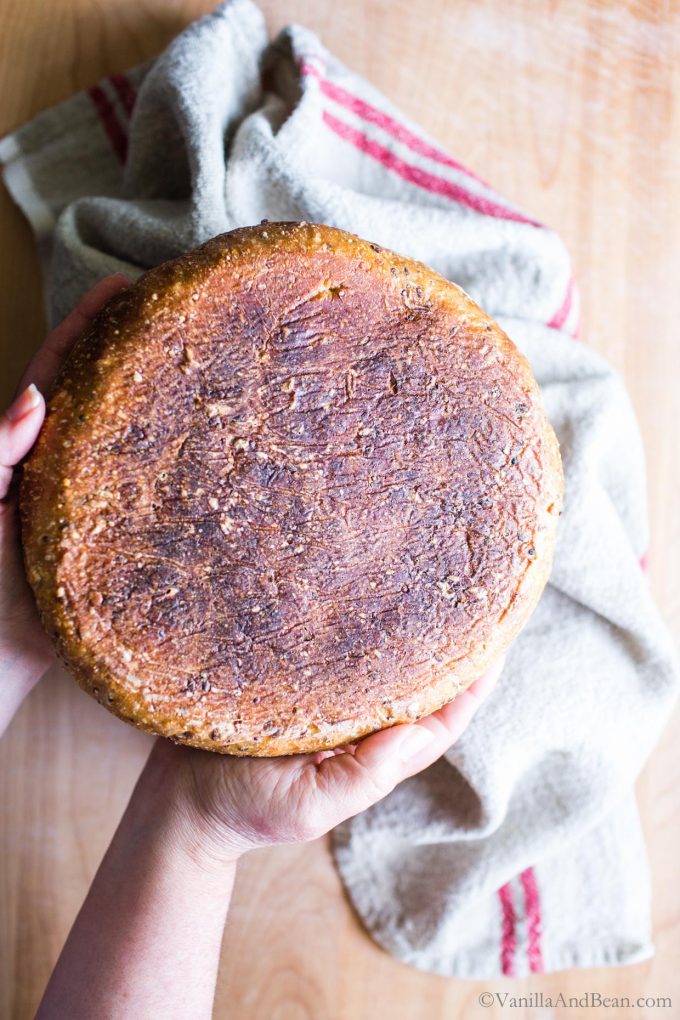
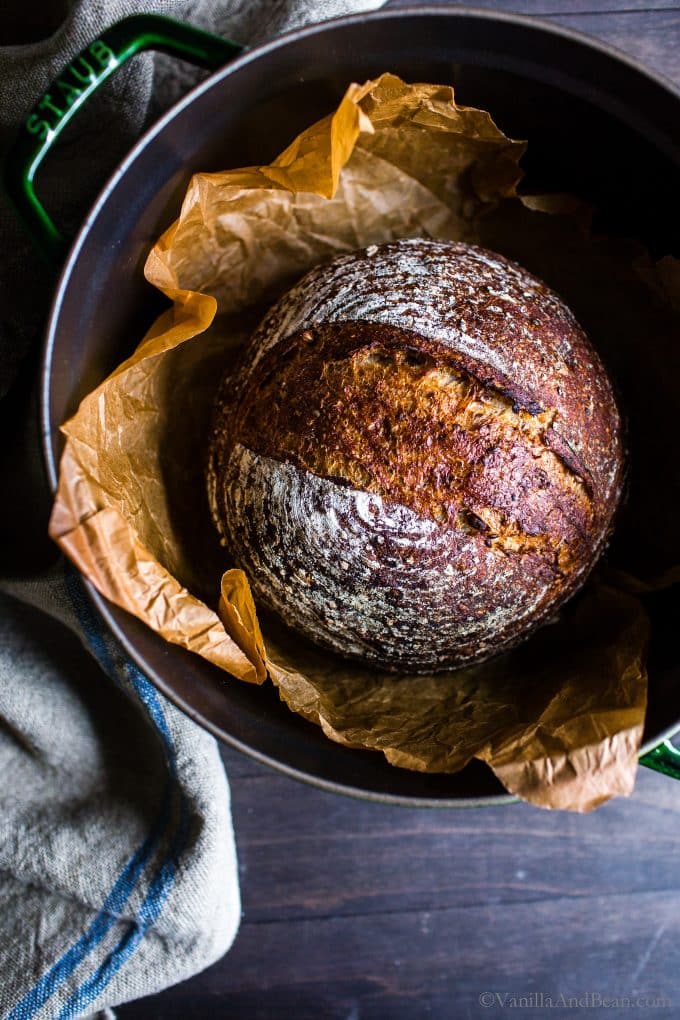
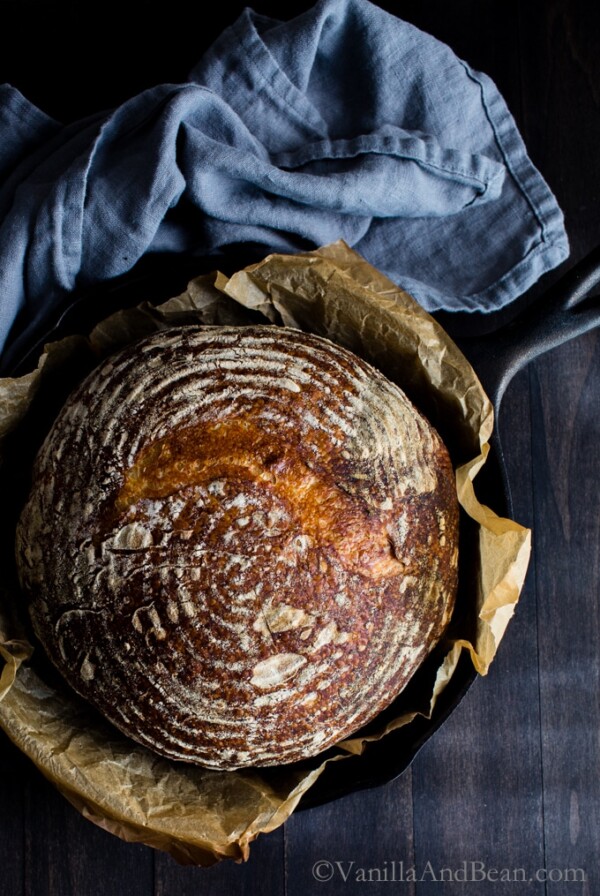
I use two vessels to bake sourdough bread. One is a 10″ cast iron skillet with deep dish skillet for a lid and the other, a 7 quart Staub Dutch oven (these are affiliate links). I recommend either or both, but I’ve noticed the Staub bakes the bottom of the bread darker than the cast iron, sometimes it’s burnt. This may have to do with the vessels’ differing materials.
UPDATE – Burnt Sourdough Bottom: After testing various methods to remedy the too dark bottom problem, as commenters have mentioned on this sourdough recipe (and on many other non V&B recipes – this is not uncommon in the sourdough world), I’ve finally found the simplest solution ever (duh!). Simply place a sheet pan on the oven rack under the rack your baking vessel is setting on. This helps protect the vessel from the most intense heat of the oven. The two images below show one of the boules I baked using this method.
Prior to doing this, I used a method from The Perfect Loaf who suggests using a double layer parchment or a dusting of course cornmeal alone or under the parchment. Doing this offers a bit of distance between the bottom of the dough coming in direct contact with the base of the vessel. I tested both approaches, but found I still had a bit of too dark bottom for my preference. Now, I exclusively use the sheet pan method.
Traci’s Tips
- Because kitchen temperatures vary, use the time suggestions in the recipe as such. Let the bread guide your process rather than the clock.
- Mini Boules? Yes please! This sourdough recipe can be made into one, 2 lb boule or two, 1 lb boules. The one-pound boules are fabulous for bread or dipping bowls, or if you’re baking for one or two and want to freeze or give away the second loaf. Both sizes make decent size sandwich bread.
- TIP: This recipe calls for 10 grain cereal. If unavailable, you can use 7 grain or even 6 grain cereal. Also, a combination of polenta, millet, quinoa, and/or amaranth can be subbed, but the flavor will be different.
- Whole wheat bread flour can be difficult to find. If unavailable, this recipe will also work using whole wheat flour with similar results. Whole wheat bread flour renders the dough a bit easier to work with, however (more stretchy).
- For a tutorial on how to make a sourdough starter, see my post on how to make a Sourdough Starter.
Makers Notes
I’m beyond thrilled to read y’all are enjoying the bread in the comments below. Keep those tips comin’! Here are excerpts from the community:
- Emily Commented: “…used apf (all-purpose flour) instead of bread flour, but the result was still stunning, I got a gorgeous rise and soft moistness with a chewy crust.”
- Marilyn Commented: “I used a 5 qt DO for 1 loaf (without splitting the dough in half) and it was fine!”
- Dara Said: “I didn’t have all the ingredients the recipe called for so I used a combination of sunflower seeds, oats, hemp seeds, flax seeds, and millet.”
- Samantha Commented: “I did 3T each of quinoa, rolled oats, pumpkin seeds, sunflower seeds. I did 3 cups all-purpose unbleached white flour and 1 cup whole wheat bread flour and 1/2 cup spelt. I also subbed honey for maple syrup.”
______________________
My Sourdough Toolkit
(these are affiliate links)
- Glass Mixing Bowl
- 7 Quart Dutch Oven
- 10″ Cast Iron Skillet with Deep Dish Skillet for a lid
- Bench Scraper
- Parchment Paper
- Digital Food Thermometer
- Lame – for scoring the dough
- Banneton(s)
- Digital Scale
Soft and Crusty Seeded Multigrain Sourdough Bread
Ingredients
For the Soaker:
- 1/4 C (40g) 10 Grain Cereal, *(see note)
- 3 Tbs (25g) Rolled Oats, not quick
- 2 Tbs (25g) Quinoa, red or tricolor, rinsed
- 2 Tbs (25g) Flax Seed
- 2 Tbs (25g) Hulled Sunflower Seeds, unsalted
- 3/4 C (155g) Hot Water, about 150F (65C), or soak the grains and seeds overnight in room temperature water
For the Dough:
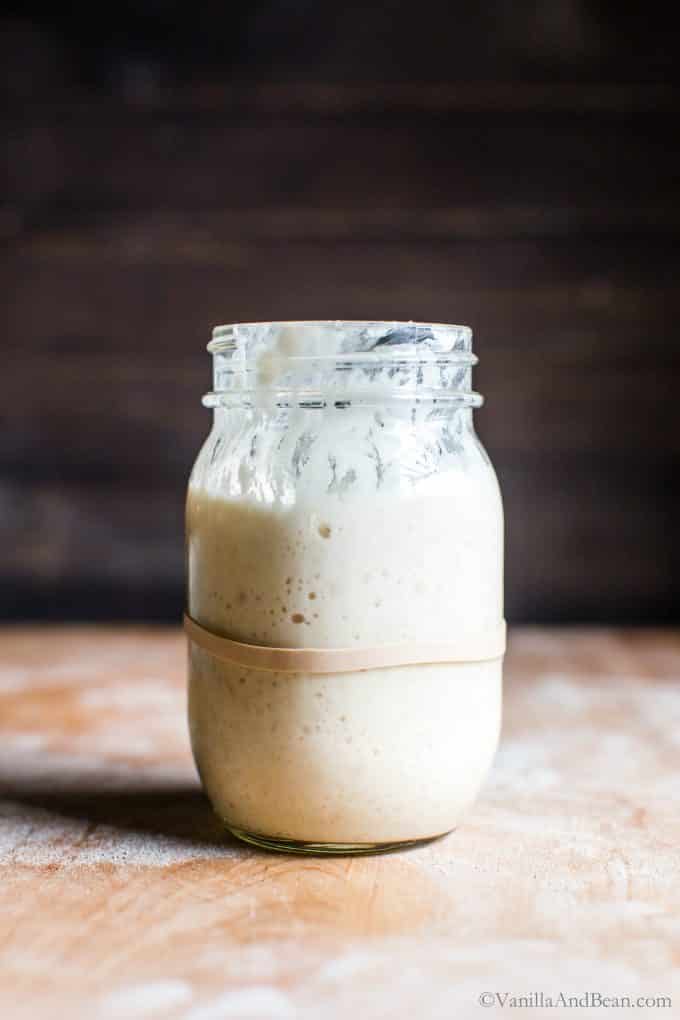
- 1/4 C (50g) Sourdough Starter, previously fed, bubbly and active
- 1 1/3 C (300g) Warm Water , about 80f (26c)
- 2 1/2 Tbs (50g) Maple Syrup
- 3 C (400g) Bread Flour
- 1/2 C + 1 Tbs (100g) Whole Wheat Bread Flour, or whole wheat flour
- 2 tsp (16g) Fine Sea Salt
Instructions
For the Soaker:
- In a medium mixing bowl add the cereal, rolled oats, quinoa, flax seeds, sunflower seeds and water. Set aside.
For the Dough:
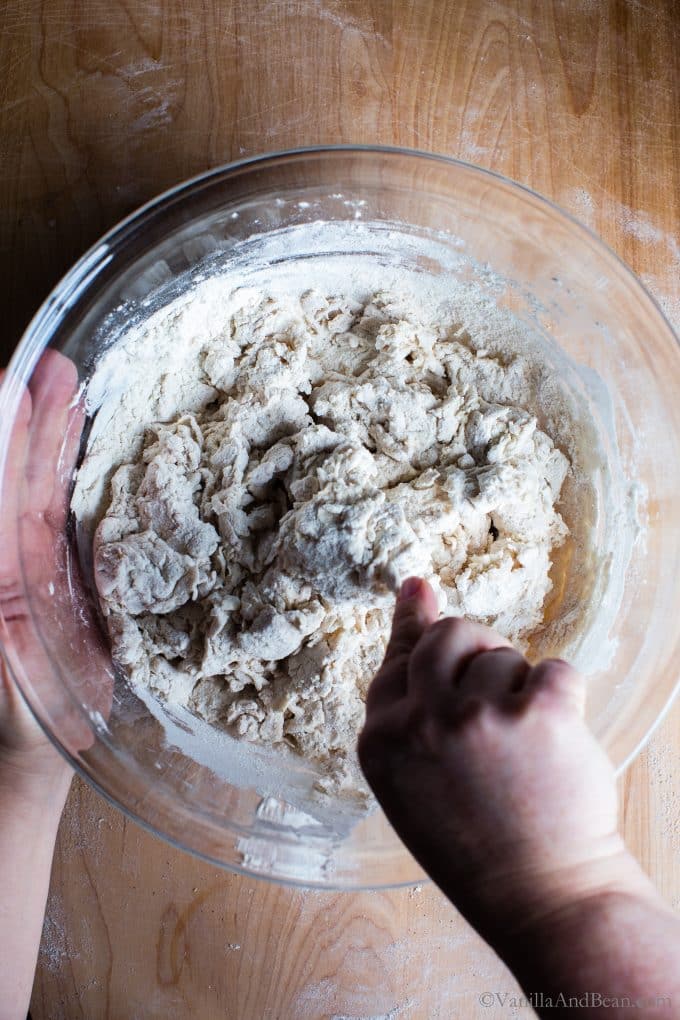
- Mix the Dough: In the evening, whisk the starter, water and maple syrup together in a large bowl with a fork. Add the flours and salt. First, mix with a fork, the dough will be shaggy. Then mix by hand, mixing, folding and pushing the dough until the flour is fully incorporated and no dry bits are present. It will seem dry at first, but the more you work the dough, the more hydrated it will become. The dough will feel stiff and it will stick to your fingers as you go. Do this for about 3-4 minutes. Use the fork to scrape off the dough on your fingers as much as you can. Cover bowl with a damp tea towel. Set a timer for for 30 minutes and allow the dough to rest for 30 minutes. Now is a good time to feed/refresh your starter.
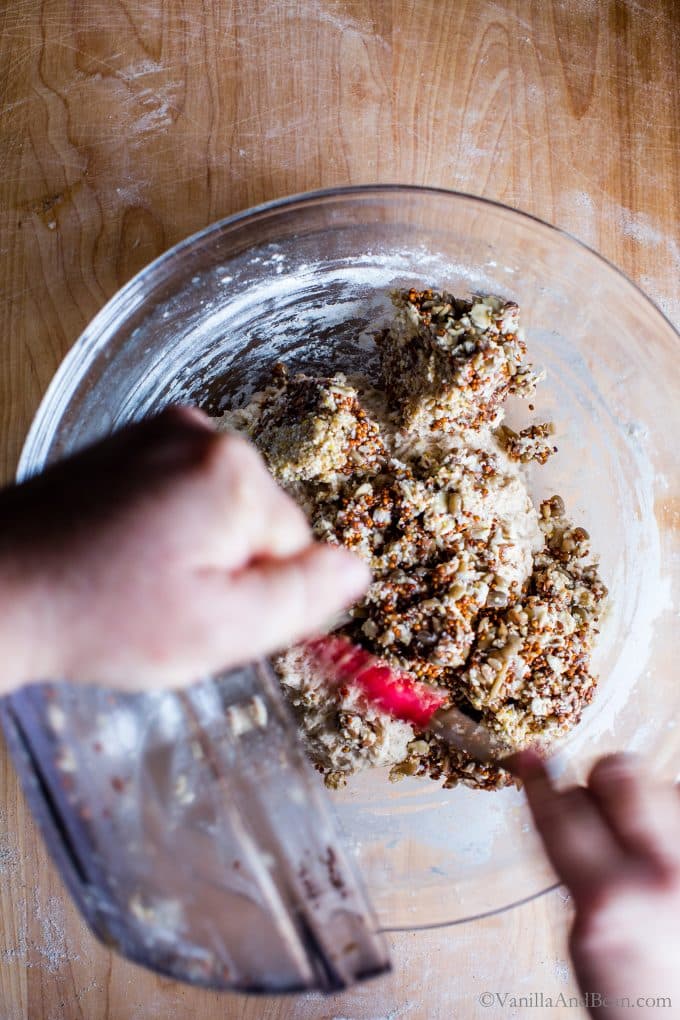
- Incorporate the Soaker: After the dough has rested, mix in the soaker. To do this, dump the soaker on top of the dough and begin kneading and folding the dough over and on top of itself, incorporating the ingredients of the soaker. Do this for about 1-2 minutes or until the soaker is evenly distributed in the dough. It will seem like a lot of added bits, but as you work the dough and as the dough develops through fermentation, the soaker will incorporate. The dough will be stiff, wet and sticky. If adjusting water or flour, now is the time to assess the dough and adjust as needed. Set a timer for 30 minutes and allow the dough to rest for 30 minutes.
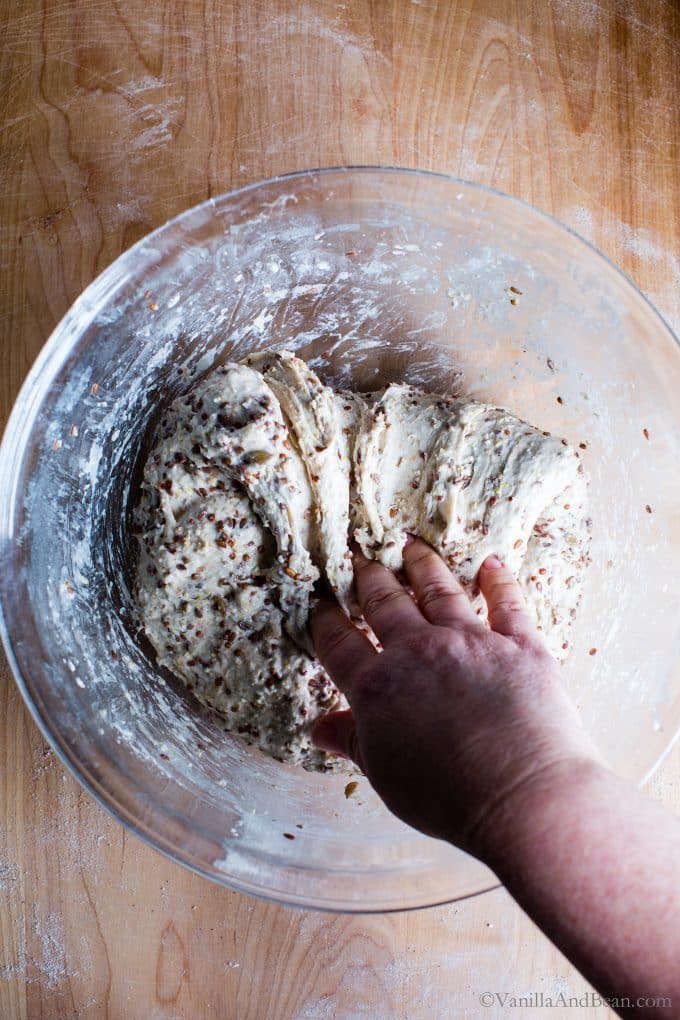
- Fold the Dough: After the dough has rested, fold the dough. To do this, grab a portion of the dough while it remains in the bowl, stretch it up and fold it over, pressing your fingertips into the center of the dough. You'll notice the dough is less stiff and more workable at this point. Repeat, until you've worked your way around the dough. This is the first fold, and you can stop here and begin bulk fermentation, but If time permits, and optimally, you'll want to repeat this fold two more times as it improves the final dough's structure and crumb. Allow for about 30-45 minutes each between folds.
- Bulk (fermentation) Rise: After the last fold, cover the bowl with two damp tea towels and allow to rise overnight at room temperature. This will take about 8-10 hours at 70F (21C), but in a cooler kitchen the dough can take up to 12-14 hours to rise – this is the norm in my chilly kitchen at 68F (21C) . The dough is ready when it no longer looks dense, is jiggly when the bowl is shaken, and has about doubled in size.
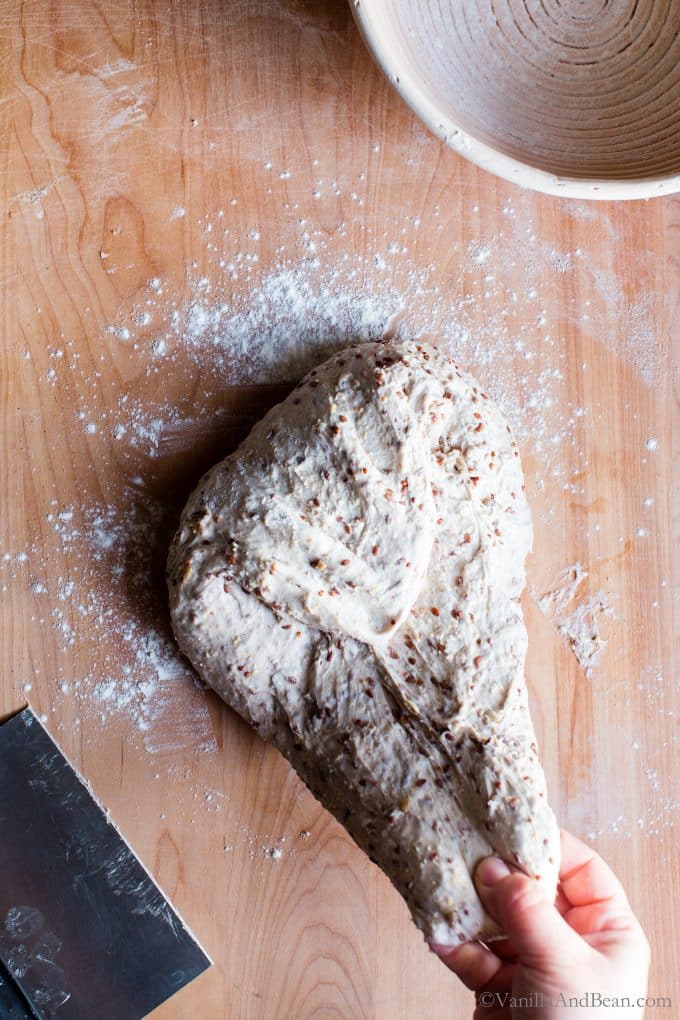
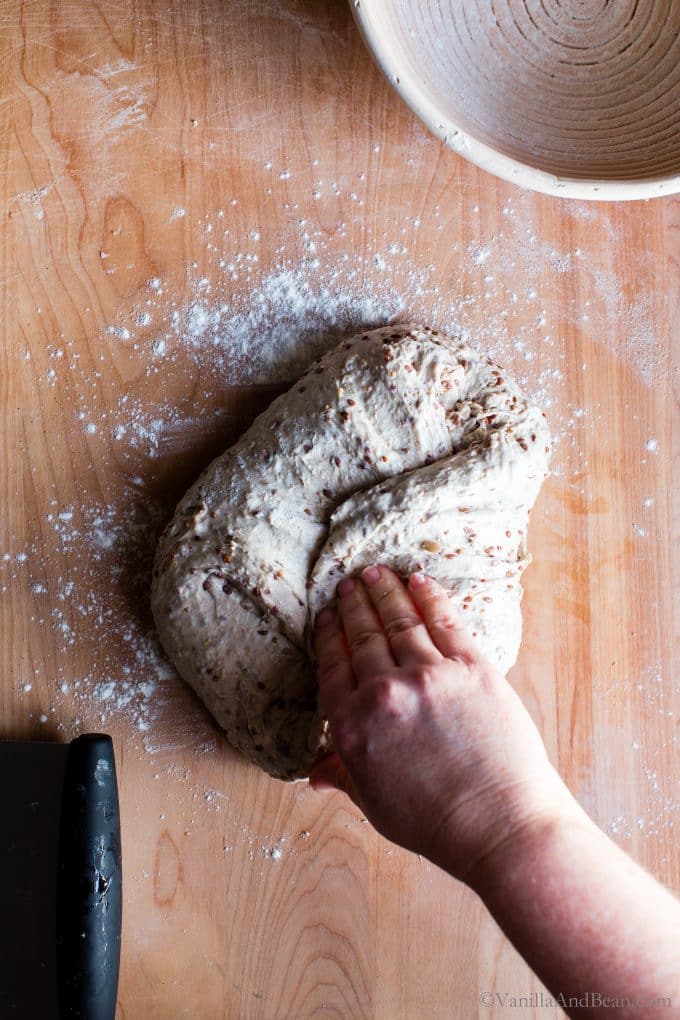
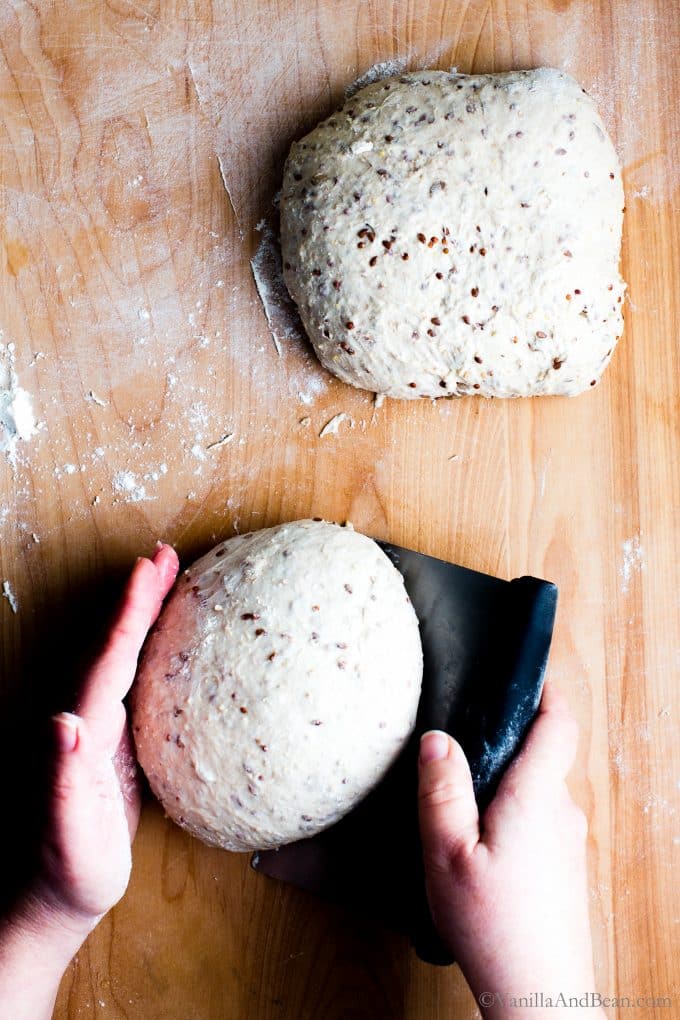
- Shape the Dough: In the morning, and with damp fingertips, coax the dough into a floured work-surface. If making two boules (1 pound / 453 grams – each), moisten the cutting end of the bench scraper and cut the dough in half. *Optional* Preshape: see recipe notes belowShape: with moist fingers, take a portion of the dough, gently stretch it towards you and fold it over towards the center and pressing it down gently. Repeat this process until you work the dough all the way around. Using a bench scraper flip the dough over and let rest for 10 minutes. Meanwhile, line an 8-inch (20cm) bowl with a towel or lightly flour a banneton (or two as needed). Scrape any excess flour away on your work-surface using the bench scraper and using a spray bottle with water, lightly sprits the surface of the work-surface. This will help the dough grip the surface and help create a taut dough. With lightly floured hands and using the bench scraper again as needed to help move the dough (the dough is sticky), cup your left hand around the dough and pull the dough toward you in a circular motion with the bench scraper in the right hand, to tighten its shape and create a taut outer skin. Use the bench scraper as needed to work the dough as this dough is sticky. Re-flour your hands as needed.Once the surface is taut, give it a good dusting of flour and smooth it over the top. With one swift move, use the bench scraper to scoop the dough up and, place the dough into the bowl/banneton, bottom side up. Sprinkle the bottom of the dough with a dusting of flour.
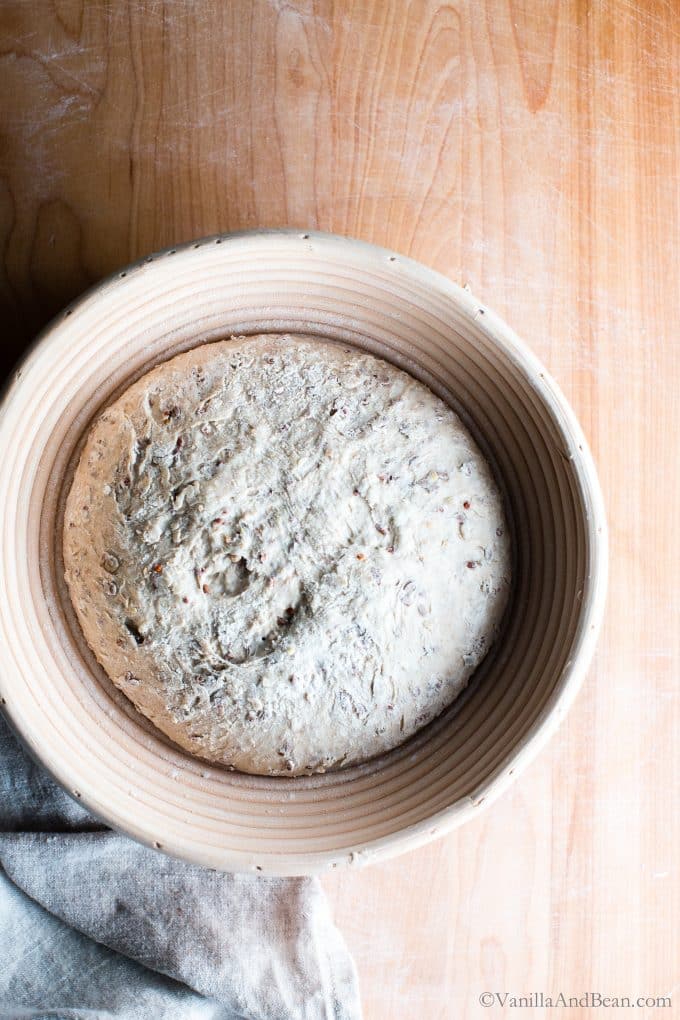
- Second (proof) Rise: Cover the bowl with a damp tea towel and let rest for 30 minutes to 45 minutes. The dough is ready when it looks puffy and has risen slightly but has not yet doubled in size. Preheat the oven to 500F (260C). Arrange a rack in the center of the oven, and another just below it. Place a sheet pan on the bottom rack (see UPDATE just below). Cut a sheet of parchment paper to fit the size of a 7 quart Dutch oven or other large baking vessel leaving enough excess around the sides to transfer the bread to the pot. UPDATE: Burnt Sourdough Bottom: After testing various methods to remedy the too dark bottom problem, as commenters have mentioned on this sourdough recipe (and on other non V&B recipes – this is not uncommon in the sourdough world), I've finally found the simplest solution ever (duh!). Simply place a sheet pan on the oven rack under the rack your baking vessel is setting on. This protects the bottom of the vessel from the most intense heat of the oven.
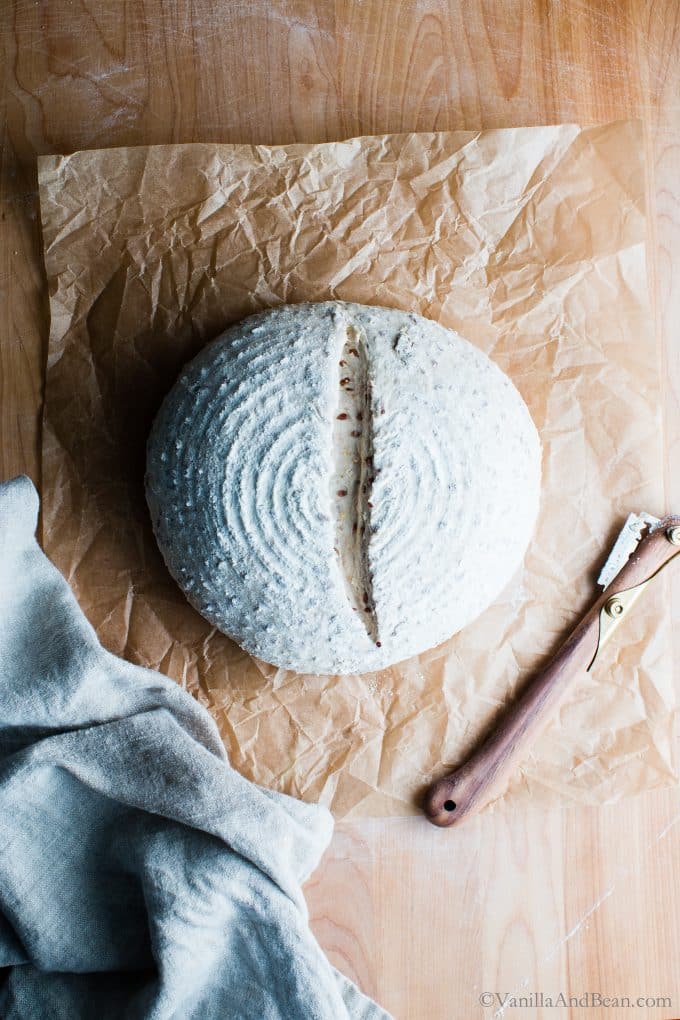
- Score: To turn the dough out of the bowl/banneton, place the parchment over the dough and invert the bowl to release. Using the tip of a lame or a razor blade, score the dough about 1/2" (8mm) deep and about 4" (10cm) long on the top or any way you like. Use the parchment to transfer the dough to your baking vessel.
- Bake: Place your lidded vessel on the center rack and reduce heat to 450F (232C). Bake, lidded, for 20 minutes. Remove the lid and continue to bake for 30 -35 minutes, for one, 2 lb boule. If baking two, 1 lb boules, continue to bake lid off for 15-20 minutes. To check if the bread is ready, check the internal temperature of the loaf. It should read between 190F-205F when done. When finished, transfer to a wire rack. Cool for 1 hour before slicing. Sourdough is best consumed on the same day it's baked, but it lasts for 3-4 days stored at room temperature. Store at room temperature cut sides down.This bread freezes beautifully. Store baked bread in a freezer bag either whole or sliced for up to two weeks. Thaw at room temperature. This bread can go from freezer to toaster to make the most delicious toast!
Video
Notes
Nutrition
Nutrition is provided as a courtesy and is an estimate. If this information is important to you, please have it verified independently.
Made it? Leave a comment below!
The most helpful comment may include recipe rating, feedback, any modifications or helping other commentors.




Can you increase starter to 100 g to speed up bulk fermentation ?
Hi Melissa! Yes! Be sure to adjust the flour and water in the recipe accordingly. I hope you love the sourdough!
My loaf turned out amazing! I used 100 g starter and a little more water as the dough seemed stiff. Bulk fermented for 7 hours, then overnight in fridge for 15 hours. Baked at 450 for total 46 min. Thank you for the great recipe, one of my favorites !
Hi Melissa! Thank you for your note, and sharing your starter and overnight fridge proof tips! Hooray for a successful and delicious loaf!
Traci, this is now my third time baking this recipe. I do the two smaller loaves, and have been doing a cold proof. The loaf I just baked is 10/10, and was cold proofed for almost 48 hours. I have a second one still in the fridge that I will bake tomorrow, and I expect it to be just as delicious. The sourdough flavors really pop with more time in the fridge. Thank you so much for this recipe that will remain on my rotation forever more!
Hii Duncan! Thank you for your 10/10 rating, sending a smile and sharing your 48 hour cold proof tip! I have done this before and you’re so right about the flavors popping, deepening with complexity. Sourdough is amazing! Thrilled to receive your note. Thank you!
Duncan, at what point in the bulk fermentation process do you put it in the refrigerator, e.g., after 30% rise or what?
Hi Pam! I’ve bulk fermented this loaf to 50%, preshape, shape then into the banneton. Into the fridge for a 12-24 hour proof, then bake. Keep us posted if you give it a go!
My favorite
Thank you, Kristine!!
This is only my fourth sourdough loaf and a very different process. It turned out so well! I will definitely be making this again.
So glad to read your note, Anna! Hooray for a new process and a successful loaf! Thank you coming back and sharing with us.
I’m a newbie. Am I reading the recipe correctly? Does the DO go in the preheated oven cold? The DO doesn’t get preheated?
Hi Anna! You are correct. The DO doesn’t get preheated.
Thanks so much. It’s in the oven and looks good. 🤞
This is my favorite multi grain sourdough recipe! For the soaker mix, I like to use the ancient grains/oats blend from Trader Joe’s (100g) and hulled hemp seeds (40g) to keep the ingredients list short. I also usually do a shorter bulk rise and add a cold proof in the refrigerator for 12-48 hours. Made as written or with my own adjustments, it comes out great every time. Thank you for the recipe!
Hi Hannah! I love it when a recipe can do that ☺️ ! Thank you for your note, sharing your tips and timing and giving the sourdough a go!
Oh my gosh! I paid $12 for a loaf and said “I need to start making my own!” This turned out so good! I didn’t have the cereal so I tried it without and it was really wet. I probably had to add at least 1/2 cup more flour but it still worked! I’m ordering the cereal for next time. Thanks so much!
Hi Meredith! Thank you for your note and giving the sourdough a go! Thrilled to hear it worked for you even without the cereal, and, best of all, you’re enjoying it.
My first effort in a dutch oven collapsed. I used prep A and loaded directly into dutch oven. It looked great when I put it in the oven but was collapsed when I checked on it after 50 minutes. Me sad but happy to try again. This was my first GF loaf ever.
Hi David! It sounds like you’re referring to my Gluten Free Multigrain Sourdough (this post is for my regular sourdough)? If the bread collapsed in the oven, it may have been fermented too long. Keep us posted if you give it a try again, and I’m standing by if you have any Qs.
Sent an earlier msg but wanted to correct the oven temperature I baked was 440
Thank you for this delicious recipe!! I had to substitute Red Mill 5 grain cereal, halved the amount of maple syrup (good but next time will try the full amount). I found this recipe fairly easy to follow but was wondering if you have tried cold proofing? I used a DO for a larger loaf..placed a cookie sheet on the lowest oven rack so no burnt crust. Only took 12 mins aftef the lid was removed to finish baking. Also, I baked at 340. Definitely a do over!! Yummm
Hi Laurie! Thank you for your note and giving the sourdough a go! I have cold proofed this dough with delicious results. The crumb is a bit more open, but still so good. Here’s what I did. Bulk ferment to 50-60%, shape, then put it in the banneton, then fridge for a cold proof for about 12-18 hours (you can probably go longer). Score then bake straight from refrigerator in a preheated oven. Keep us posted if you give it a go, okay?