
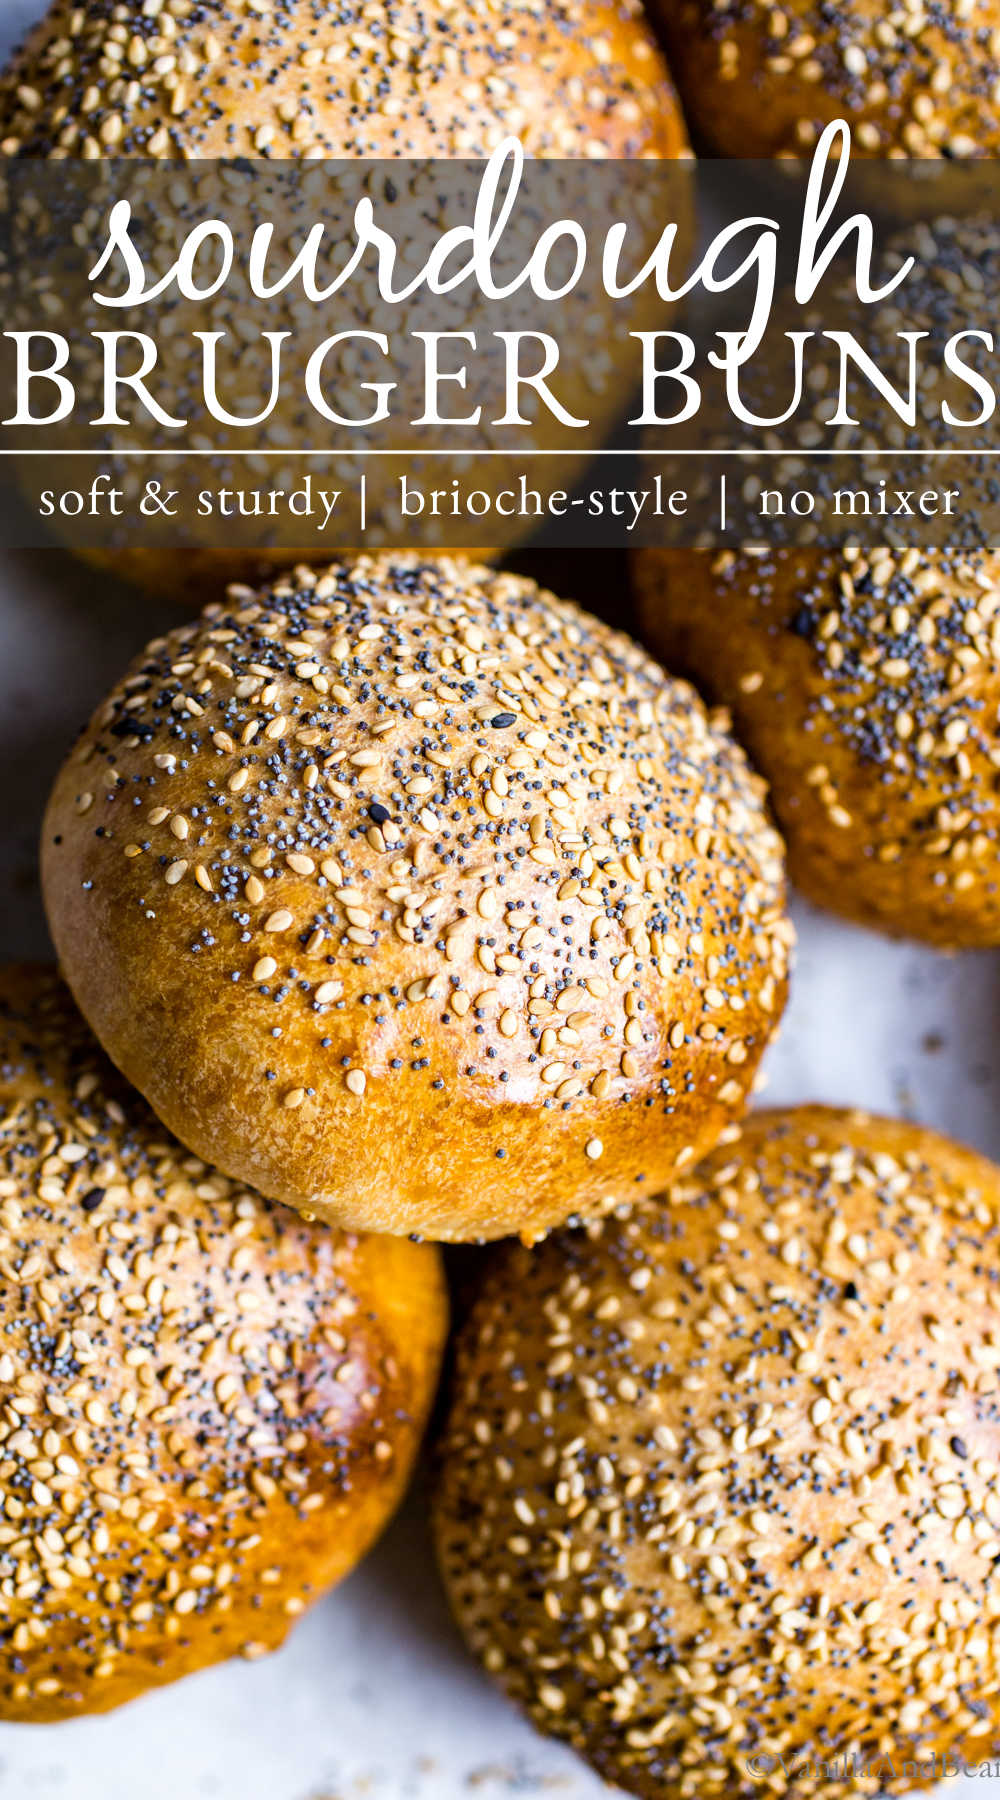
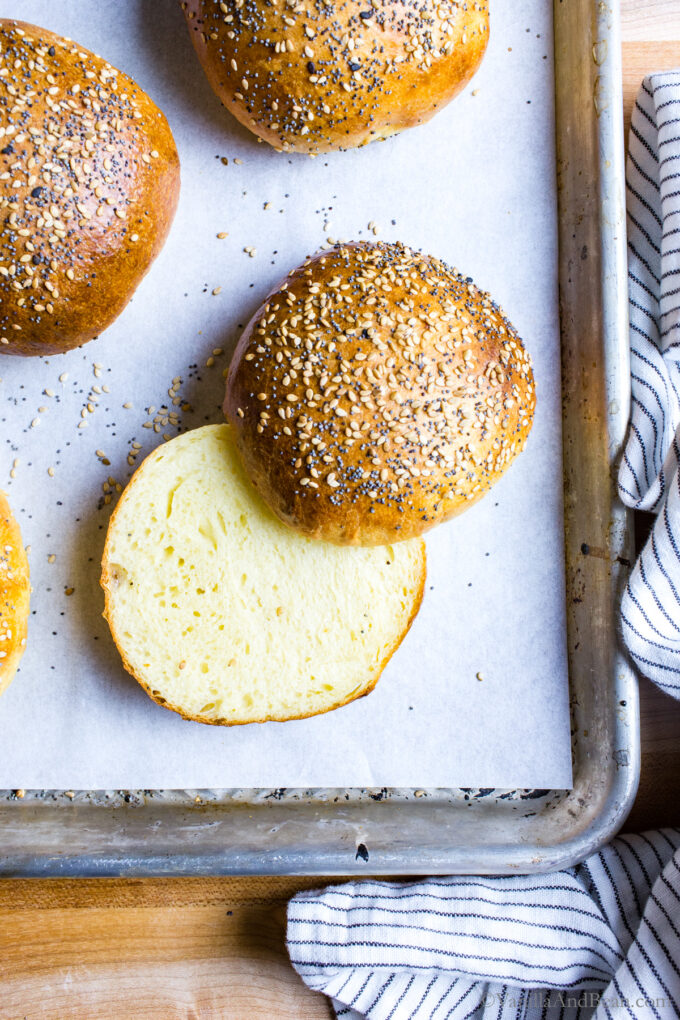
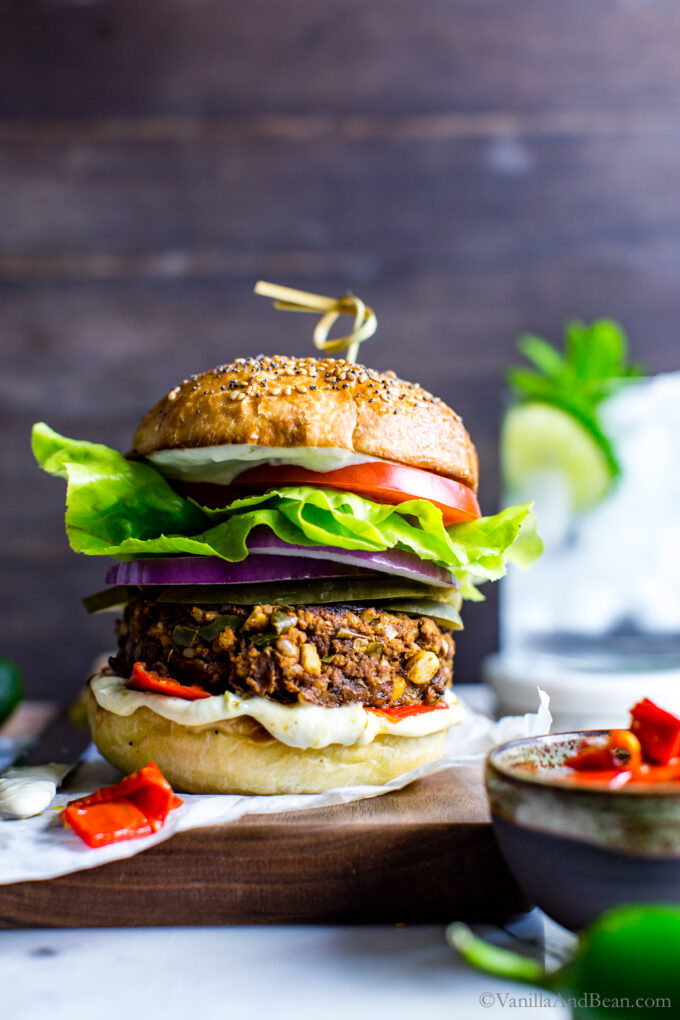
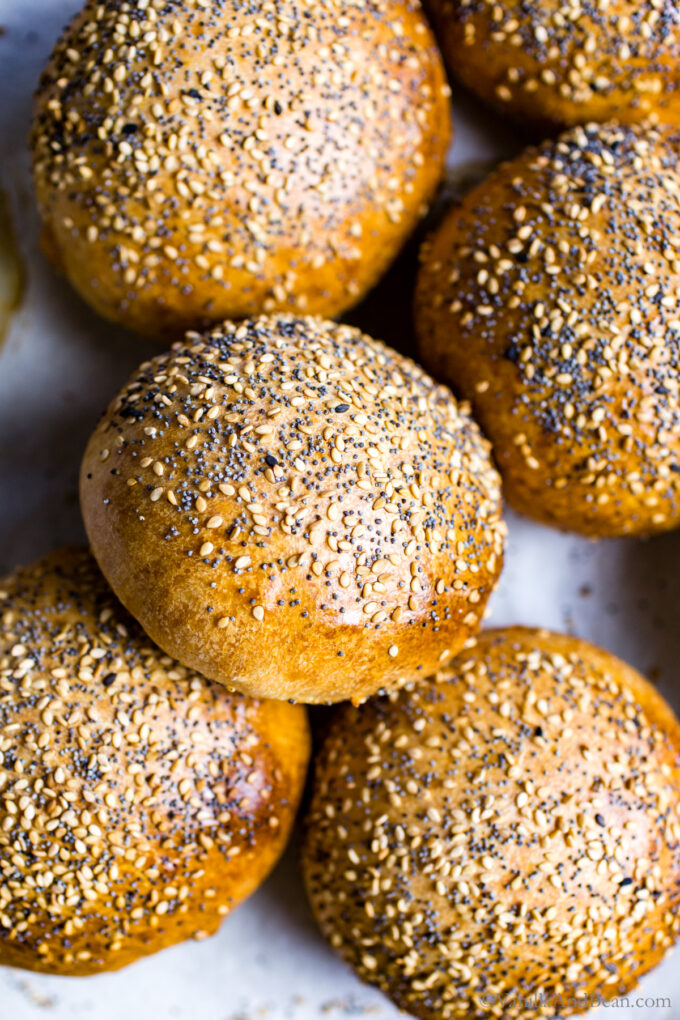
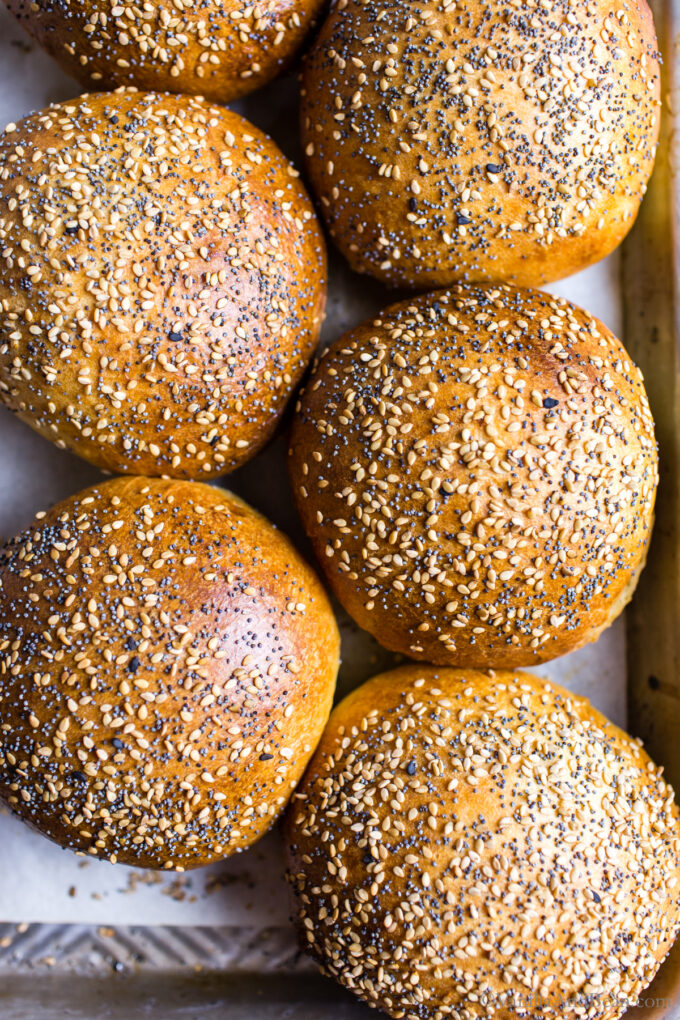
Mmmmm can you smell them? Brioche-style Sourdough Hamburger Buns are enriched with melted butter, milk, and egg, then mixed by hand – easy (no mixer needed!) with a long 10-13 hour overnight rise. Divide, shape (shaping video below), then finish with egg wash and a sprinkle of seeds.
These fresh-from-the-oven Sourdough Bread Burger Buns are pillow-soft yet sturdy enough to stand up to all the burger toppings, and they’re irresistible!
You will receive recipes and kitchen tips, along with information about our partners and offerings. For more details, review the Vanilla And Bean privacy policy.
Homemade Sourdough Burger Buns Highlights
The aromas wafting from the oven when sourdough burger buns are baking reminds me of when I worked at the bakery, but even better, it’s at home! If you go the extra mile for a good loaf of Sourdough Bread, then put these buns on your baking schedule.
They’re perfect for all your favorite burgers and sandwiches like Classic Black Bean Veggie Burgers, Vegan Black Bean Walnut Burgers, and Tangy Lentil Sloppy Joes.
Because we’re incorporating melted butter into the dough there’s no stand mixer required, making these brioche-style burger buns simple to pull together. With little hands-on time, and flexible baking schedule, these buns can be easily included into your burger-making plans. And why not? They’re pillow-soft, fluffy, buttery and make your almost famous hamburgers even better!
Recipe Highlights
- no stand mixer needed
- long overnight rise or short rise with long refrigerator proof
- makes soft yet sturdy buns
Be sure to watch how to shape sourdough burger buns in the video below.

“This was my first recipe using my starter and it was soo delicious. Instructions are easy to follow and they are so soft and fluffy!”
Nicole
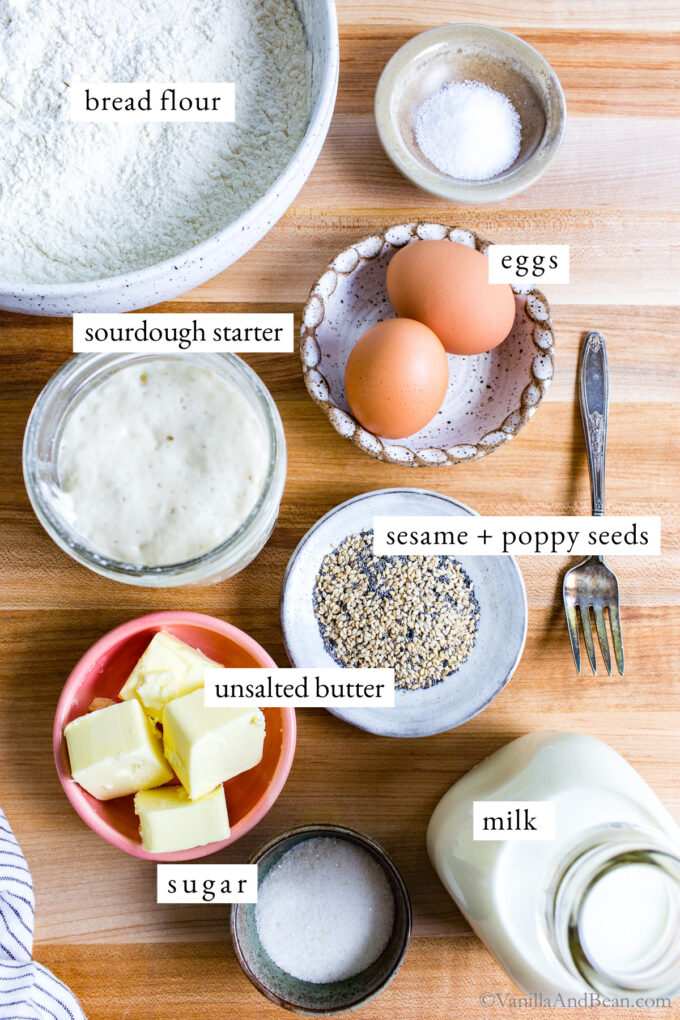
This recipe is made with an active, and doubled-in-size 100% hydration sourdough starter. If needed, I have a two-ingredient Sourdough Starter Recipe you can use.
______________________
How to Make Sourdough Hamburger Buns
step by step
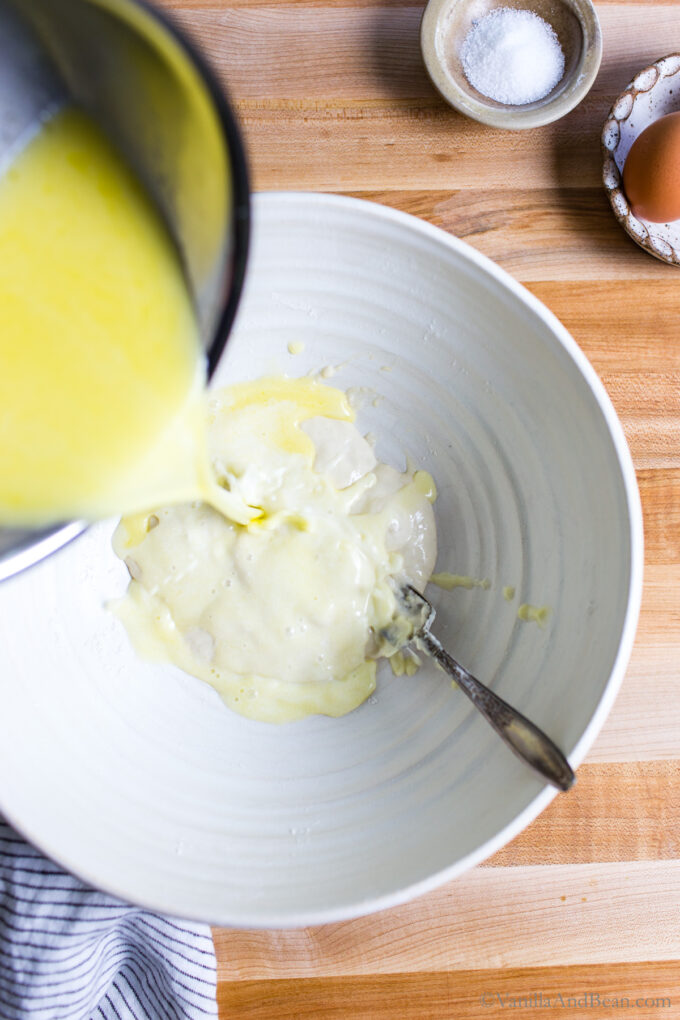
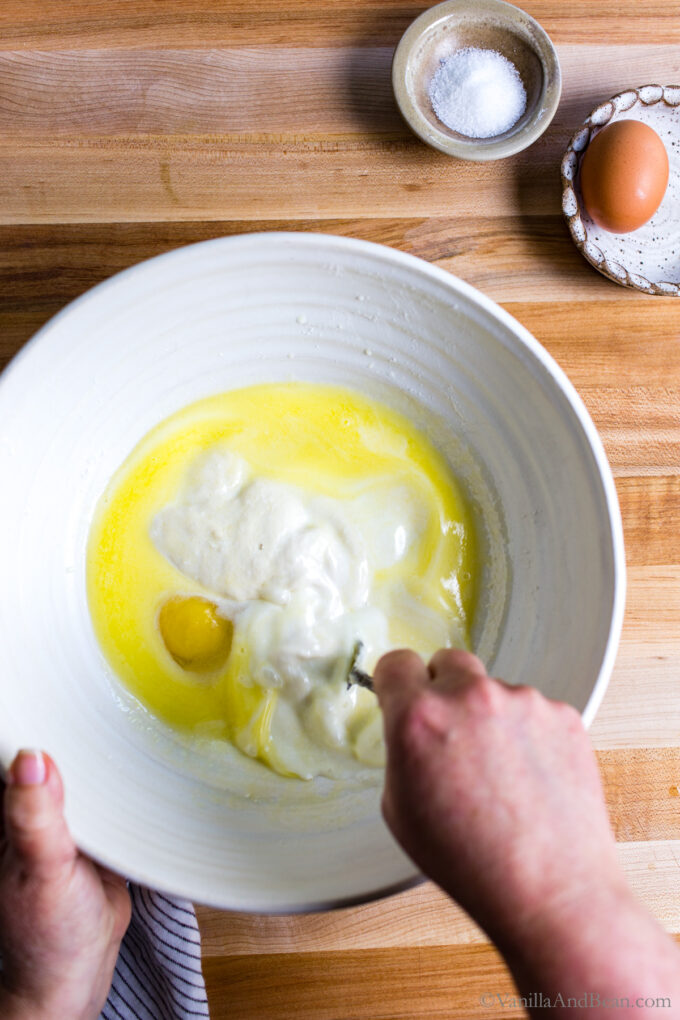
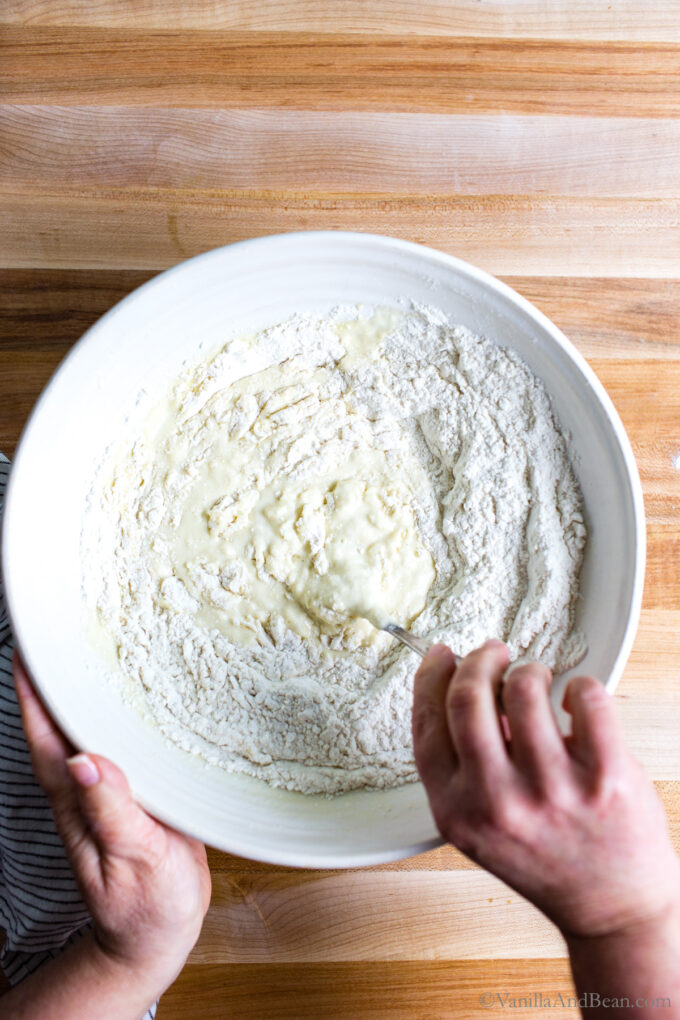
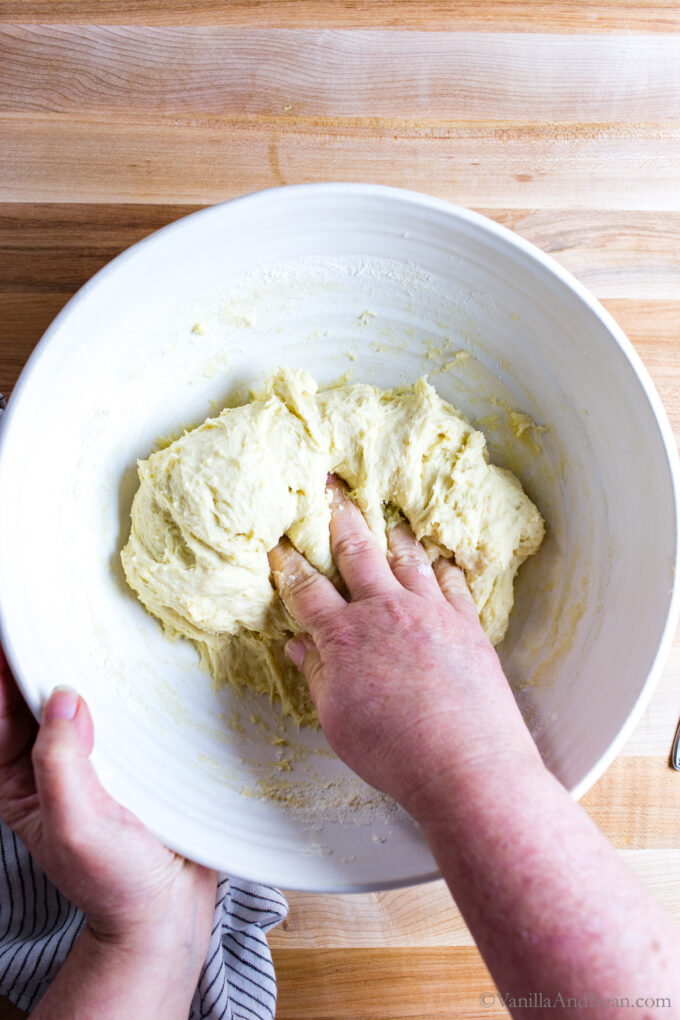
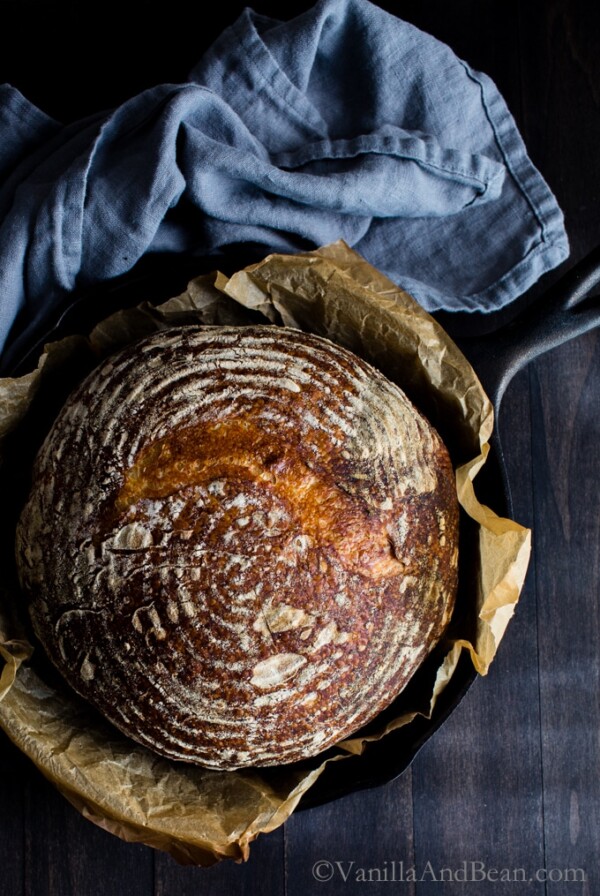
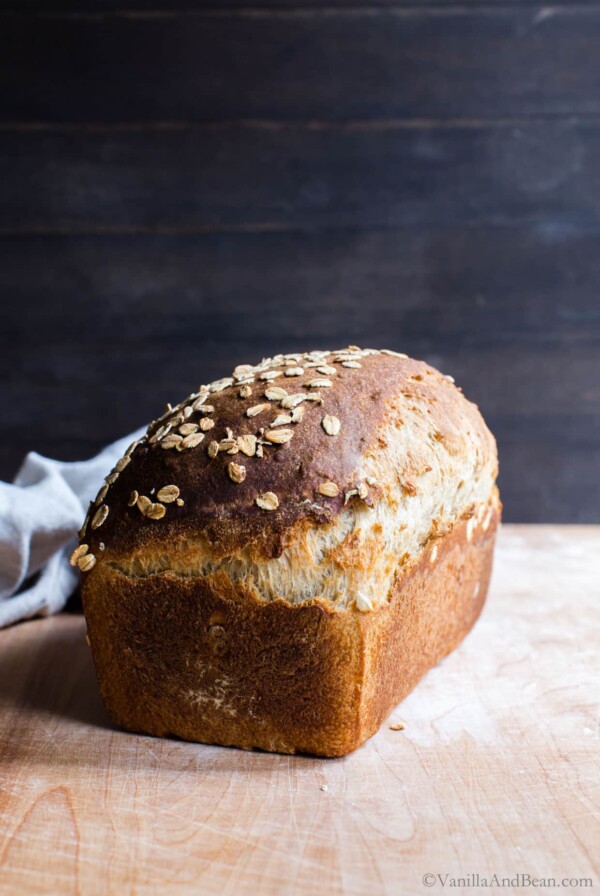
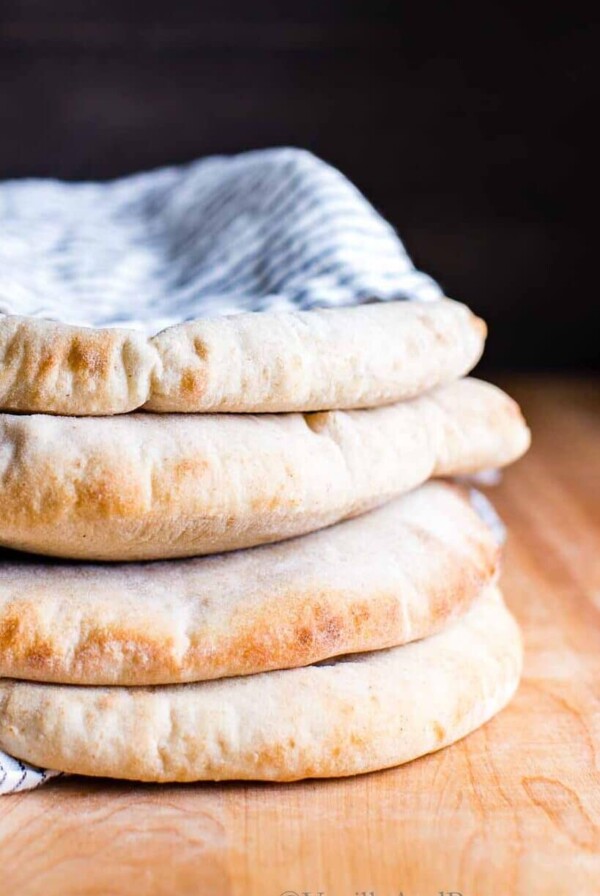
Just like my Multigrain Sourdough Bread and Sourdough Pita Bread, these buns require little hands on time. Best of all, they can be made ahead or pulled out of the oven just before you’re ready to assemble a burger. But just in case, baked rolls can be frozen, thawed, and rewarmed as needed.
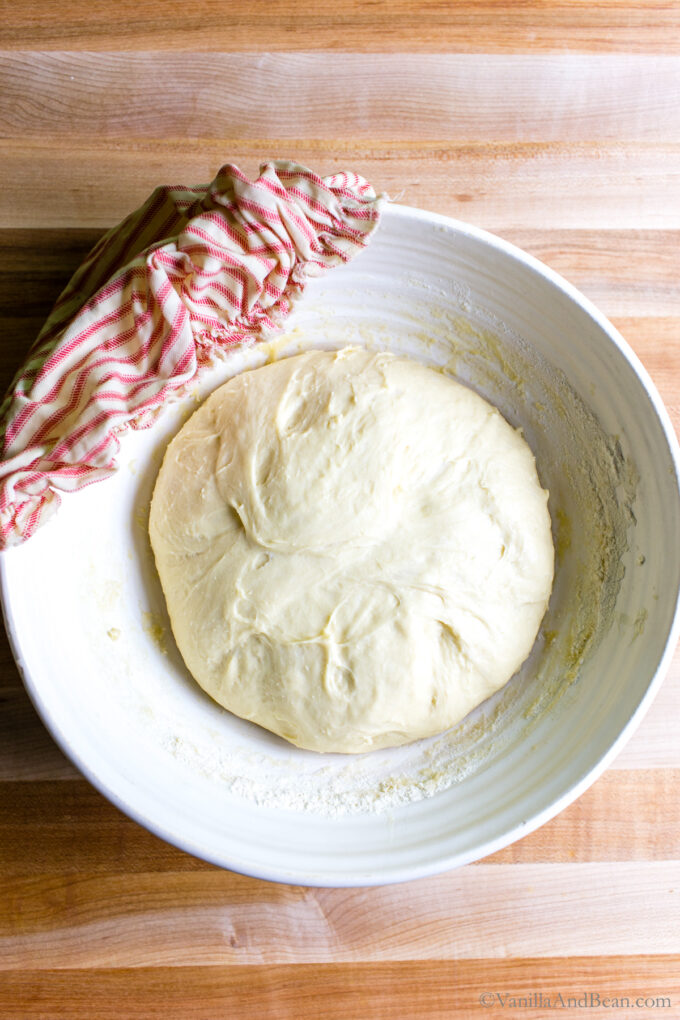
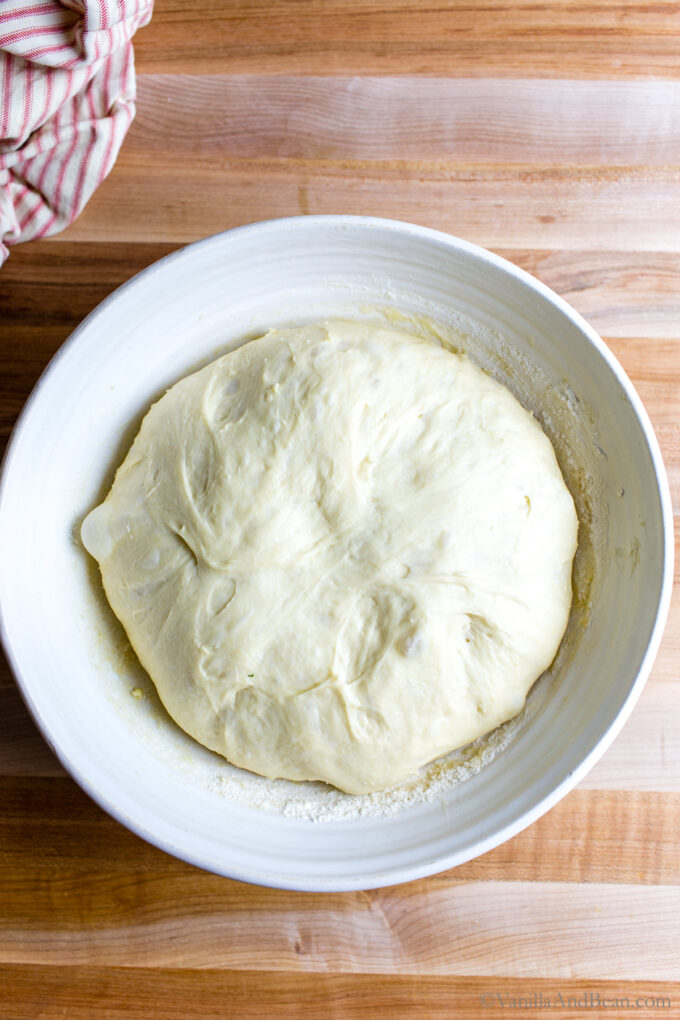
How To Tell When Sourdough Has Risen Enough
I use a bowl to bulk ferment my sourdough. However, if you’d like to take a measured approach, you can use a straight sided vessel like this glass cookie jar and watch the dough double in size, similar to the way your sourdough starter rises in a jar.
Bulk fermented (first rise) dough is ready when
- it no longer looks or feels dense
- is jiggly when the bowl is shaken
- it has doubled in size
- you may see a few large bubbles on the surface of the dough
At a Glance: Example Baker’s Schedule
Note that these timelines are from a 68 Fahrenheit kitchen so timing will vary depending on ambient temperature and how active your starter is. Use these times as a guide. Here are a few example schedules to try:
1. Long Overnight Ferment at Room Temperature with Short Proof
This schedule is for bakers who like the convenience of already-baked buns when dinnertime rolls around. The sourdough buns rewarm beautifully toasted on the grill or wrapped in foil in the oven. I prefer this method because I don’t have to watch the clock as much as schedule two.
2. Short Room Temperature Ferment with Long Overnight Refrigerator Proof
This schedule is convenient for bakers who want fresh-from-the-oven buns with their burger or sandwich. It allows for more flexibility when you’re ready to bake but requires a little more attention to the clock.
_______________________
How to Shape the Buns
step by step
______________________________________
Traci’s Tips
- Seeds: Use a mix of sesame and poppy seeds sprinkled on top, opt for one or the other or none at all.
- Kitchen Tools: I recommend a digital oven thermometer and weighing your ingredients using a digital kitchen scale for best outcome (affiliate links).
Brioche-Style Sourdough Hamburger Buns (no mixer needed)
Ingredients
- 3/4 cup + 1 tablespoon (190 grams) Milk, dairy or plant milk**
- 5 tablespoons (70 grams) Unsalted Butter
- 3/4 cup (150 grams) Sourdough Starter, 100% hydration, doubled in size
- 2 Eggs, large, divided: one for the dough and one for washing
- 2 2/3 cups (365 grams) Bread Flour
- 2 tablespoons (33 grams) Organic Cane Sugar
- 1 1/4 teaspoons Fine Sea Salt
For Sprinkling (optional)
- 1 tablespoon Sesame Seeds
- 1/2 teaspoon Poppy Seeds
Instructions
Make the Dough:
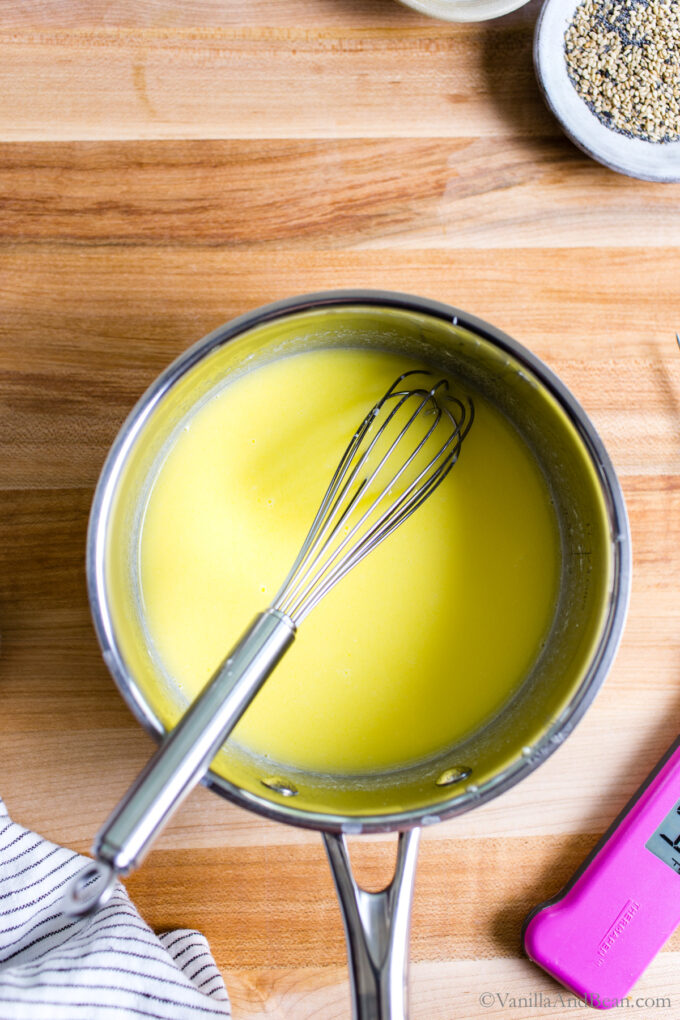
- Melt: In a small sauce pan, add the milk and butter. Warm on low just until you start to see steam rising from the pan. Turn the heat off and swirl the ingredients together, allowing the butter to completely melt. Do not bring to a simmer or boil, as we need that moisture to go into the dough. Set aside and allow the mixture to cool to 80 degrees Fahrenheit (27 degrees Celsius). You can do this in the fridge or at room temperature. Whisk before using in recipe.
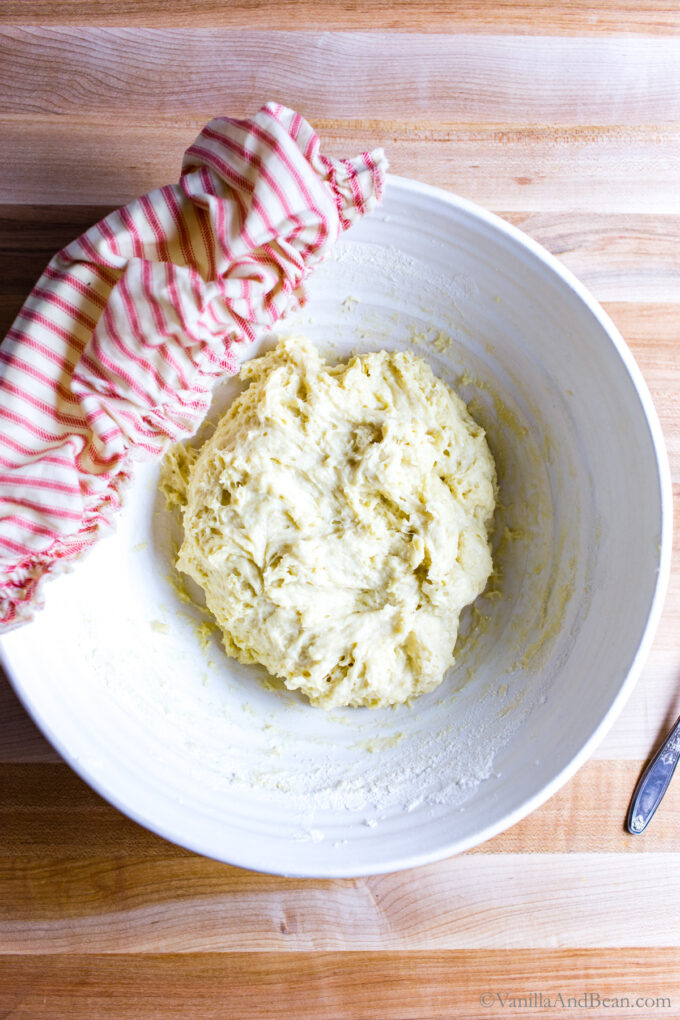
- Mix: In the evening, whisk the starter, cooled milk/butter mixture and egg together in a large bowl with a fork. Add the flour, sugar and salt. First, mix with a fork, the dough will be shaggy. Then mix by hand, mixing, folding and pushing the dough until the flour is fully incorporated and no dry bits remain. The mixture will seem dry at first, but the more you work the dough, the more hydrated it will become. The dough will feel soft and sticky and it will stick to your fingers as you go. Do this for about 3-4 minutes. Use the fork to scrape the dough off your fingers as much as you can. Cover bowl with a damp tea towel. Set a timer for for 30 minutes and allow the dough to rest. Now is a good time to feed/refresh your starter.
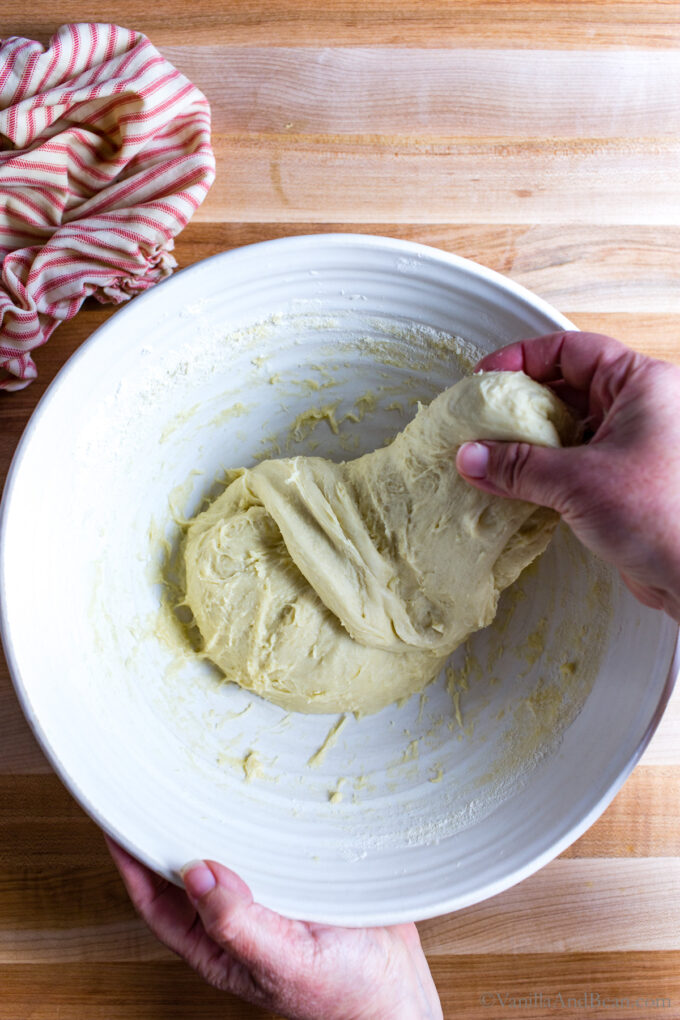
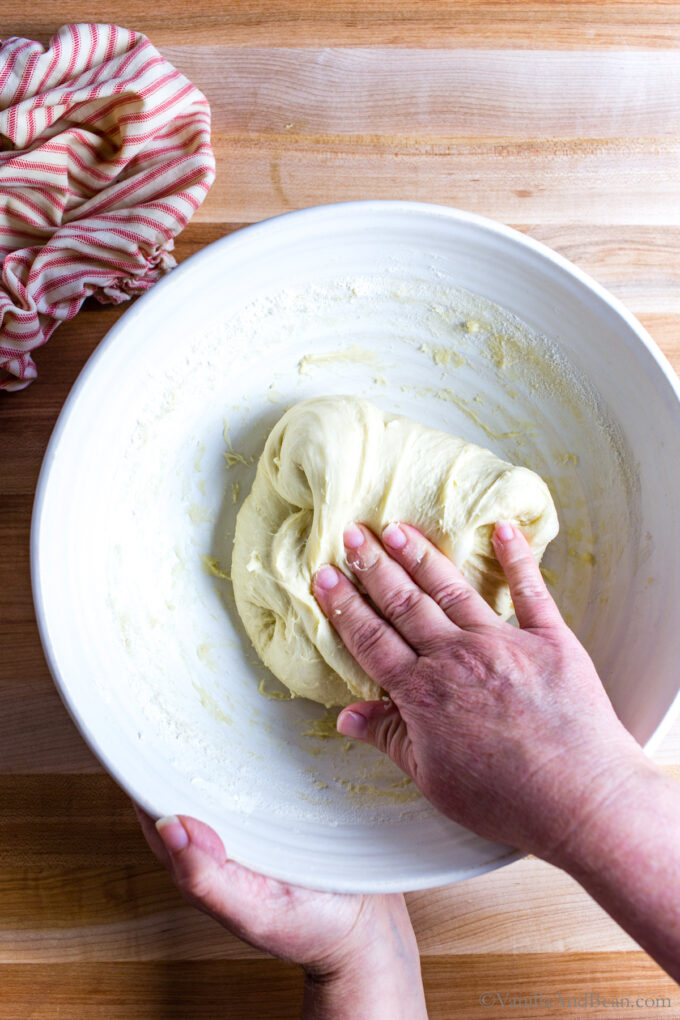
- Fold the Dough: After the dough has rested, fold the dough. To do this, grab a portion of the dough while it remains in the bowl, with moist fingertips, stretch it up and fold it over, pressing your fingertips into the center of the dough. You'll notice the dough is soft and stretchy at this point. Repeat, until you've worked your way around the dough. This is the first fold, and you can stop here and begin bulk fermentation, but If time permits, and optimally, you'll want to repeat this fold one or two more times as it improves the final dough's structure and crumb. Allow for about 30 minutes between folds.
Bulk Fermentation (first rise):
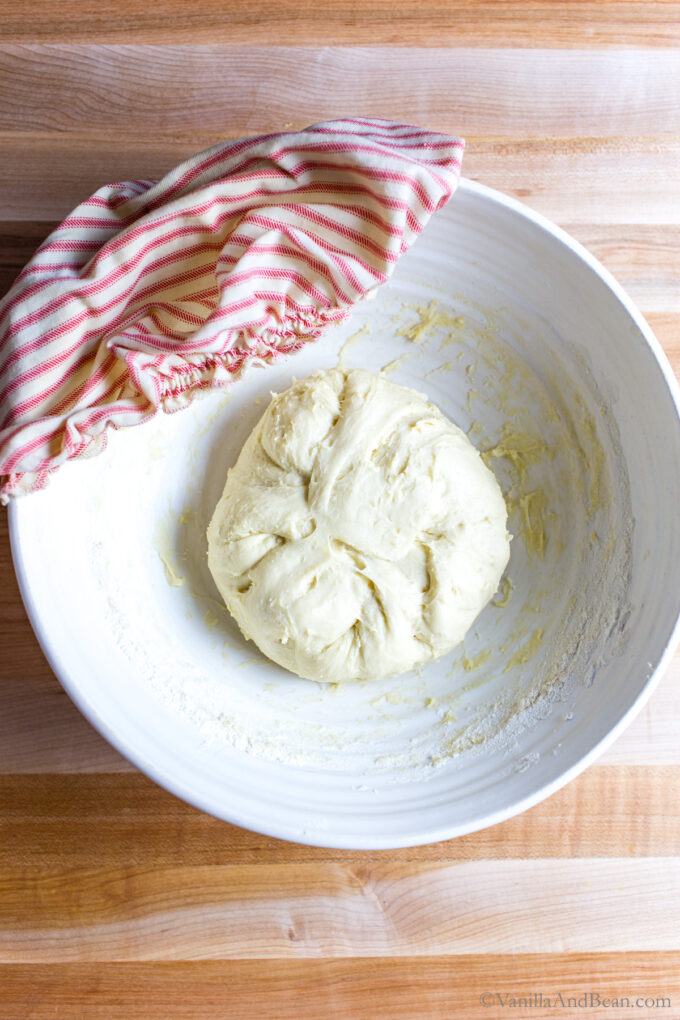
- After the last fold, cover the bowl with two damp tea towels and allow to rise overnight at room temperature. This will take about 10-13 hours at 68 Fahrenheit (20 Celsius). Use the time as a guide and not a determining factor. (See notes* for an alternate schedule.).The dough is ready when it no longer looks dense, is jiggly when the bowl is shaken, and has doubled in size.
Shape the Buns & Proof:
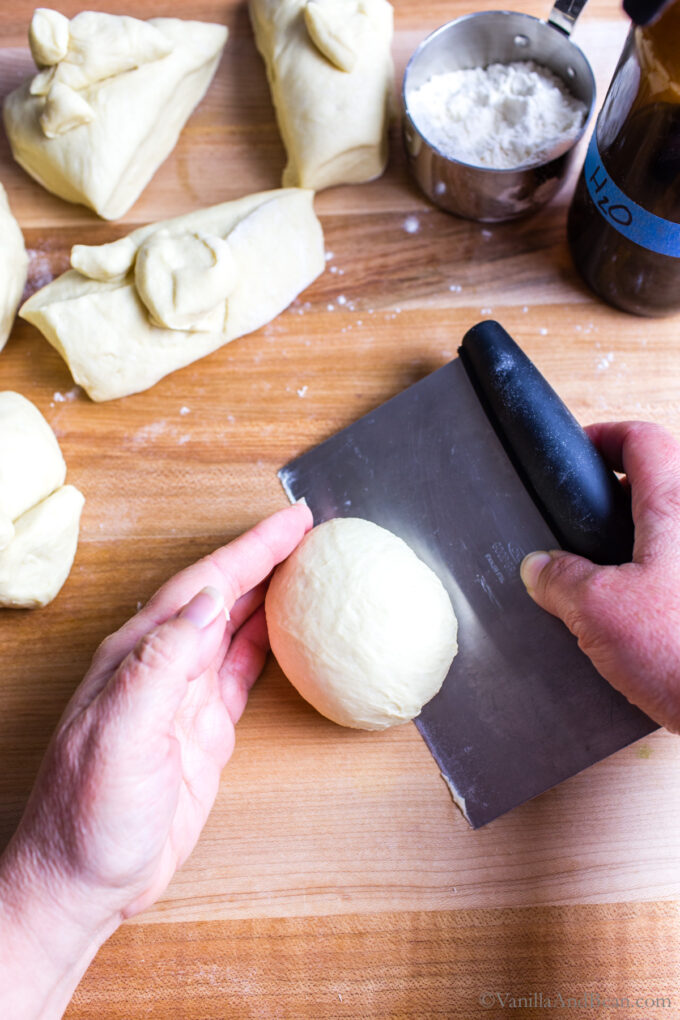
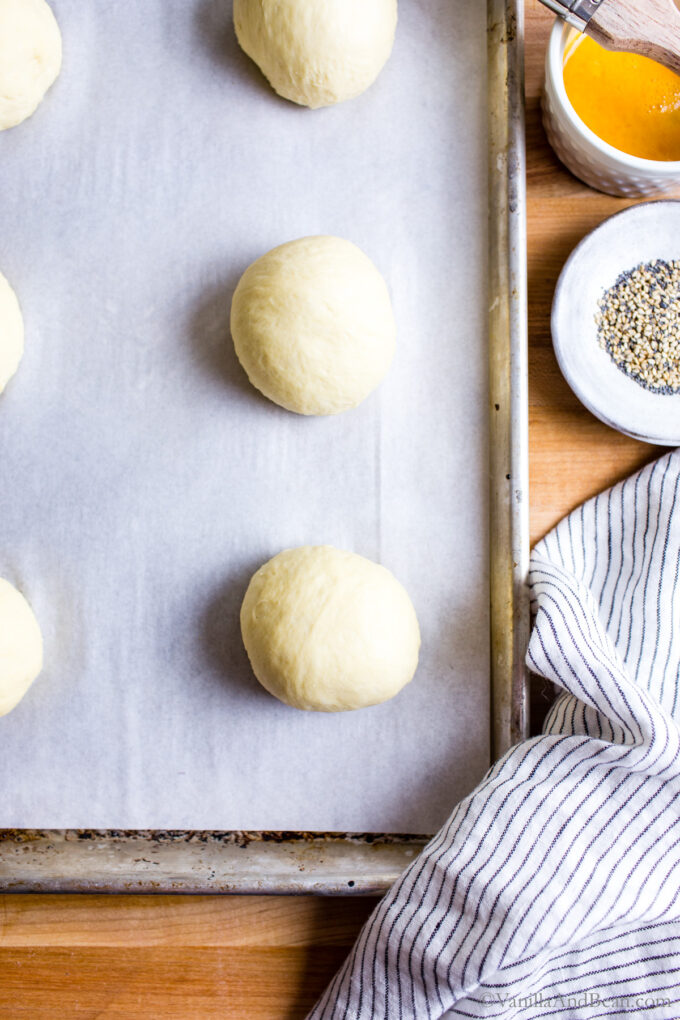
- Line a large sheet pan (12×17 inches / 30×43 centimeters) with parchment paper. Set aside.Divide and Shape the Dough: In the morning, and with damp fingertips, coax the dough onto a floured work-surface. Divide the dough into 6 pieces. If you like, weigh the pieces to ensure uniformity (139 grams or 4.9 ounces each). *Update* I recently made 8 buns (about 105 grams ea) out of this dough instead of 6. While a little smaller, they came out beautiful! Working quickly, with a piece of dough on the work surface, pull two opposite short ends towards the center of the dough, press, then roll it up (see video below). Place the dough on the work surface, seam side down, sprits a touch of water on the work surface to increase friction if needed, and gently cup your hand behind the dough ball and pull it towards you to increase surface tension. Use a bench scraper to help if needed. Place the dough balls evenly on the sheet pan, spread apart, in a 2 x 3 arrangement. Cover with a lightly moist tea towel and rest for 15 minutes.
- Preheat the Oven: Set an oven rack in the center of the oven and preheat the oven to 425 degrees Fahrenheit (218 Celsius). Meanwhile crack an egg in a small bowl and add a tablespoon of water. Whisk, set aside. Have your seeds ready if using. Fill a plate shallow with water. Set aside.
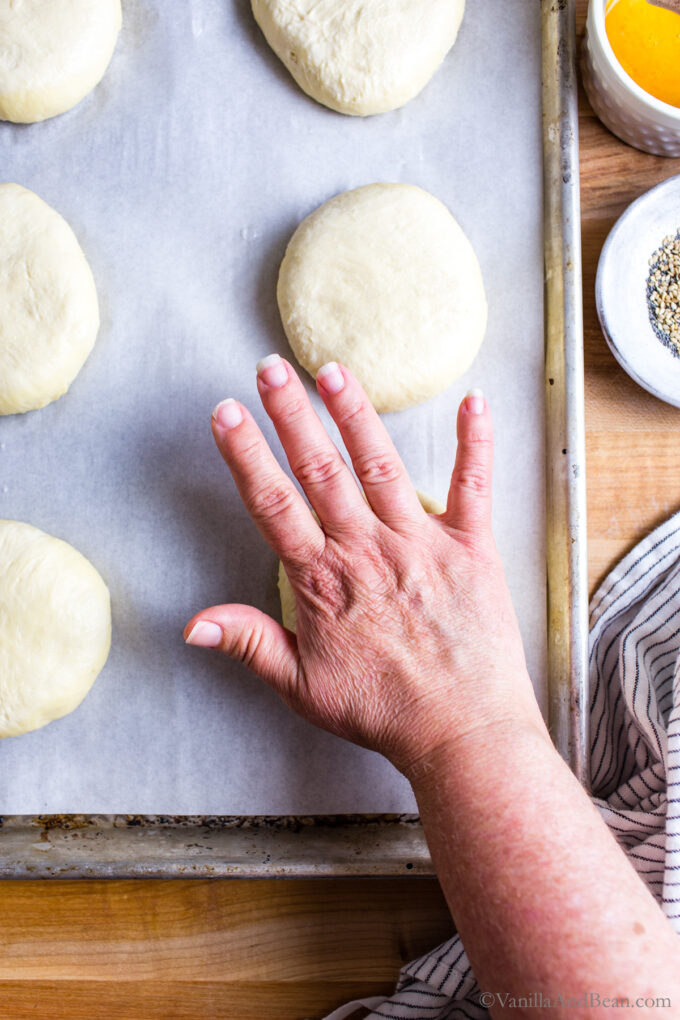
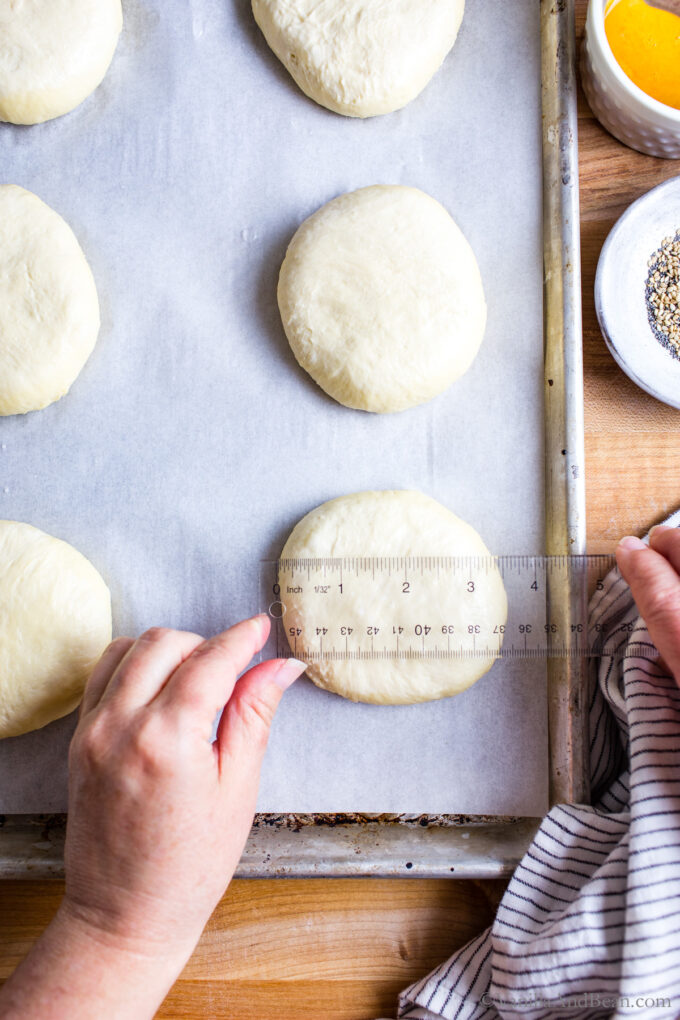
- Flatten the Balls: After 15 minutes, dip your palm in the shallow plate of water. Use your palm to gently yet firmly press individual dough balls to flatten. You'll want each disk to measure 3 1/2 inches in diameter (8.9 centimeters). You'll need to press each dough ball then go back again, pressing as needed. Measure each one before the next step. If they're not perfect at this point, you can nudge them again after proofing.
- Proof the Dough: cover with a lightly moist tea towel and proof for 15 minutes. The dough will be slightly puffy when ready. If they've shrunk a bit, you can gently press them again with a moist palm. Remeasure as needed.
Bake the Buns:
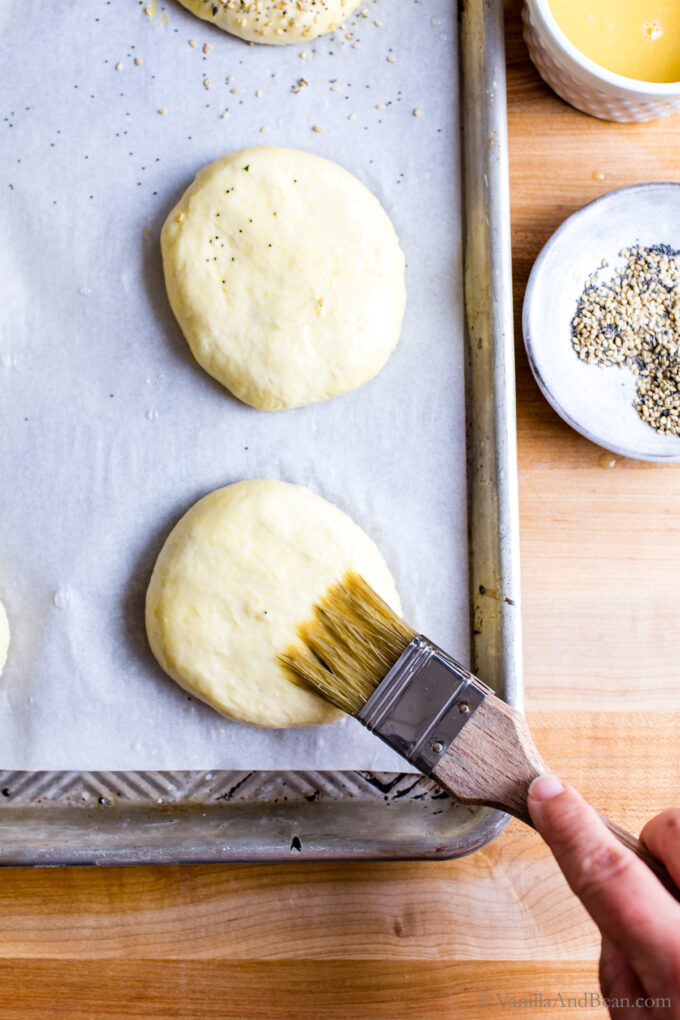
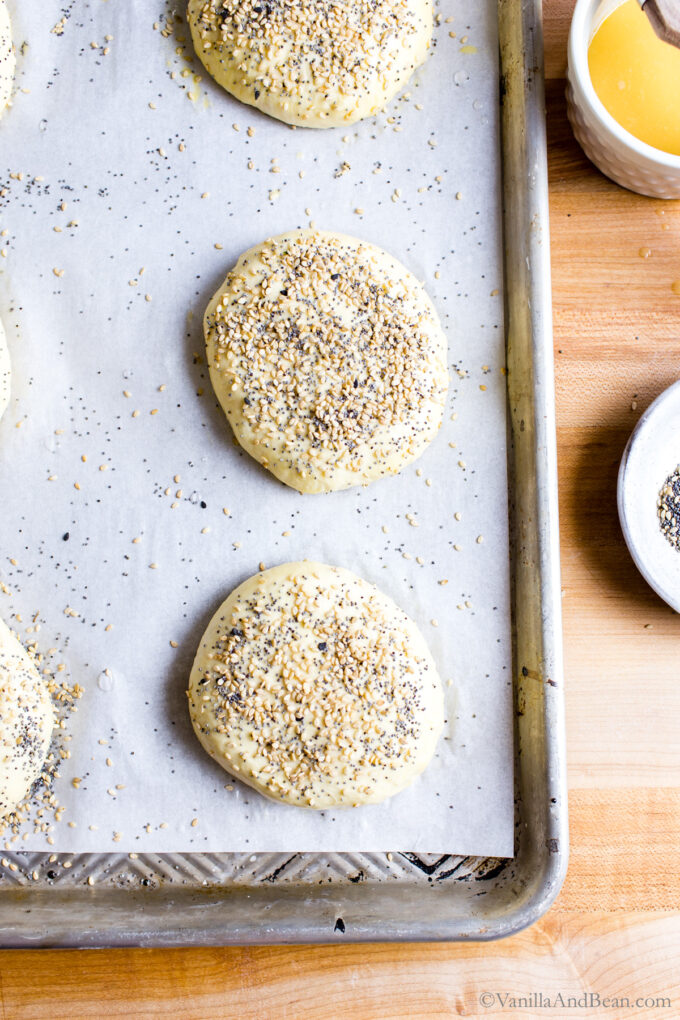
- Lightly brush the egg wash over each piece of dough on top and sides using a pastry brush. Sprinkle with seeds if using. Place the buns into the oven and bake at 425 Fahrenheit for 15-20 minutes (if baking smaller (8) buns, start checking at 15 minutes). The rolls are ready when the internal temperature reads between 190 – 205 Fahrenheit (88 – 96 Celsius) using a digital food thermometer and they're golden brown. Note: I typically bake closer to 205 Fahrenheit because I love a dark golden color. When done, allow to cool on the sheet pan.
- How to Store: Store at room temperature for up to two days in a plastic bag. You can rewarm at 350 Fahrenheit wrapped in foil to preserve their soft texture, or warm on the grill, sliced in half and brushed with olive oil, flat side down. Freezer: Cool completely. Wrap in foil, then in a freezer bag for up to two weeks. Thaw at room temperature.
Video
Notes
Nutrition
Nutrition is provided as a courtesy and is an estimate. If this information is important to you, please have it verified independently.
Made it? Leave a comment below!
The most helpful comment may include recipe rating, feedback, any modifications or helping other commentors.



I use this recipe every time for burger night and the family loves it! Will be mass producing these for my wedding too!
Oh my goodness, Sarah! Thank you for your note, and sending a smile! Congratulations on your wedding!
I am writing this while my buns are baking. Your directions are so easy to follow, Tracy. You are my favorite bread baker. Have made many sourdough recipes. Looking forward to a hamburger for dinner in these very nice looking buns!!!
Hi Linda! Thank you so much for your kind note and sending a smile. I hope your burgers were epic!!
Haven’t made yet but plan to and very excited! Just curious why not score them? Also can I use honey instead of sugar? Thanks!
Hi Elizabeth! You can use honey. I would try 1 tablespoon + 1 teaspoon to start, and if you make the buns again, you can adjust to taste. I don’t score my burger buns because I want a smooth domed top – like a classic style burger bun. Keep us posted, okay?
Thank you for sharing the recipe. This one is going in my recipe box and that’s means it’s a special recipe. :)
Hi R! Thank you for your note and giving the buns a go! Thrilled to know these made their way to your recipe box ☺️
Hi- I just wanted to point out you have different rise times listed. One says room temp for 10-13 hrs and under the bakers note it says room temp for 4 hrs. I left it out overnight and now has an off smell. Maybe I should’ve let it rise in the fridge. I will try to bake anyways!
Hi Michal! Yes, you are correct. The different rise times are for different/alternate baker’s schedules. There are two options for this recipe. You can opt for a long overnight rise and short proof, or a short 4 hour rise with a longer refrigerator proof.
The best and first successful burger bun recipe I’ve tried! I just used water instead of milk, and it still so soft, so fluffy, so delicious! Will be making these for every BBQ.
Best news ever, Michelle! Thank you for your water tip and giving a new burger bun recipe a go! Hooray!
Great recipe, taste delicius
Hi Roberto! Thank you for your note and giving the buns a go!
Love this recipe! We’ve made it twice now and each time we have followed the recipe closely. The buns have turned out wonderful each time. The first time, I long-fermented the dough in the refrigerator for 24 hours. The second time, only 12 hours. Both instances turned out perfect! Also, both times, I substituted 2/3 cup of all-purpose flour for 100% whole wheat flour. This recipe is easy and quite foolproof, which I appreciate. The first time around, I learned that 140 grams of dough per bun (for a total of six buns) is too much “bread” for us in a hamburger bun. The second time around, I experimented and made 10 buns using 84 grams of dough a piece, and the size came out PERFECT – and we have more buns to freeze and eat later. Win. This recipe is love at first bite!
Hi Diana! Thank you for your note, and sharing your tips! SO happy you’re enjoying the buns. Hooray for buns in the freezer!
OMG I’ve been making Sourdough for 8 months.This is the easiest recipe which made the most delicious and beautiful buns. Thank you so much Honey.For sure will be an consistent make for everyone🥰
Wish I could send pic lol
Hi Catharina! Oh, I wish I could see your perfectly crafted sourdough buns! Thank you for your note and sending a smile. SO happy you’re enjoying them!
Perfect buns! Easy and delish and so soft
Hooray! SO happy to hear, Barbi! Thank youuuu for writing.