
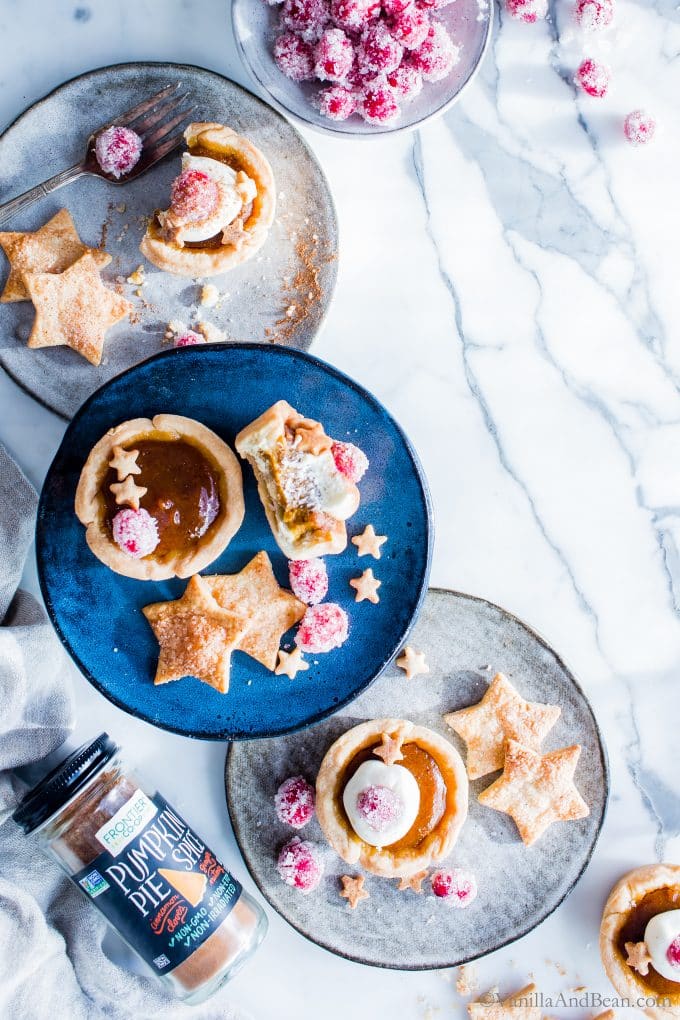
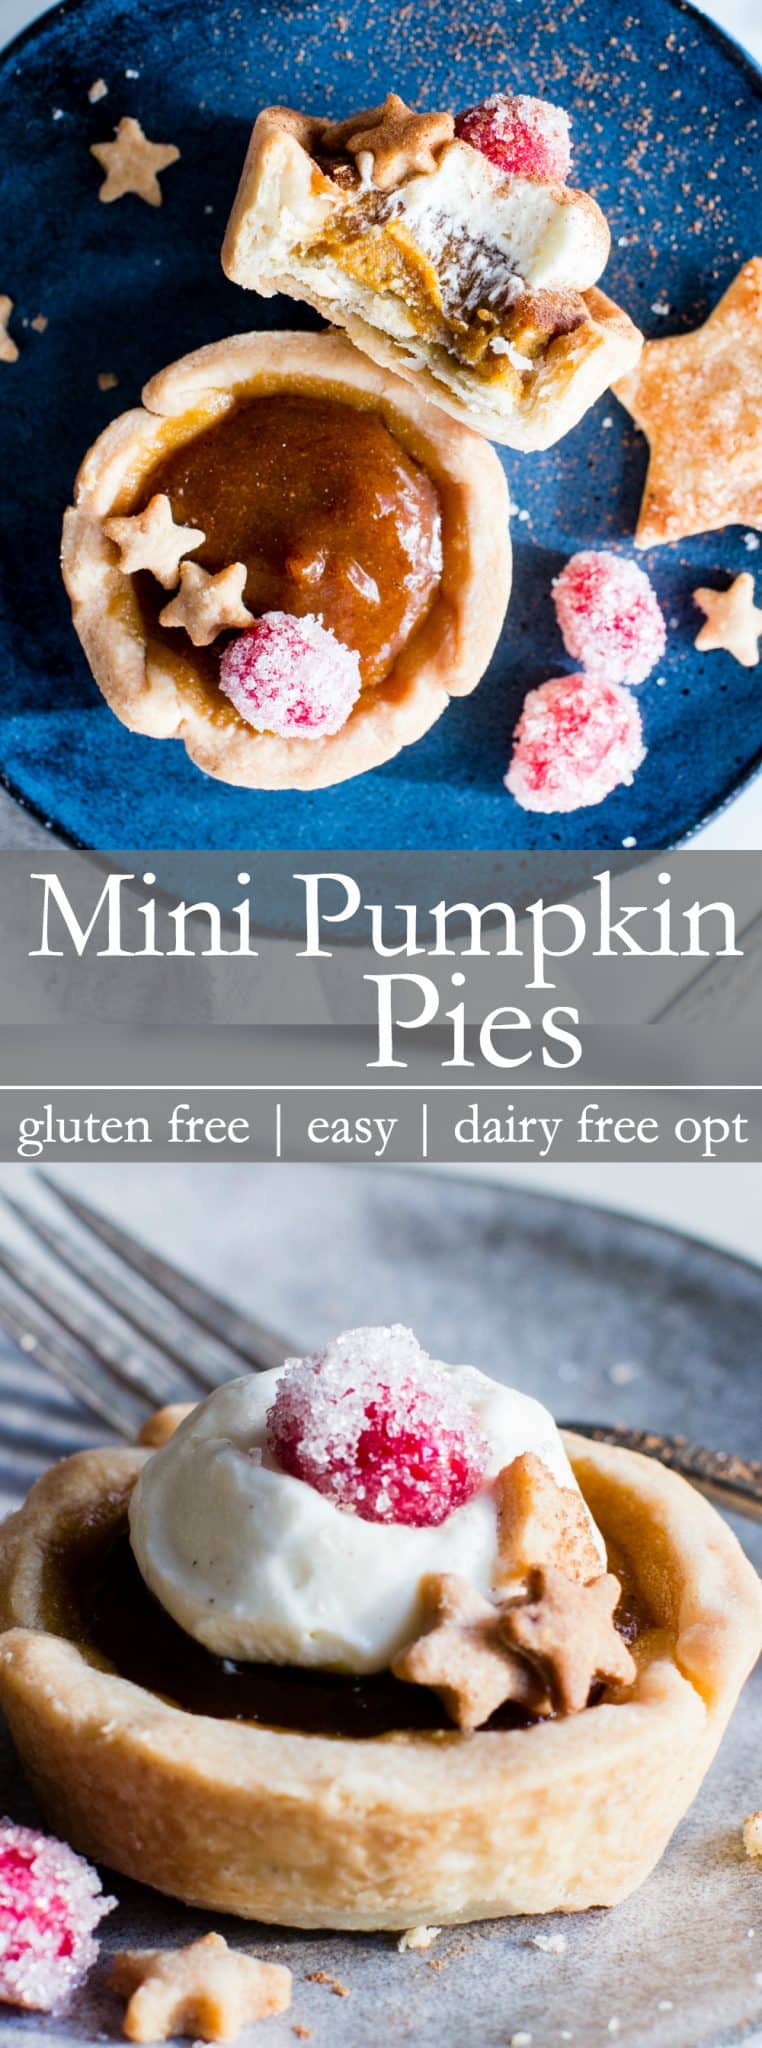
For holiday baking and easy sharing, these Gluten Free Mini Pumpkin Pies are simple to pull together. With a crispy, all the way around, pastry and creamy center, balanced spice and not too much sugar, these little confections are pure pumpkin pie bliss! This recipe is vegetarian, easily diary free and is gluten free. | Disclosure: This post is sponsored by Frontier Co-Op.
Pumpkin Season!
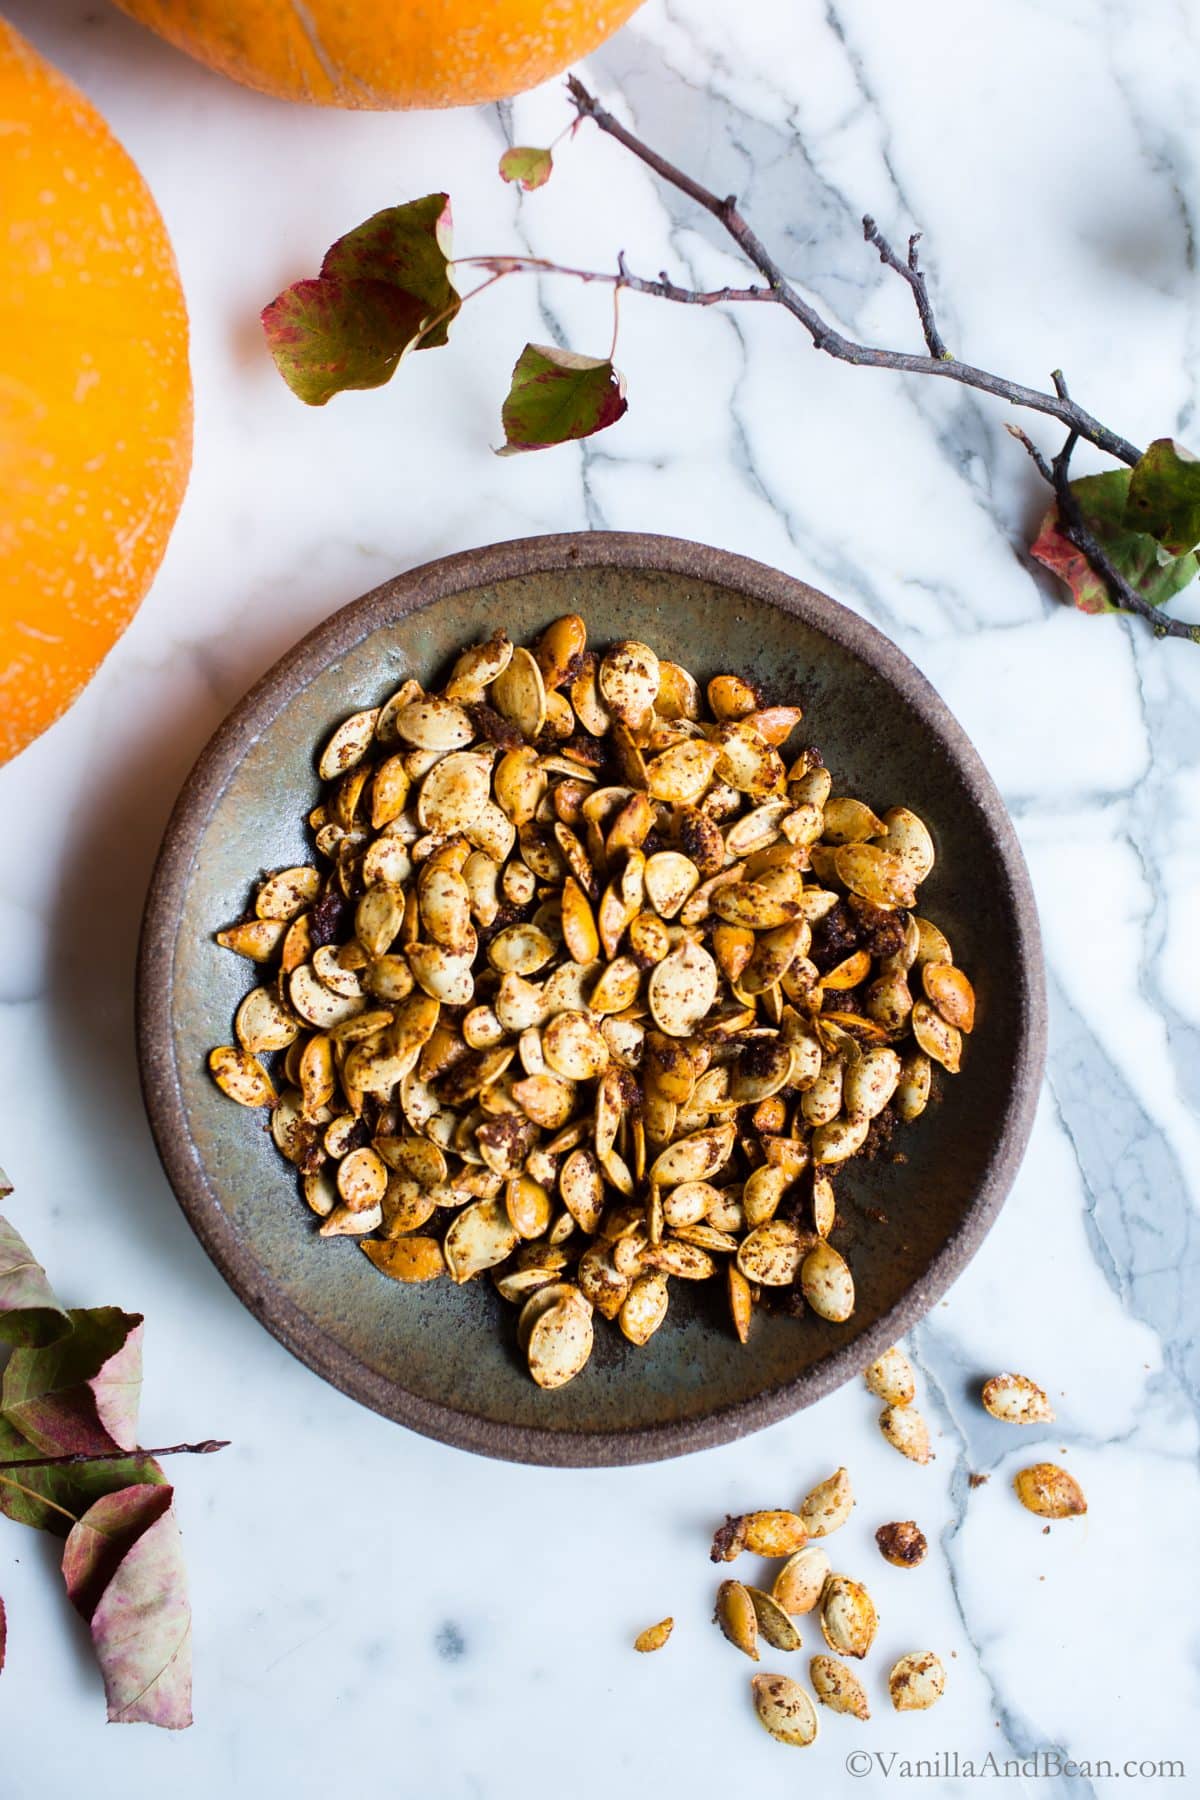
For the love of pumpkin pie, I can’t seem to get enough of it this time of year. But then I wonder, why not enjoy it year round? Pumpkin puree is simple enough to freeze in storage jars. I’ve also been freezing it in ice trays so I can pop out smaller portions when I want a bit in oatmeal, Pumpkin Chili or a smoothie. It’s so convenient.
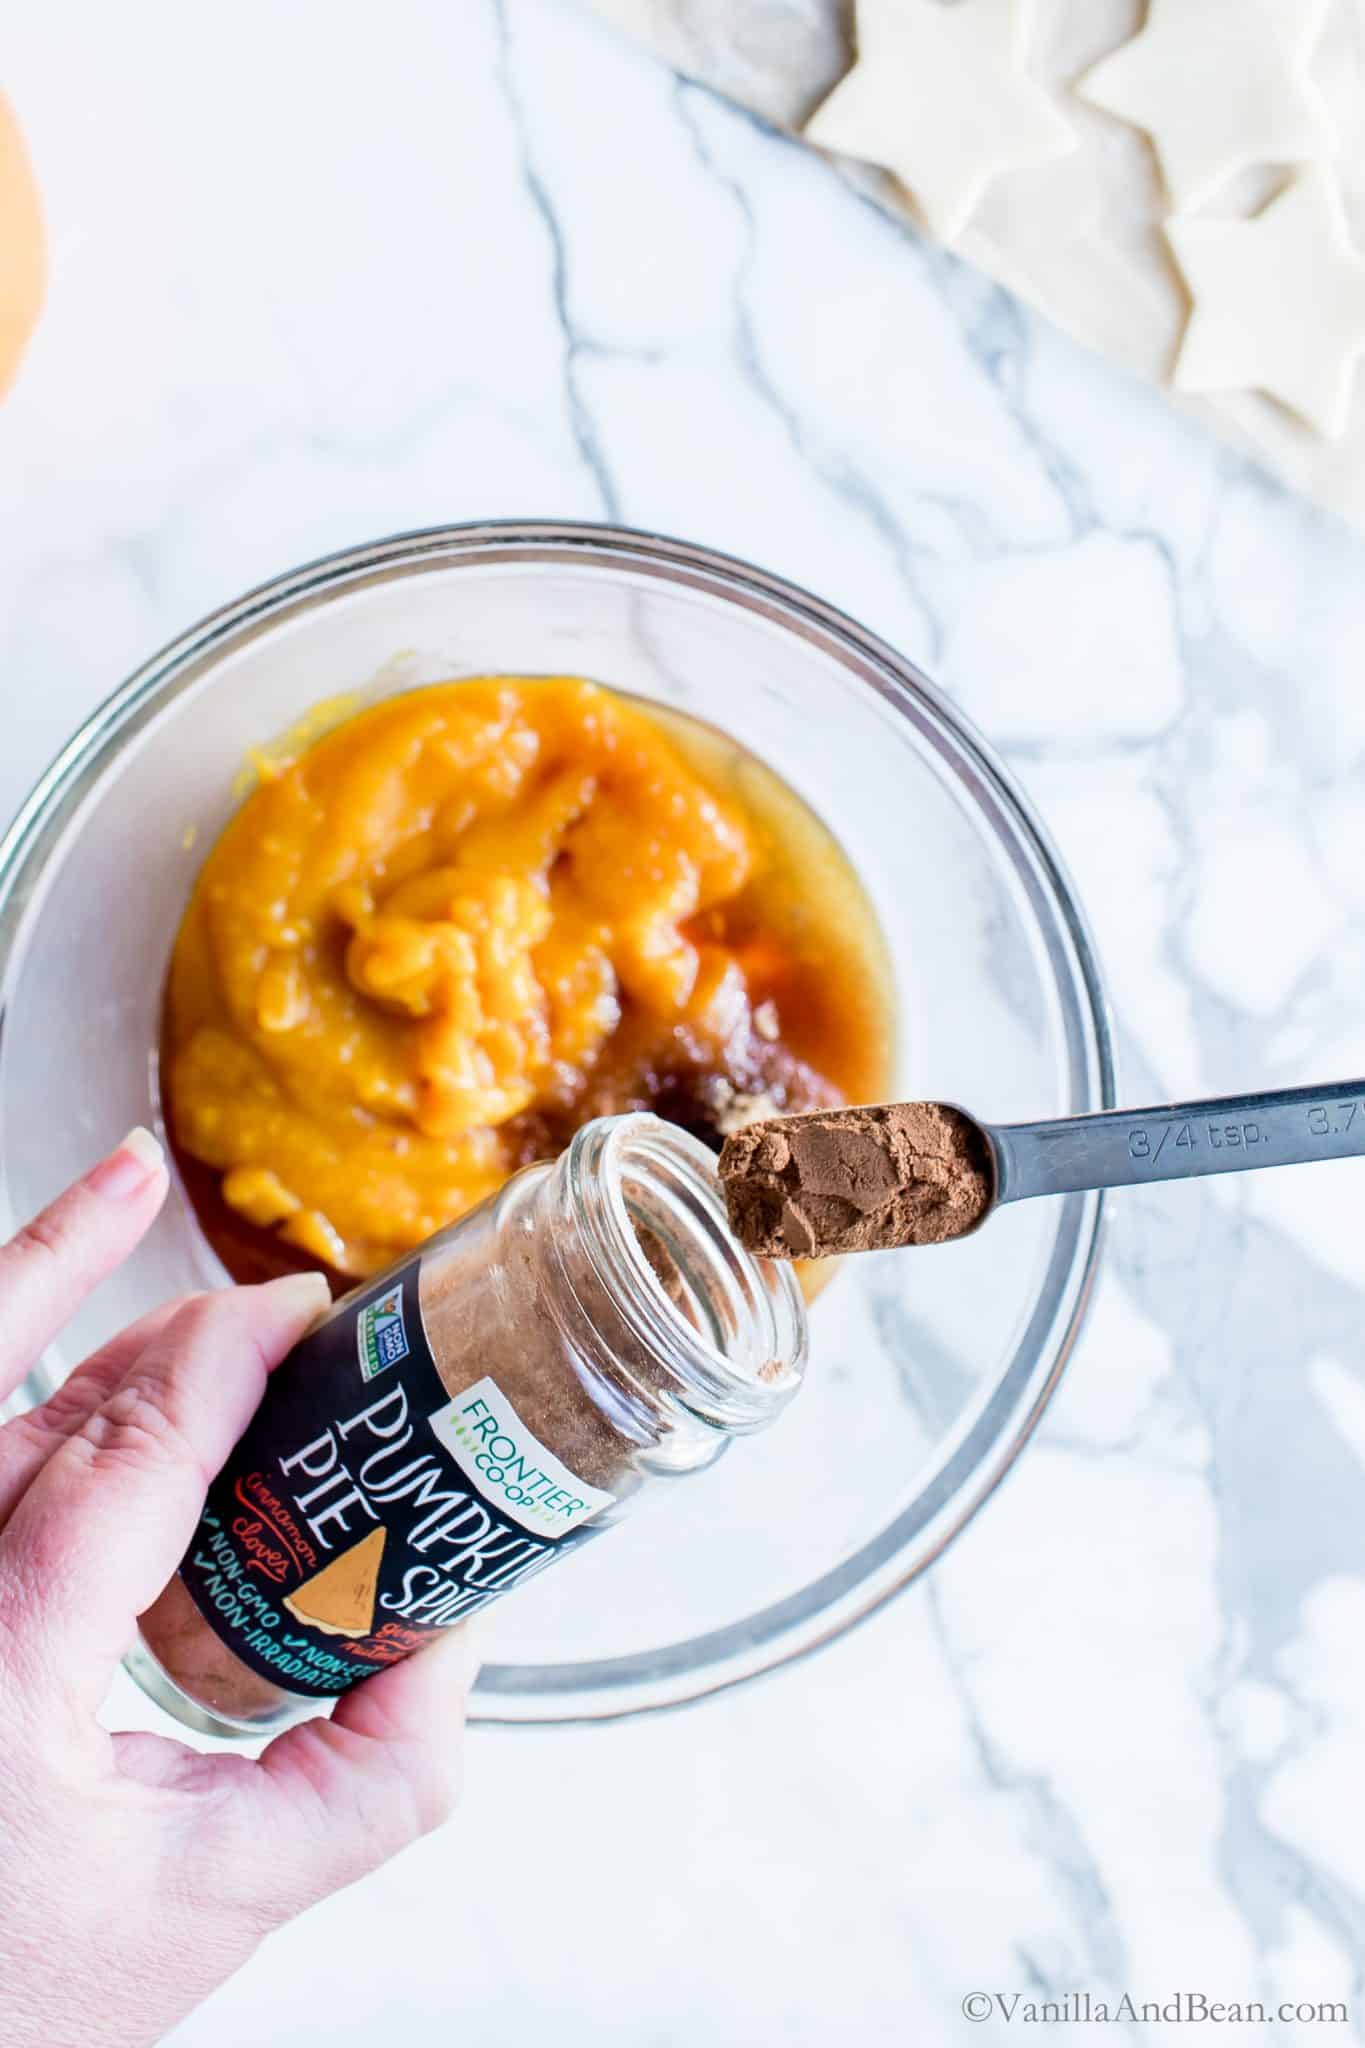
As is Frontier Co-Op Pumpkin Pie Spice. I love using their perfectly balanced spice blend of cinnamon, ginger, nutmeg and cloves for pumpkin pie. But I don’t stop there. Pumpkin Pie Spice gets added to oatmeal, smoothies, cookies, coffee and turmeric lattes with so many more possibilities!
Frontier Co-Op Pumpkin Pie Spice makes these Gluten Free Mini Pumpkin Pies even easier to pull together.
At a Glance: How to Make Mini Gluten Free Pies
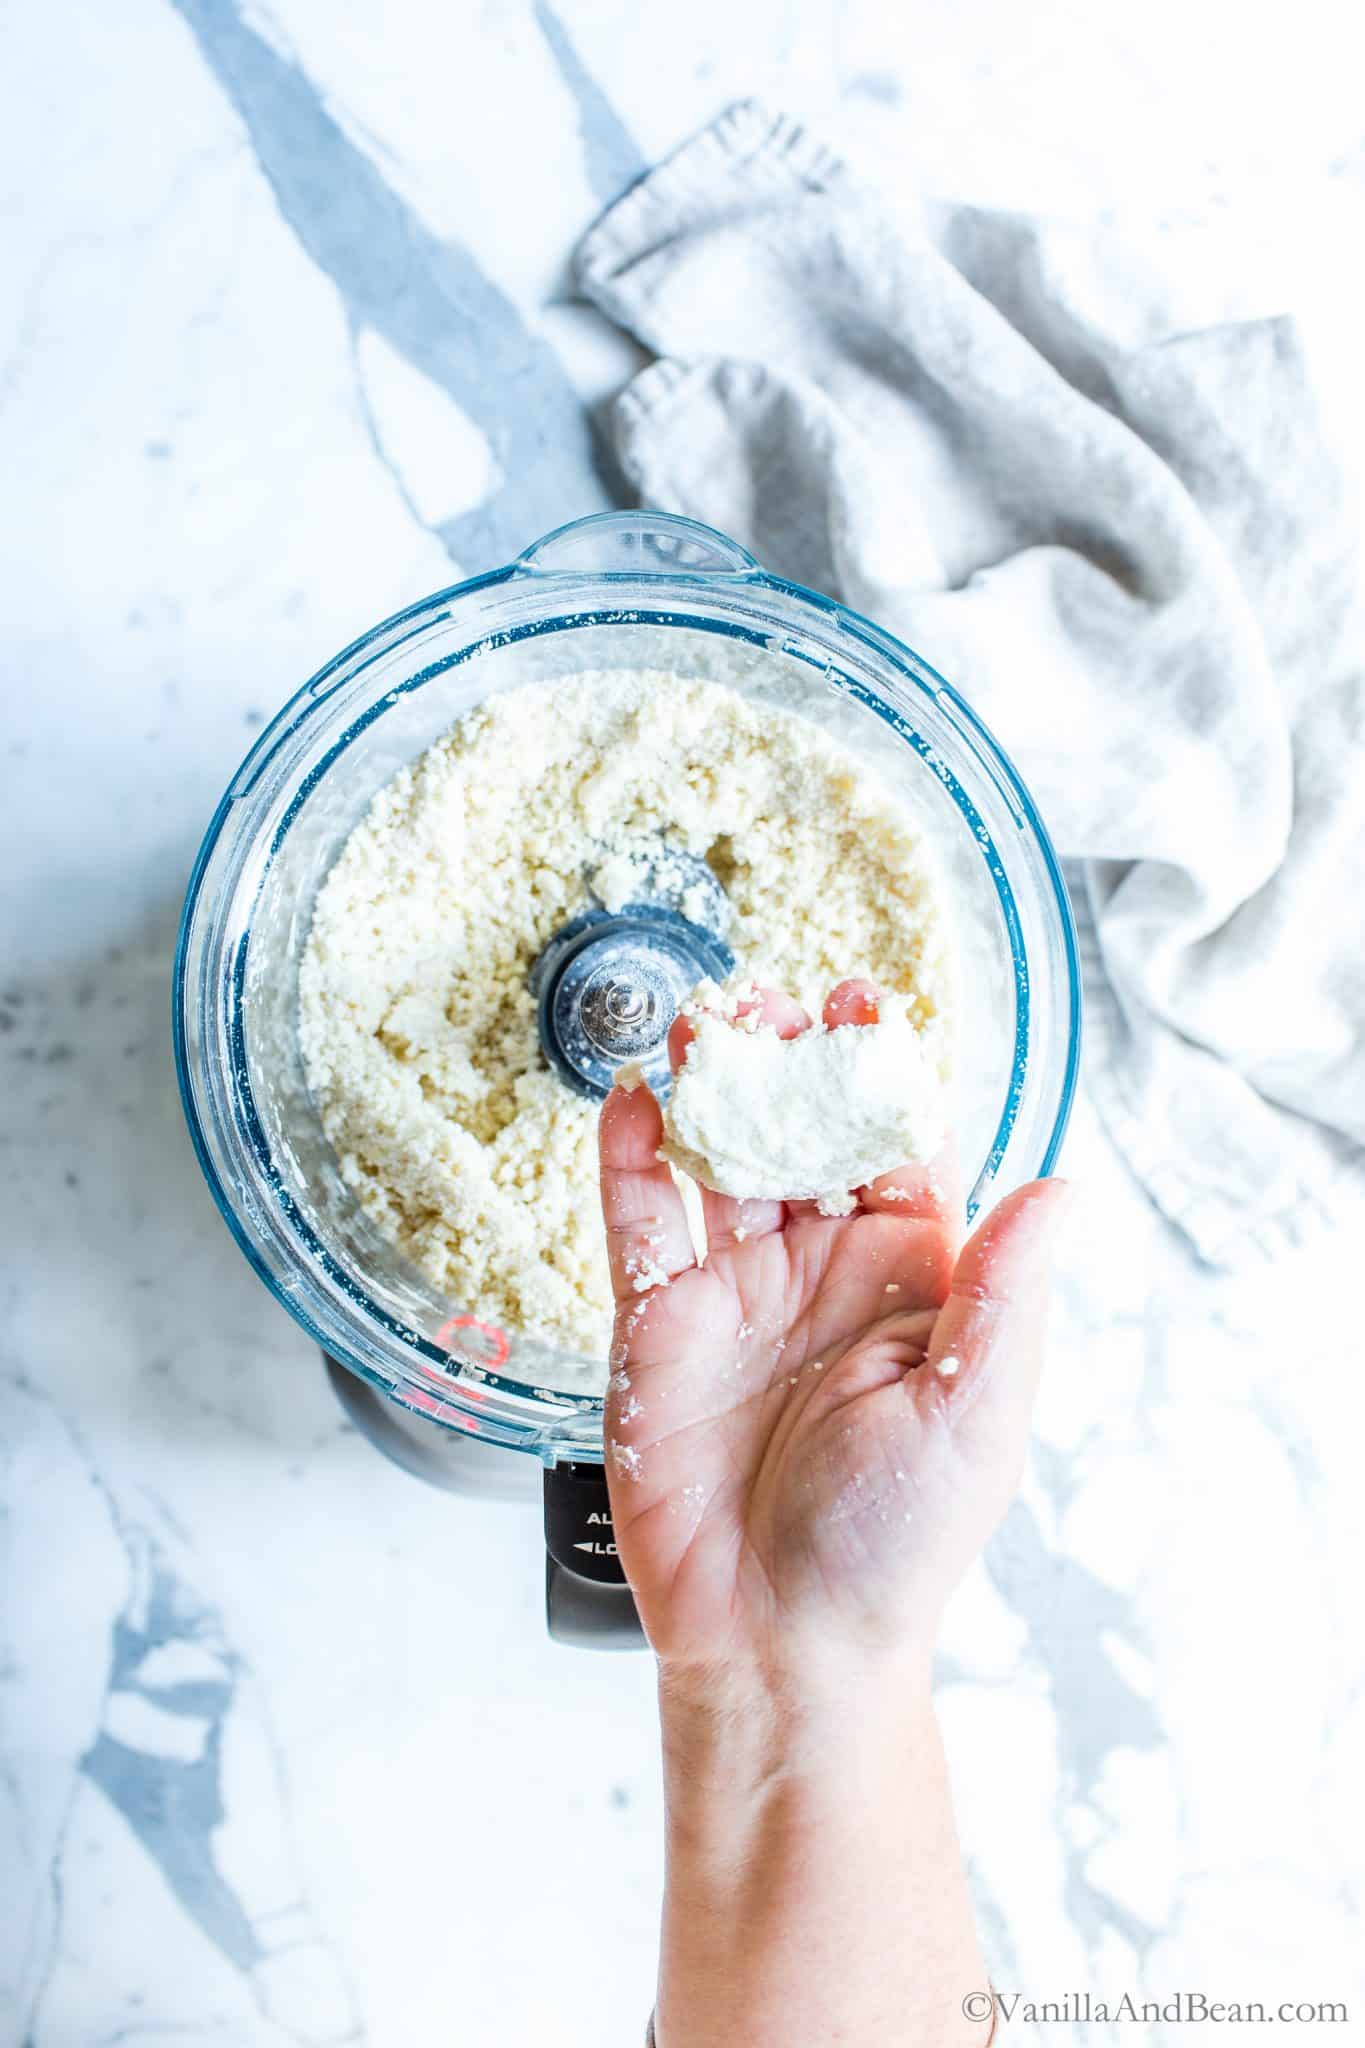
- First, make the pastry in a food processor, then let the pastry rest.
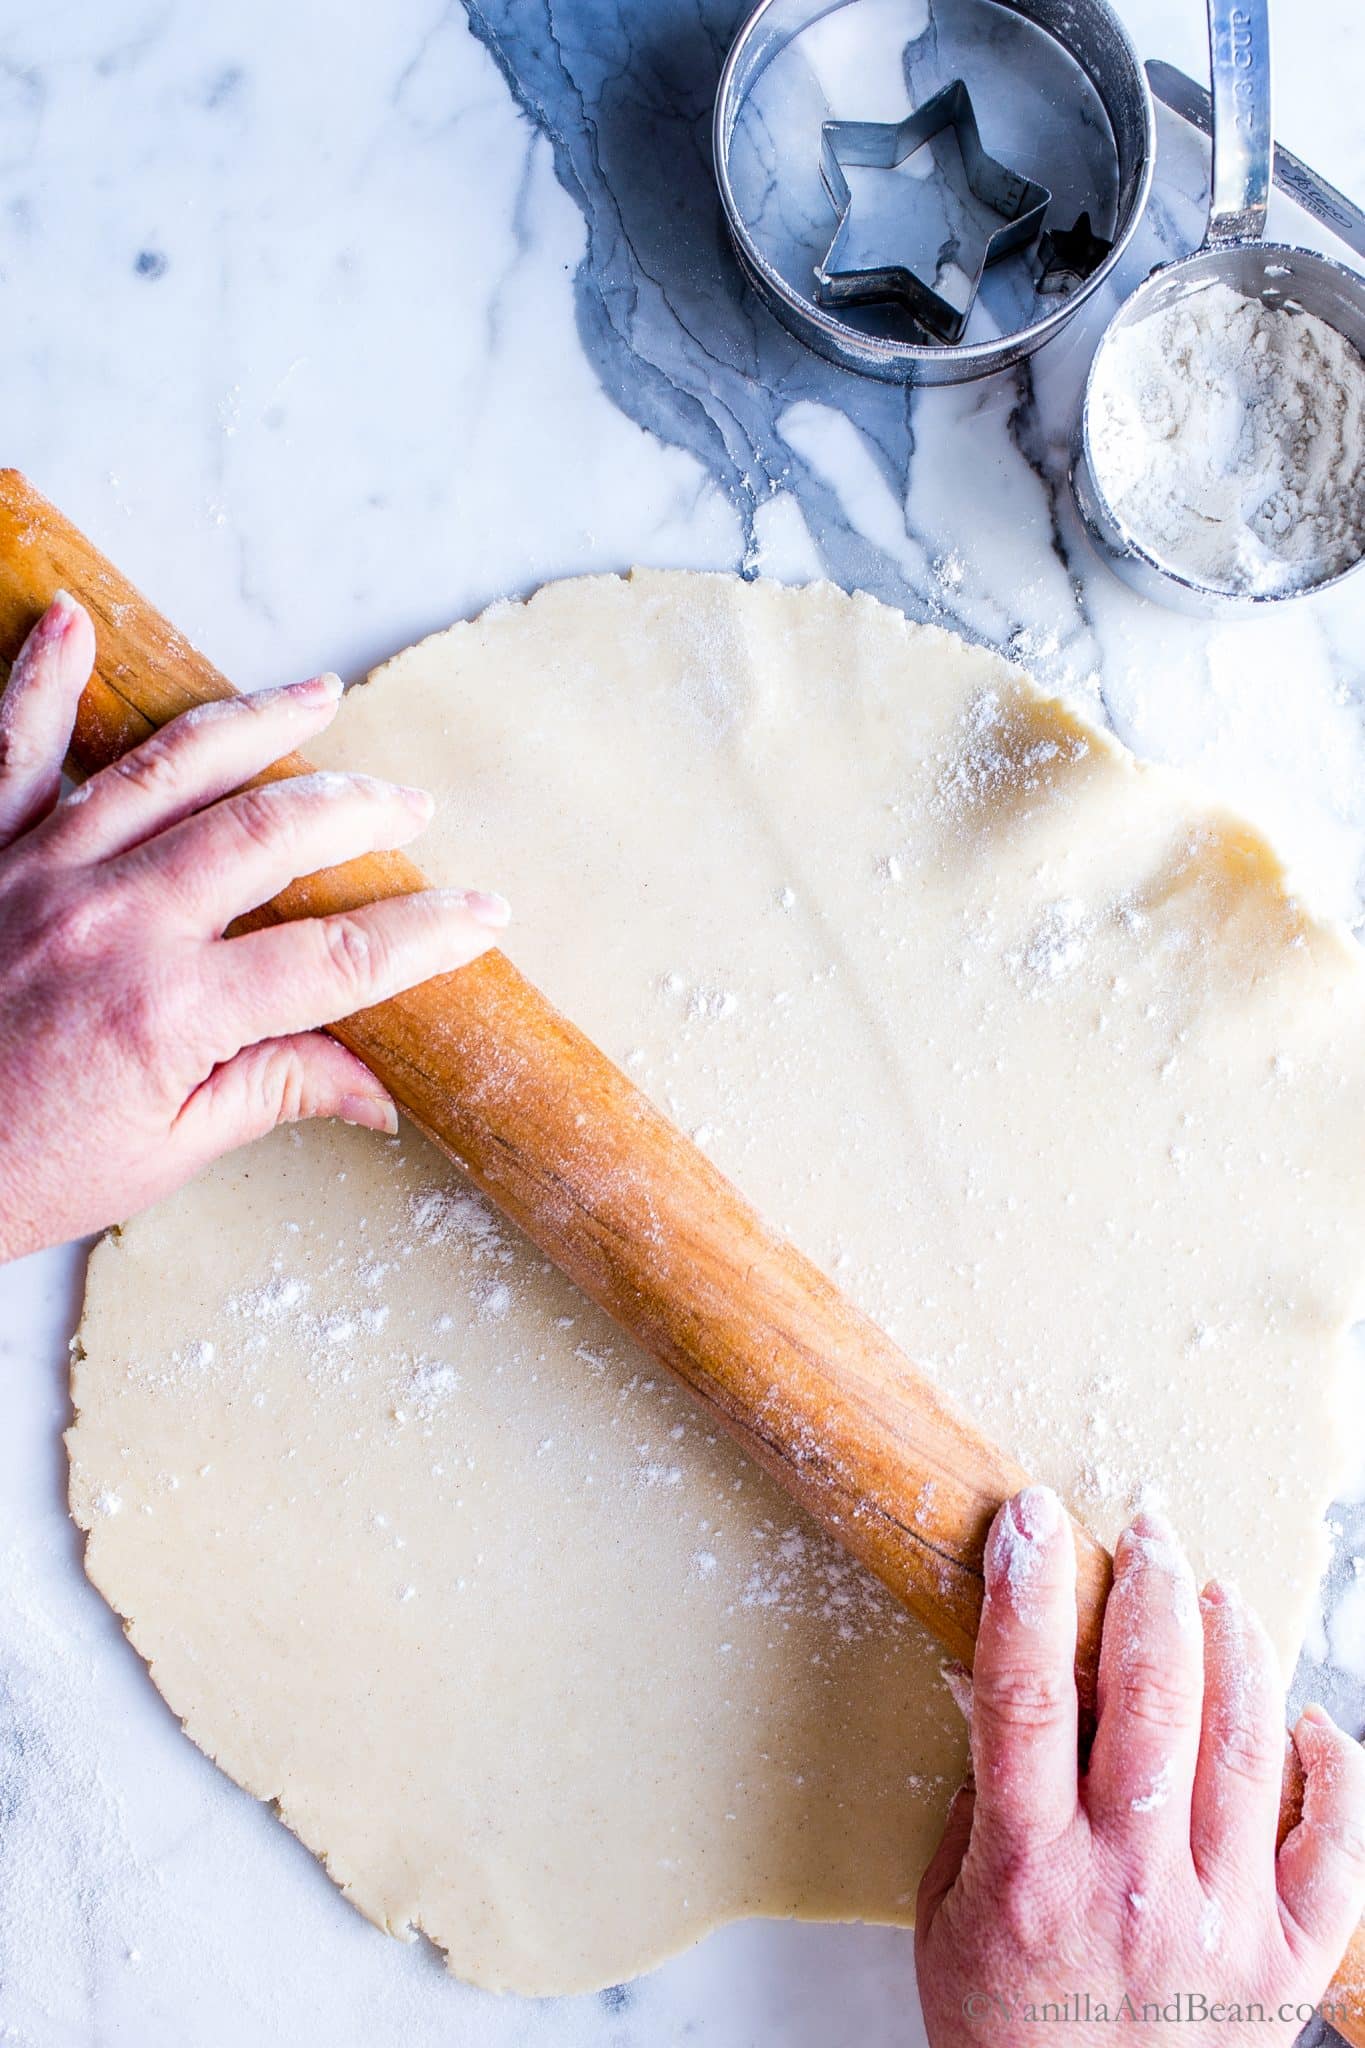
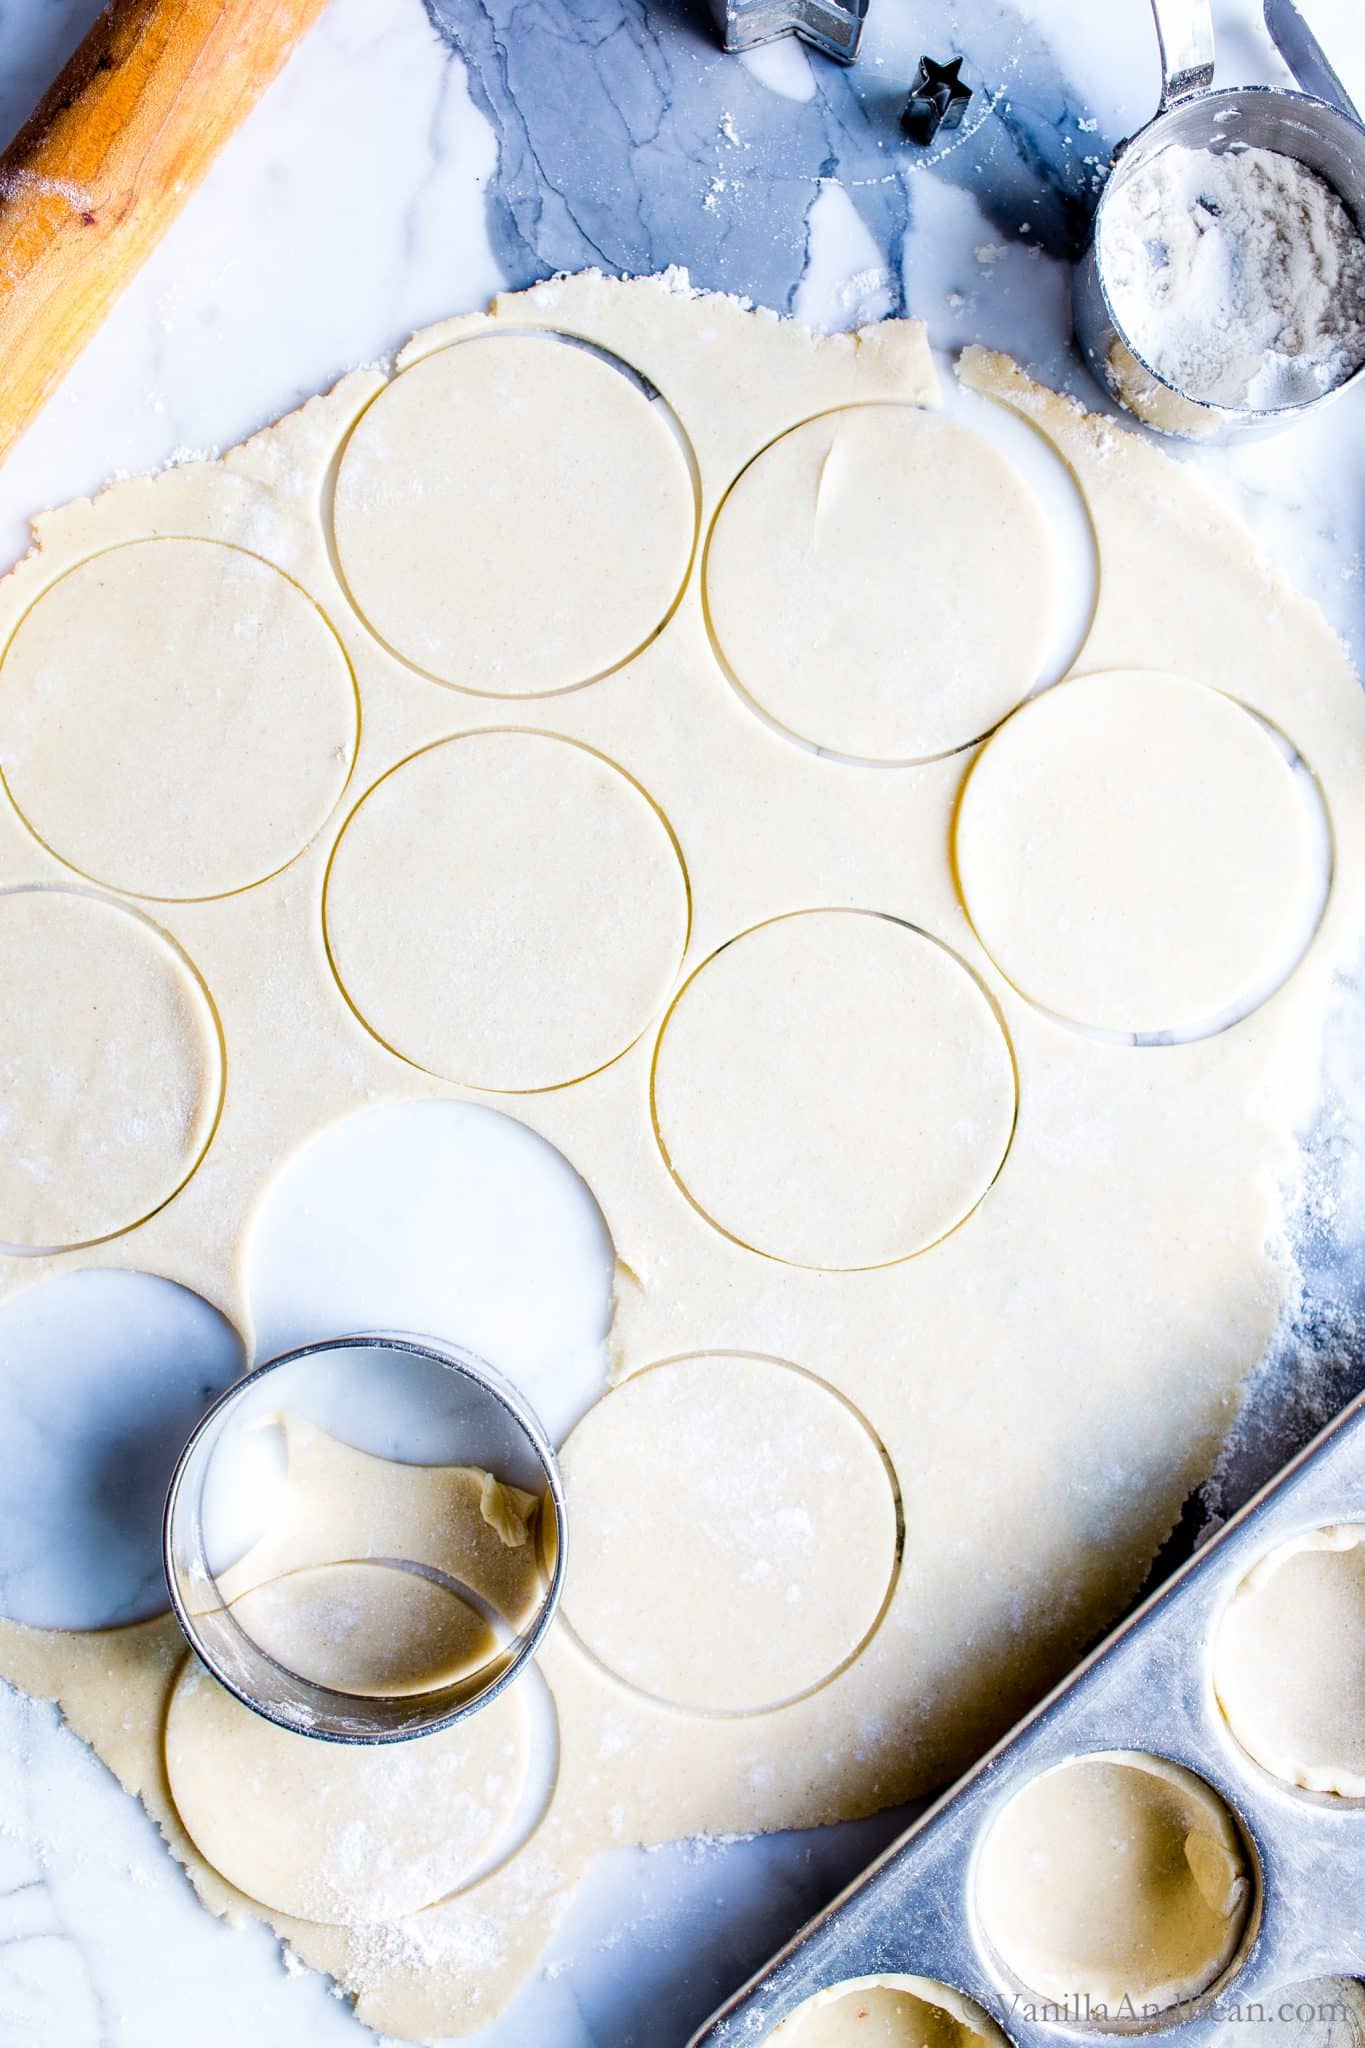
- Second, roll out the dough then cut it into 3 1/2″ (8.9cm) discs. Line each muffin tin cup with a pastry disc. Dock the dough and freeze it while the oven preheats.
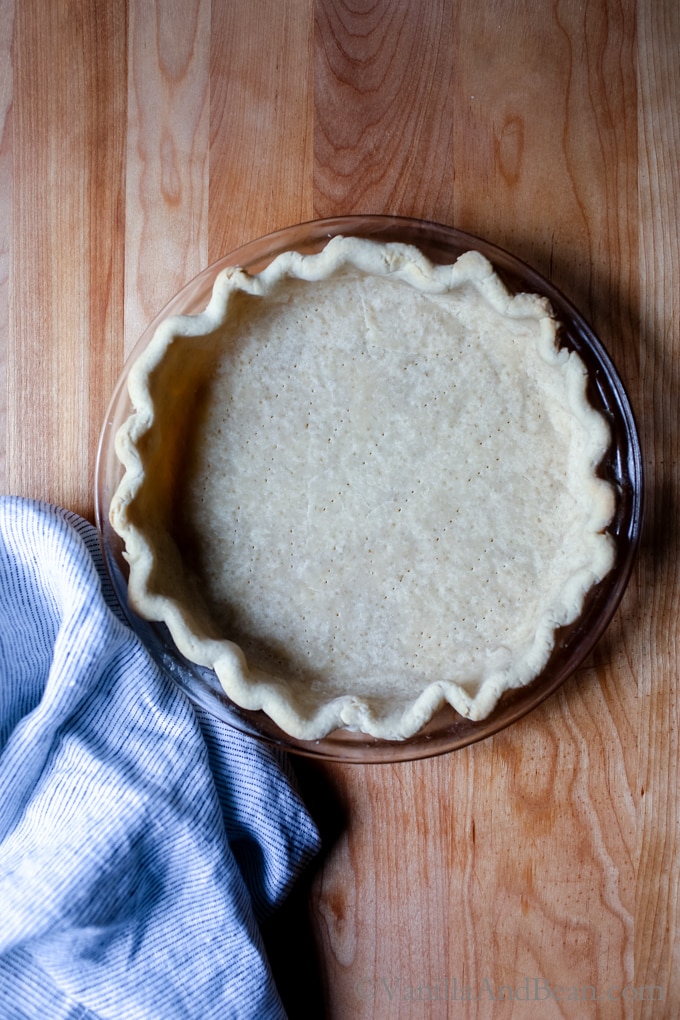
- Next, par-bake (blind-bake) the crust while you make the pumpkin filling.
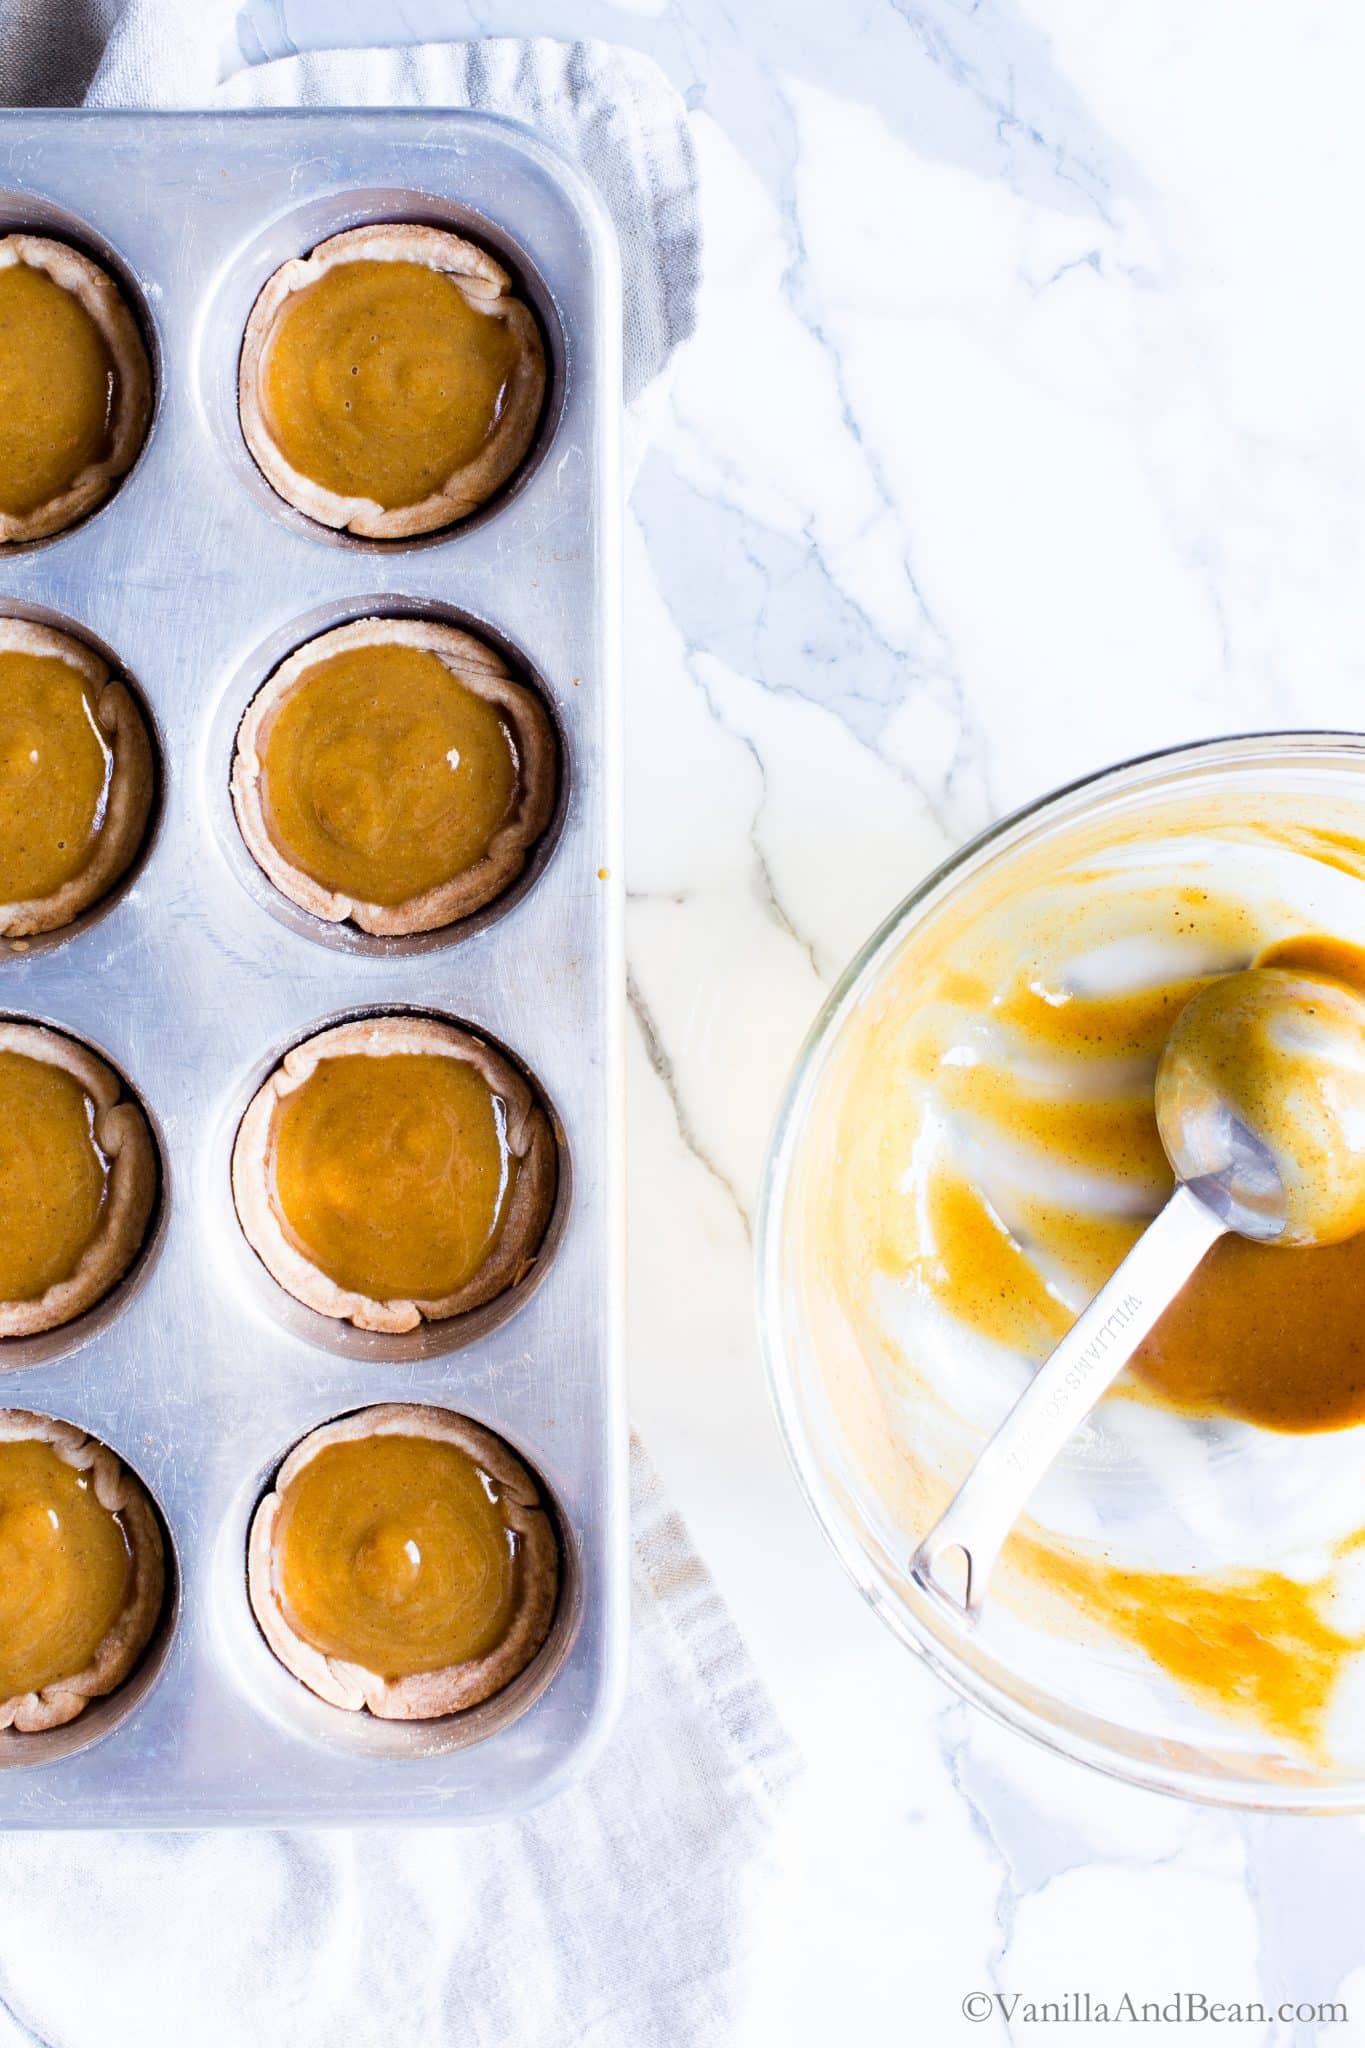
- Last, fill each cup with the pumpkin filling, then bake the assembled mini pies.
Give the mini pumpkin pies time to cool, about two hours, before sharing.
Mini Pumpkin Pie Recipe Development
Through making and testing this recipe, I attempted several baking methods. First I tried baking the mini pies fully assembled at a high temperature then again starting with a high temperature, baking, then lowering the baking temperature to finish. While these methods are a quicker way to make mini pies, it resulted in a lackluster crust with a softish bottoms. Further, the custard was over-baked. Not the creamy dreamy center I was after.
Then, I started par baking the crust. After par baking, I fill the pastry with pumpkin custard then pop the assembled mini pies in the oven, reduce the oven temperature and bake the mini pumpkin pies until just set.
Now, this is the mini pumpkin pie I was after! Par baking the crust creates a completely dreamy golden, crispy, light and tender crust all the way around. Reducing the oven heat to finish the mini pies produces a silky, creamy custard that totally flips my switch!
Sure, this method takes a bit longer then the first few methods I tried, but it’s completely worth it!

Can I Make Mini Pumpkin Pies Ahead?
Yes, and no. Mini pumpkin pies are best enjoyed on the day they’re made. Because the pastry is filled with custard, the crust tends to get soft over time. But there are a few things you can do ahead of time to get these little treats ready in no time.
- Make the pastry up to two weeks in advance and store it in the freezer. Or, make the pastry two days ahead and store in the refrigerator.
- Prepare the recipe all the way through sliding the pastry lined cups into the freezer. Then, the only thing you’ll need to do before finishing the mini pumpkin pies is to par bake the crust, whip up the filling and bake the assembled mini pumpkin pie
Traci’s Notes
- Make sure your gluten free 1 to 1 flour blend has xanthan gum included.
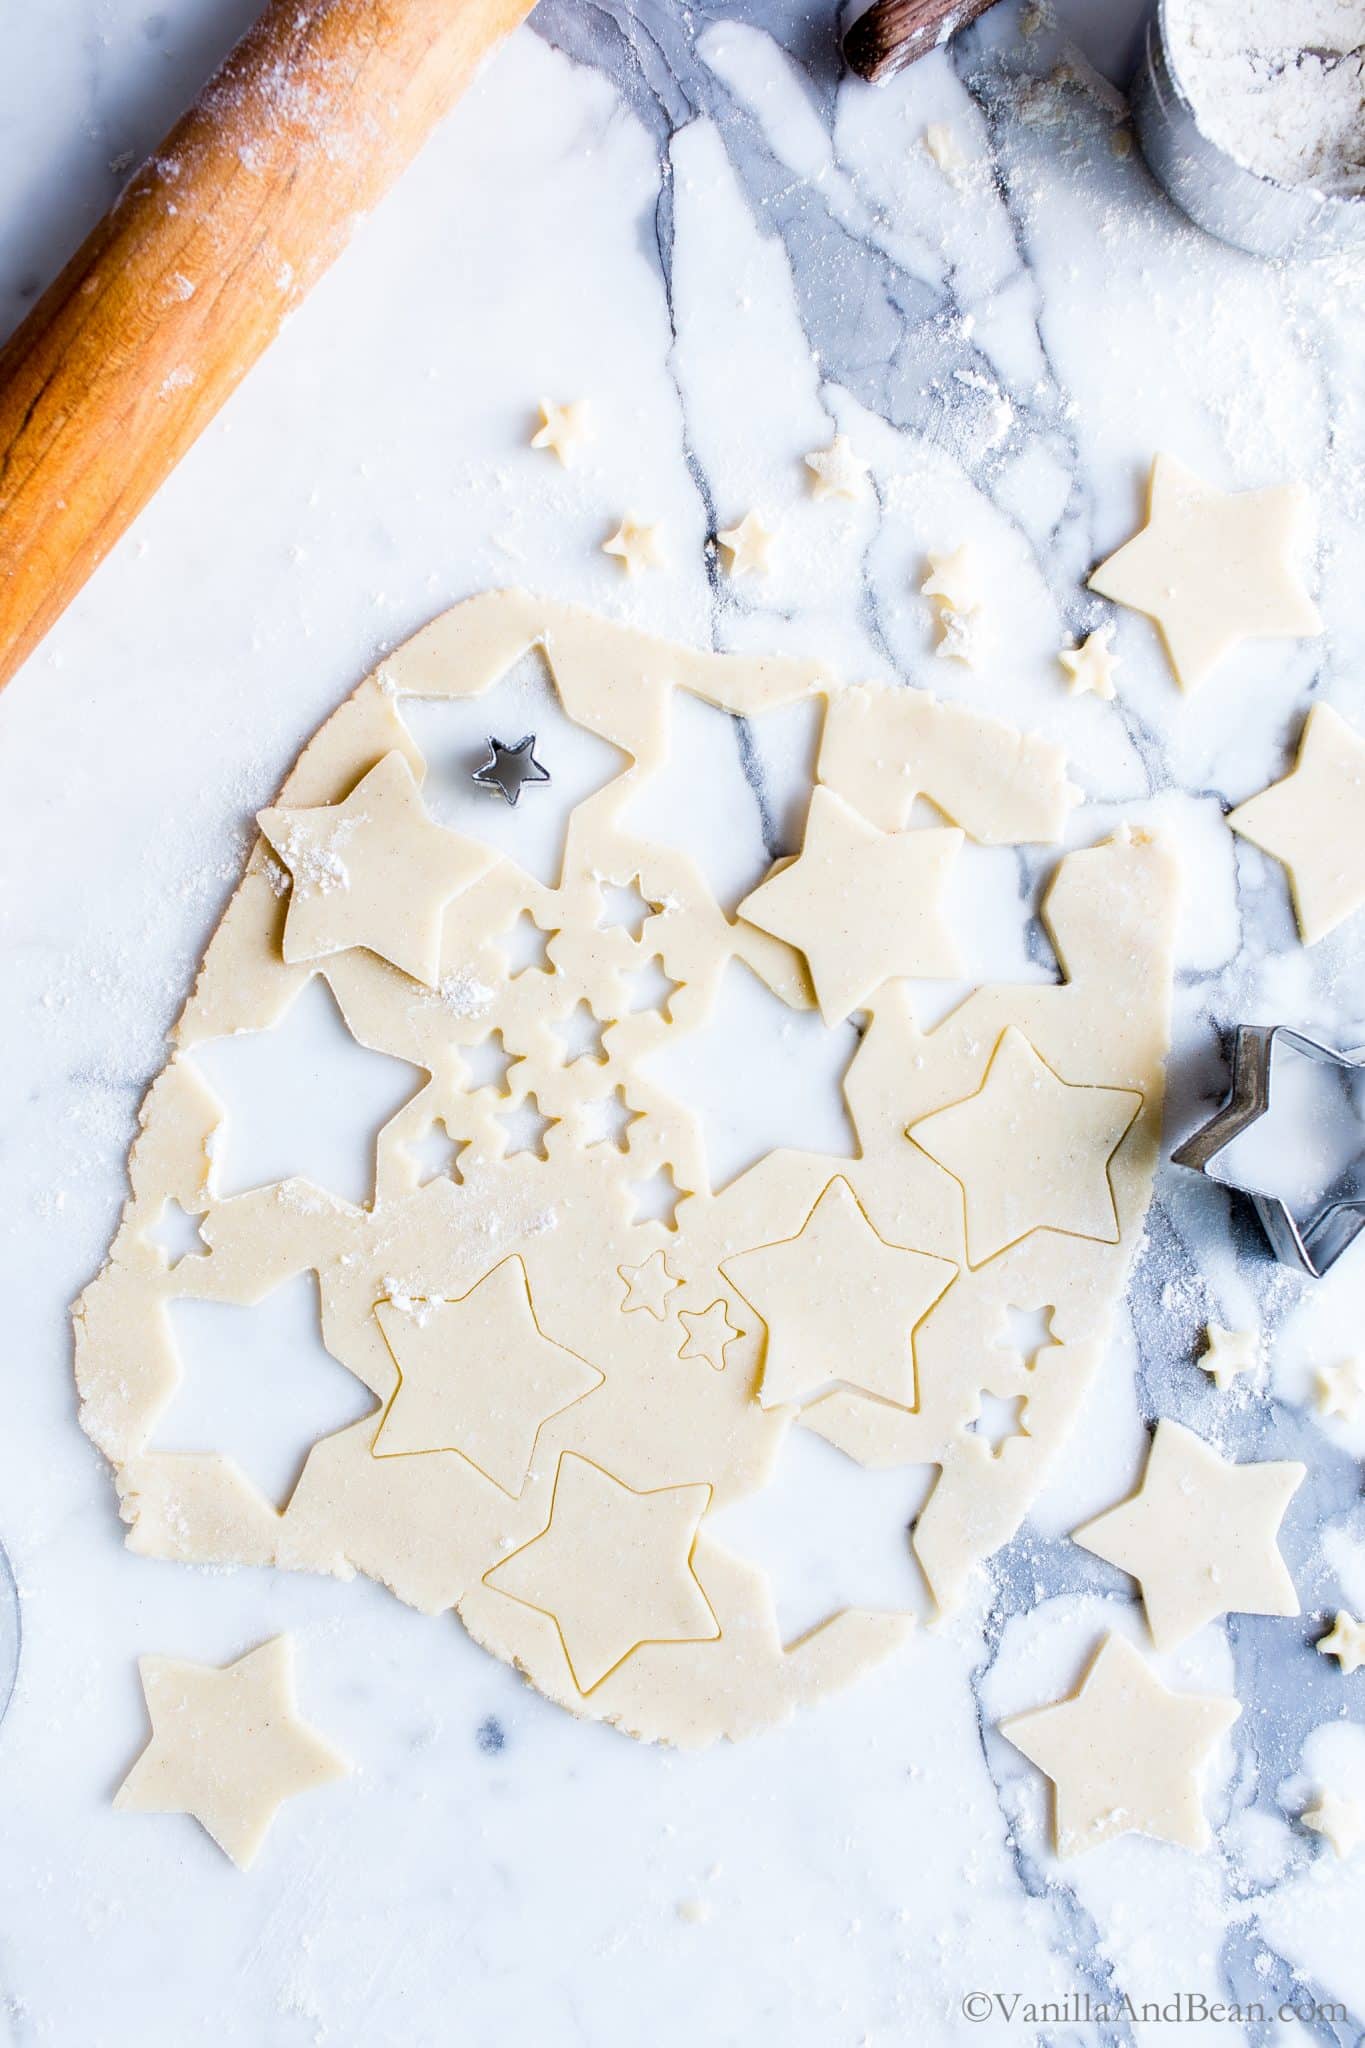
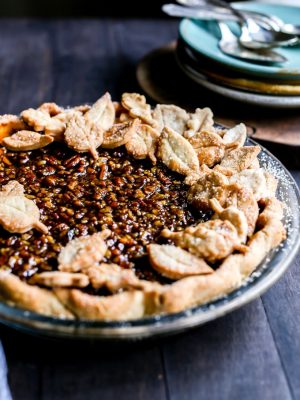
- Decorative Stars (or leaves): After cutting all the discs, you’ll have enough pastry left over for fun small cut outs to decorate your mini pies with. These can be baked on a parchment lined sheet pan as the mini pies par bake. Keep an eye on them as they’ll bake faster than the par baking cups (the smaller the cutout, the less time it’ll need to bake).
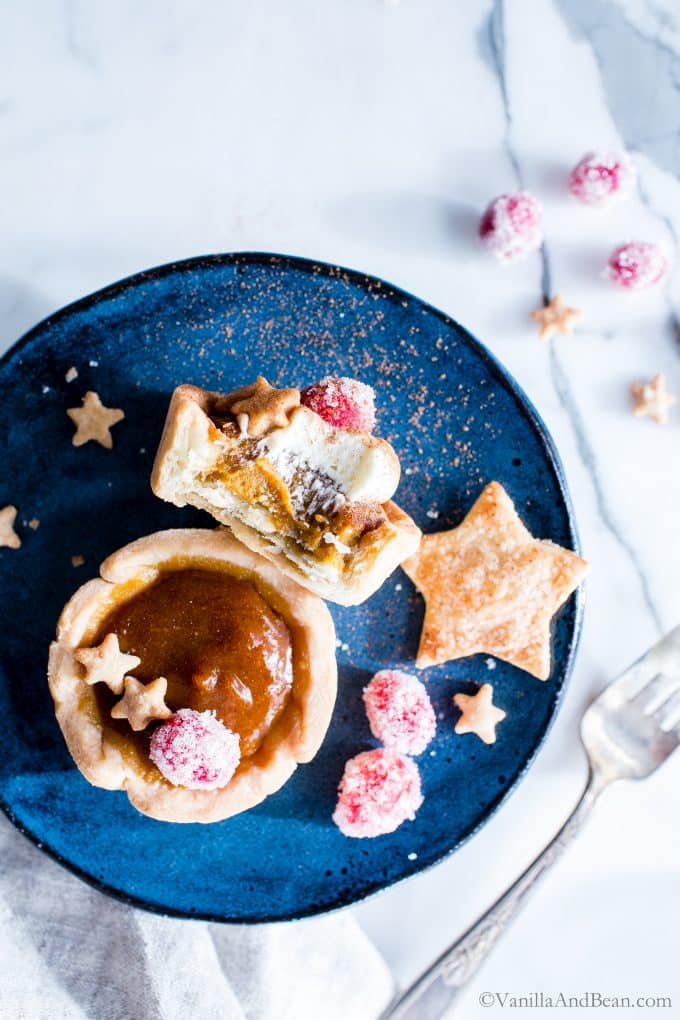
- Garnish: Top the finished pies with whipped cream or coconut cream and sugared cranberries – that pop of cranberry is sublime!
Versatile, balanced and aromatic Frontier Co-Op Pumpkin Pie Spice is perfect for pumpkin pie and so many other recipes!
To learn more about member owned, responsible to people and planet Frontier Co-op, their spices and work find them on their website.
Gluten Free Mini Pumpkin Pies Recipe
Ingredients
For the Pastry (enough for 12 mini pies + decorative cut outs):
- 1/3 C (50g) Milk plant or dairy, I use homemade cashew milk
- 1 tsp Apple Cider Vinegar
- 1 C (150g) Gluten Free 1 to 1 Baking Flour I use Bob's Red Mill (make sure your blend includes xanthan gum)
- 1/4 C (30g) Tapioca Flour
- 1 Tbs Organic Cane Sugar
- 1/2 tsp Fine Sea Salt
- 4 oz (114g) Unsalted Butter 1 stick, just from the refrigerator. *for dairy free use 1/2 C (98g) solid at room temperature coconut oil
For the Pumpkin Filling:
- 1/2 C + 2 Tbs (170g) Pumpkin Puree fresh made or from a can (not pumpkin pie)
- 1/4 C (55g) 1/2 n' 1/2 OR unsweetened Homemade Cashew Milk OR Full Fat Coconut Milk if using coconut milk, open the can and whisk until all the solids are incorporated into the liquid. I wouldn't recommend using store bought plant milk as it is mostly water and the custard will not set. Or use homemade Cashew Milk.
- 1 Egg
- 3 Tbs Light Brown Sugar packed
- 2 Tbs Pure Maple Syrup
- 1 tsp Vanilla Extract
- 1/8 tsp Fine Sea Salt
- 1 1/2 tsp Pumpkin Pie Spice I use Frontier Co-Op
For Garnish (optional):
- Sugared Cranberries
- A Dusting of Pumpkin Pie Spice
- Whipped Cream or Coconut Cream
Instructions
Make the Pastry:
- Whisk the nut milk and apple cider vinegar together in a spouted measuring cup. Set aside to rest for 5 minutes.
- Meanwhile in the bowl of a food processor fitted with the S blade, add the gluten free flour, tapioca flour, sugar, and salt. Pulse 5-6 times to combine. Add the butter *or solid coconut oil for dairy free and pulse until chunky, about 7-8 pulses. With the processor running, add the milk mixture, holding out about one to two tablespoons, and process about 10-15 seconds or until the mixture starts to come together (it will look crumbly). To see if the dough is ready, grab a fist-full and squeeze. If it doesn't hold together, add the remaining nut milk, one Tbs at a time. Process again and retest until it clumps in your fist.
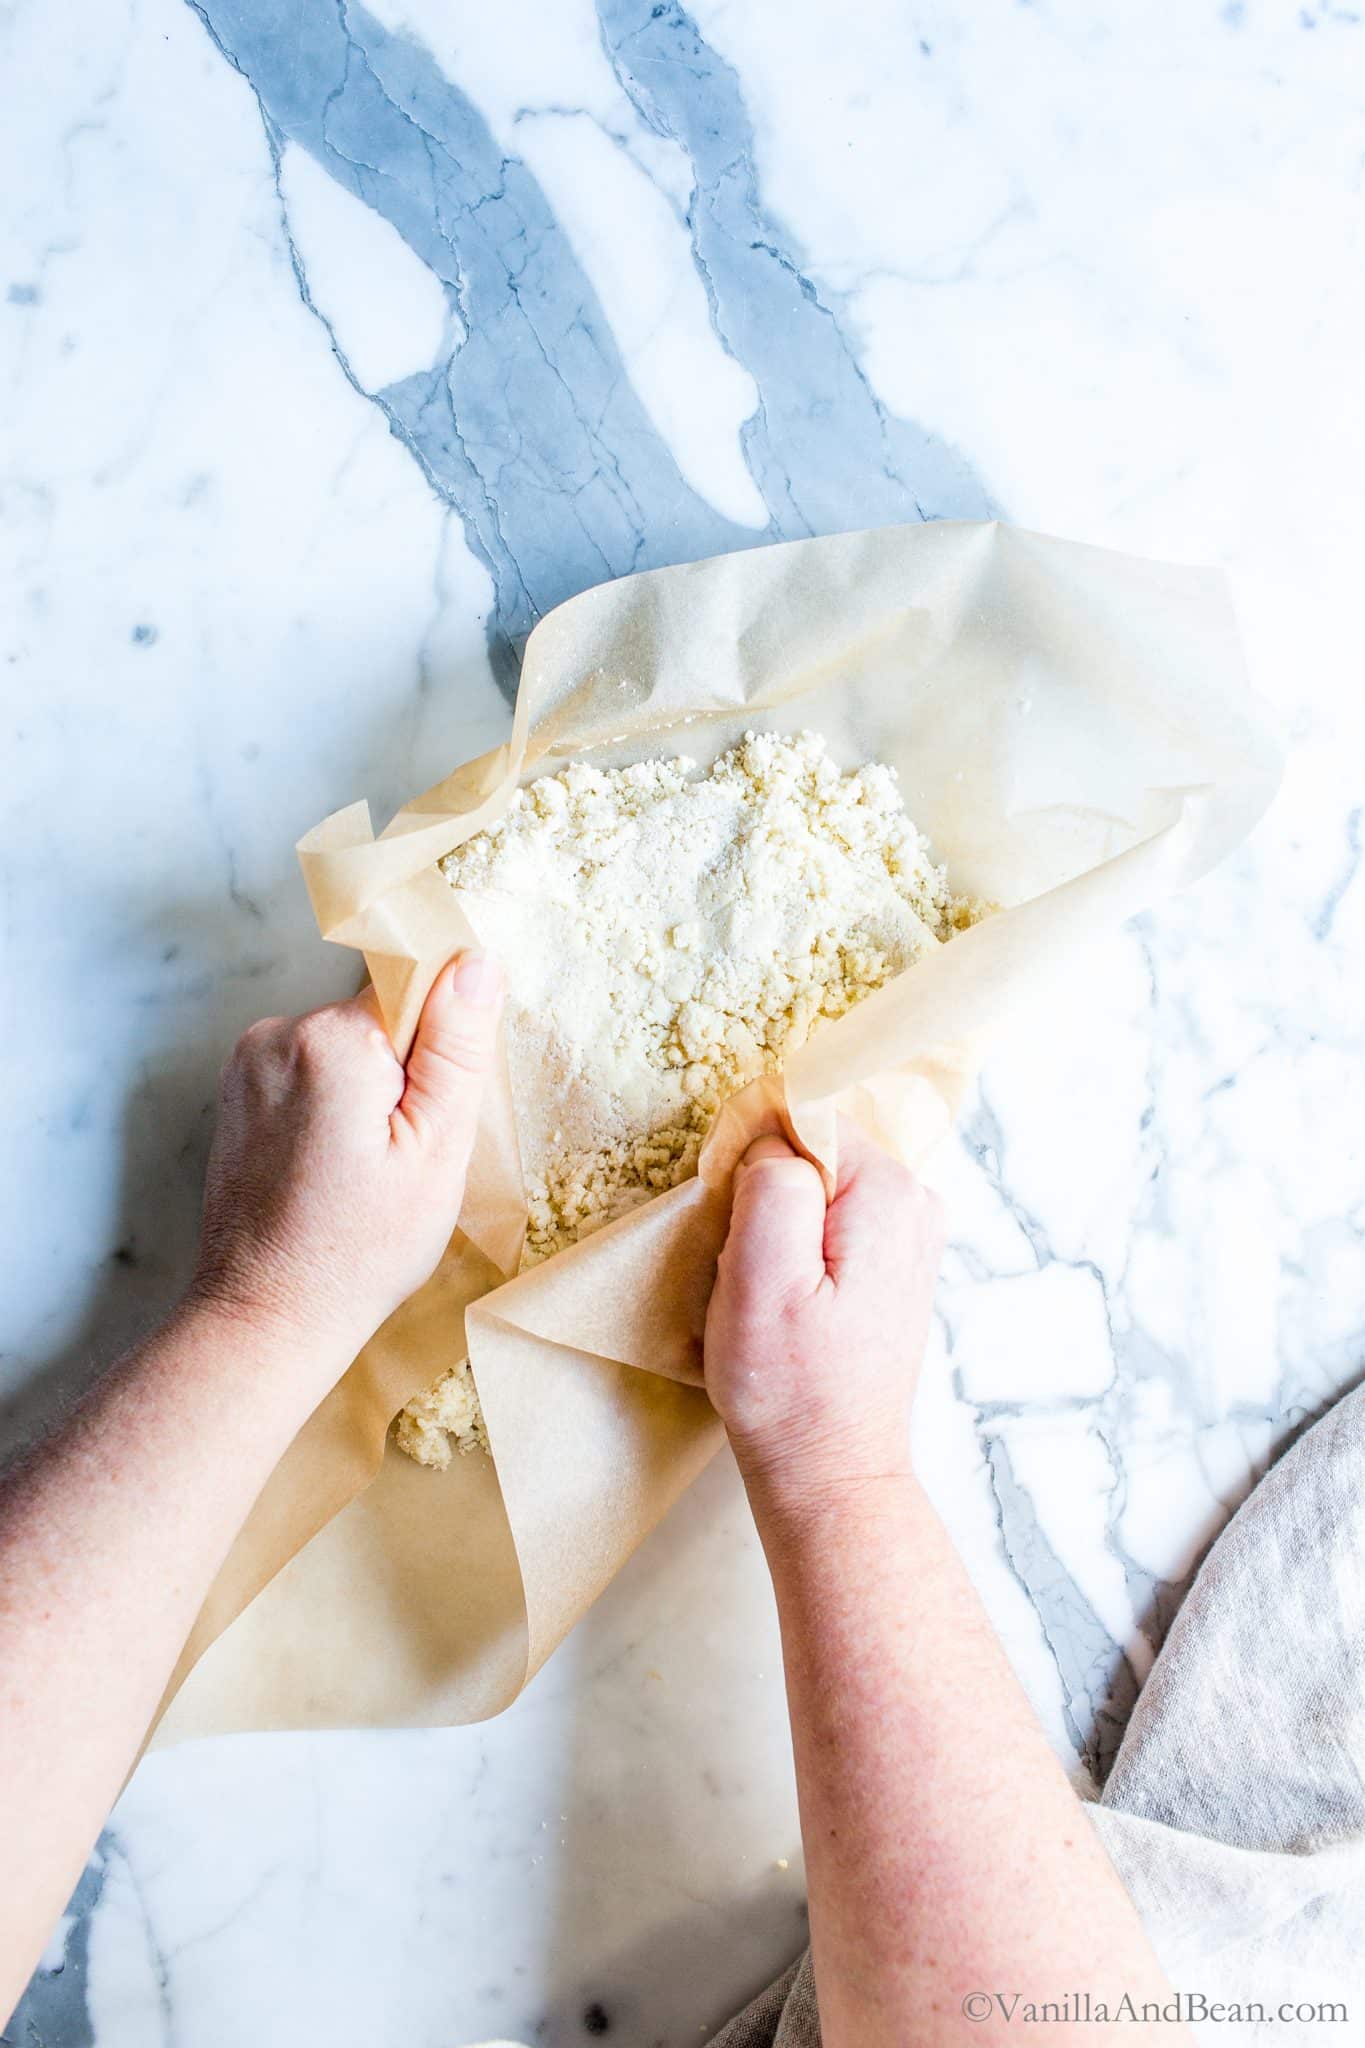
- Dump the dough out onto a piece of parchment paper. It will be loose and crumbly. Use the parchment paper to work the dough into a pliable piece, press and fold the bits together - folding and pressing the dough over and on top of itself until the dough comes together in one piece. Shape into a smooth thick disk by patting and rounding into a 1-2" thick (2.5-5cm) disk. You want the pastry to be smooth with no cracks if possible. Wrap snugly in the parchment paper and refrigerate for at least one hour (the pastry can be made ahead and rest in the fridge for at least two days or store it in a covered container and pop it in the freezer for up to two weeks). *For dairy free, rest the dough wrapped in parchment at room temperature for about 15 minutes. The dough should be tacky, not sticky. If it's sticky, pop it in the fridge for a few minutes, then bring it back out to soften a bit. It's easier to roll at room temperature.
Roll Out and Pan the Pastry:
- Remove the pastry from the refrigerator and let it set to warm up a bit. It'll be easier to work with if you can give it about 30 minutes at room temperature. *For dairy free, the pastry needs to be at room temperature to work with as well, so it's ready just after about 15 minutes of resting. Prepare a 12 cup muffin pan by throughly oiling it with pan spray or coconut oil. Set aside.Generously dust a work surface and rolling pin with flour and roll out the pastry to just under 1/8". Add flour to the top of the pastry as needed to prevent sticking. *For dairy free, roll the dough out between two pieces of parchment paper using very little flour for dusting as needed. Dust a 3 1/2" pastry/cookie cutter with flour then cut 12 discs (an inverted glass can be used here). It takes me two times rolling the pastry out to get 12 discs plus cut outs, so collect the leftover pastry, knead and reshape it then re-roll as needed. Cut any decorative shapes you'd like at this time too. Set those on a small parchment lined sheet pan.
- Line each cup with a pastry disk gently nudging the disk into place by pushing the top edges down and into the cup. The pastry will not fill the cup all the way to the top. Pleat the edges as needed and press the pastry into the sides of the cup. It's okay if the bottom of the cup is somewhat rounded. *For dairy free, the dough will be crumblyish. When lining the muffin cups, patch any tears with small pieces of dough, using a touch of water to 'glue' the pieces together as needed. It's sorta like working with play dough. Once all the cups are pastry lined, use the tines of a fork to dock the bottom of the dough, then pop the pan in the freezer while you preheat the oven to 400F (204C). Freeze the pastry and any cut outs for at least 15 minutes.
Drain the Pumpkin (if needed):
- If using homemade puree, strain the pumpkin. For canned, if the pumpkin purree is firm, there's no need to strain it. While the pastry is freezing, arrange a fine mesh strainer or cheese cloth over a small bowl. Scoop the pumpkin into the strainer and allow it to set for at least 15 minutes, stirring occassionally, to drain off excess liquid. Discard the liquid. Set the puree aside.
Bake the Pastry:
- Par-bake (blind bake) the pastry cups on the center rack in a 400F oven for 16-17 minutes. The cups will be golden when ready. *For dairy free par bake the cups for 18-20 minutes (for dairy free, the crust will be more of a creamy color), until puffy and fragrant. Immediately after removing the pastry cups from the oven, use the bottom of a shot glass or back of a spoon to gently press the bottom of the pastry down, smoothing it down to make more room for the filling.
Bake the Decorative Shapes: For the decorative cutouts, brush with milk then sprinkle sugar on top. Bake on a parchment lined sheet pan while the pastry par bakes for about 8-12 minutes or until goldenish - keep an eye on them - the smaller the cutout the quicker the bake.
Make the Filling:
- While the pastry is par baking, make the pumpkin custard filling.In a medium mixing bowl, add the pumpkin, milk, egg, sugar, maple syrup, vanilla extract, salt and pumpkin pie spice. Whisk the ingredients together until they are smooth and creamy. Set it aside.
Fill the Pastry and Finish the Mini Pies:
- Just after the cups come out of the oven, fill each cup with about 2 Tbs (22g) of the pumpkin pie filling. Each cup should be filled to the top interior edge of the pastry.
Place the filled mini pies into the oven and reduce the temperature of the oven to 300F (150C). Bake the mini pies for 18-20 minutes just until the center is set (it will not be wobbly). - Cool the mini pies at room temperature for at least 30 minutes before gently using an offset spatula or knife to lift the mini pie out of the pan. The center will still not be set so be careful here. Or, let the pies cool completely in the pan, before enjoying. Cover and refrigerate for up to two days. The pastry tends to get soggy however, the longer they set in the fridge.
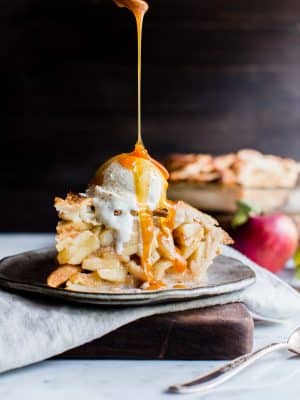
- Serve with vanilla bean whipped cream or coconut cream, a dusting of pumpkin pie spice and sugared cranberries.
Greetings
Do you have a substitute idea for the sugar in the pie crust?
Hi Jaenne! How about coconut sugar?
Thanks Traci That is what I was thinking either that or. a sugar substitute but didn’t want a bitter taste
These little pies are so festive! Thanks for reminding me about sugared cranberries. Will use your recipe this year as I had problems with the sugar adhering with the recipe I used last year. I don’t remember letting the cranberries rest for an hour so that’s probably the trick…and storing with rice is key as well! As always, you’ve got it all covered. Enjoy all the holiday moments!
Agreed Jean! Thank you for your note! I hope you enjoy those sugared cranberries. They pair so well with pumpkin! Enjoy your holiday too!